Beginner Zombie Pumpkin Faces
Looking for beginner zombie pumpkin faces? You're in the right place. Print at 100% scale, tape it to your pumpkin, and poke through the lines with a pin.
Beginner or pro, there's something on this page for you.
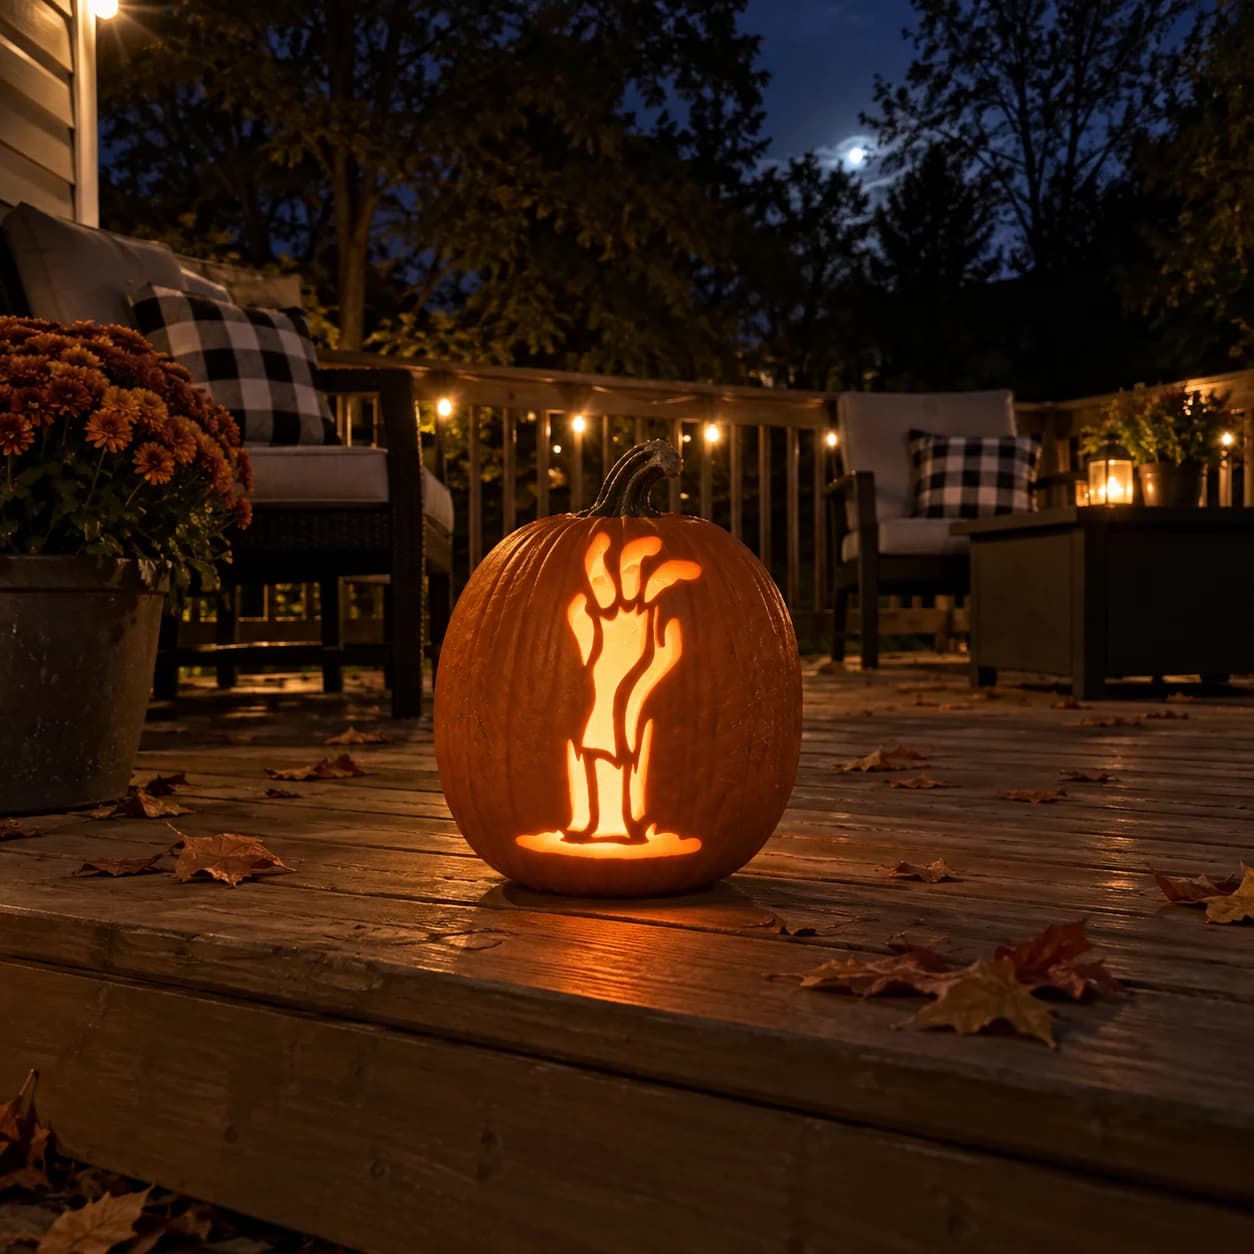
Zombie Hand Pumpkin Stencil
A zombie hand clawing upward from the ground is the subject of this beginner zombie pumpkin stencil. The fingers are spread wide and elongated, separated by narrow solid bridges of pumpkin that keep each digit distinct when lit. A ragged cuff at the wrist and a puddle-like base anchor the composition at the bottom. The carved areas glow dramatically against the uncut pumpkin surface, suggesting a corpse emerging from the earth. Leave the slender bridges between the fingers for last so the hand shape stays supported while you remove the larger flanking areas.
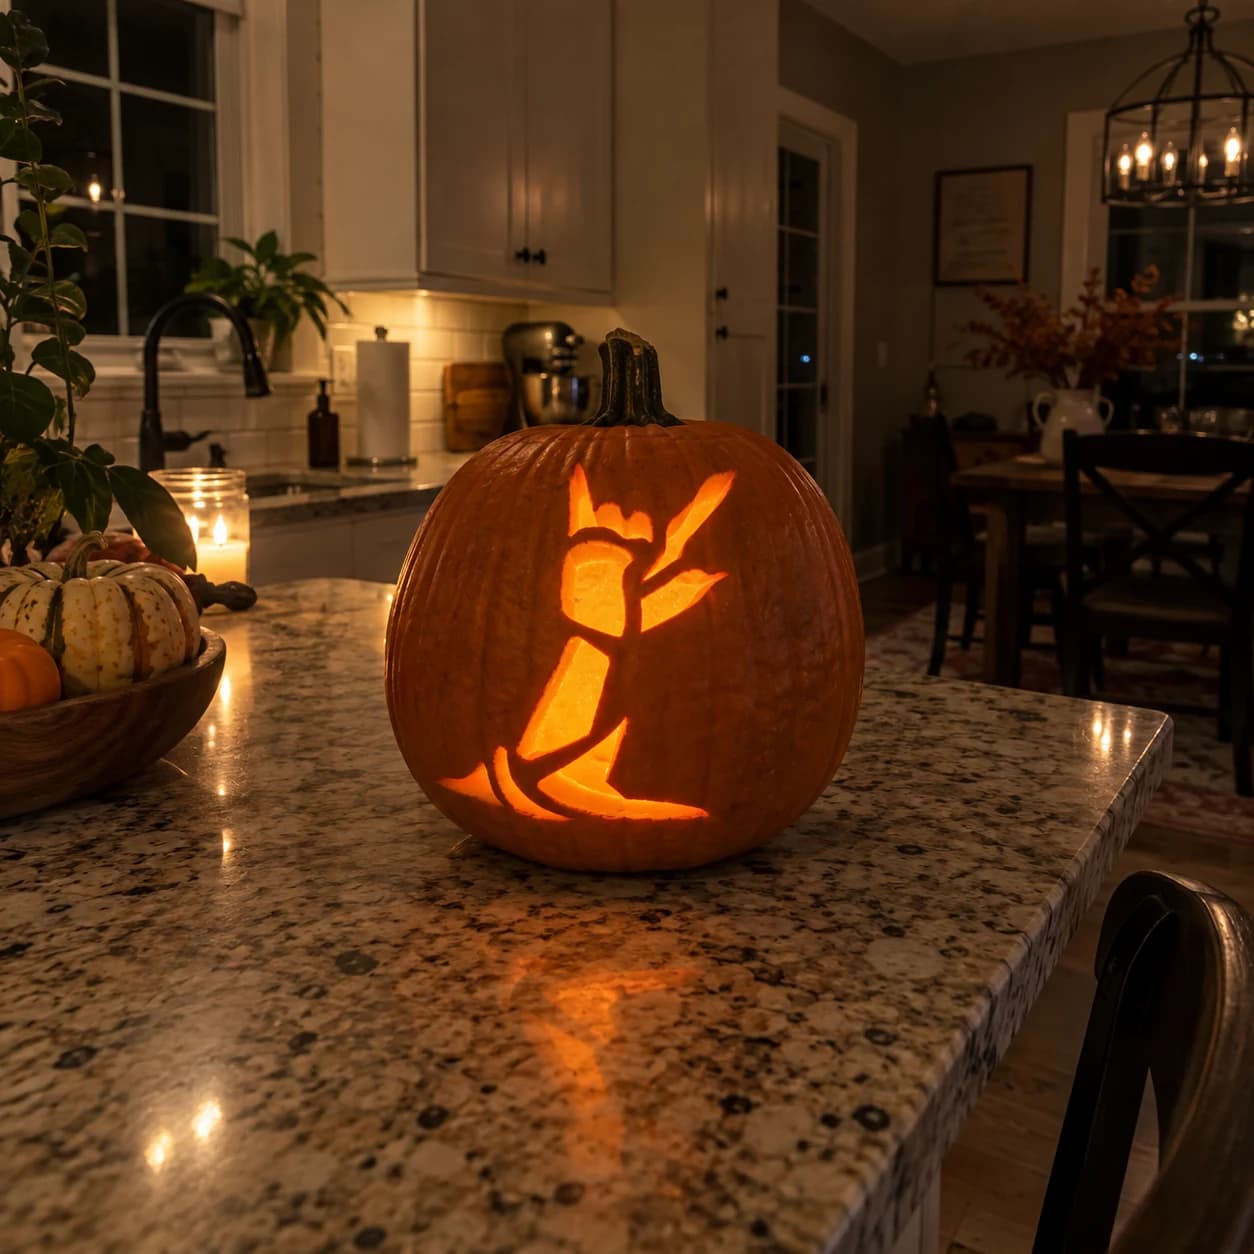
Walking Zombie Pumpkin Stencil
A stick-thin zombie figure lurches forward in mid-stride on this easy pumpkin stencil: arms outstretched and ragged, mouth open, body leaning with one leg lifted and tattered coat hem trailing behind. The silhouette is carved almost entirely as one connected void, with only a few narrow bridges at the coat flaps defining the outline against the solid pumpkin. Because the figure is tall and narrow, center it vertically on the pumpkin face and cut the wide torso section before the spindly arm extensions to avoid flexing the skin.
Frequently asked
- How long do these pumpkin faces take?
- Easy designs take 20–40 minutes. Hard and expert designs can take 2+ hours, but the result is worth it.
- What size pumpkin works best for beginner zombie pumpkin faces?
- A medium-sized round pumpkin (about 8–10 inches tall) works for most pumpkin faces. Larger pumpkins make detailed cuts easier.
- How do I transfer the pumpkin face to my pumpkin?
- Print the PDF at 100% scale, tape it to your pumpkin, and poke through the lines with a pin or pencil. Then connect the dots with your knife.