Easy Skull Pumpkin Faces
Looking for easy skull pumpkin faces? You're in the right place. Print at 100% scale, tape it to your pumpkin, and poke through the lines with a pin.
Beginner or pro, there's something on this page for you.
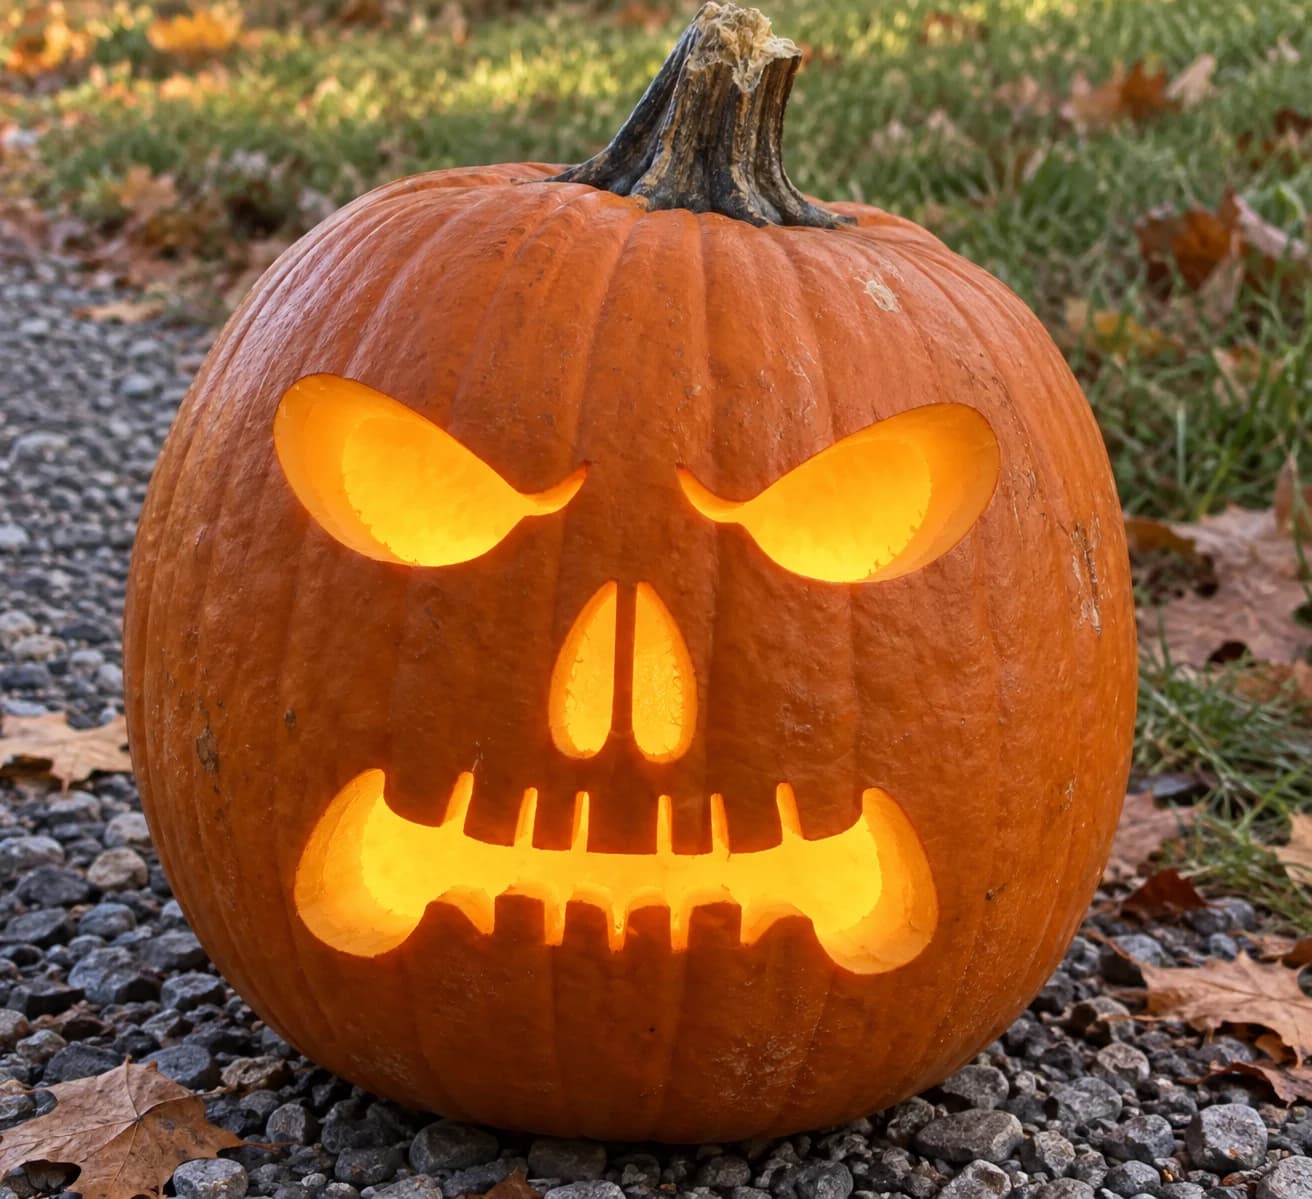
Skull Pumpkin Stencil
Two wide almond-shaped eye sockets with small fang-like lower details, a paired nasal cavity of two thin vertical slots, and a broad rectangular mouth with chunky upper and lower teeth make up this straightforward skull pumpkin stencil. The five main shapes are spread across the face with generous pumpkin skin between them, making this a stable carve. Cut the narrow nasal slots first since they are easiest to lose track of; follow with the eye sockets, and save the wide mouth for last so the pumpkin face remains solid while you finish the upper details.
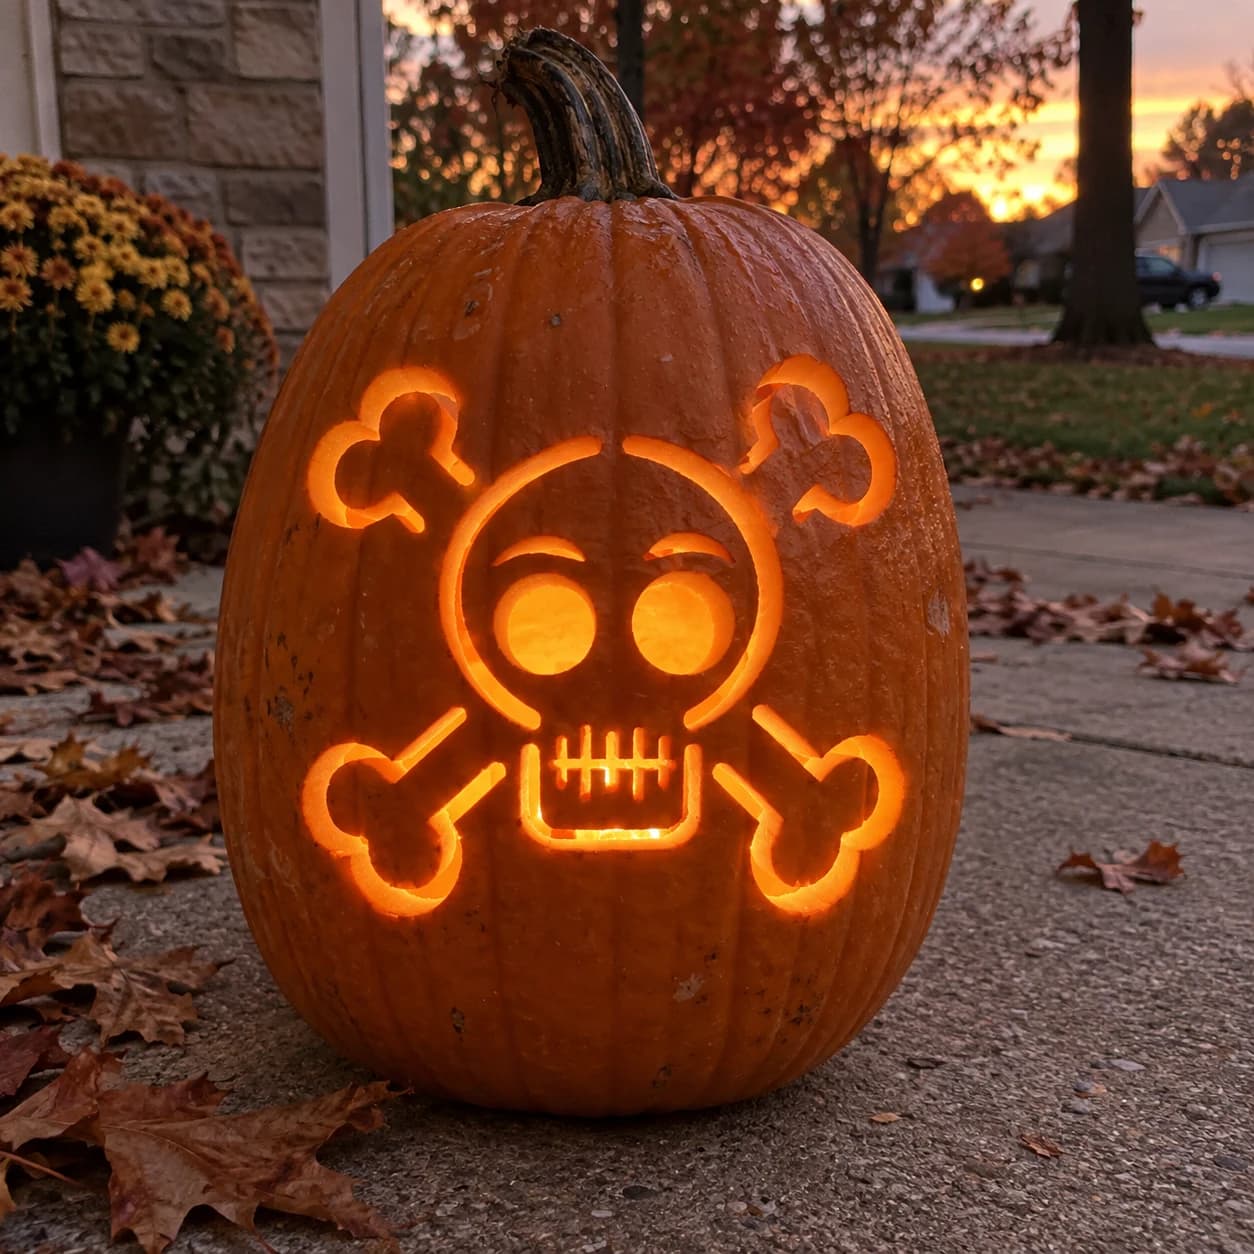
Skull and Crossbones Pumpkin Stencil
A cartoonish skull-and-crossbones fills this pumpkin stencil: a round skull with raised eyebrow lines, two large circular eye sockets, and a lower jaw bearing six stitched teeth sits at the center, while four bone ends with rounded knobs extend diagonally from behind it. The eye sockets, teeth gaps, and bone end circles are all pierced through, creating rings of glowing light that contrast with the solid skin bridges holding the design together. Carve the six small tooth gaps before tackling the larger eye socket circles to preserve the jaw structure.
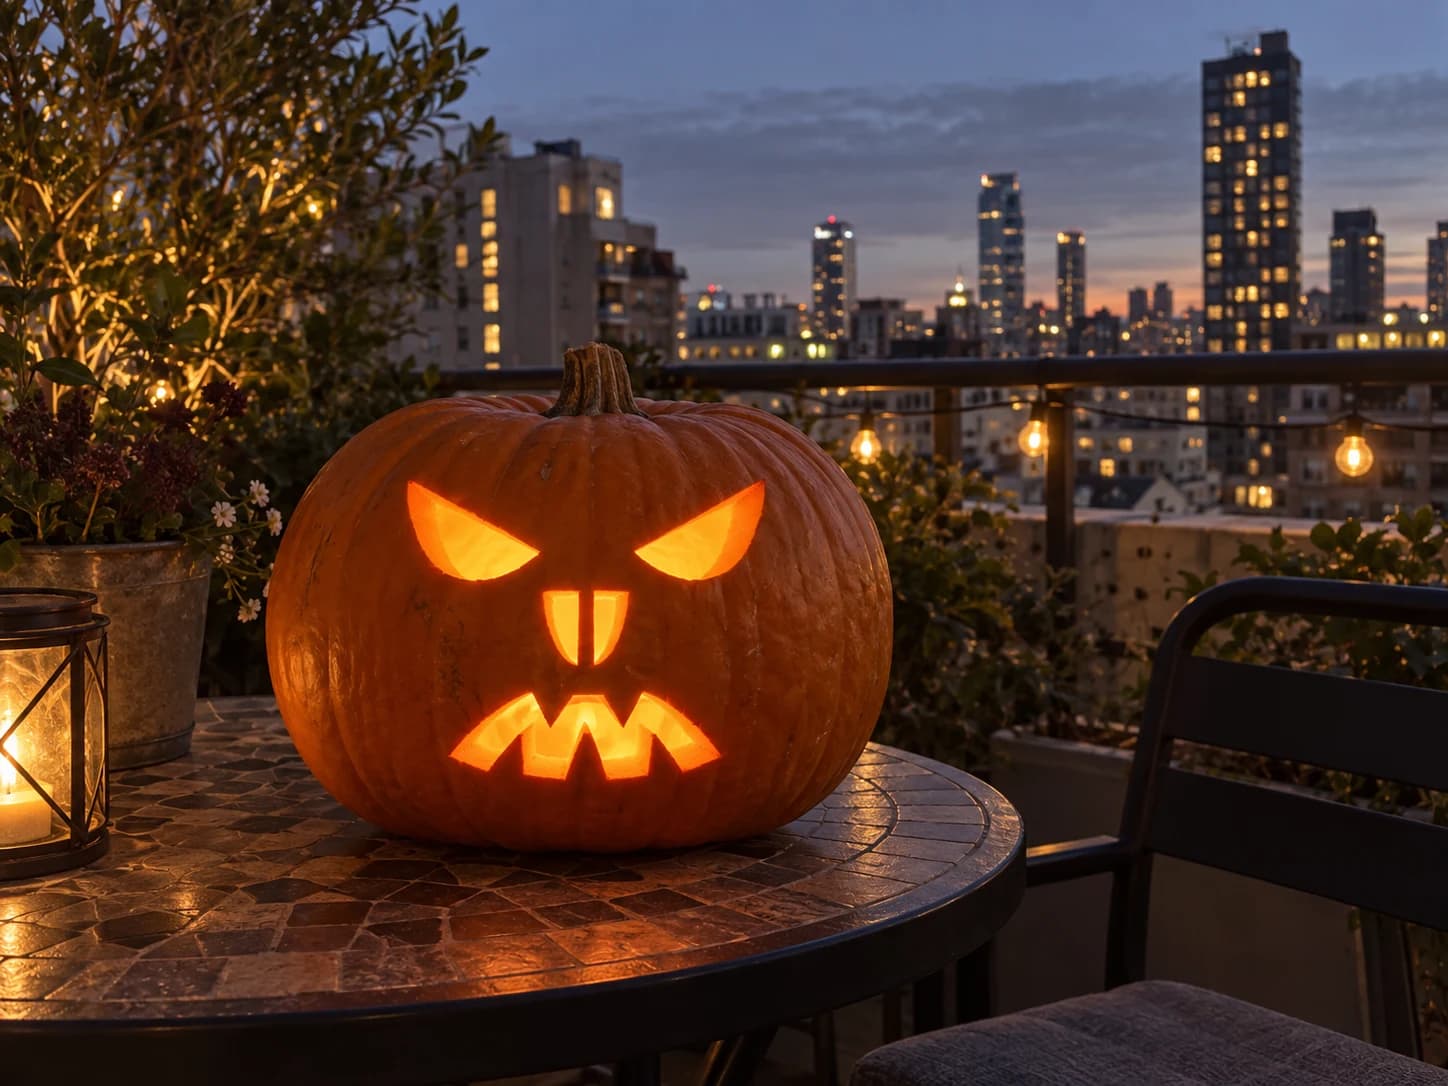
Mean Skull Pumpkin Stencil
Two large angled triangular eyes slash across the upper face of this jack-o-lantern stencil, pointing sharply inward to give the skull an aggressive, furrowed scowl. Below, two narrow rectangular fang-tips drop from the center, and a wide jagged mouth with three upward-pointing teeth stretches across the bottom. All six shapes are cut through individually, leaving solid orange between them to hold the face together. The small central fang-tips are easy to snap, so cut each one from the outer corner inward and avoid side pressure on the blade.
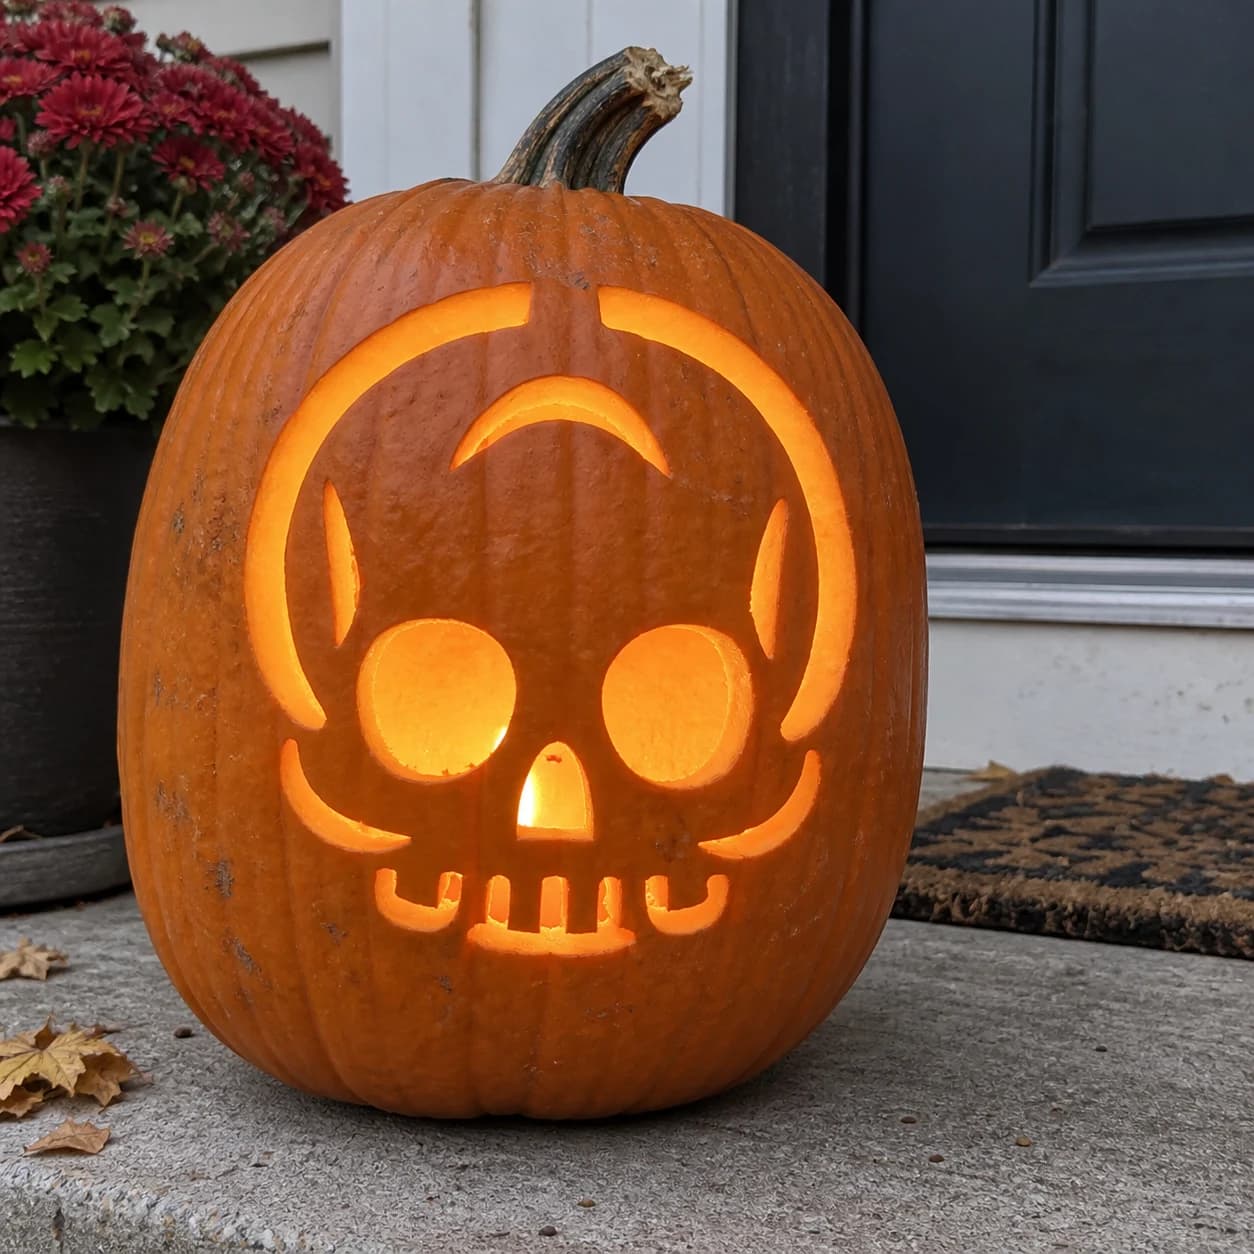
Cute Skull Pumpkin Stencil
A cute, stylized skull face looks straight out of this beginner pumpkin stencil, with two large round eye sockets and a small triangular nose cut through, all enclosed in a rounded skull outline broken into arc segments. The lower jaw shows four chunky teeth separated by gaps, and small curved cheekbone accents frame the face. Because the skull outline is split into separate arcs rather than one continuous ring, carve each arc segment individually so the gaps between them stay crisp.
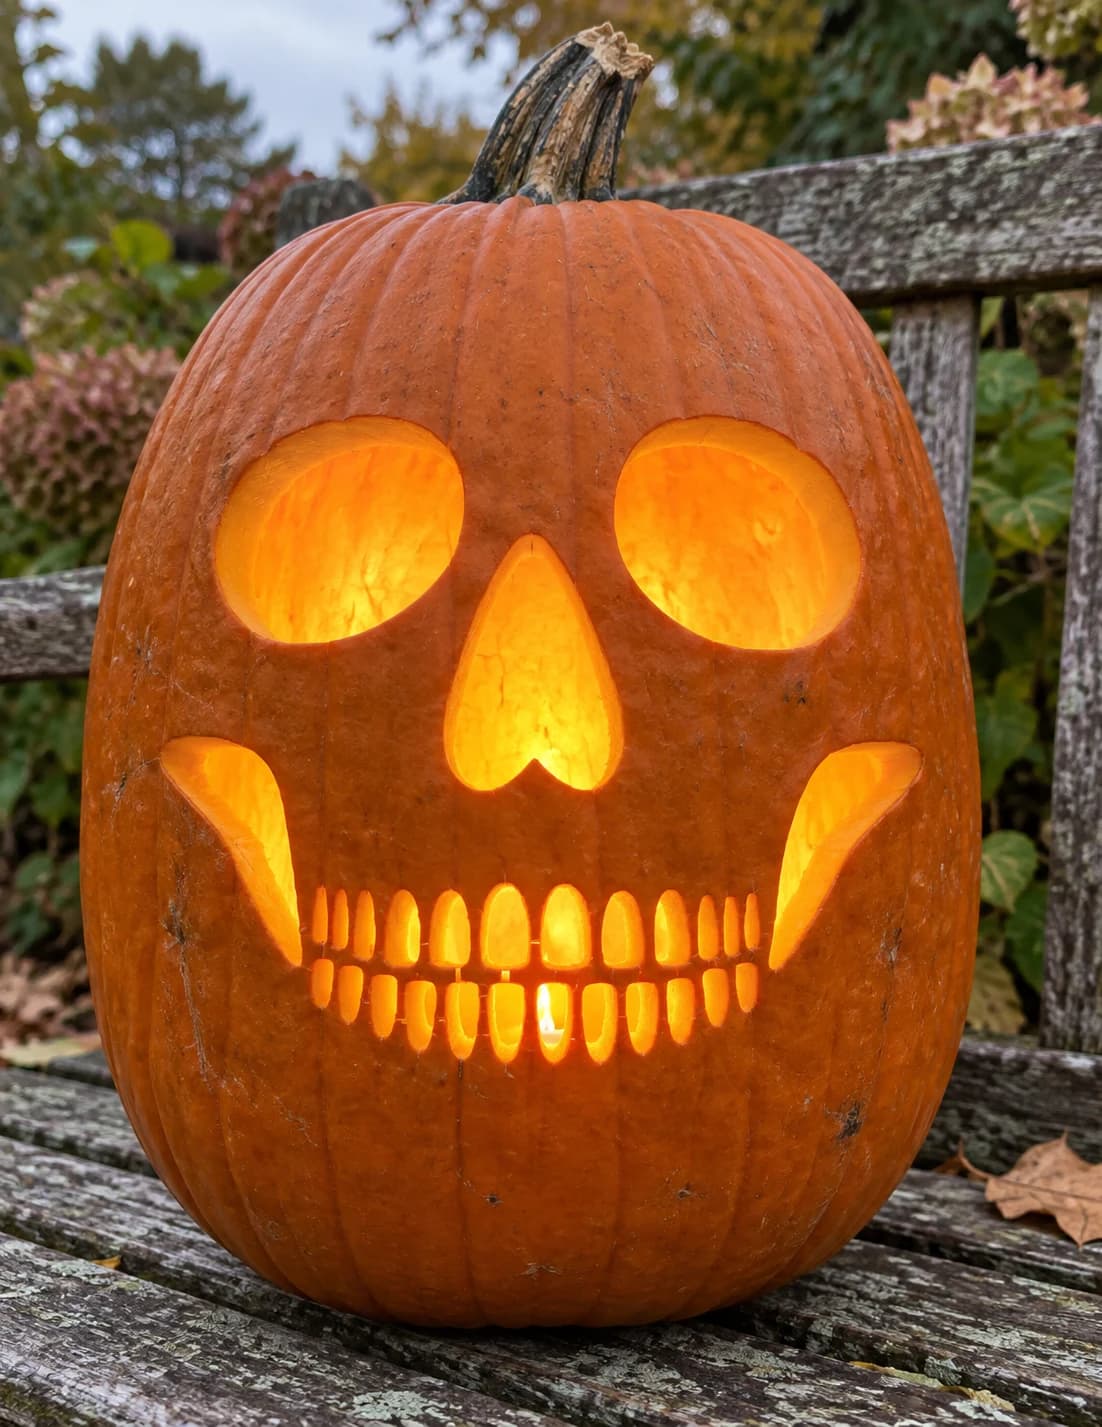
Skull Face Pumpkin Stencil
A skull face pumpkin stencil built from two large circular eye sockets, a heart-shaped nasal cavity, two angled cheekbone tabs, and two rows of individual oval teeth lining an open jaw. All the white areas cut through, so the finished jack-o-lantern reads unmistakably as a skeleton against the dark. The two rows of closely packed oval teeth are the trickiest part: cut each tooth individually rather than scooping the whole jaw at once, and leave the tiny bridges between them for last so none tip inward.
Frequently asked
- How do I transfer the pumpkin face to my pumpkin?
- Print the PDF at 100% scale, tape it to your pumpkin, and poke through the lines with a pin or pencil. Then connect the dots with your knife.
- How long do these pumpkin faces take?
- Easy designs take 20–40 minutes. Hard and expert designs can take 2+ hours, but the result is worth it.
- What size pumpkin works best for easy skull pumpkin faces?
- A medium-sized round pumpkin (about 8–10 inches tall) works for most pumpkin faces. Larger pumpkins make detailed cuts easier.