Easy Space Pumpkin Carving Ideas
Looking for easy space pumpkin carving ideas? You're in the right place. Print at 100% scale, tape it to your pumpkin, and poke through the lines with a pin.
Beginner or pro, there's something on this page for you.
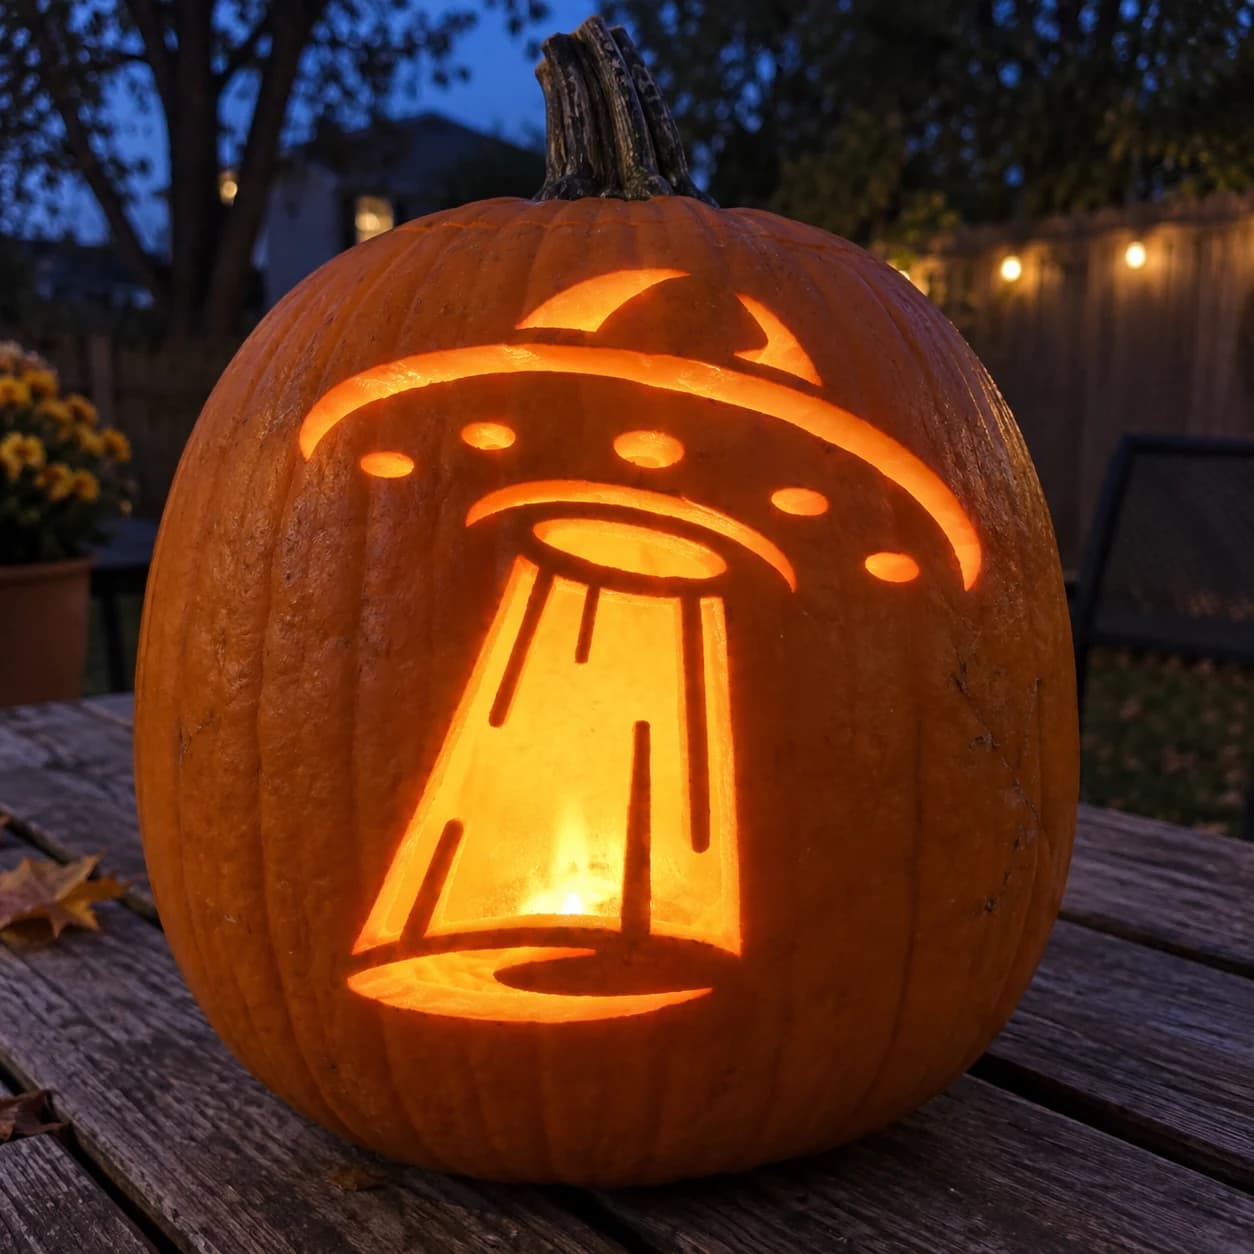
Flying Saucer Pumpkin Stencil
A flying saucer in classic 1950s style beams down a tractor ray in this pumpkin stencil, featuring a domed disc with a small fin on top, a row of oval porthole cuts across the hull, a central undercarriage dome, and a wide triangular tractor beam with three internal vertical ribs extending down to a landing ellipse. The portholes, beam sections, and surrounding sky area are pierced through. Carve the small oval portholes along the saucer rim first to keep the disc structure stable before opening the large tractor beam below.
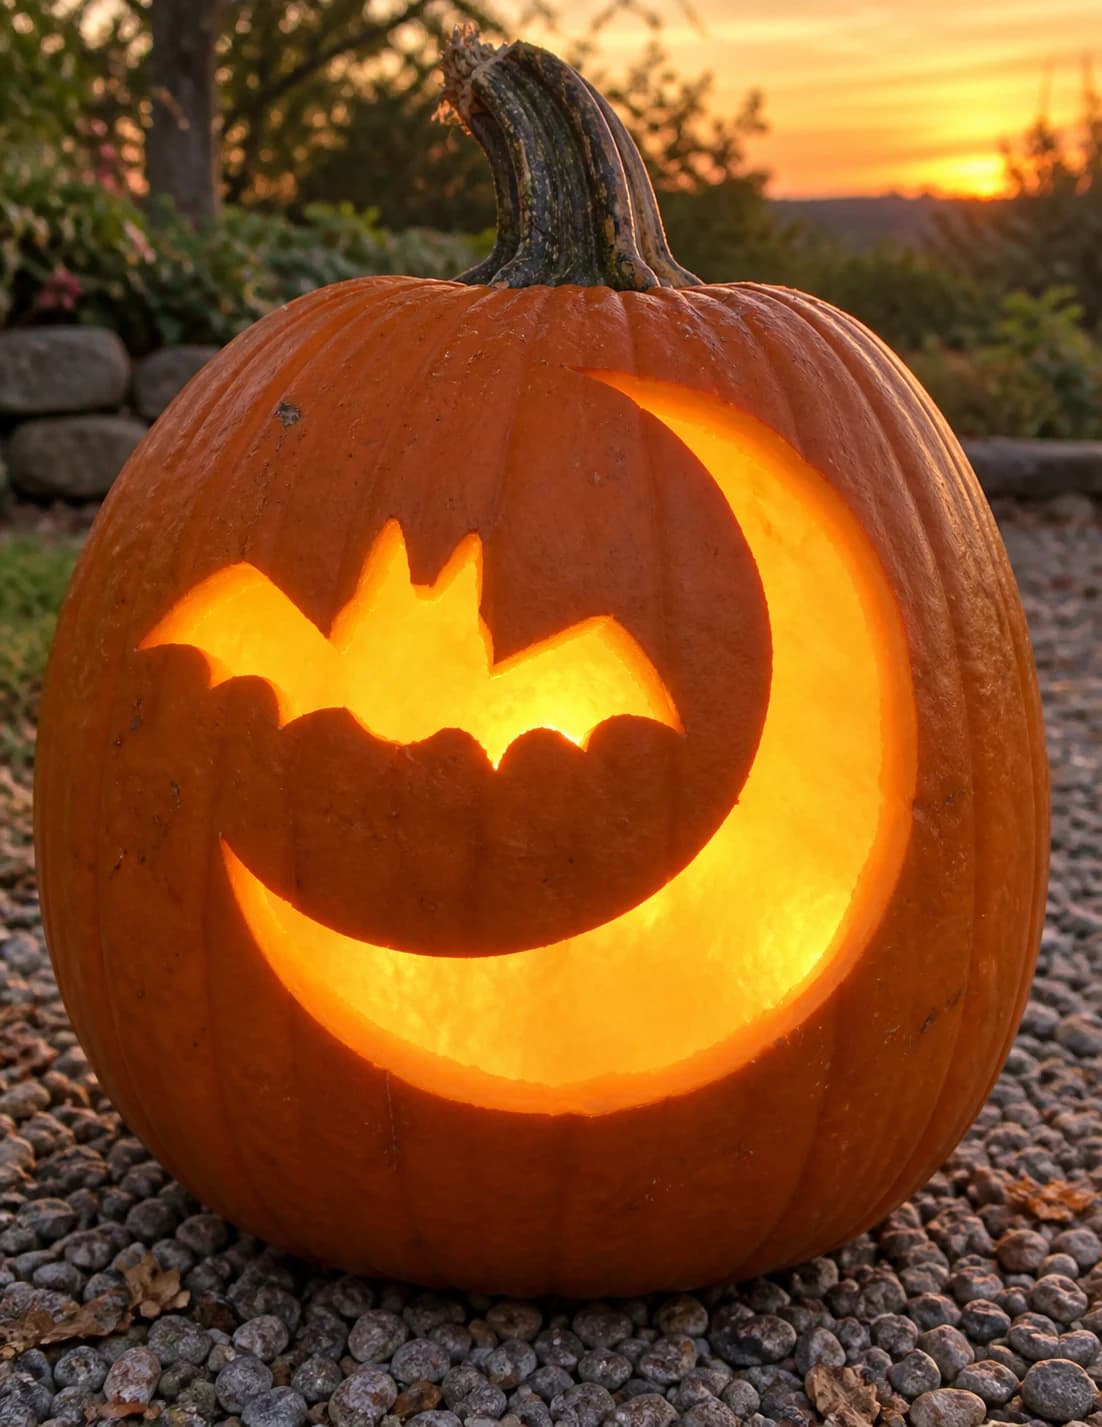
Bat and Moon Pumpkin Stencil
A crescent moon curves across the upper half of the design with a small bat silhouette flying in front of it, both cut through as a single pumpkin stencil. The crescent is a wide sweeping arc and the bat sits slightly below center within the curve, its wings spread and ears pointed. The bat's body stays connected to the moon's surface by a thin shared border; carve the crescent first and leave the bat's outer wing edges touching the moon arc so the bat doesn't shift before you finish the interior.
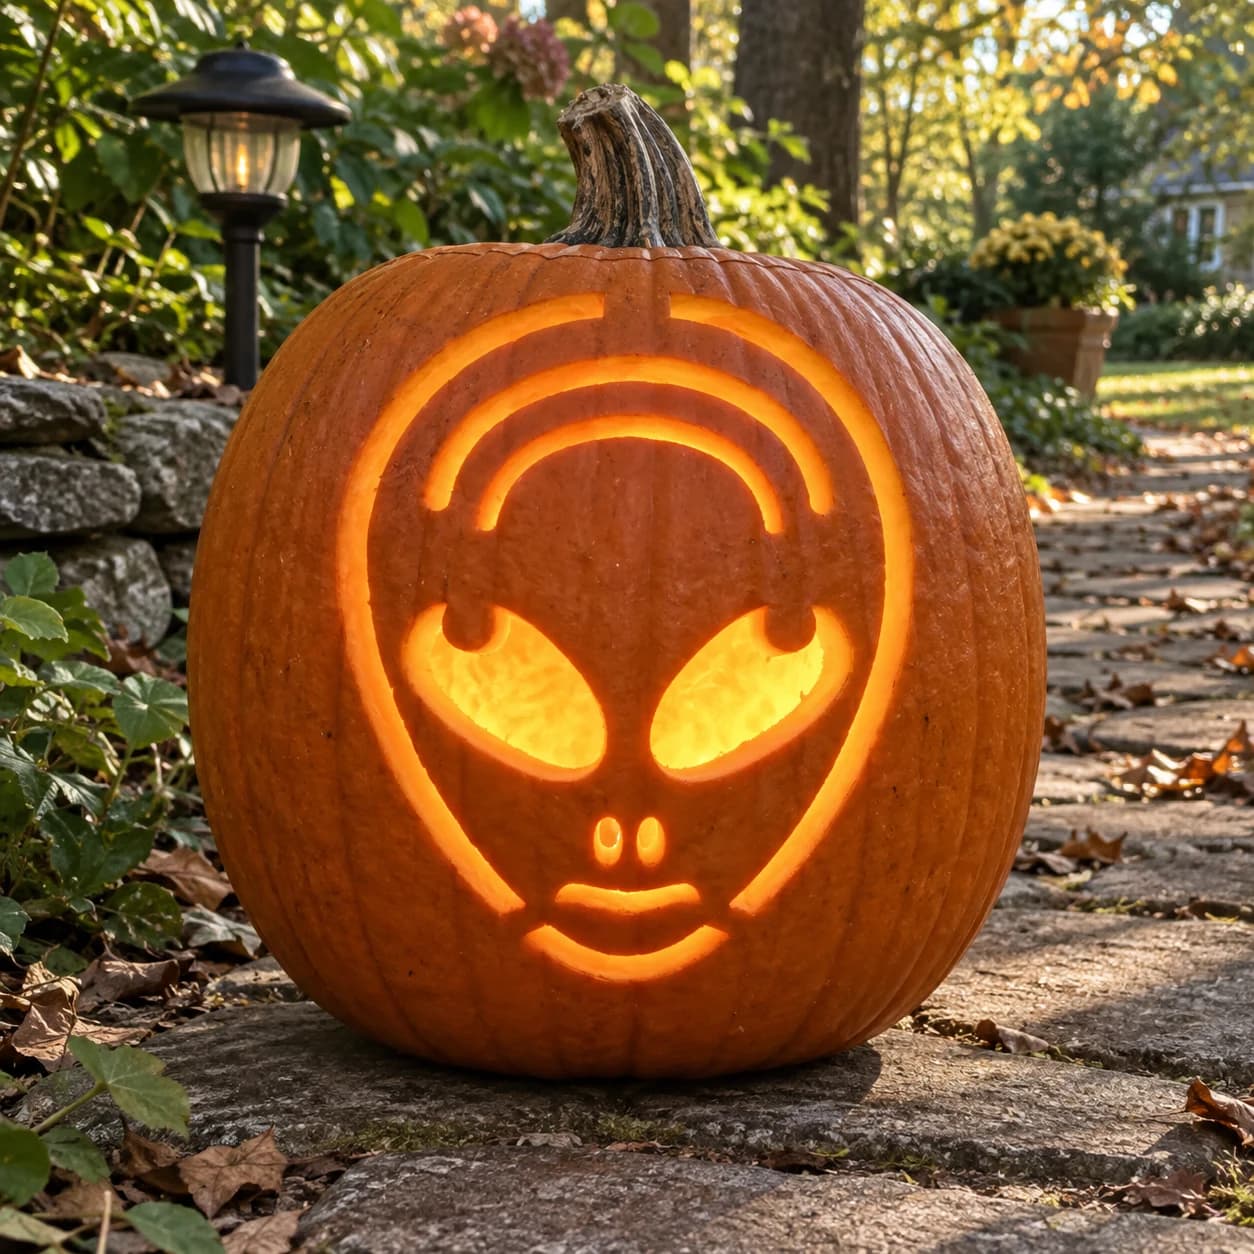
Alien Face Pumpkin Stencil
An alien face with a wide oval cranium fills this pumpkin stencil, featuring two large bulging almond-shaped eyes with small hooked inner corners, a two-dot nose, a curved smile, and a rounded forehead band rendered as arcing cut-through lines. The eye shapes and facial features are each separate pierces, while the outer oval head outline is also cut away, framing everything in open light. The narrow forehead arc is the most fragile element, so score it fully before pushing through to avoid it snapping midway.
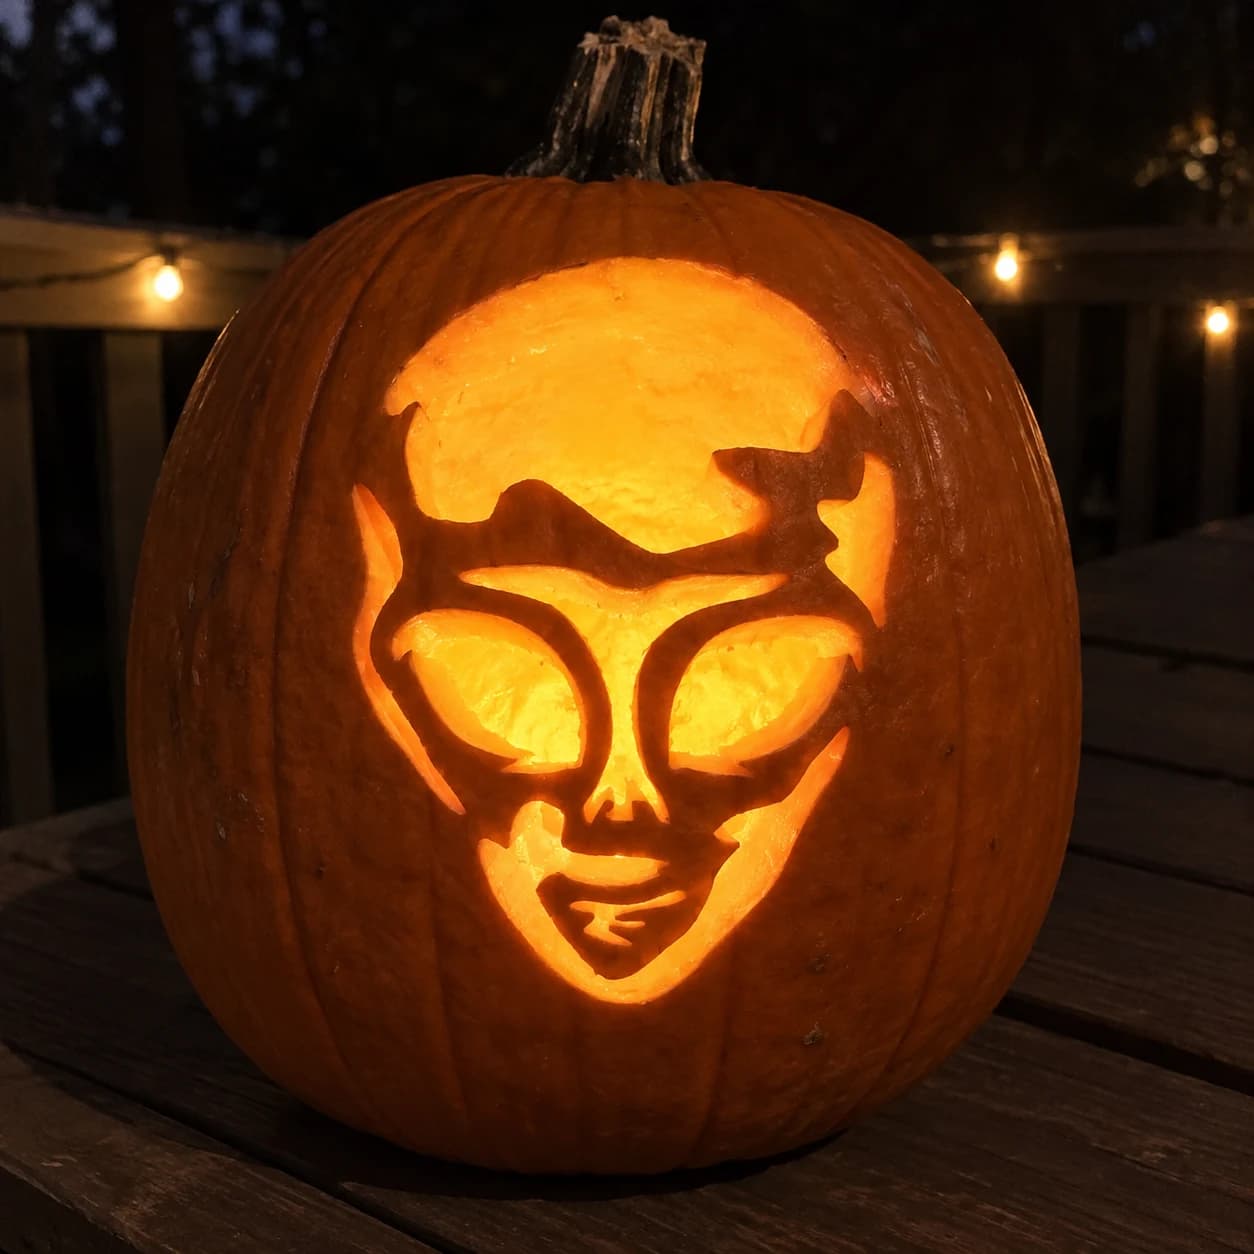
Alien Face Pumpkin Stencil
An alien face with oversized teardrop eyes, a broad domed cranium, and subtle nostril and lip details fills this space pumpkin stencil as a single large cut-out with internal skin bridges defining the facial features. The large eyes are open negative spaces separated from the head background by thin arching brow ridges, which are easily the most fragile element. Carve the outer head silhouette first, then remove the large eye areas, keeping the blade tight against the brow-ridge boundary to preserve that thin curved strip of pumpkin skin.
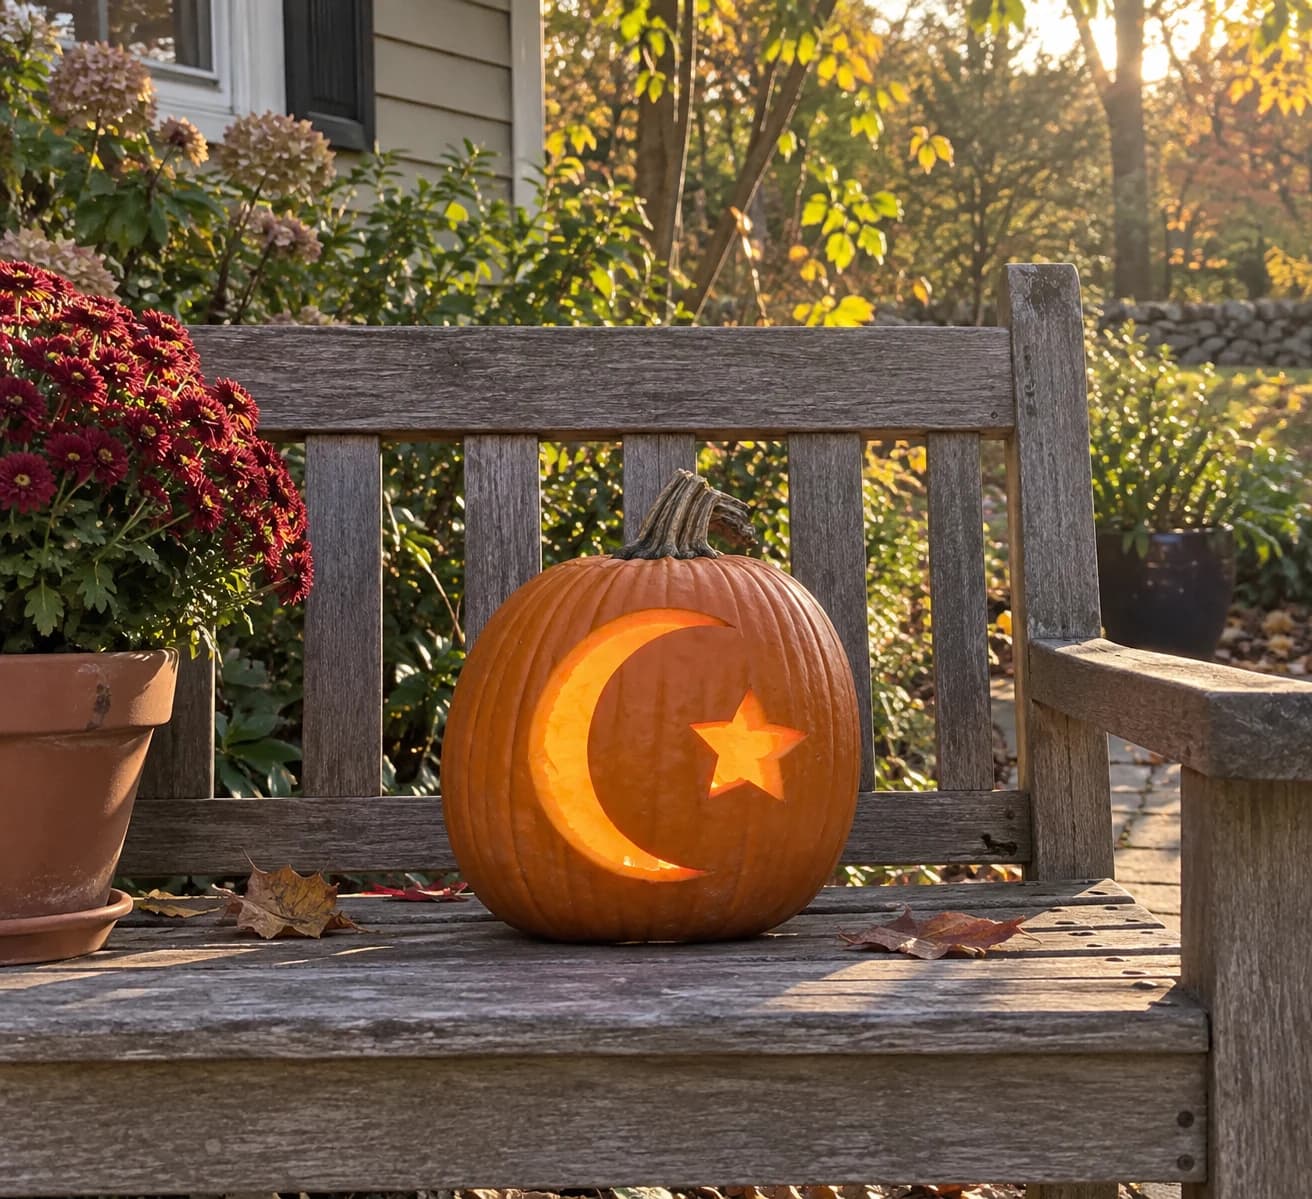
Crescent Moon and Star Pumpkin Stencil
A large crescent moon curves across most of the design while a single five-pointed star sits nestled in the open interior of the crescent in this easy space pumpkin stencil, both shapes carved as open silhouettes. The crescent is a large single cut, and the small star inside it is a separate isolated piece that must be removed independently. Cut the star's five points with precise plunge cuts at each tip before slicing the connecting straight sides, then remove the star before carving the surrounding crescent so your hand has room to maneuver.
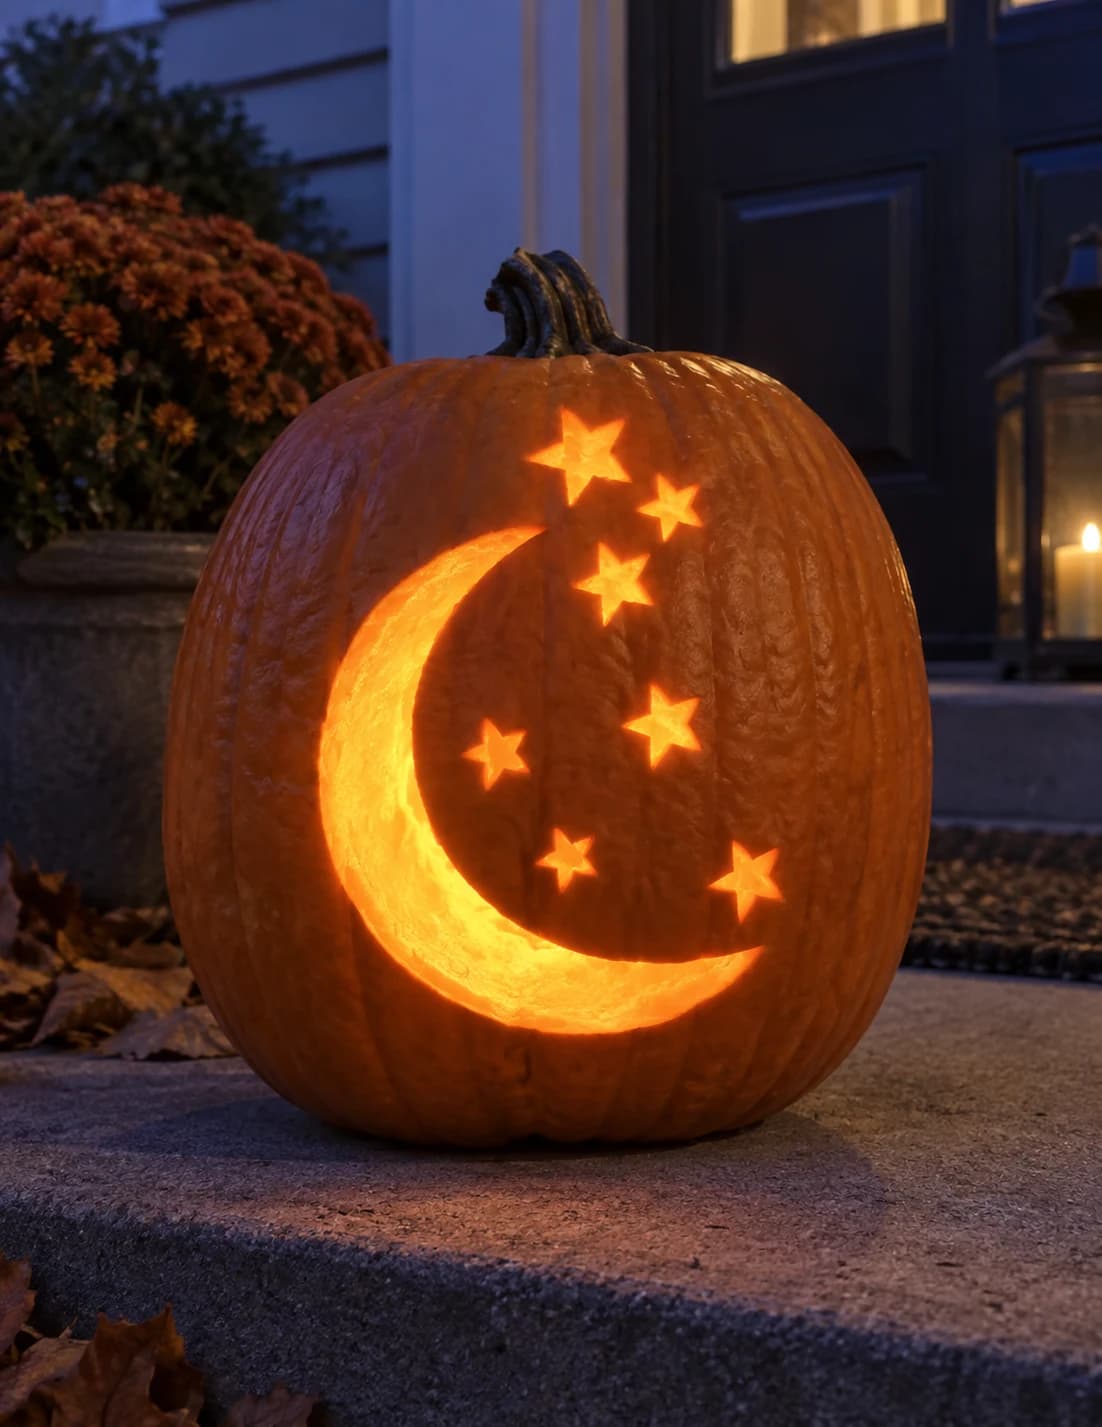
Moon and Stars Pumpkin Stencil
A slim crescent moon curves on the left side of this space pumpkin stencil while seven five-pointed stars of varying sizes are scattered across the open field to its right, all shapes cut through as separate glowing elements. The smallest stars are only an inch or so across and sit as isolated islands on the pumpkin face; carve those tiny stars first with a craft knife tip or small saw while the wall is at full stiffness, then remove the larger crescent and remaining stars in order from smallest to largest.
Frequently asked
- How long do these pumpkin carving ideas take?
- Easy designs take 20–40 minutes. Hard and expert designs can take 2+ hours, but the result is worth it.
- What size pumpkin works best for easy space pumpkin carving ideas?
- A medium-sized round pumpkin (about 8–10 inches tall) works for most pumpkin carving ideas. Larger pumpkins make detailed cuts easier.
- How do I transfer the pumpkin carving idea to my pumpkin?
- Print the PDF at 100% scale, tape it to your pumpkin, and poke through the lines with a pin or pencil. Then connect the dots with your knife.