Pumpkin carving templates
1155 free printable stencils. Download, print, trace, carve.
93 results · Page 3 of 3

Smiling Arches and Leaf Ring
A mischievous crescent-eyed grin packed with individual teeth sits inside a full ring of diamond and leaf-shaped cutouts, with dozens of small dots sparkling between them. Every element is pierced through, and the sheer number of tiny openings is what earns the expert rating. Drill all the dots first, then saw the border shapes, saving the big fragile mouth for the very end.
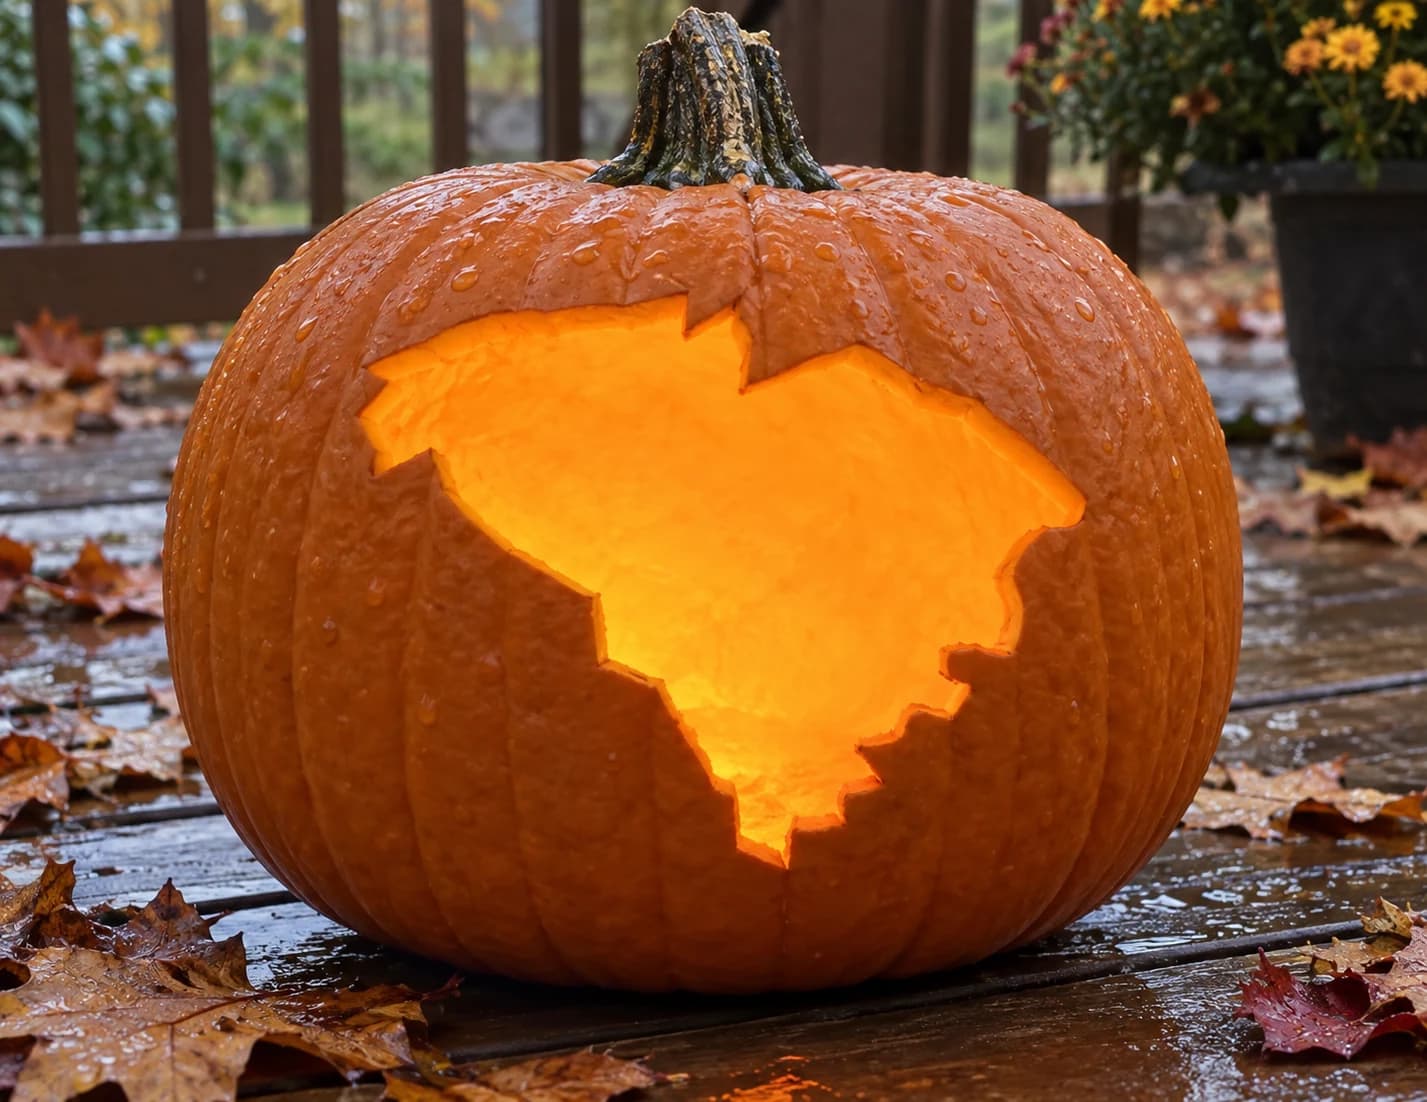
South Carolina Pumpkin Stencil
The irregular outline of South Carolina, with its distinctive concave upper coastline notch and the jagged Sea Islands fringe along the lower right shore, is carved as a single pierced shape in this state pumpkin stencil. The entire interior is cut away, leaving only the border outline as the light-emitting shape. The lower coastal edge has the most complex jagged detailing, so cut that stretch last after the smoother inland borders are done, allowing maximum wall stability while navigating the short irregular coastal cuts.
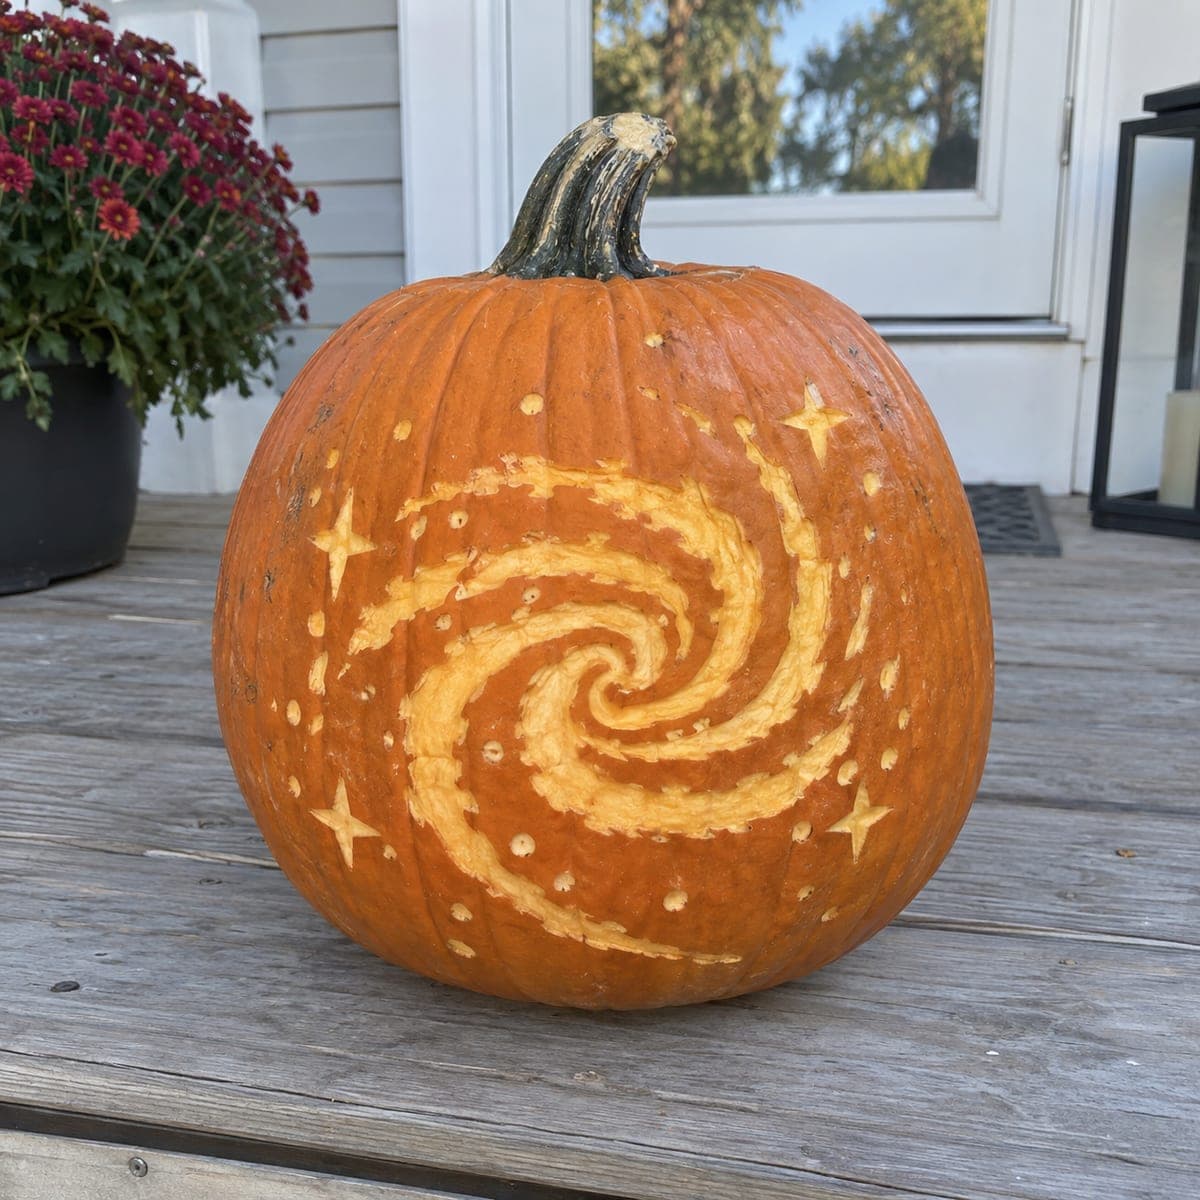
Spiral Galaxy and Four Stars
A sweeping spiral galaxy with two luminous arms curling around a bright core, surrounded by four-point stars and a scatter of small stardust dots. The entire scene is skin-shave work with no pierced holes: the arms are shaved wide and shallow while the dots and stars are picked out individually. An expert pattern because of its long tapering curves; keep your gouge moving in smooth continuous strokes along each arm.
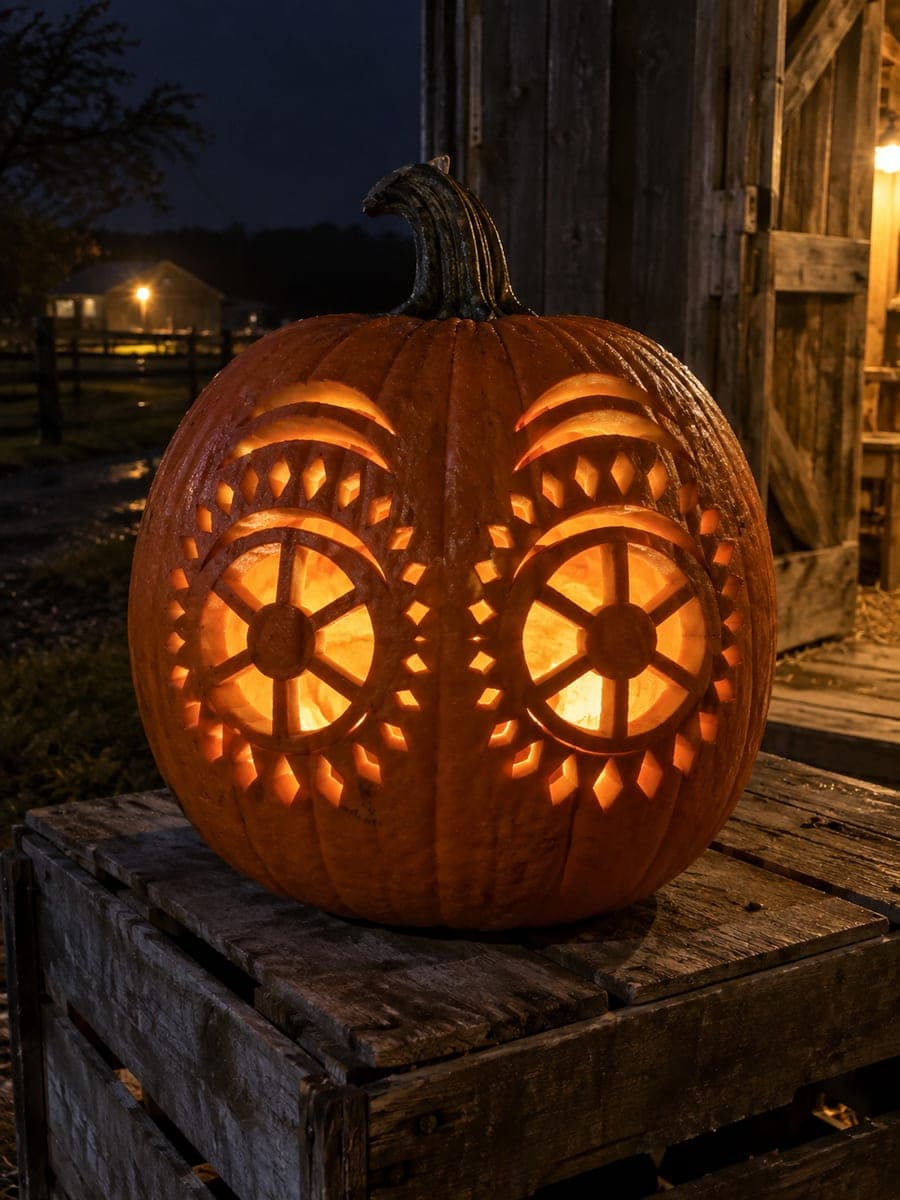
Spoked Eyes and Diamond Halos
Two enormous hypnotic eyes built as spoked wheels, each iris divided by radial spokes around a glowing hub, ringed by halos of small diamond and teardrop cutouts with arched brow fans above. Every spoke gap, diamond, and teardrop is pierced individually, creating a mesmerizing lace of light. An expert carve with dozens of tiny openings; use a fine detail saw and rotate the pumpkin, not your wrist, on the curves.
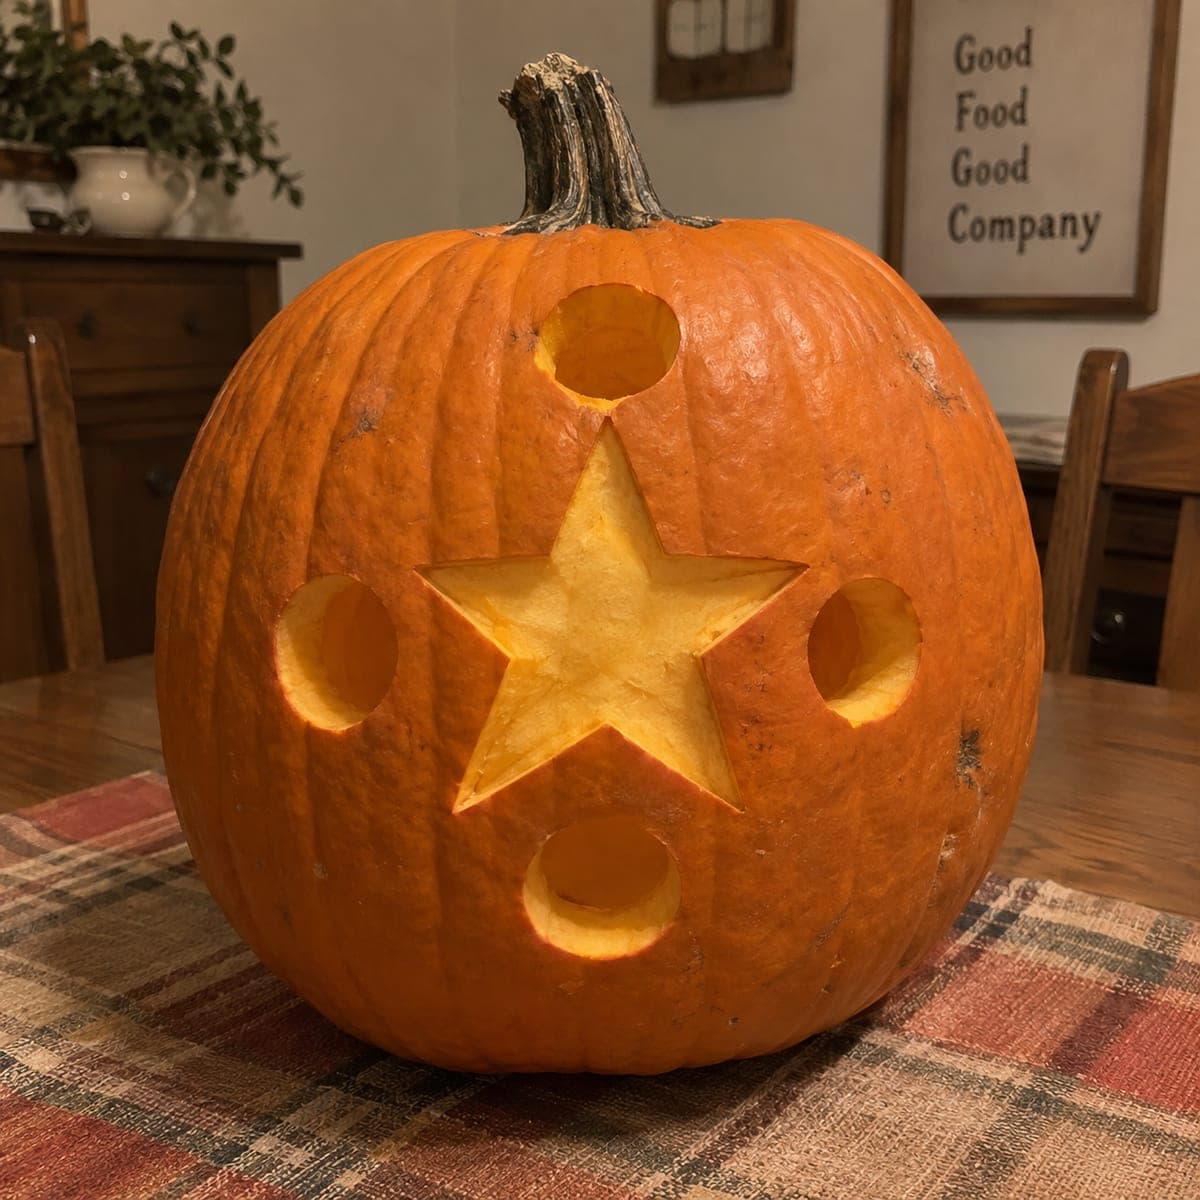
Star & Four Dots
One big five-pointed star sits at the center of the pumpkin, ringed by four round polka-dot holes above, below, and to each side. Every shape is cut fully through, turning the pumpkin into a cheerful lantern that throws star and dot patterns onto nearby walls. This easy design is a great first carve; drill or scoop the four circles first, then saw the star point to point so the tips stay sharp.

Star Above Two Chevrons
A six-point badge star shines above two stacked chevron stripes, with three small dots arcing over the top like a crest. Every shape is cut fully through the wall, giving the design the crisp look of a service badge or rank insignia glowing on the porch. Cut the chevrons from their outer ends toward the center points, and keep the rind strip between the two stripes intact for a clean military edge.
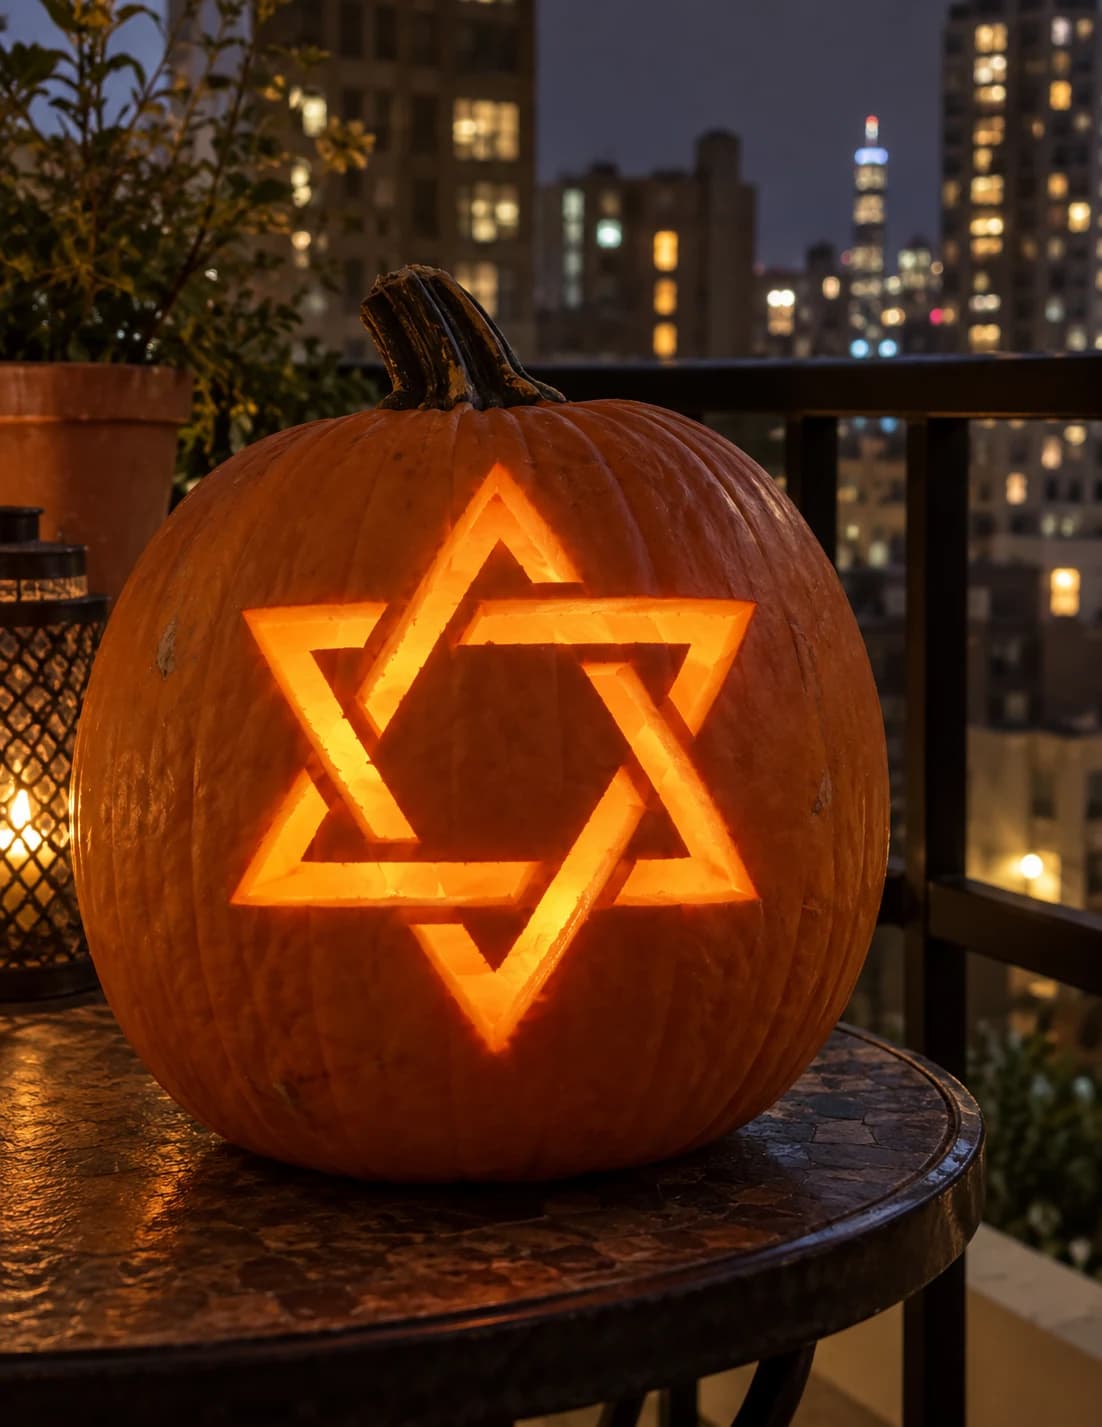
Star of David Pumpkin Stencil
Two overlapping equilateral triangles forming the Star of David fill this pumpkin stencil as a clean geometric shape. The entire six-pointed star outline is carved as a single continuous pierce-through, and the small hexagonal gaps at each interlocking corner are left as solid pumpkin wall, creating the interlaced look of the design. On the lit jack-o-lantern the star glows in bright outline form. Score the six triangle tip points lightly before making full cuts; the acute corners are the most likely to tear, so finish them with a fine blade rather than a heavy saw.
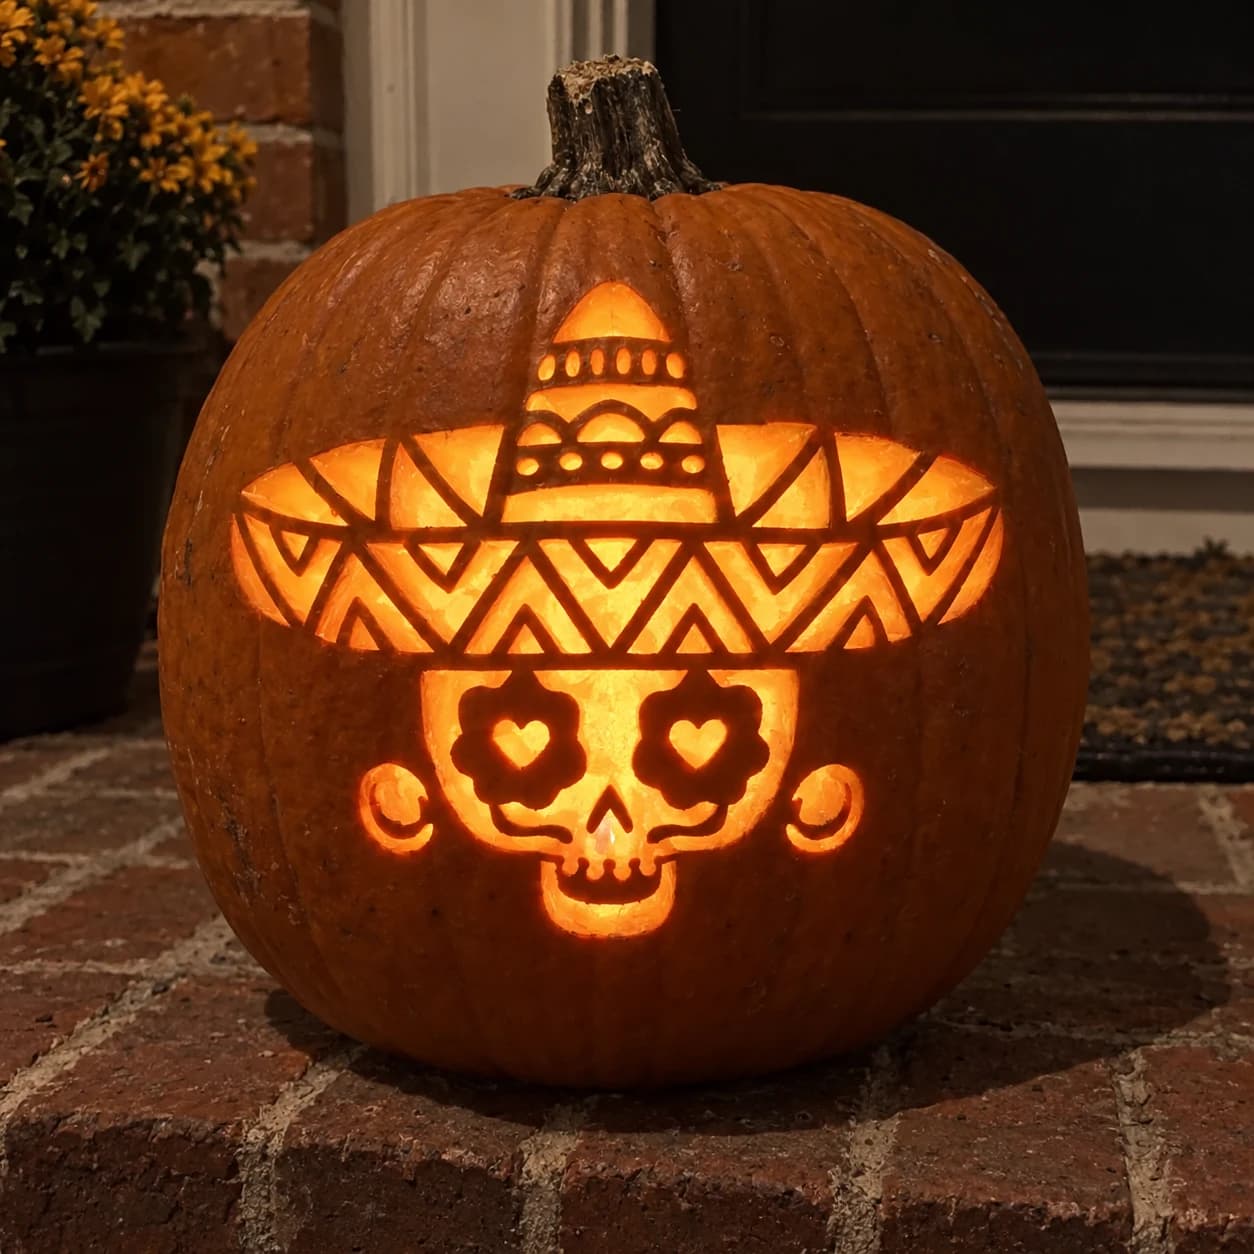
Sugar Skull Sombrero Pumpkin Stencil
A Dia de los Muertos sugar skull wears an enormous sombrero whose brim is covered in repeating triangular geometric cutouts, while the skull face below shows heart-shaped flower eyes with petals, small crescent cheek scrolls, and a toothy grin in this expert sugar-skull pumpkin stencil. The tight zigzag pattern on the sombrero brim requires precise, repetitive cuts that must stay connected by narrow bridges to hold the hat together. Carve the hat band and dome details at the top first, then work row by row down the brim triangles before tackling the face, so the skull does not shift while the delicate geometric grid is still being cut.

Three Crescents and Six Dots
Three crescent moons of different sizes climb diagonally across the pumpkin, trailed by six small round dots like distant stars. Every crescent and dot is pierced fully through, giving a modern, almost tattoo-style celestial arrangement once the candle is lit. The medium rating comes from the crescents' thin inner horns, so drill or poke each dot first for practice, then cut the crescents starting at the fat middle and working out toward each narrow tip.
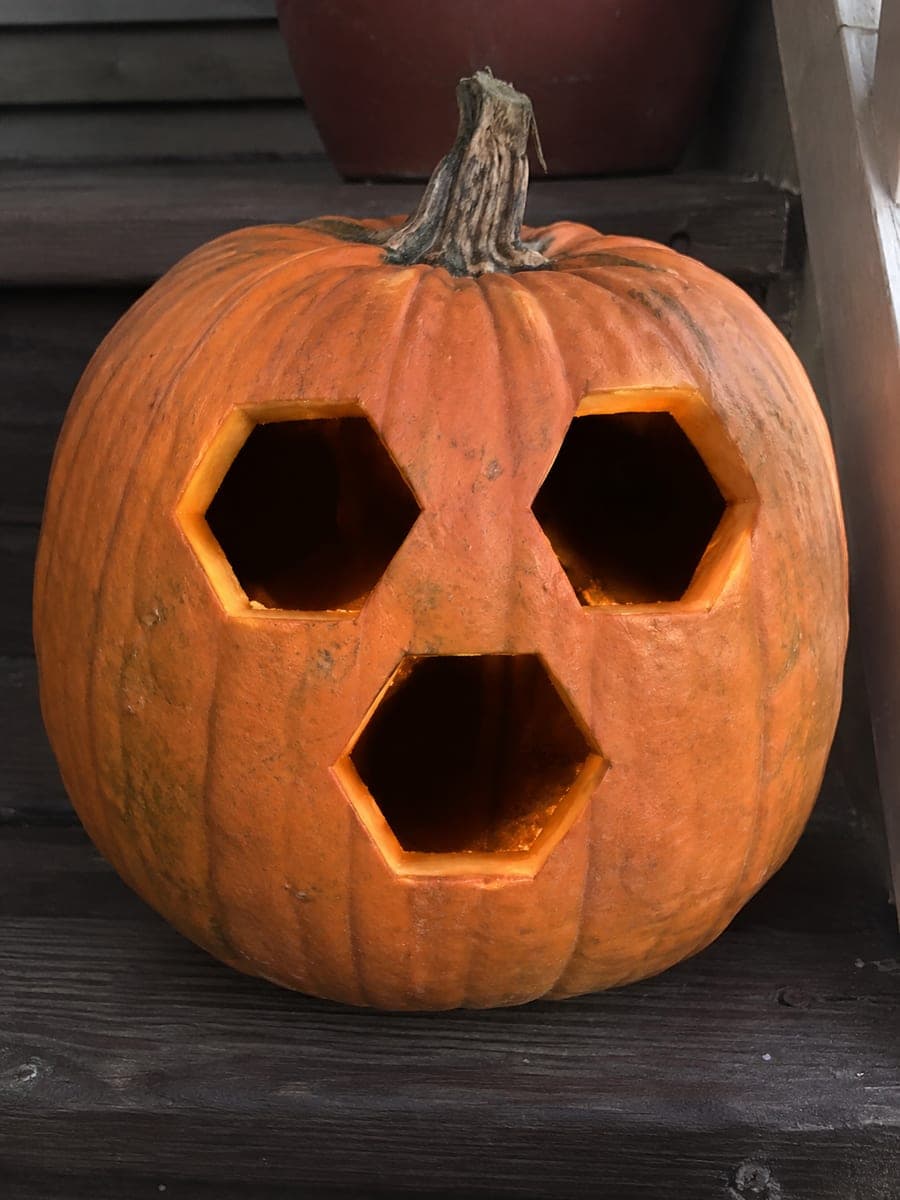
Three Honeycomb Openings
Three big hexagons are arranged like a honeycomb cluster, two side by side up top and one centered below, each cut cleanly through the wall. The result is a modern geometric lantern that glows in warm golden cells. Straight edges are the whole game here, so score each hexagon side with a ruler or card edge before cutting, and the easy design will look precision-made when lit.

Three Mountains and Moon
A minimalist night landscape made of three simple triangle peaks in a row with a full round moon floating above them. Each triangle and the circle are cut cleanly through, turning the pumpkin into a tiny glowing mountain scene. This is one of the easiest patterns to carve; keep the triangle points sharp by cutting into each corner from both directions instead of turning the blade.
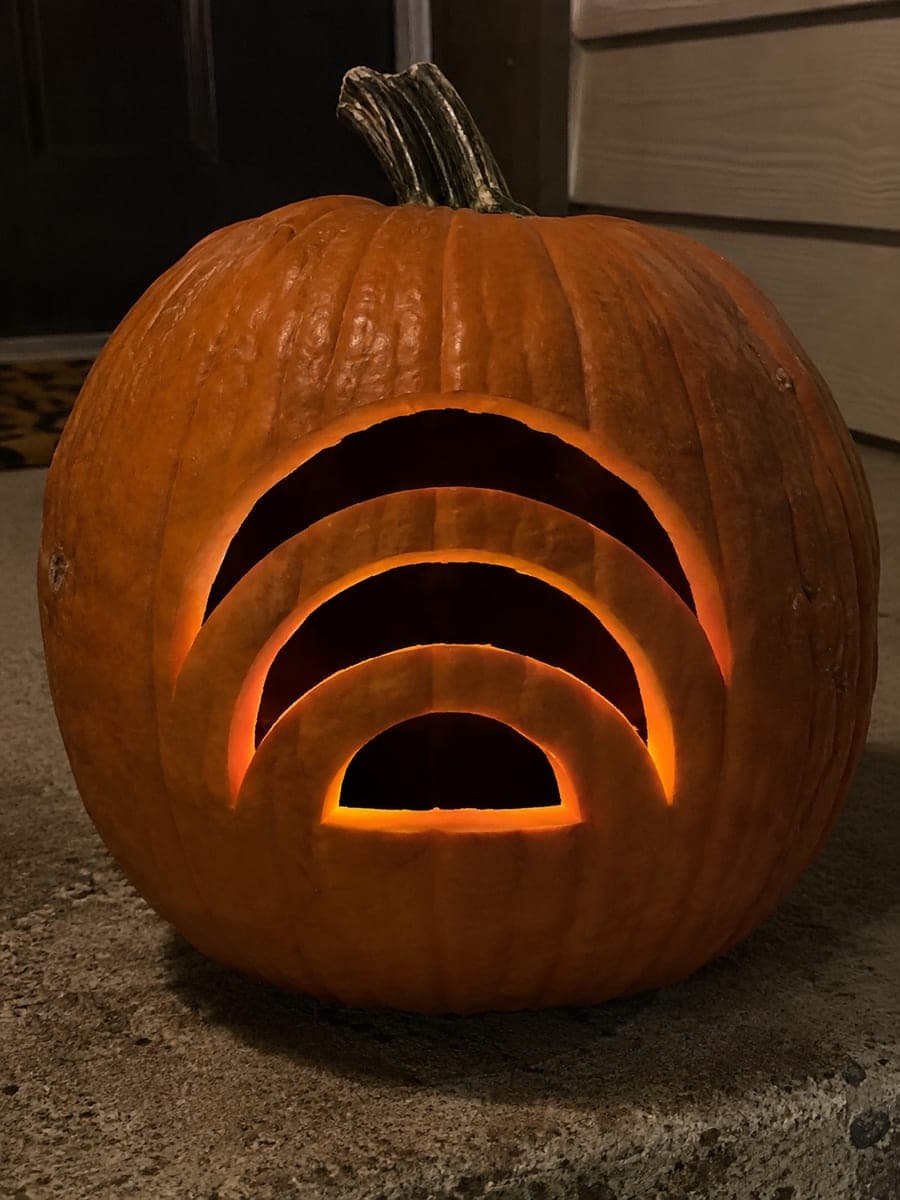
Three Rainbow Arches
Three nested arches stack like a glowing rainbow, each band cut fully through so the pumpkin lights up in bright concentric ribbons. The strips of pumpkin left between the arches form the rainbow's dark bands and keep the wall sturdy. It is an easy design with big visual payoff; cut the smallest inner arch first and work outward, and keep the leftover ribs at least half an inch wide so they stay strong.
Three Stars and Six Dots
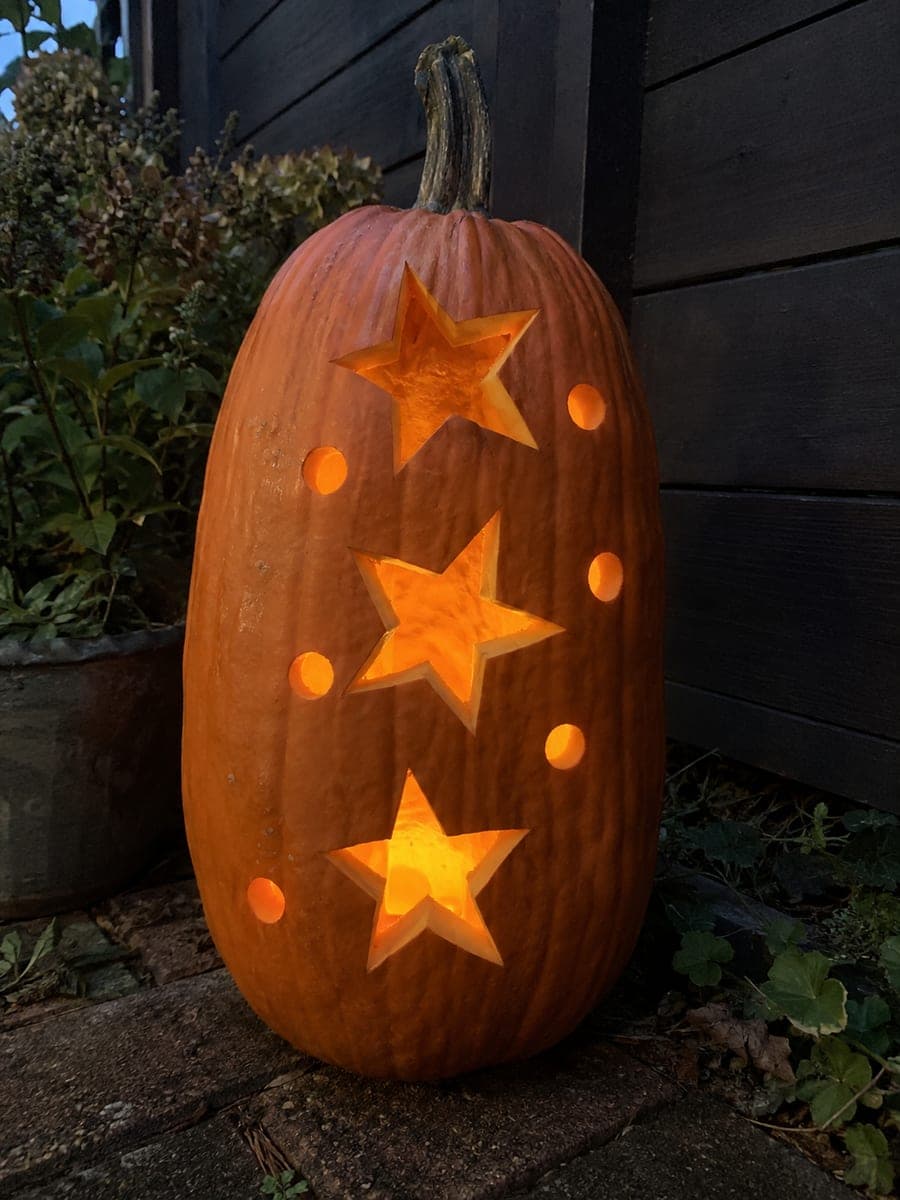
Three five-pointed stars descend in a vertical column, each one paired with small round dots scattered alongside like sparkling companions. Designed for tall, narrow pumpkins, every star and dot is a clean cut-through opening that fills the height of the fruit with light. Poke the dots first, then cut each star from its center outward toward the points so the tips stay sharp and intact.
Three Unequal Stars and Dots
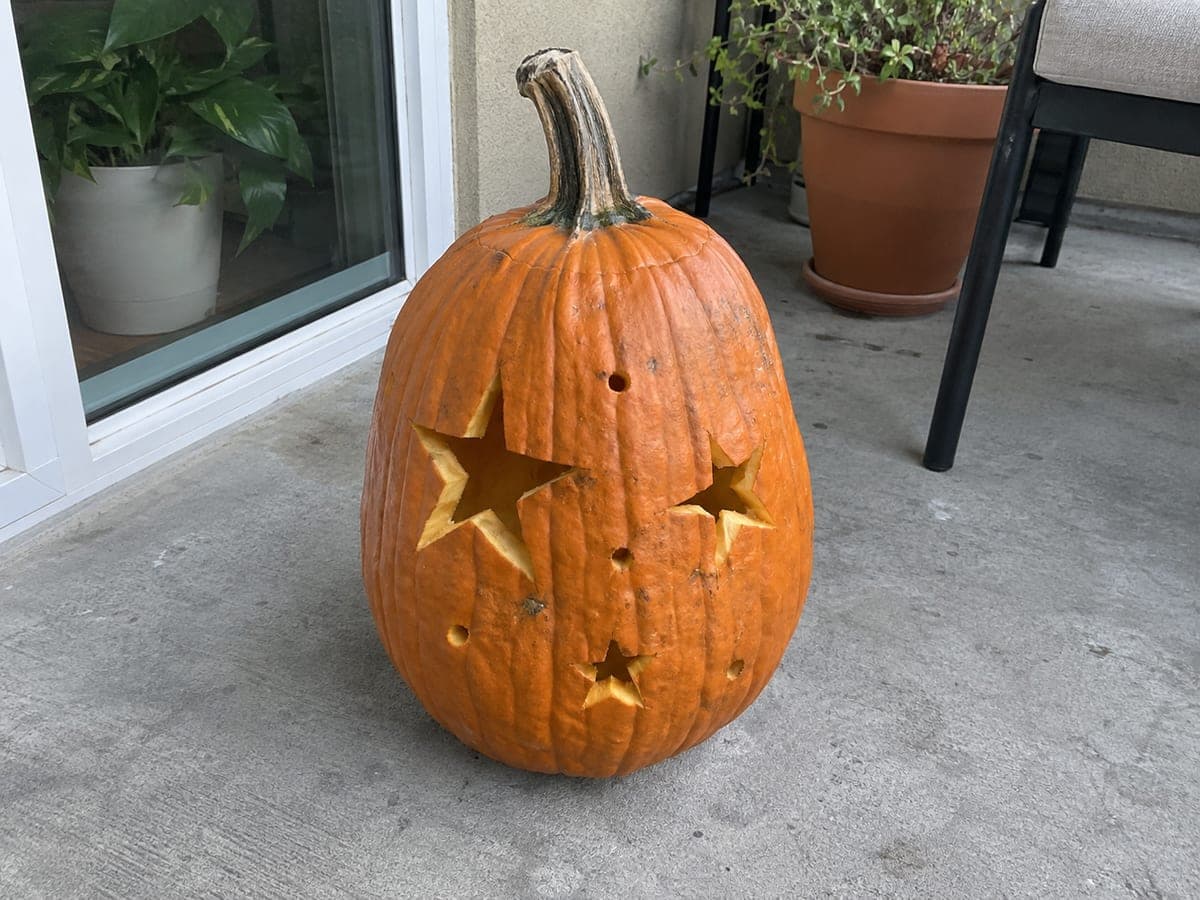
Three five point stars in different sizes drift diagonally across the pumpkin, joined by a scatter of small round dots like distant starlight. Each star and dot is cut fully through, turning the whole pumpkin into a little constellation lantern. The medium challenge is the stars' inner corners; use a thin blade, cut point to point, and finish the tiny dots with a drill or apple corer.
Triangle Crown Face
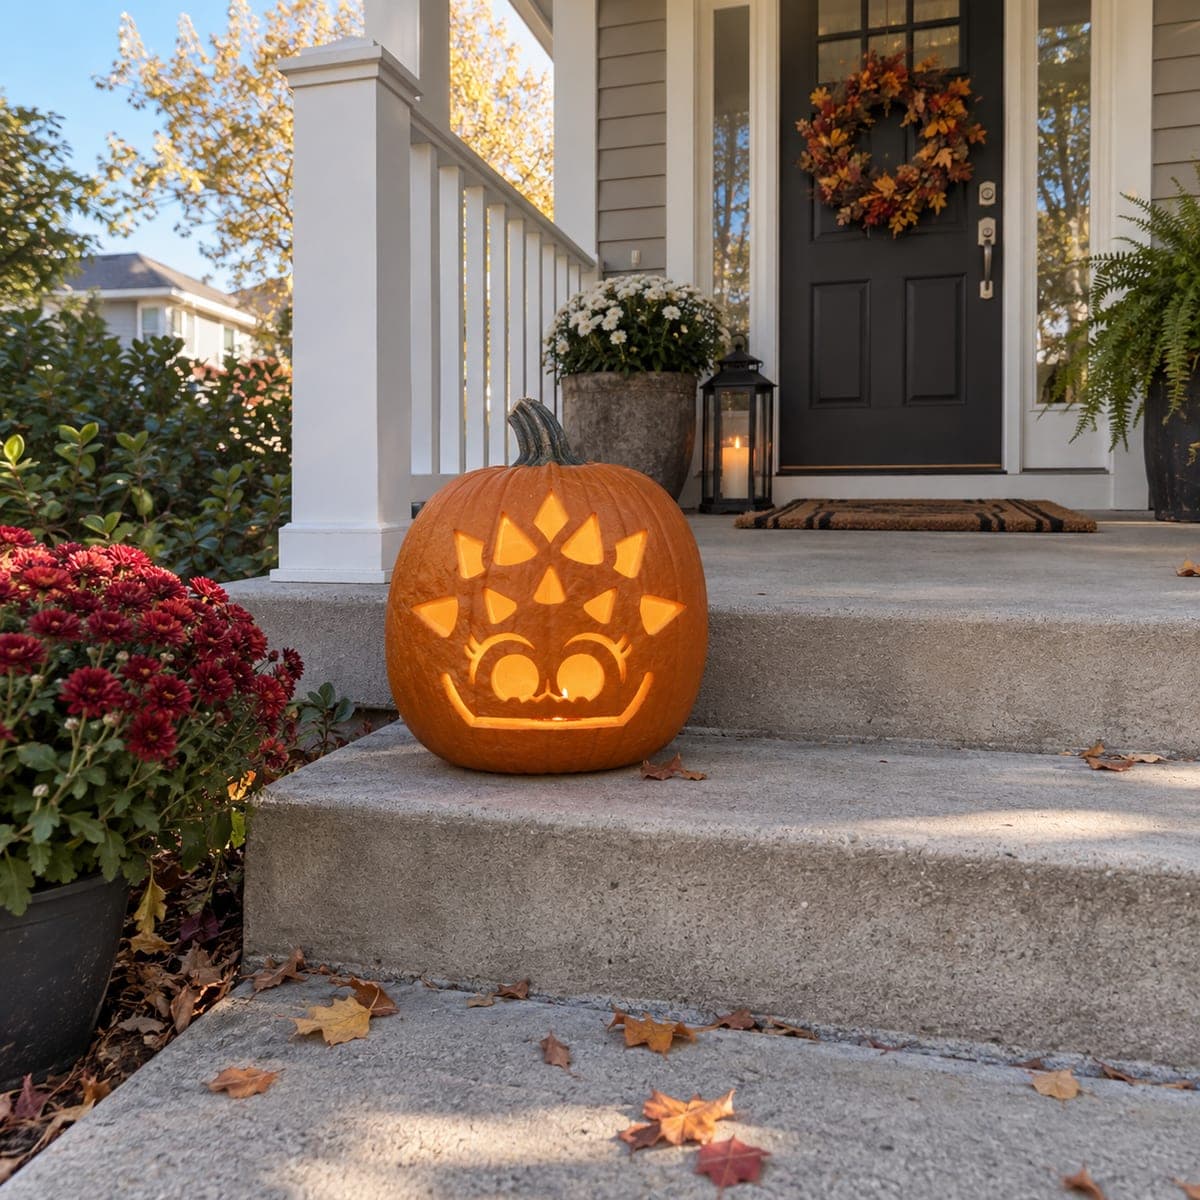
A tiny wide-eyed face with a sweet smile sits low on the pumpkin beneath a crown of triangles and diamond sparkles arching overhead. All the shapes are pierced through, from the big round eyes down to the small candy corn style points. The hard part is spacing; transfer the pattern carefully and carve the little crown pieces with a detail saw so each point stays sharp.
Triangle Ring and Jagged Grin
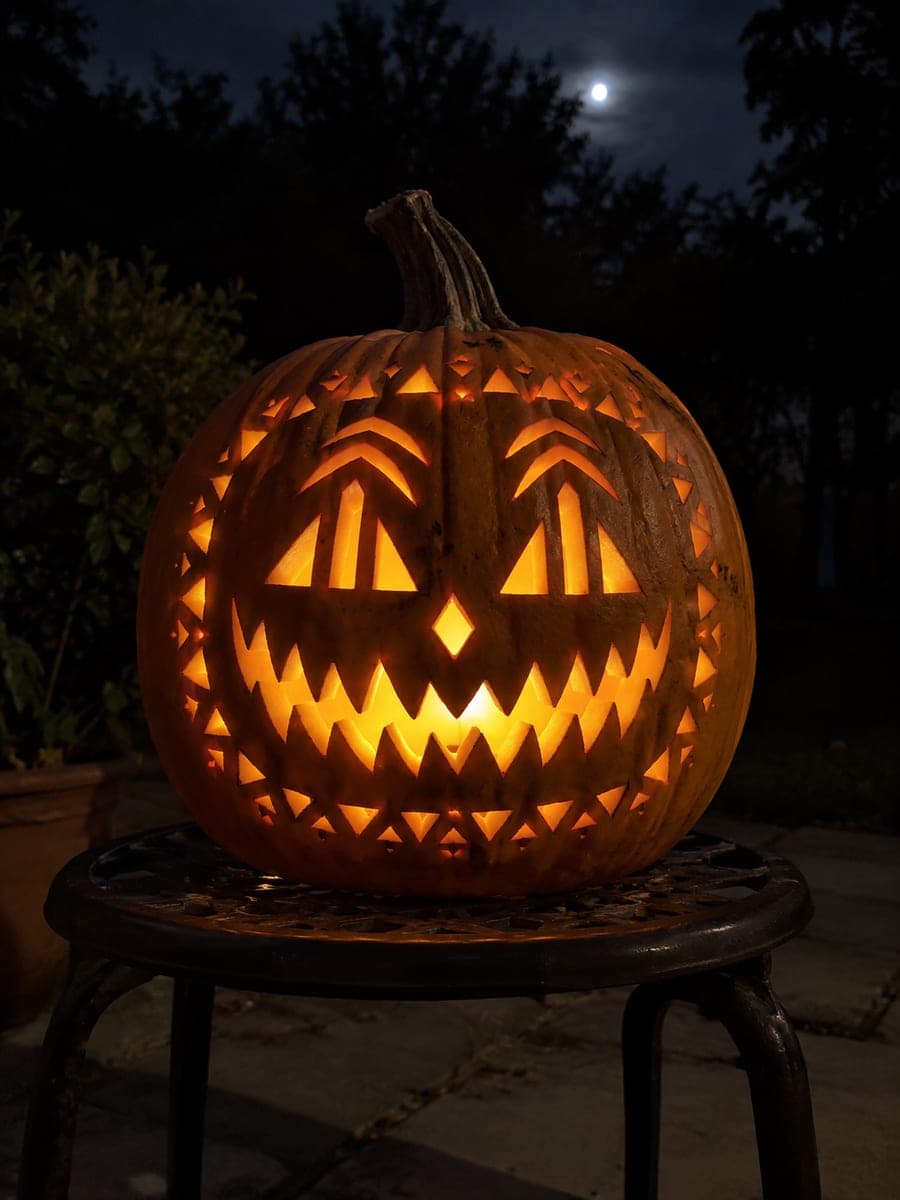
An ornate expert-level face framed by a full ring of small triangle cutouts circling the pumpkin, with chevron-crested brows, barred flame-shaped eyes, a diamond nose, and a huge jagged grin holding fourteen zigzag teeth. Everything pierces through, so the finished lantern sparkles from every angle like carved lace. Plan your order: punch the border triangles first while the wall is rigid, then work inward, saving the long fragile grin for the very end.
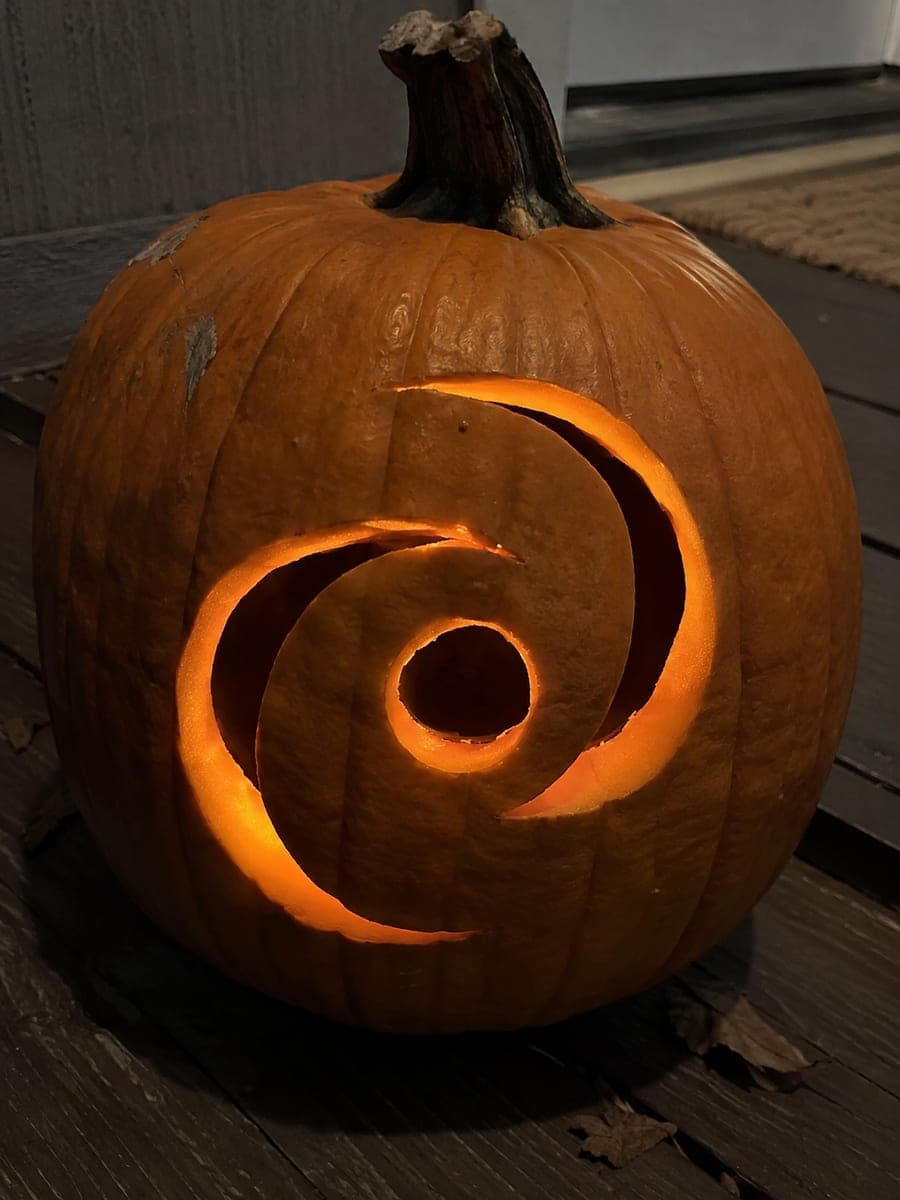
Two Curves Around a Round Core
Two sweeping comma-shaped curves swirl around a round central core, suggesting a spiral galaxy spinning across the pumpkin. Just three openings are cut through the wall, so the design comes together quickly yet looks striking and modern when lit. Keep the tapered tails of each curve narrow as you saw; cutting from the wide end toward the thin tip gives you the most control over those graceful points.

Two Flasks and Five Bubbles
A triangular Erlenmeyer flask and a round boiling flask stand side by side while five bubbles of different sizes rise between and above them. Every flask body and bubble is cut straight through, so the whole experiment glows like it is mid reaction. This easy pattern only asks for patience on the small bubbles; a drill bit or corer makes those circles fast and perfectly round.
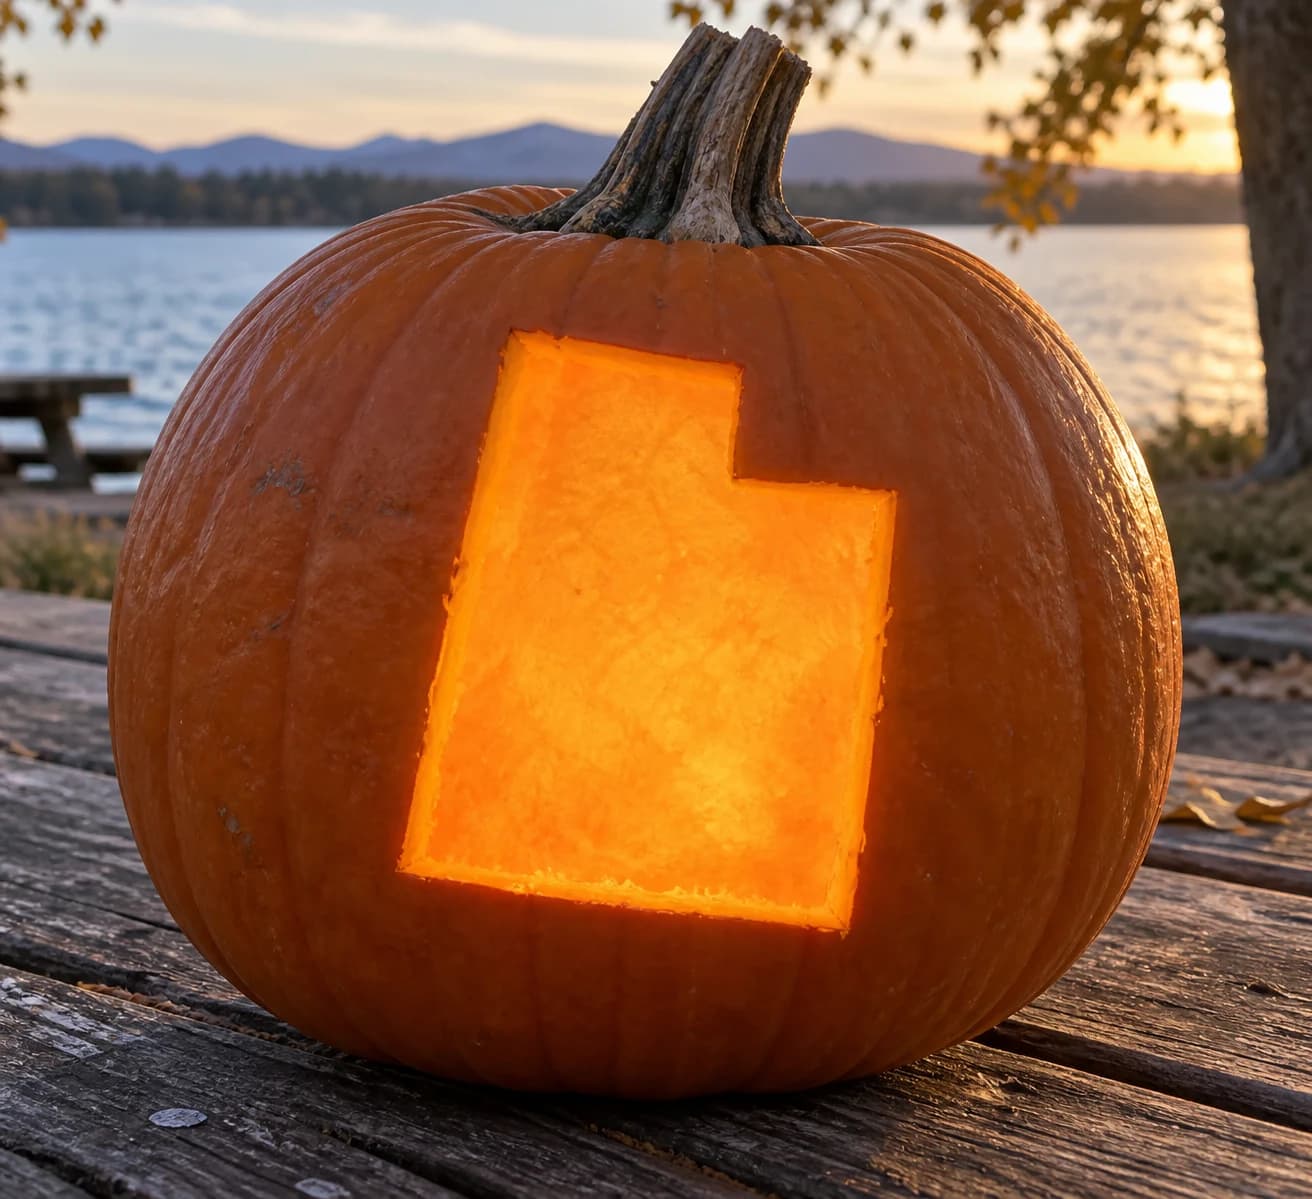
Utah Pumpkin Stencil
Utah's immediately recognizable outline is the entire design here: a large near-rectangle with a single square notch cut from the upper-right corner where the Four Corners region meets. The shape is pierced through as one solid opening, leaving a clean geometric silhouette that glows as a single bright window. Because the notch corner is the only angular detail in this stencil, score that interior right angle first with the tip of your blade to keep it crisp before opening the rest of the cutout.
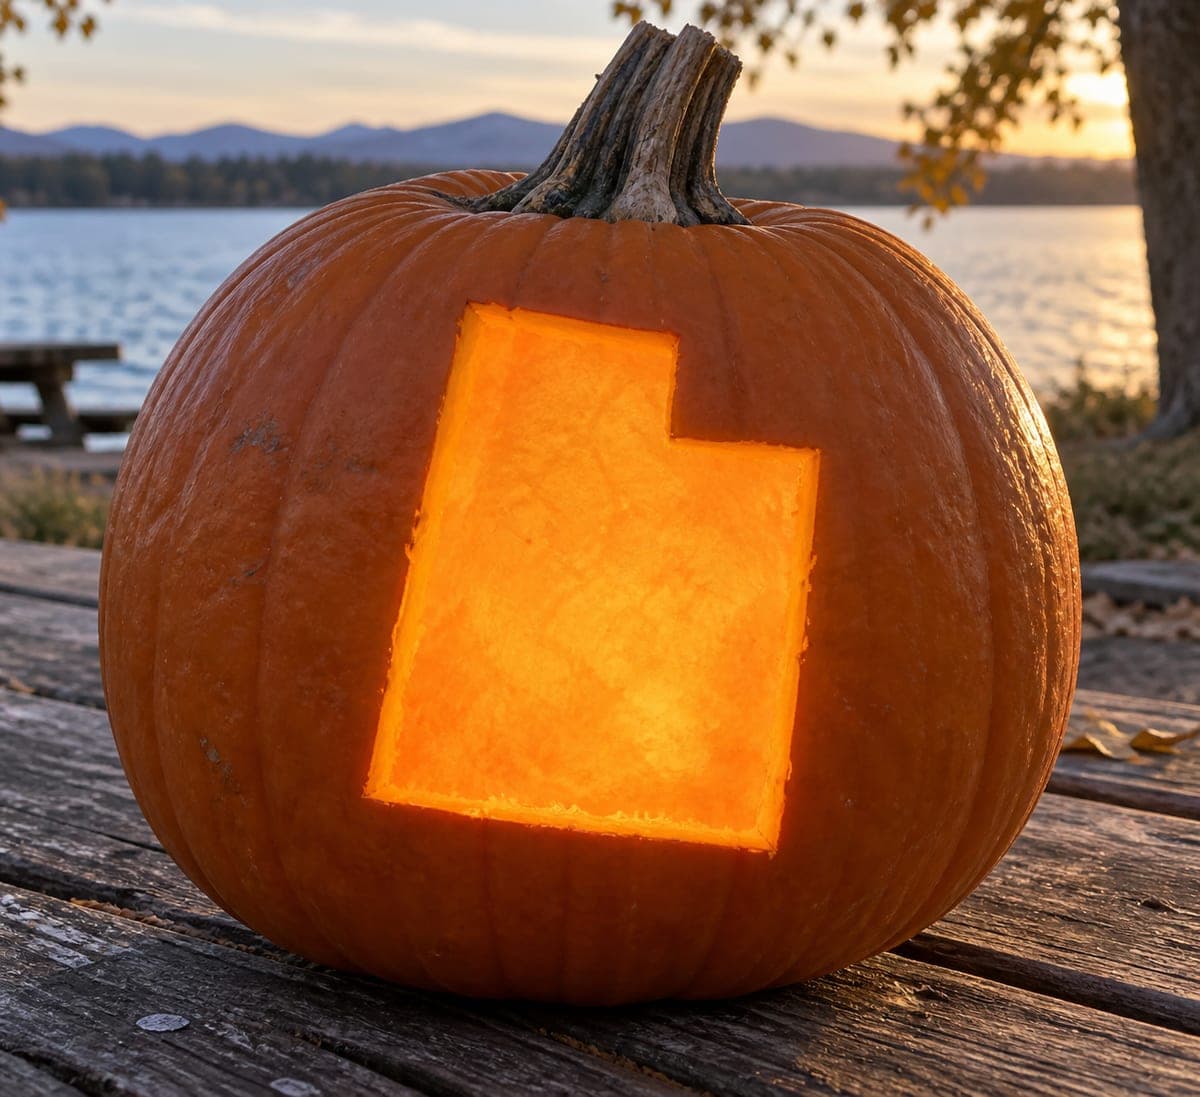
Utah State Shape
Utah's blocky outline, with its signature notch taken out of the upper right corner, is removed as a single large opening. The whole state interior is cut through so it glows like a lantern window, while the surrounding rind frames the shape. With only straight lines and square corners, this easy design carves fast; mark the edges with a ruler before you cut for extra crisp results.
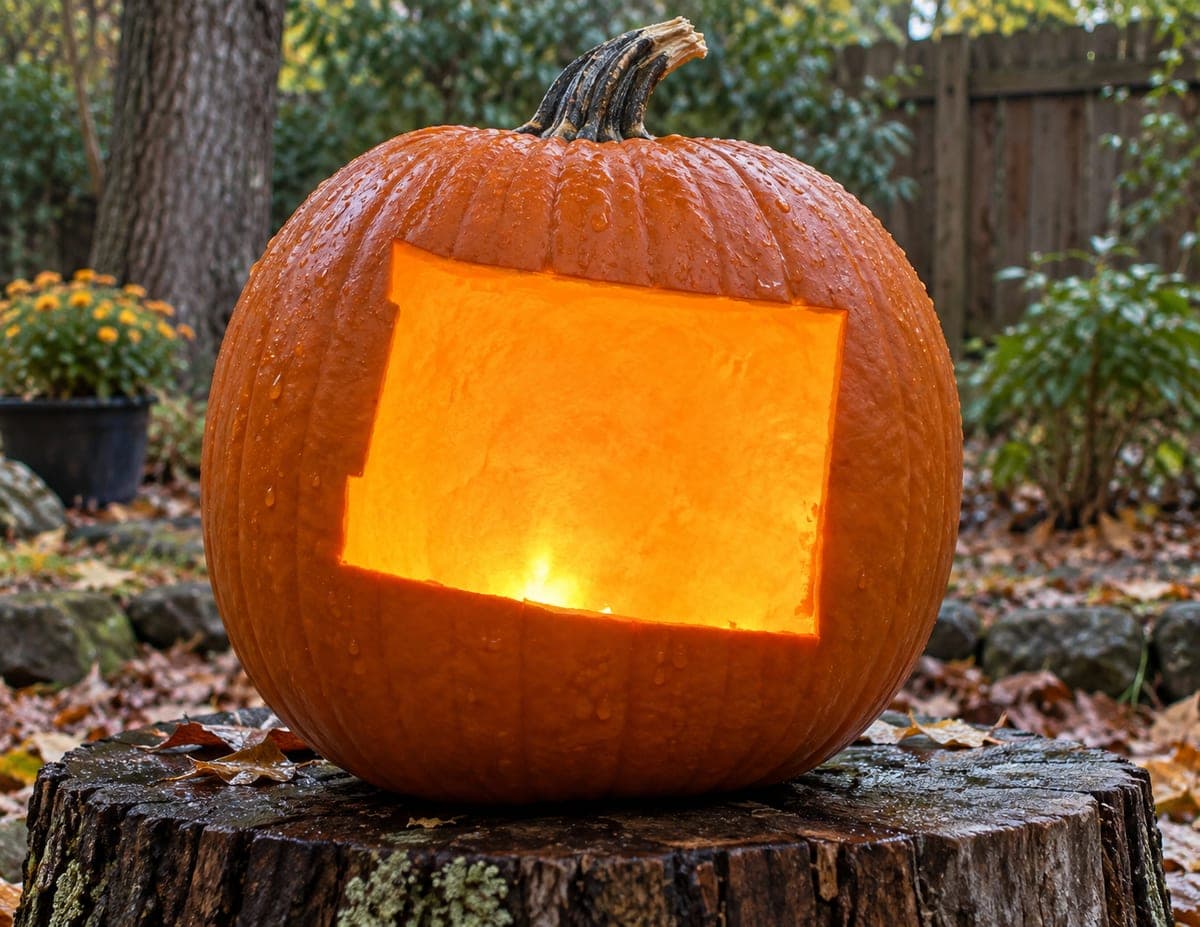
Wyoming State Shape
Wyoming's famously rectangular border becomes one big luminous panel in this ultra-simple state cutout. The entire shape is removed through the wall, giving you a broad, even wash of candlelight with crisp square corners. It is about as beginner-friendly as carving gets; tape the stencil level, score the four sides with a ruler as your guide, and take the big slab out in two halves so it releases without cracking the surrounding wall.