

 View example
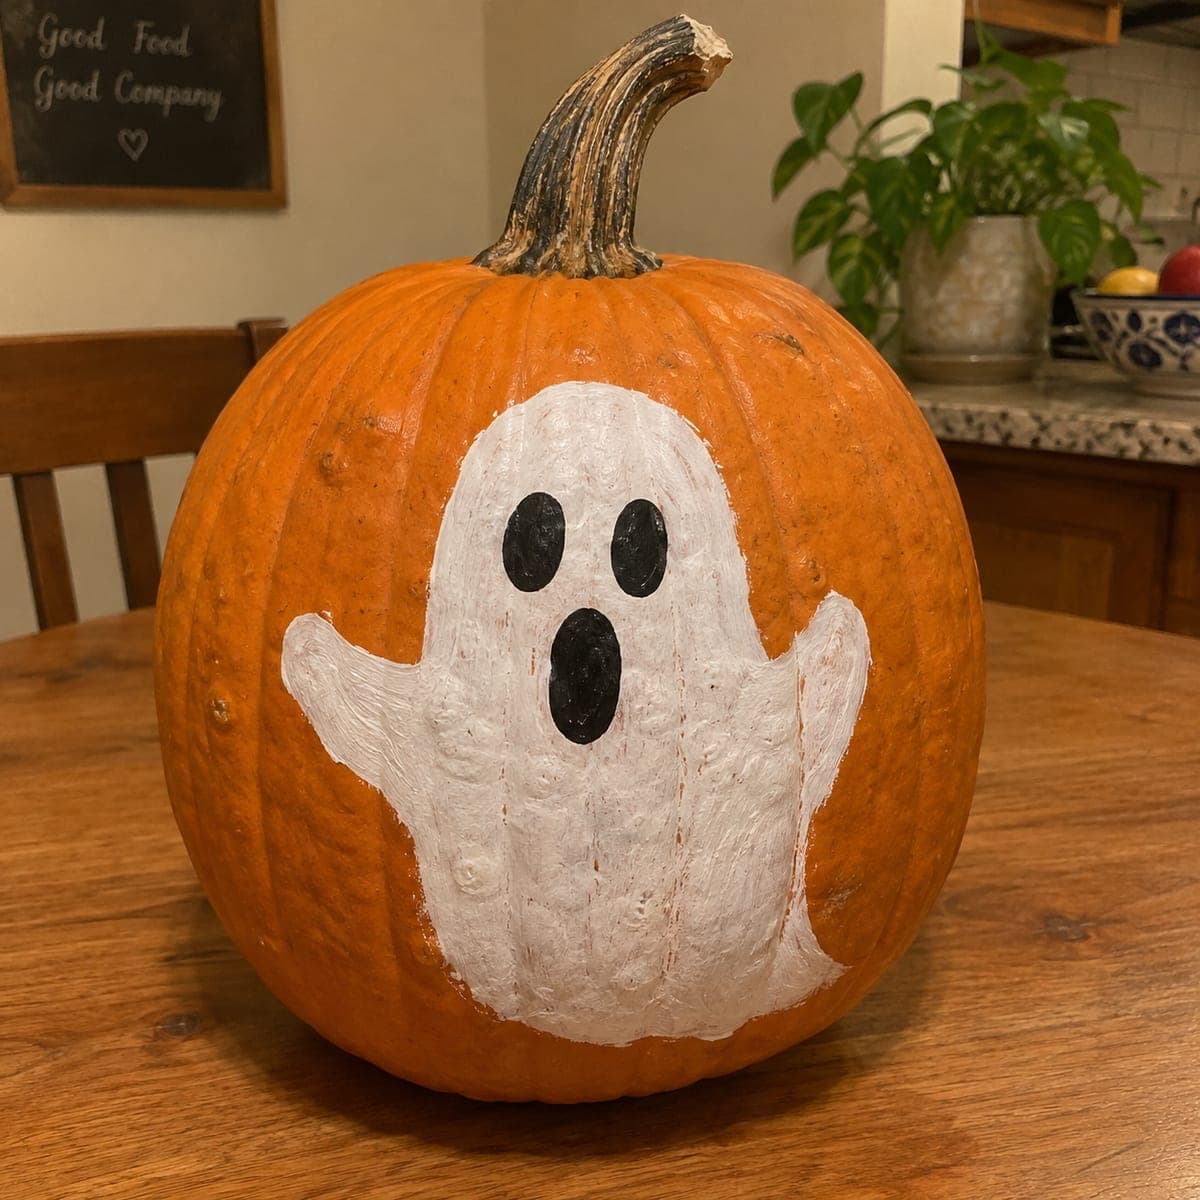
A friendly ghost
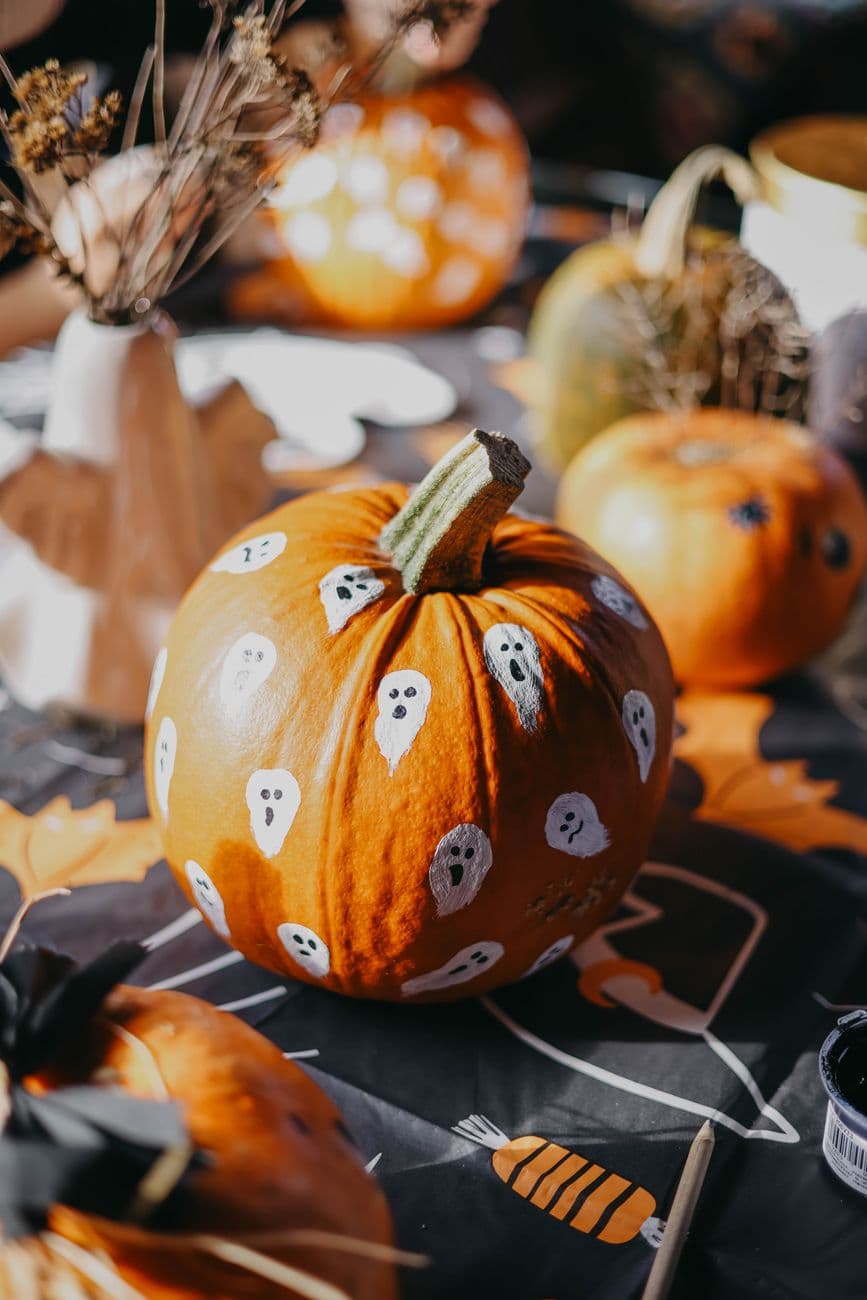
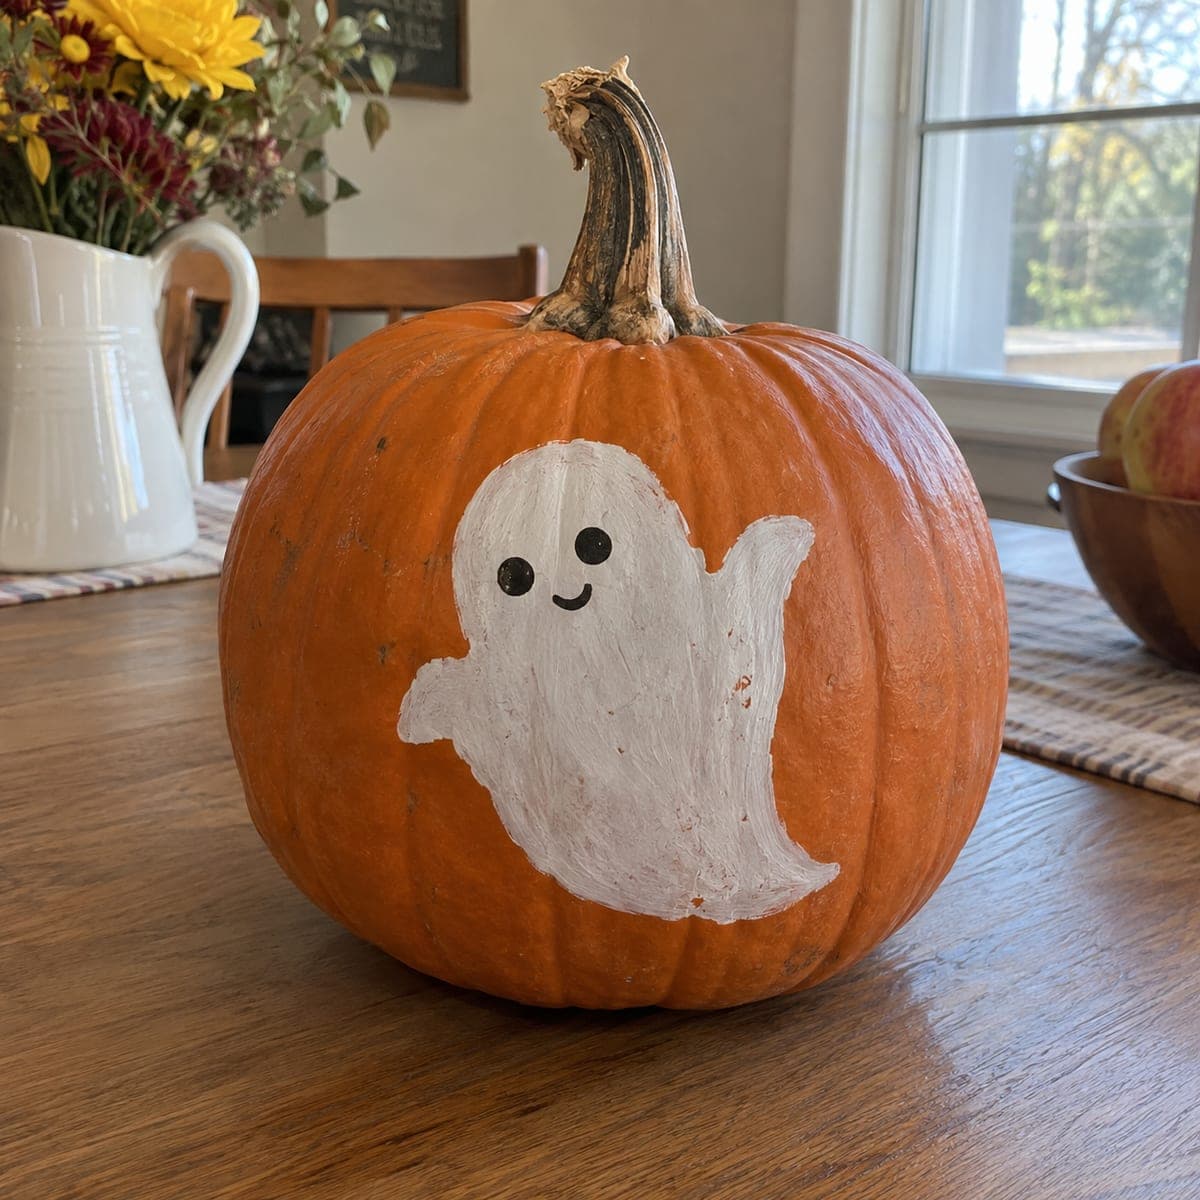
Paint a white ghost shape on the orange skin. Let it dry, then add two black oval eyes. Keep the outline loose and wavy.
Gather: White paint, black paint, a small brush.
See ghostsFind a pumpkin you want to paint. Explore easy faces, cute animals and fall designs, then use our supplies list and painting tips to make the idea your own.
Includes submitted images and labeled AI concepts. Concepts are inspiration, not tested projects.
Pick a look and explore more painted pumpkins like it.
A few colors and big, simple shapes are enough. Try one of these starting points, then browse the gallery for your own variation.
View examplePaint a white ghost shape on the orange skin. Let it dry, then add two black oval eyes. Keep the outline loose and wavy.
Gather: White paint, black paint, a small brush.
See ghosts View example
Sketch two large eyes and a smile before painting. Leave the pumpkin orange for a design that needs no base coat.
Gather: Black paint or an acrylic paint pen.
See faces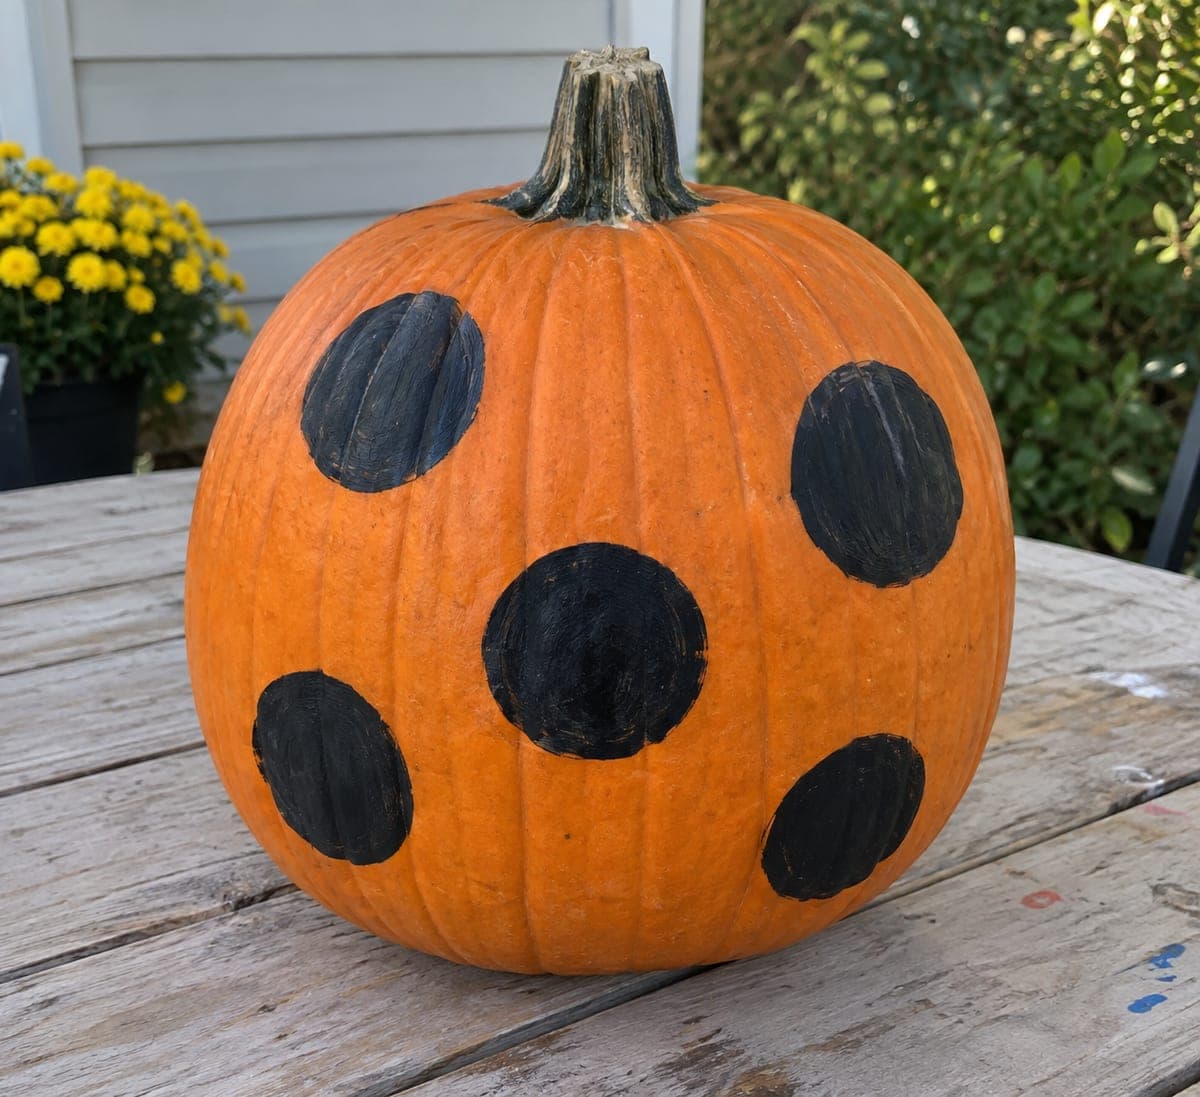 View example
Dab dots around the pumpkin, leaving space between them. Start with one color and let it dry before adding another.
Gather: Two or three paint colors, a sponge dauber.
See easy ideas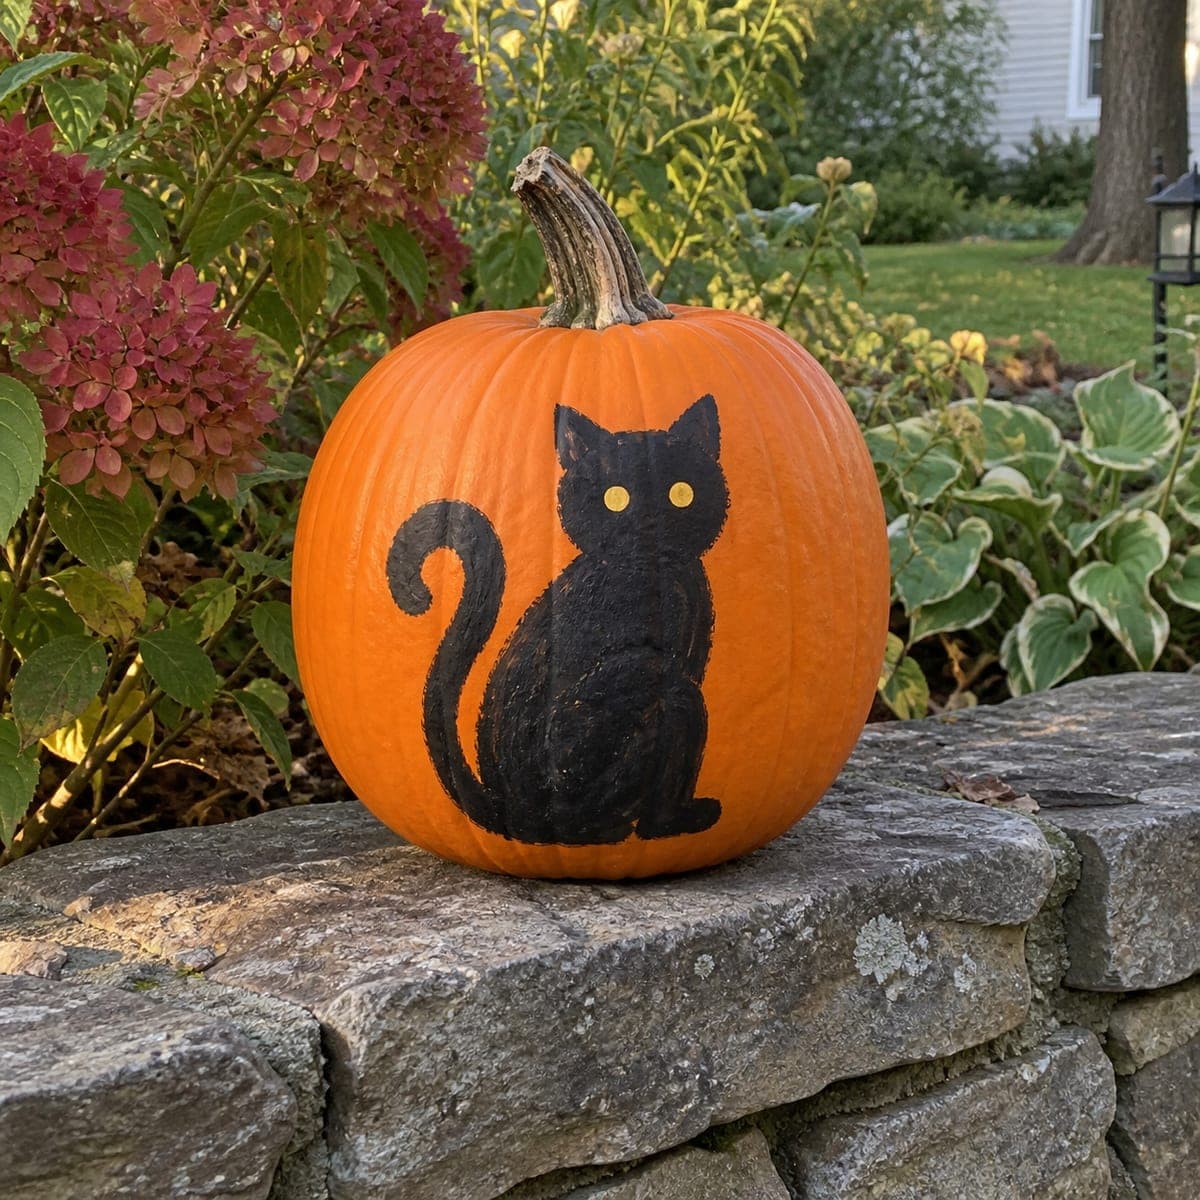 View example
Paint a cat head with two triangle ears. Add eyes and a few whiskers after the base is dry. Skip fur detail for a simpler finish.
Gather: Black and white paint, a fine brush.
See cats View example
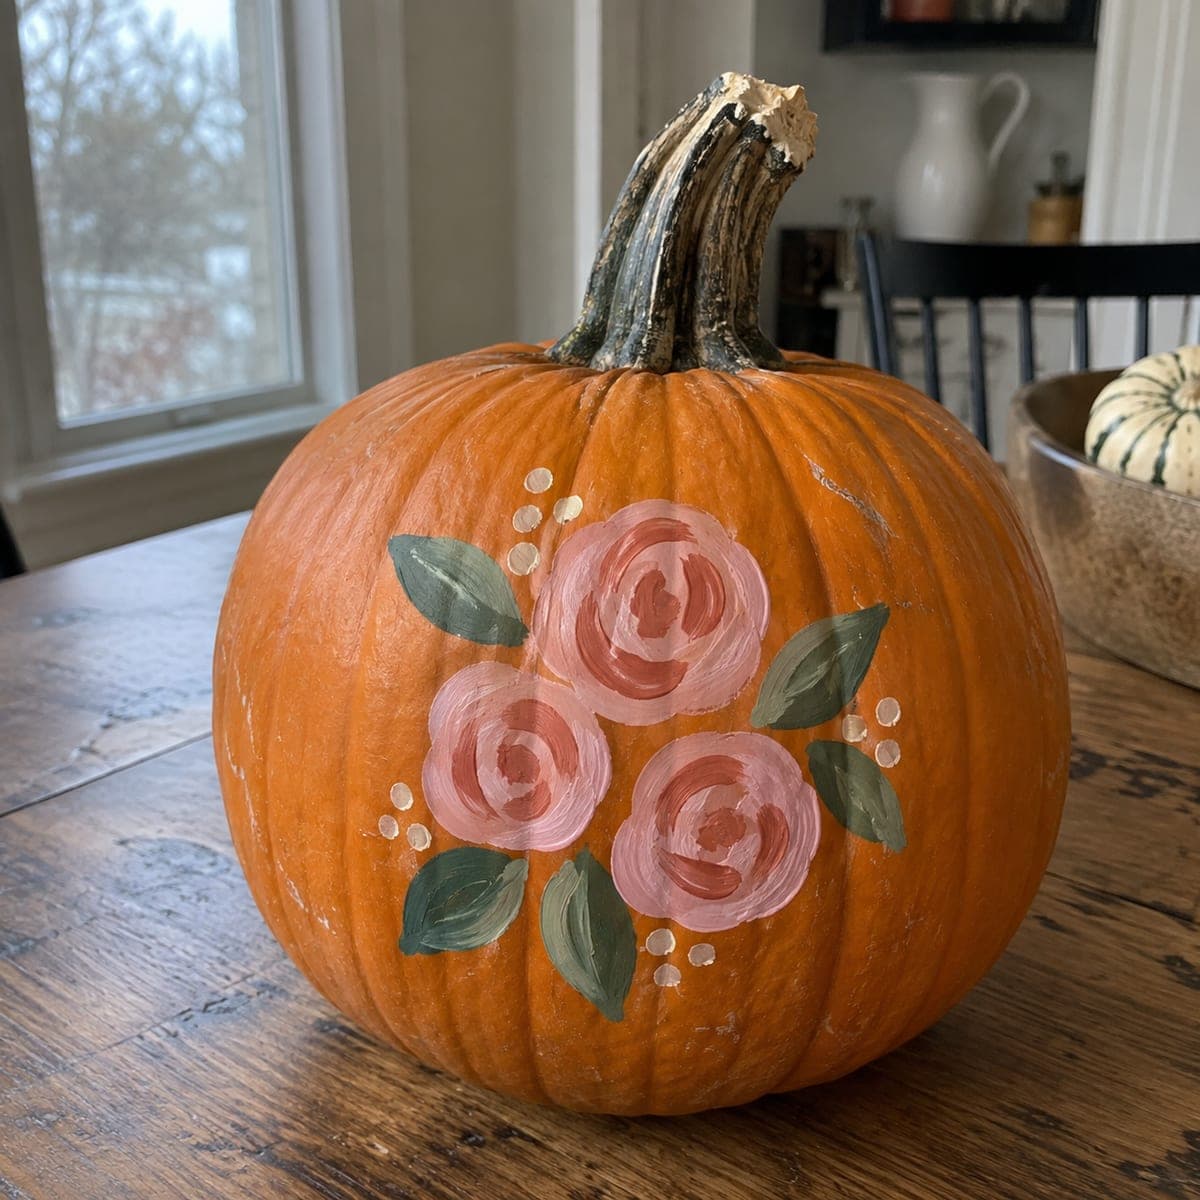
Make a yellow center, then paint short white petals around it. Repeat a few large flowers rather than filling every gap.
Gather: White and yellow paint, a round brush.
See flowers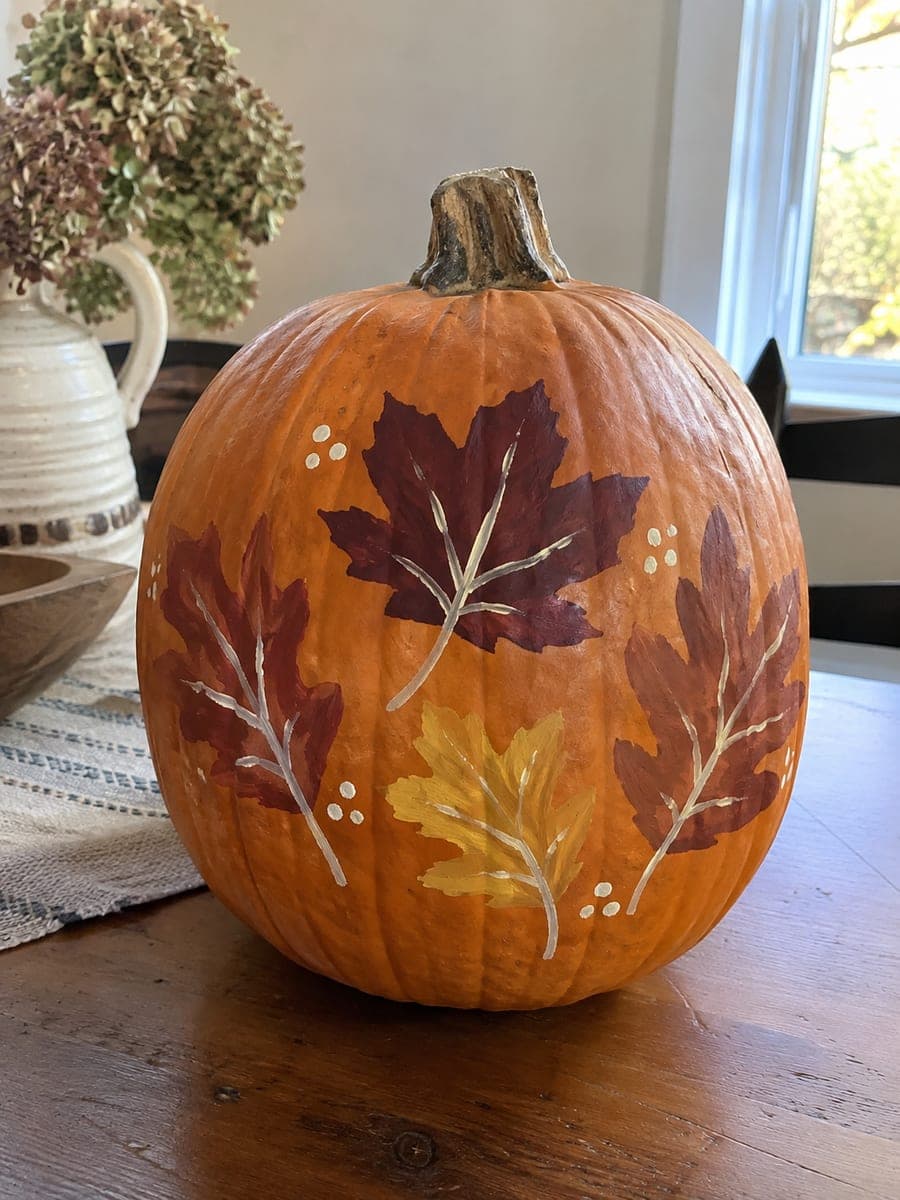 View example
Paint a few broad leaf shapes with space between them. Let the colors dry, then add a short stem and a line down the center of each leaf.
Gather: Red, yellow and brown paint, a small brush.
See fall decorStart with a firm pumpkin without soft spots, or a craft pumpkin suitable for your paint.
Wipe away dirt and let the pumpkin dry completely. Check your paint’s instructions for any surface preparation it needs.
Choose two or three colors. Lightly sketch the main shapes and check that they fit the side of the pumpkin you’ll display.
Add a base color if your design needs one. Let each layer dry according to the paint label before adding eyes, outlines or other details.
Give the finished design time to dry fully. Choose a sheltered display spot and check product labels before using any outdoor finish.
Explore 628 painted and no-carve ideas. Open a design for a closer look and save your favorites.
Showing 1 to 24 of 628 designs
Acrylic craft paint is a useful starting point for decorative pumpkins. Use thin coats on a clean, dry surface and follow the paint label for drying and surface preparation. Paint pens can help with small details. For children, choose age-appropriate paints and supervise the activity.
Start with sponge-painted dots, broad stripes, handprints or a friendly face made from a few large shapes. Offer a small selection of colors and let children choose their own pattern. Protect the table and clothes before starting.
Not for every design. Black faces, dots and simple shapes can go directly on clean, dry orange skin. A base coat helps when you want to change the pumpkin’s overall color; let it dry before adding details.
Check whether your paint and any finish are suitable for outdoor use. A covered porch offers more protection than an exposed step. Keep pumpkins away from standing water and bring them inside during heavy rain or freezing weather. A finish does not stop a real pumpkin from eventually spoiling.
The gallery includes submitted images and AI-generated design concepts. AI images are labeled. Use concepts as visual inspiration, not as proof that a design has been painted or tested. Simplify fine details to suit your brushes and experience.
Looking for a carved design instead? Explore pumpkin carving ideas.
The best new carvings, ideas worth stealing, and how-tos for carving season. Short, seasonal, and gone by November.