The 2026 contest winners are inGrand Prize, People's Choice and Most Creative, all crowned.
@ai_concepts
Sep 25, 2026
Painted Brookhaven Neighborhood PumpkinAI
0

Report this carving

Tell us what is wrong. Reports are private.

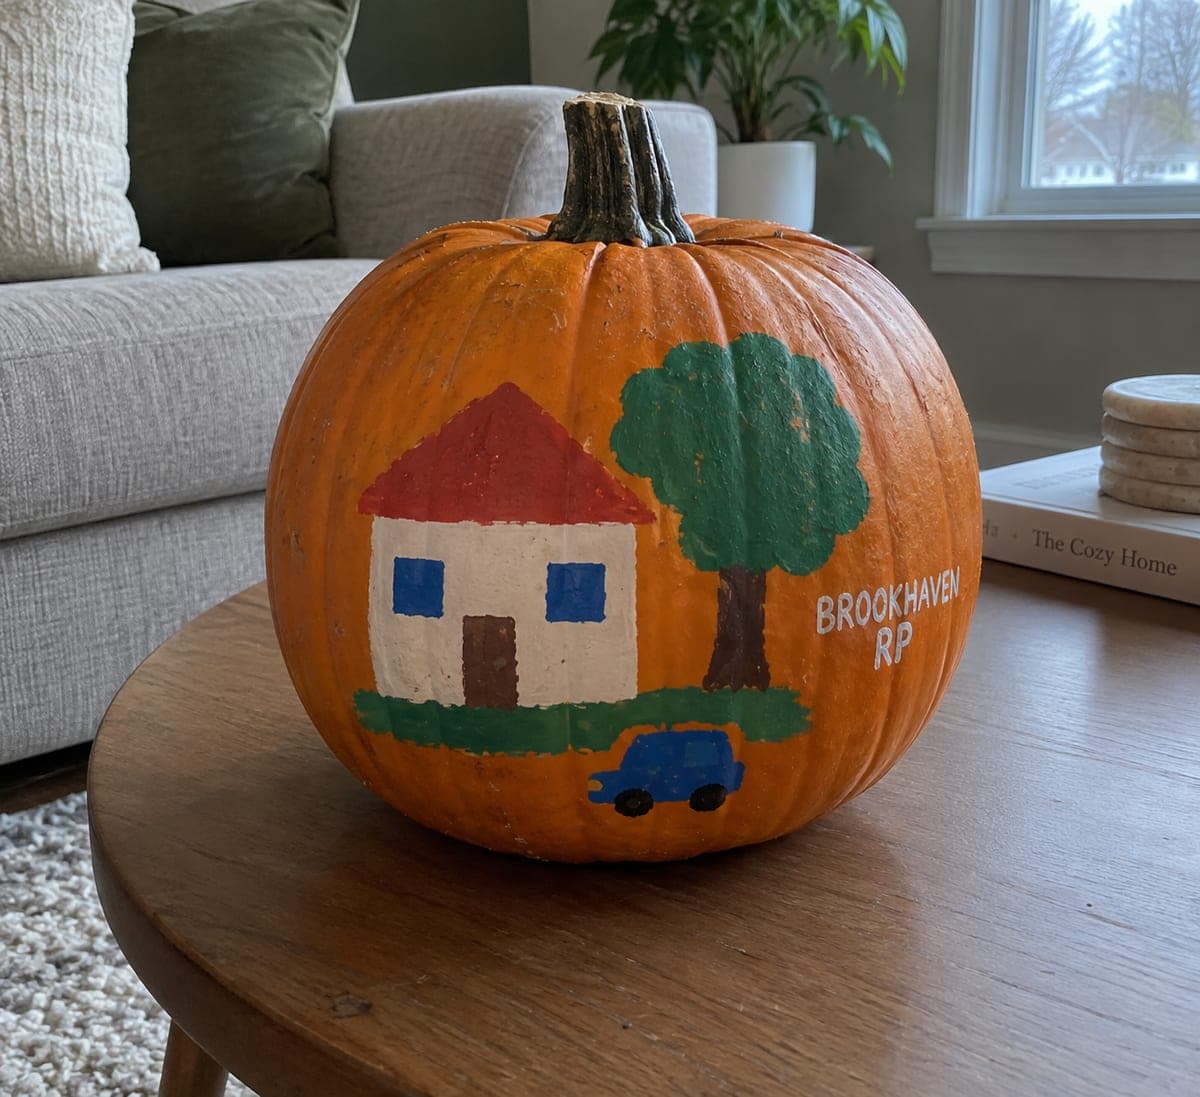
Painted Brookhaven Neighborhood Pumpkin

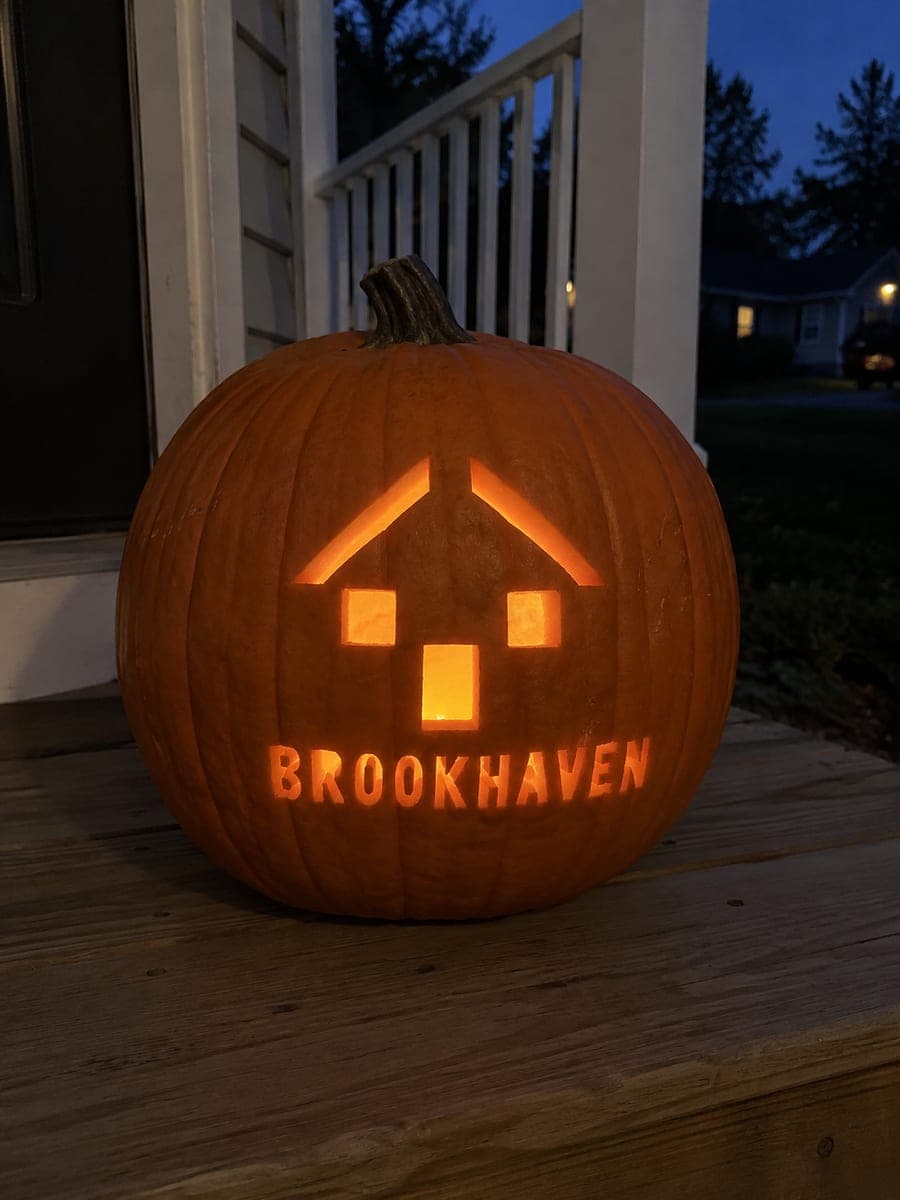
This no-carve brookhaven pumpkin idea covers an intact orange gourd in a cheerful painted neighborhood with a geometric house, a tree, and a tiny car rendered in flat acrylic for a kid-friendly game tribute. Start with the house and tree as the largest shapes, then add the car last so its smaller scale feels intentional. Outlining each painted element in black after the colors dry ties the whole scene together with a clean comic-book finish.

No ratings yet · Sign in to rate
brookhavenspookyno-carvepaintedvideo-gamerobloxcuteeasy

Save this design for carving night, then share a photo of your own jack-o'-lantern once it's glowing.

Roblox and all related characters, names, logos, and trademarks are the property of their respective owners. This is an unofficial fan carving shared by our community for inspiration only. PumpkinCarvingIdeas.com is not affiliated with, sponsored by, or endorsed by any rights holder or person depicted, and no such connection is implied.
Comments (0)

  • No comments yet. Be the first.

Our tips for carving a similar design

A geometric house, a tree, and a tiny car are painted in flat acrylic on an intact pumpkin for a quick kid-friendly result. Painting the house and tree first as the largest shapes and adding the car last makes the scaling feel intentional. Black outlines added after everything dries give the scene a clear comic-book finish that suits the Brookhaven game's bright aesthetic.

From pumpkin to porch

  1. Clean and dry the pumpkin

    Wipe the surface with a damp cloth and allow it to dry fully before applying any paint. Choose the flattest face for the main scene. A quick wipe with rubbing alcohol can remove any waxy bloom that might prevent paint from adhering.

  2. Sketch the neighborhood layout

    Pencil in the house as a simple rectangle with a triangular roof, the tree as a circle on a short trunk, and the car as a small rectangle with two semicircle wheels. Position the house in the center, tree to one side, and car at the lower corner. Keep proportions simple.

  3. Base-coat the house

    Fill the house body with a warm neutral color like beige or light blue, and the roof with a contrasting color. Paint small square windows and a rectangular door in white or yellow. Let each area dry before painting an adjacent one to prevent blending.

  4. Paint the tree

    Fill the tree canopy circle with a solid green and the trunk with brown. Once dry, add a few darker green brushstroke shadows on one side of the canopy to suggest depth. A simple two-color tree reads well even at a small scale.

  5. Paint the car

    Block in the car body in a bright solid color and add the two wheel semicircles in dark grey or black. Keep the car simple, since its small scale means fine detail will be invisible from a few feet away.

  6. Outline everything in black and seal

    Once all paint is fully dry, trace the outline of every element with a thin black paint marker, including the house walls, roof edge, windows, door, tree outline, and car. The black outline unifies the scene visually. Finish with a coat of acrylic sealer spray and display under a porch light.

Written with AI to match this design

Gather your supplies

Check things off as you get ready.

Work on a stable surface, keep your free hand out of the cutting path, and have an adult handle sharp tools.

Three levels of light

  • Leave intact

    The orange rind background around all painted elements stays untouched as the natural setting.

  • Peel & shade

    None; the shell is fully intact throughout.

  • Cut through

    None; use a porch light or outdoor spotlight for evening display.

Learn the carving basics

Before you start cutting

How do I stop the window squares inside the painted house from bleeding into the house body color?

Let the house body color dry completely before painting the windows, then apply a thin white base coat for the window first, let that dry, and add the window color on top. The dry base coat creates a barrier that prevents bleed.

Can we do this as a kids' craft project?

Absolutely. Let younger children paint the large flat areas like the house body and tree canopy while an adult handles the small detail work like the windows and car. The black outline step at the end is very forgiving because it corrects uneven edges left by multiple painters.

How long will the painted design hold up outdoors?

A sealed painted intact pumpkin holds up well for two to three weeks in mild weather. Bring it inside during heavy rain and avoid leaving it in direct midday sun, which accelerates drying and cracking of the rind beneath the paint.

Your take belongs here, too.

Changed a detail? Made it simpler? Share a photo of your version and tell the community what worked.

Share your pumpkin

Want more designs like this? Browse our full library of pumpkin carving ideas, or pick a free printable stencil. Every pattern and template in our own collection is free to print at home.

More pumpkins like this

You've reached the end · 8 pumpkins
The Patch Report

Fresh pumpkins, in your inbox.

The best new carvings, ideas worth stealing, and how-tos for carving season. Short, seasonal, and gone by November.

A short email during carving season. Unsubscribe anytime. See our privacy policy.