The 2026 contest winners are inGrand Prize, People's Choice and Most Creative, all crowned.
@ai_concepts
Sep 25, 2026
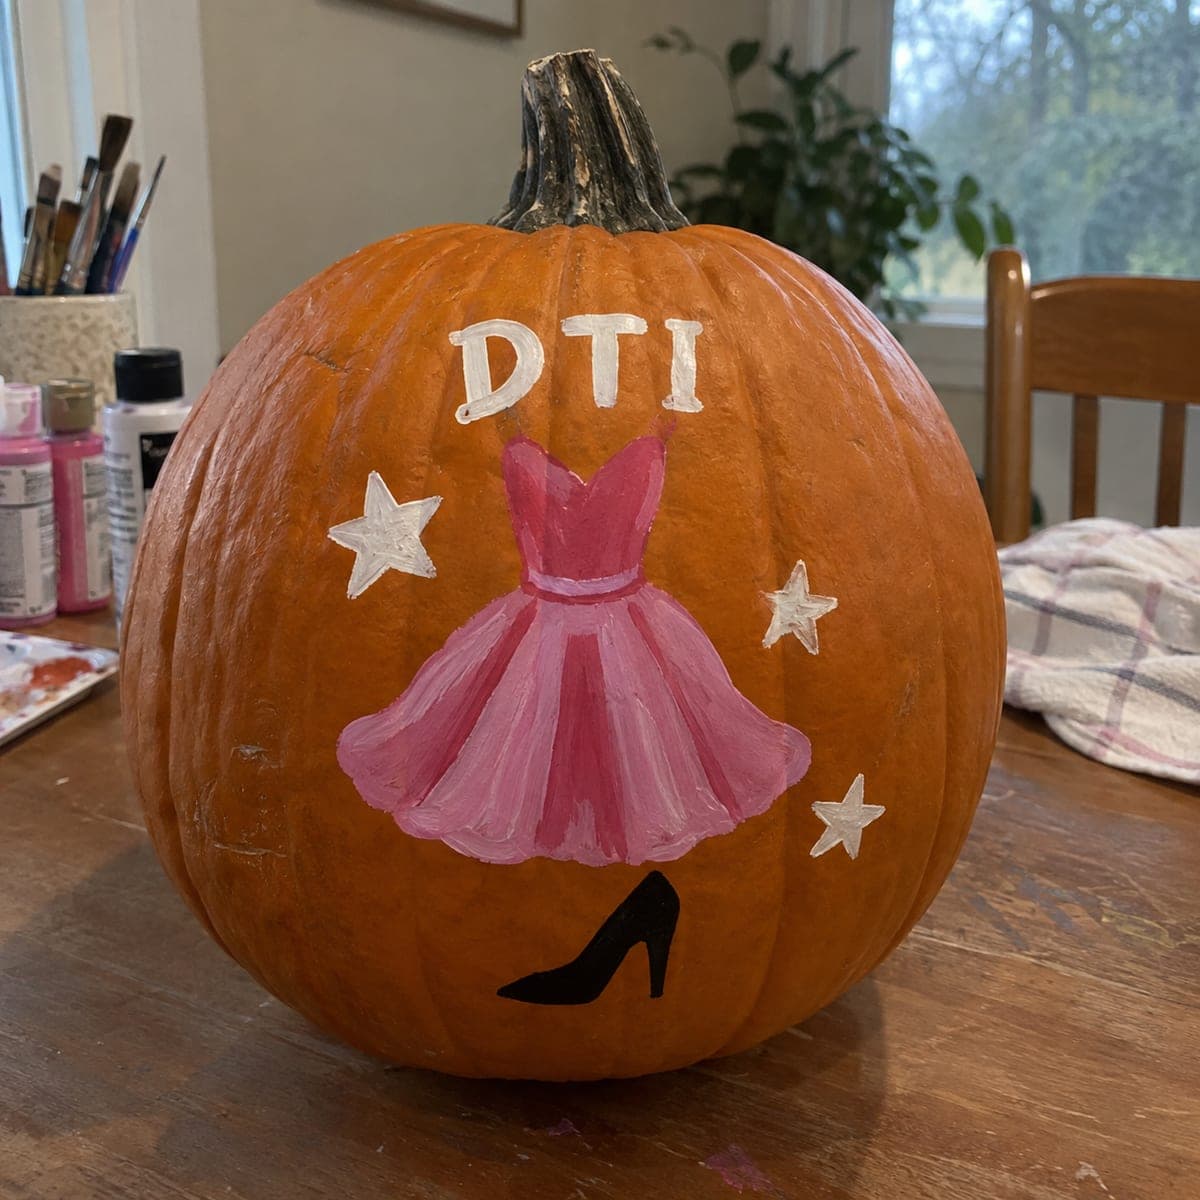
Painted Dress to Impress Gown PumpkinAI
0

Report this carving

Tell us what is wrong. Reports are private.

Painted Dress to Impress Gown Pumpkin

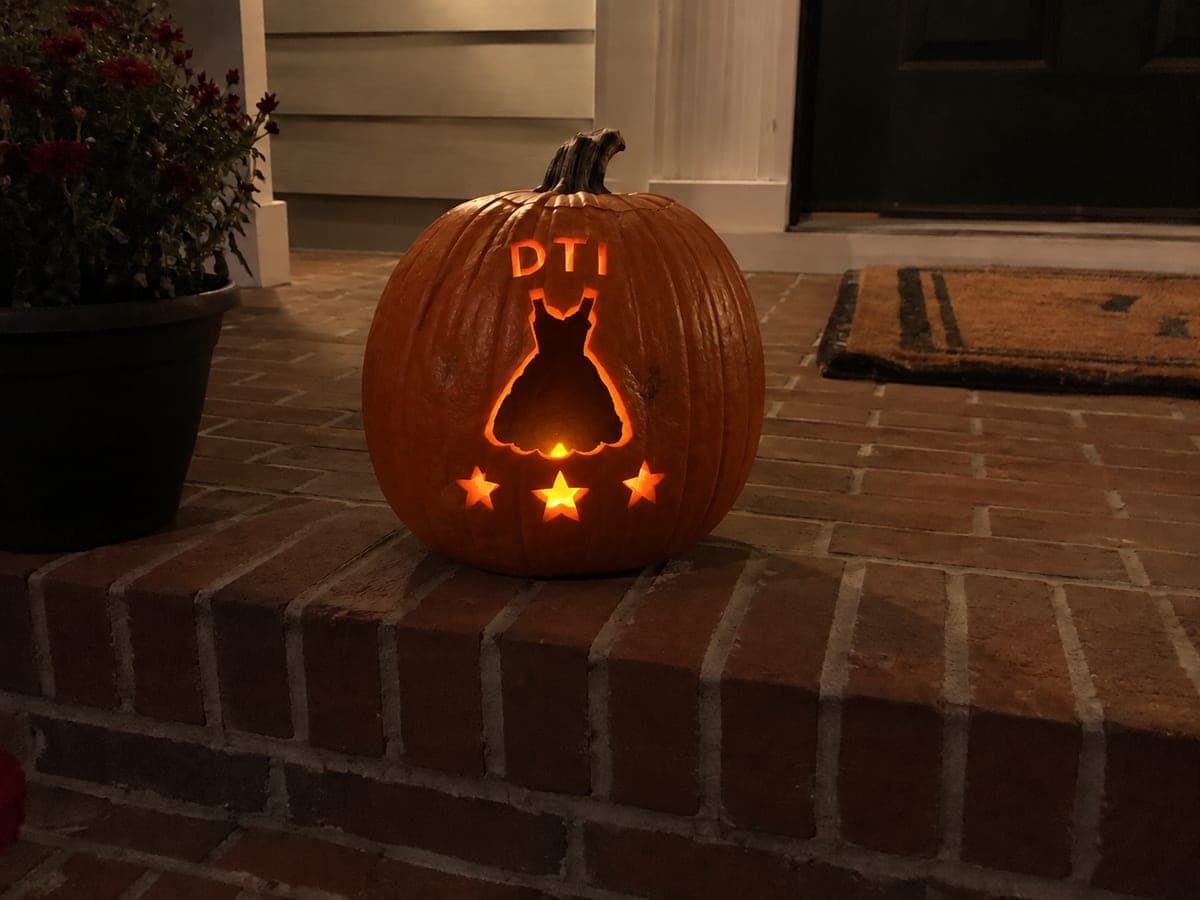
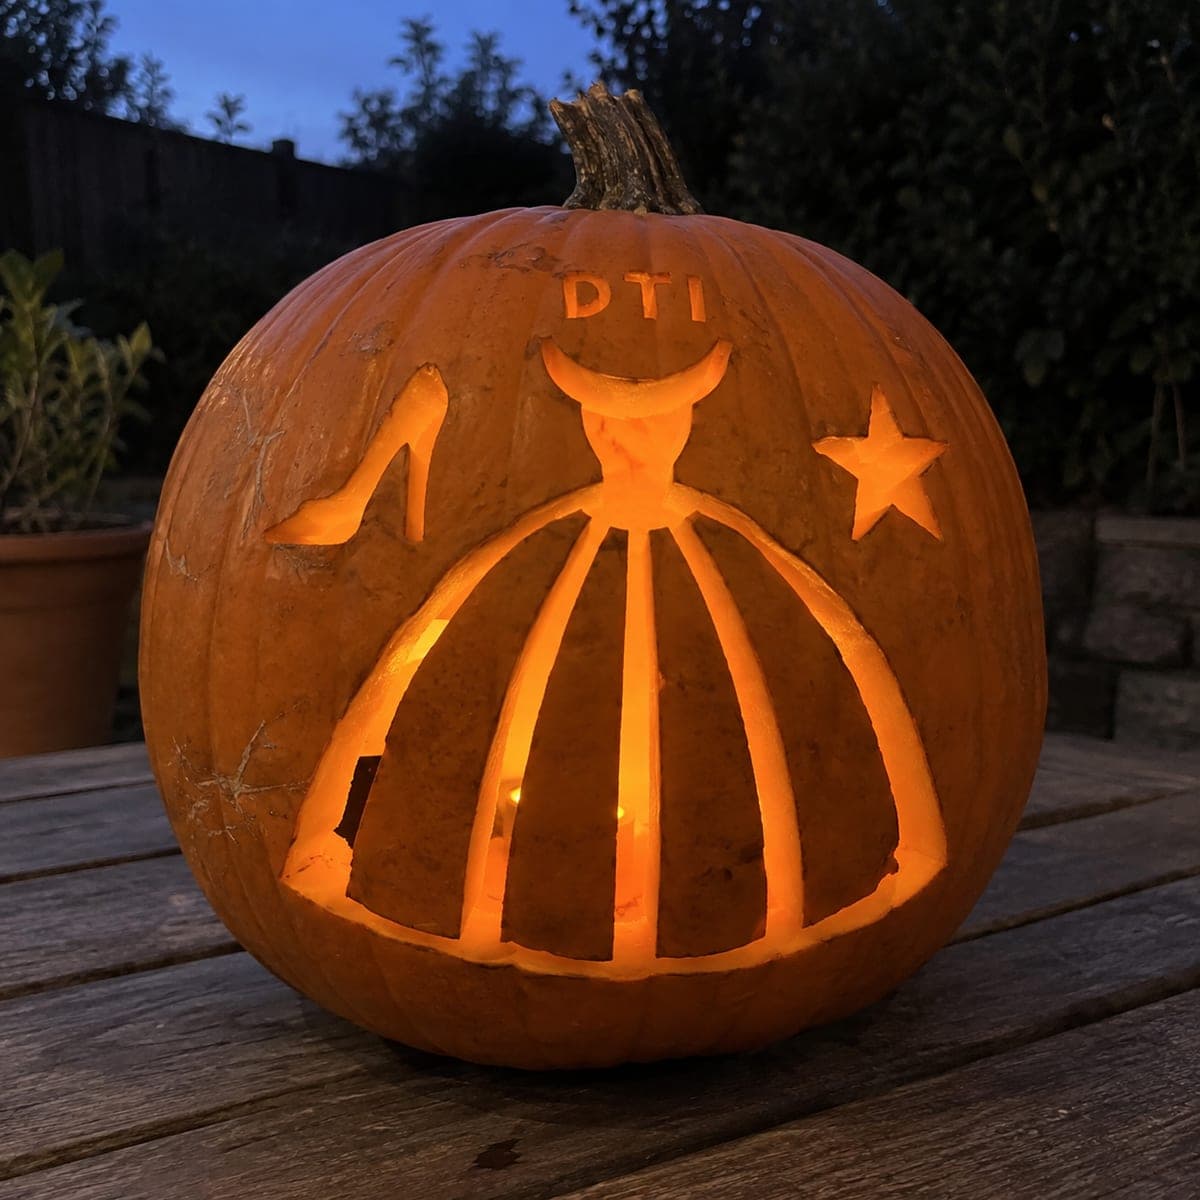
This no-carve dress to impress pumpkin uses simple flat acrylic paint to place a fashion gown and scattered stars on an intact rind for a fast and glamorous display piece. Paint the gown in a bold jewel tone first, then scatter star shapes around it with a small star-shaped sponge for a consistent size. Finishing with a glitter top coat on the stars gives the painted pumpkin carving idea a runway-ready sparkle.

No ratings yet · Sign in to rate
dress-to-impressfantasyno-carvepaintedvideo-gamerobloxfashioncute

Save this design for carving night, then share a photo of your own jack-o'-lantern once it's glowing.

Roblox and all related characters, names, logos, and trademarks are the property of their respective owners. This is an unofficial fan carving shared by our community for inspiration only. PumpkinCarvingIdeas.com is not affiliated with, sponsored by, or endorsed by any rights holder or person depicted, and no such connection is implied.
Comments (0)

  • No comments yet. Be the first.

Our tips for carving a similar design

A bold jewel-tone gown painted in flat acrylic anchors the design, with scattered star shapes around it adding movement and sparkle. A star-shaped sponge stamp keeps all the stars a consistent size so the scatter looks designed rather than random. A glitter top coat applied only to the stars after the paint sealer dries gives the pumpkin carving idea a runway-ready finish without any cutting.

From pumpkin to porch

  1. Clean and prep the pumpkin

    Wipe the rind clean with a damp cloth and dry thoroughly. Lightly sand any waxy areas to improve paint adhesion. Select the flattest, most prominent face for the gown.

  2. Sketch and base-coat the gown

    Lightly pencil in the gown shape in the center of the painting area, using a sweeping curved bottom hem that fills at least half the vertical height of the face. Apply a solid coat of jewel-tone acrylic such as deep teal, rich violet, or ruby red. Apply two thin coats for full opacity and let each coat dry completely.

  3. Add bodice and fabric details

    Use a slightly lighter or darker tone of the same hue to suggest the bodice neckline and any folds in the skirt. Keep the detail work minimal since the flat graphic style is more suited to simple shapes. A single curved highlight line on the skirt suggests the fabric's sheen without requiring any blending.

  4. Scatter stars with a sponge stamp

    Cut a small star shape from a kitchen sponge or buy a foam star stamp. Load the stamp with yellow or white acrylic paint and stamp stars across the rind around the gown, varying the distances slightly for a natural scatter. Wipe the stamp clean between colors if you want some stars in a different tone.

  5. Seal the paint and apply glitter

    Spray the entire painted surface with a matte acrylic sealer and let it dry. Then apply a thin coat of craft glue only over the stamped star shapes and immediately sprinkle fine glitter over them. Tip the pumpkin to shake off excess glitter, then let the glue dry completely.

  6. Display and photograph

    The glitter stars catch and throw light in any direction, making this design look lively even in low-level ambient lighting. Angle a small desk lamp or porch light toward the pumpkin to maximize the sparkle effect for photos or display.

Written with AI to match this design

Gather your supplies

Check things off as you get ready.

Work on a stable surface, keep your free hand out of the cutting path, and have an adult handle sharp tools.

Three levels of light

  • Leave intact

    The orange rind background around the painted gown and stars stays untouched.

  • Peel & shade

    None; the shell is fully intact throughout this no-carve design.

  • Cut through

    None; use an outdoor spotlight or directed lamp for evening display.

Learn the carving basics

Before you start cutting

How do I stop the glitter from spreading all over the pumpkin and not just on the stars?

Apply craft glue precisely to only the star shapes using a fine paintbrush rather than pouring glue broadly. Sprinkle glitter directly over the glued stars while the pumpkin is held over a sheet of paper, then immediately tip the excess glitter onto the paper to catch it before it sticks elsewhere.

Can I use spray paint for the gown base instead of brush acrylic?

Yes, a jewel-tone spray paint applies very evenly and dries fast, which is a real advantage when you need a flawless gown silhouette. Mask the surrounding rind with painter's tape and newspaper before spraying. Apply brush detail work on top once the spray paint is dry.

How long will the glitter hold before it starts shedding?

A thin layer of clear craft glue under the glitter, sealed with a topcoat of Mod Podge or acrylic medium after the glitter sets, will hold the sparkle in place for several weeks. Without a topcoat, glitter shed starts within a few days especially in humid conditions.

Your take belongs here, too.

Changed a detail? Made it simpler? Share a photo of your version and tell the community what worked.

Share your pumpkin

Want more designs like this? Browse our full library of pumpkin carving ideas, or pick a free printable stencil. Every pattern and template in our own collection is free to print at home.

More pumpkins like this

You've reached the end · 8 pumpkins
The Patch Report

Fresh pumpkins, in your inbox.

The best new carvings, ideas worth stealing, and how-tos for carving season. Short, seasonal, and gone by November.

A short email during carving season. Unsubscribe anytime. See our privacy policy.