The 2026 contest winners are inGrand Prize, People's Choice and Most Creative, all crowned.
@ai_concepts
Sep 25, 2026
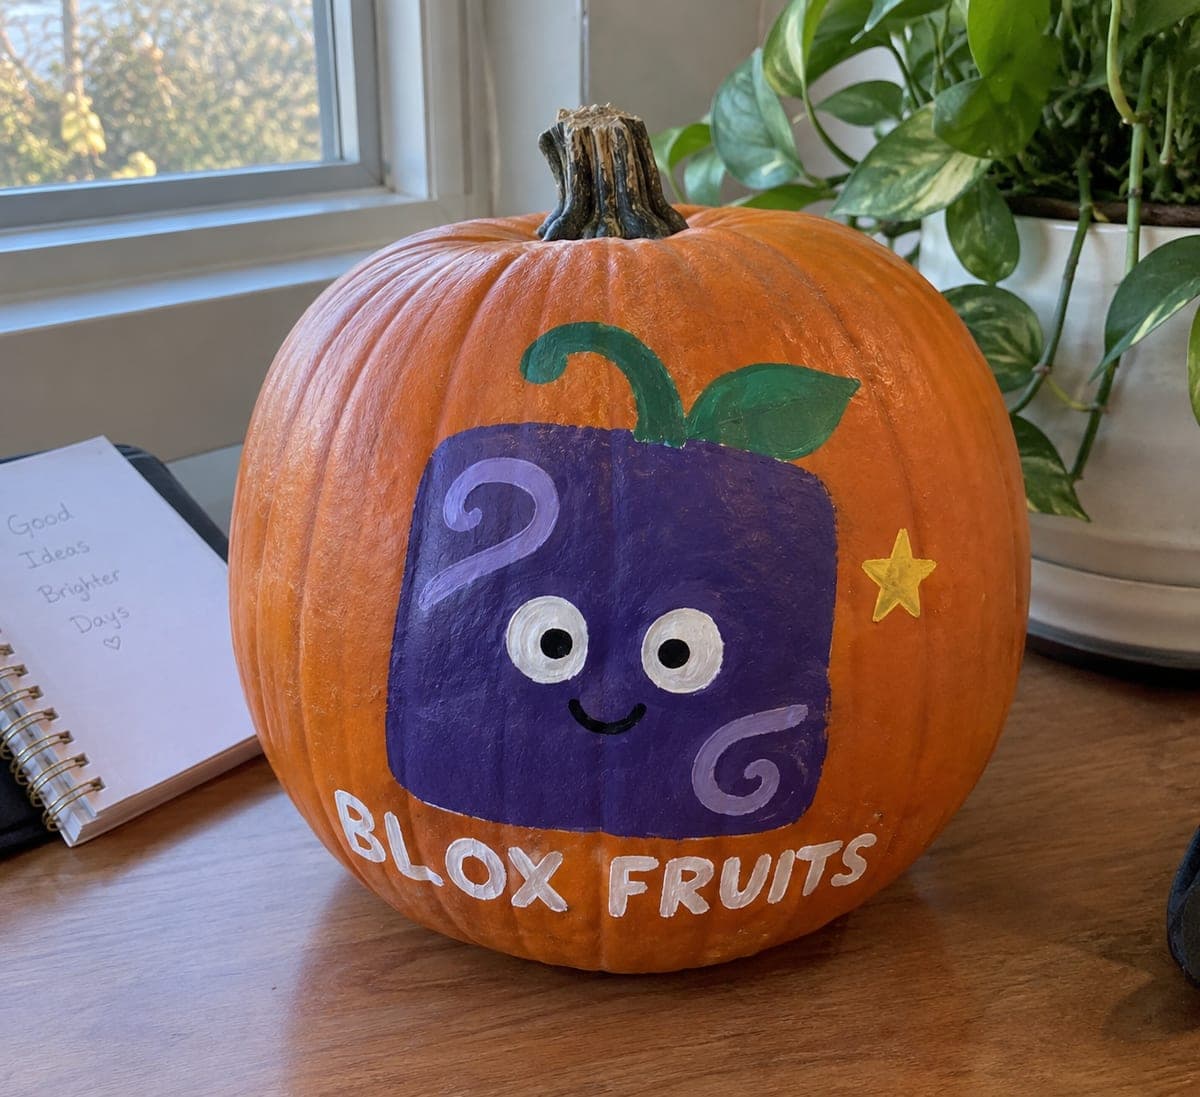
Painted Blox Fruits Magic Fruit PumpkinAI
0

Report this carving

Tell us what is wrong. Reports are private.

Painted Blox Fruits Magic Fruit Pumpkin

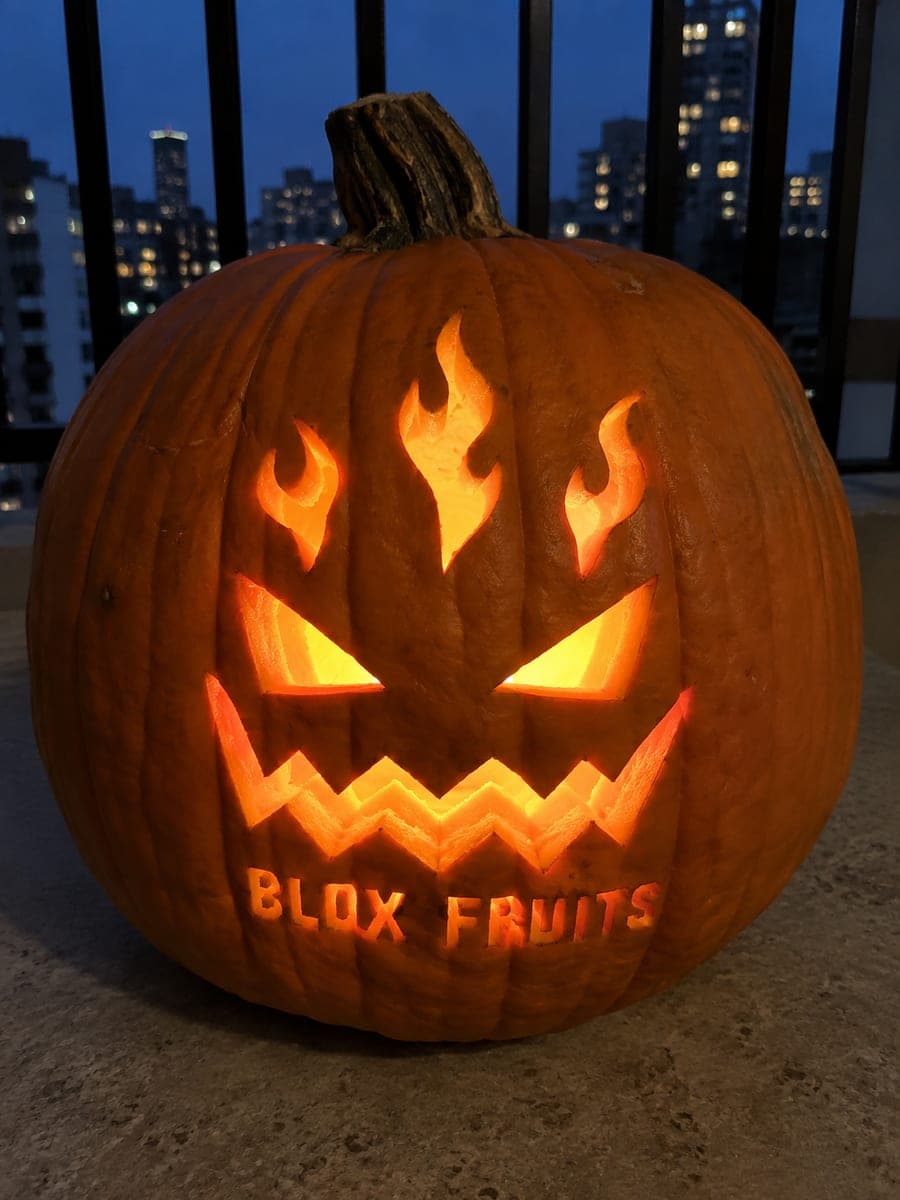
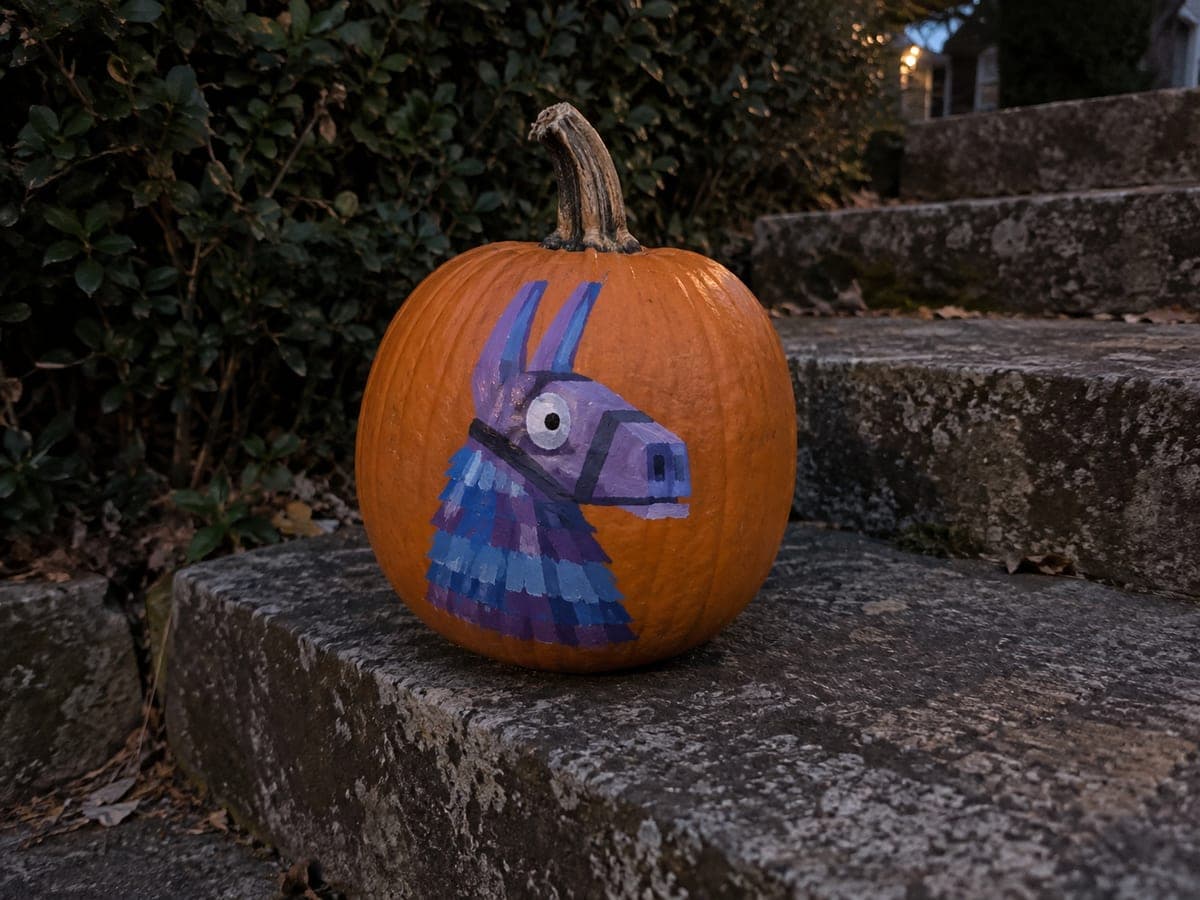
This no-carve blox fruits pumpkin paints a flat purple magic fruit body with eye dots, swirl details, a stem and leaf, and a simple title on an intact gourd using broad acrylic brushwork. Start with the purple body shape and let it dry fully, then add the swirl accents in a slightly lighter lavender for depth. A thick black outline around the entire fruit shape keeps the design crisp and makes it readable as a pumpkin carving idea reference even from across the yard.

No ratings yet · Sign in to rate
blox-fruitsfantasyno-carvepaintedvideo-gamerobloxcuteeasy

Save this design for carving night, then share a photo of your own jack-o'-lantern once it's glowing.

Roblox and all related characters, names, logos, and trademarks are the property of their respective owners. This is an unofficial fan carving shared by our community for inspiration only. PumpkinCarvingIdeas.com is not affiliated with, sponsored by, or endorsed by any rights holder or person depicted, and no such connection is implied.
Comments (0)

  • No comments yet. Be the first.

Our tips for carving a similar design

The entire design lives on the surface of an intact pumpkin: a rounded purple fruit body with dot eyes, swirl accents, a stem, a leaf, and a simple title text are all applied in flat acrylic. Starting with the purple body and letting it dry before adding details prevents the swirl layers from mudding into the base color. A thick black outline around the whole fruit shape pulls the design together and makes it readable from a distance.

From pumpkin to porch

  1. Clean and dry the pumpkin

    Wipe the rind with a damp cloth and allow it to dry fully. Lightly sand any waxy areas with fine-grit sandpaper to improve paint adhesion. Pick the flattest face of the pumpkin for the painting area.

  2. Sketch the fruit body layout

    Pencil in a rounded fruit shape that fills most of the painting area, leaving room for a short stem and leaf at the top. Block in rough positions for the two dot eyes near the top of the fruit and the swirl locations below them. A quick sketch prevents proportion errors once you start painting.

  3. Paint the purple fruit base

    Mix a bold purple acrylic and fill the entire fruit body shape with two thin coats, letting each coat dry before applying the next. A solid, opaque base is essential so the orange rind does not show through and shift the color. Let the base dry for at least 30 minutes before adding any details.

  4. Add swirl accents in lavender

    Mix a slightly lighter lavender by adding white to your purple base and use a small round brush to paint two or three C-shaped swirls across the fruit body. Varying the swirl sizes adds visual interest without requiring precision. While the lavender is still wet, soften the edges slightly with a clean damp brush for a subtle depth effect.

  5. Paint the eyes, stem, leaf, and title

    Paint two small black dot eyes with a white highlight in each using a fine brush. Add a short curved stem in dark brown at the top of the fruit and a leaf shape in green beside it. Letter the game title along the lower portion of the fruit or on the surrounding rind in white or black.

  6. Outline and seal

    Once everything is fully dry, outline the entire fruit shape and each internal detail with a thin black paint marker for crisp definition. Finish with a coat of acrylic sealer spray to protect the design from moisture. Display under a porch light or spotlight for evening visibility.

Written with AI to match this design

Gather your supplies

Check things off as you get ready.

Work on a stable surface, keep your free hand out of the cutting path, and have an adult handle sharp tools.

Three levels of light

  • Leave intact

    The bare orange rind surrounding the painted fruit stays untouched as the natural background.

  • Peel & shade

    None; the shell is intact throughout on this no-carve design.

  • Cut through

    None; use an outdoor spotlight or porch light for nighttime display.

Learn the carving basics

Before you start cutting

How do I get the lavender swirls to look different from the purple base without them blending together?

Wait until the purple base coat is completely dry and no longer tacky before applying the swirls. Painting on a fully dry surface keeps the two layers crisp. If they do blend slightly, add a final pass of lavender over the swirls once the blended layer dries.

What if I run out of room for the game title on the fruit itself?

Paint the title on the orange rind area just below or beside the fruit shape instead. A white or black title on the bare orange rind reads clearly and gives the design a label-like quality that works well for this graphic style.

Can I use a purple spray paint for the base coat instead of brush paint?

Yes, an acrylic spray paint base coat is very even and dries faster than brush-applied paint. Mask the areas you want to stay orange with painter's tape and newspaper before spraying, and work in a well-ventilated space. Apply detail work with brush paint on top once the spray coat is dry.

Your take belongs here, too.

Changed a detail? Made it simpler? Share a photo of your version and tell the community what worked.

Share your pumpkin

Want more designs like this? Browse our full library of pumpkin carving ideas, or pick a free printable stencil. Every pattern and template in our own collection is free to print at home.

More pumpkins like this

You've reached the end · 8 pumpkins
The Patch Report

Fresh pumpkins, in your inbox.

The best new carvings, ideas worth stealing, and how-tos for carving season. Short, seasonal, and gone by November.

A short email during carving season. Unsubscribe anytime. See our privacy policy.