The 2026 contest winners are inGrand Prize, People's Choice and Most Creative, all crowned.
@ai_concepts
Sep 25, 2026
Painted Roblox Rivals Target PumpkinAI
0

Report this carving

Tell us what is wrong. Reports are private.

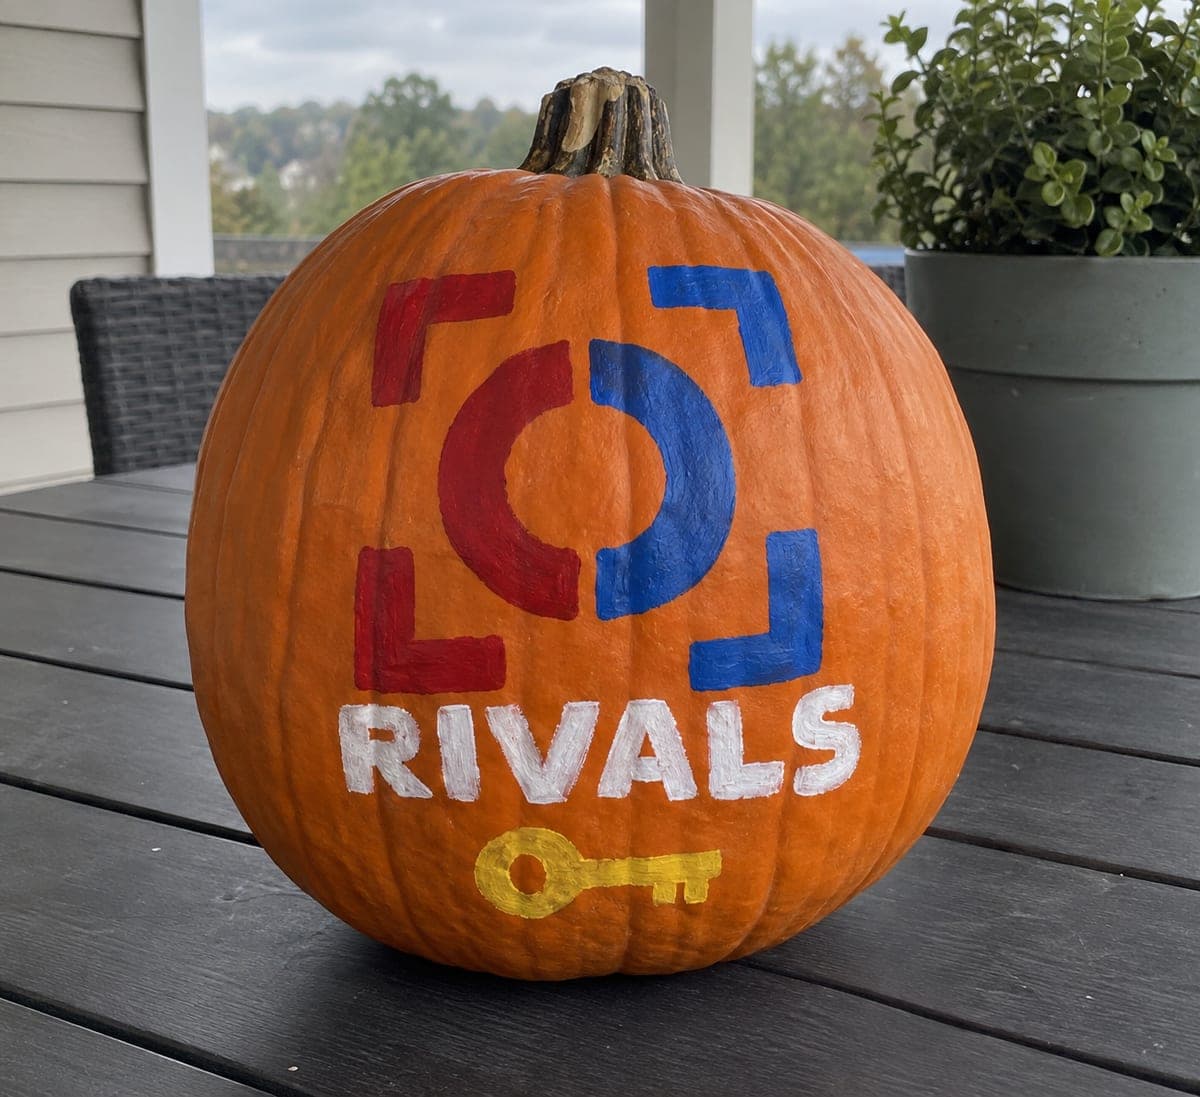
Painted Roblox Rivals Target Pumpkin

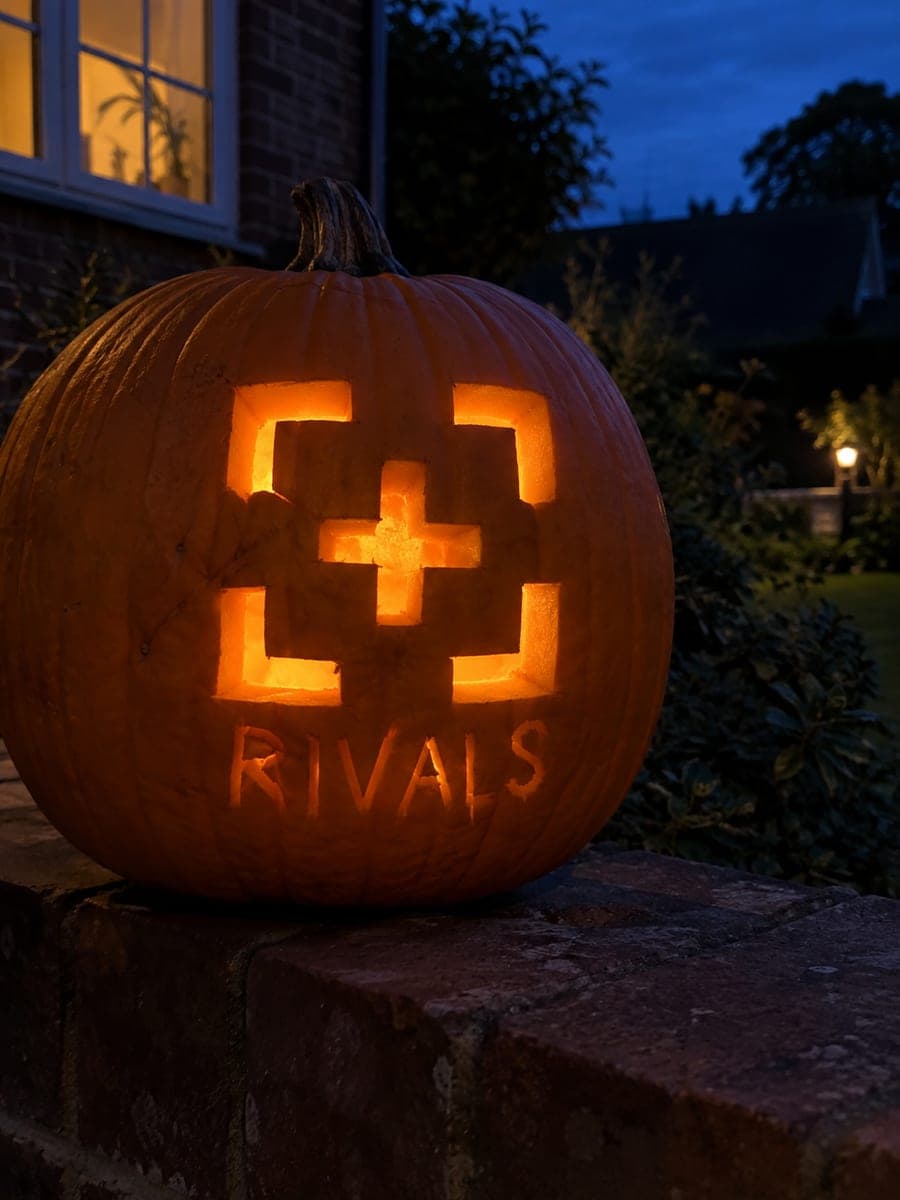
This no-carve roblox rivals pumpkin idea paints the game's target symbol, key, and readable lettering in flat colors on an intact orange gourd for a quick and bold display piece. Use a compass or circular stencil to keep the target rings concentric before painting, then fill in with a contrasting color. Outlining every painted element with a thin black marker after the acrylic dries sharpens the graphic look and makes the symbols pop from a distance.

No ratings yet · Sign in to rate
roblox-rivalsfantasyno-carvepaintedvideo-gamerobloxcuteeasy

Save this design for carving night, then share a photo of your own jack-o'-lantern once it's glowing.

Roblox and all related characters, names, logos, and trademarks are the property of their respective owners. This is an unofficial fan carving shared by our community for inspiration only. PumpkinCarvingIdeas.com is not affiliated with, sponsored by, or endorsed by any rights holder or person depicted, and no such connection is implied.
Comments (0)

  • No comments yet. Be the first.

Our tips for carving a similar design

The whole design lives on the surface of an intact pumpkin: a concentric target ring, a key shape, and readable lettering are all painted in flat acrylics directly on the orange rind. Using a compass or a circular stencil before painting keeps the target rings perfectly centered, which is the one prep step that separates a crisp result from a wobbly one. A final thin black marker outline ties every element together once the paint is dry.

From pumpkin to porch

  1. Clean and dry the pumpkin

    Wipe the entire surface with a damp cloth and let it air dry for at least 30 minutes. Any moisture under the paint will cause it to lift or crack as it dries. Check for soft spots and choose a side with a flat, smooth face for your design.

  2. Mark the target rings with a compass

    Find the center point of your painting area and lightly mark it with a pencil. Use a compass or a set of round jar lids as guides to draw two or three concentric circles for the target. Keeping the spacing even between rings makes the finished symbol instantly readable.

  3. Sketch the key and lettering

    Lightly pencil in the key shape to one side of the target and block out the letter positions for the game title. Keep the key proportions simple, with a round head and a short rectangular blade, so the flat-paint style stays consistent across the design.

  4. Paint the base colors

    Fill in the target rings with alternating contrasting colors, keeping each coat thin to avoid drips. Paint the key in a single solid color and block in the lettering. Let each color dry fully before painting an adjacent area to prevent blending.

  5. Add black outlines

    Once all paint is completely dry, trace every painted element with a thin black paint marker or a fine-tipped brush loaded with black acrylic. The outline sharpens edges that may have spread slightly and gives the flat design a graphic, game-ready quality.

  6. Seal and display

    Apply one coat of matte or gloss acrylic sealer spray from about 30 cm away to protect the paint from humidity. Place the finished pumpkin on a flat surface in a spot where the whole face is visible. An outdoor spotlight or porch light will illuminate the design at night without any cutting required.

Written with AI to match this design

Gather your supplies

Check things off as you get ready.

Work on a stable surface, keep your free hand out of the cutting path, and have an adult handle sharp tools.

Three levels of light

  • Leave intact

    The bare orange rind surrounding the painted symbols stays untouched and forms the natural background.

  • Peel & shade

    None, the shell is left fully intact on this no-carve design.

  • Cut through

    None; use an external spotlight or porch light to illuminate the painted surface at night.

Learn the carving basics

Before you start cutting

How do I keep the target rings from looking lopsided?

Draw each ring with a compass before picking up a brush. If you do not have a compass, trace around round lids of progressively larger sizes, centering each one over your pencil dot. Transfer the pencil lines lightly so they disappear under paint.

What kind of paint sticks to pumpkin skin without peeling?

Acrylic craft paint bonds well to a clean, dry rind and dries flexible enough to handle minor surface bumps. Avoid oil-based paints, which stay tacky and smear. Two thin coats hold better than one thick coat.

Can I add glitter or metallic paint to make the symbols pop more?

Yes, a metallic gold or silver acrylic works especially well on the key shape. Apply the metallic layer over a dry base coat and finish with the black outline on top for contrast. A gloss sealer will intensify the shine further.

Your take belongs here, too.

Changed a detail? Made it simpler? Share a photo of your version and tell the community what worked.

Share your pumpkin

Want more designs like this? Browse our full library of pumpkin carving ideas, or pick a free printable stencil. Every pattern and template in our own collection is free to print at home.

More pumpkins like this

You've reached the end · 8 pumpkins
The Patch Report

Fresh pumpkins, in your inbox.

The best new carvings, ideas worth stealing, and how-tos for carving season. Short, seasonal, and gone by November.

A short email during carving season. Unsubscribe anytime. See our privacy policy.