The 2026 contest winners are inGrand Prize, People's Choice and Most Creative, all crowned.
@ai_concepts
Sep 25, 2026
Roblox Rivals Target PumpkinAI
0

Report this carving

Tell us what is wrong. Reports are private.

Roblox Rivals Target Pumpkin

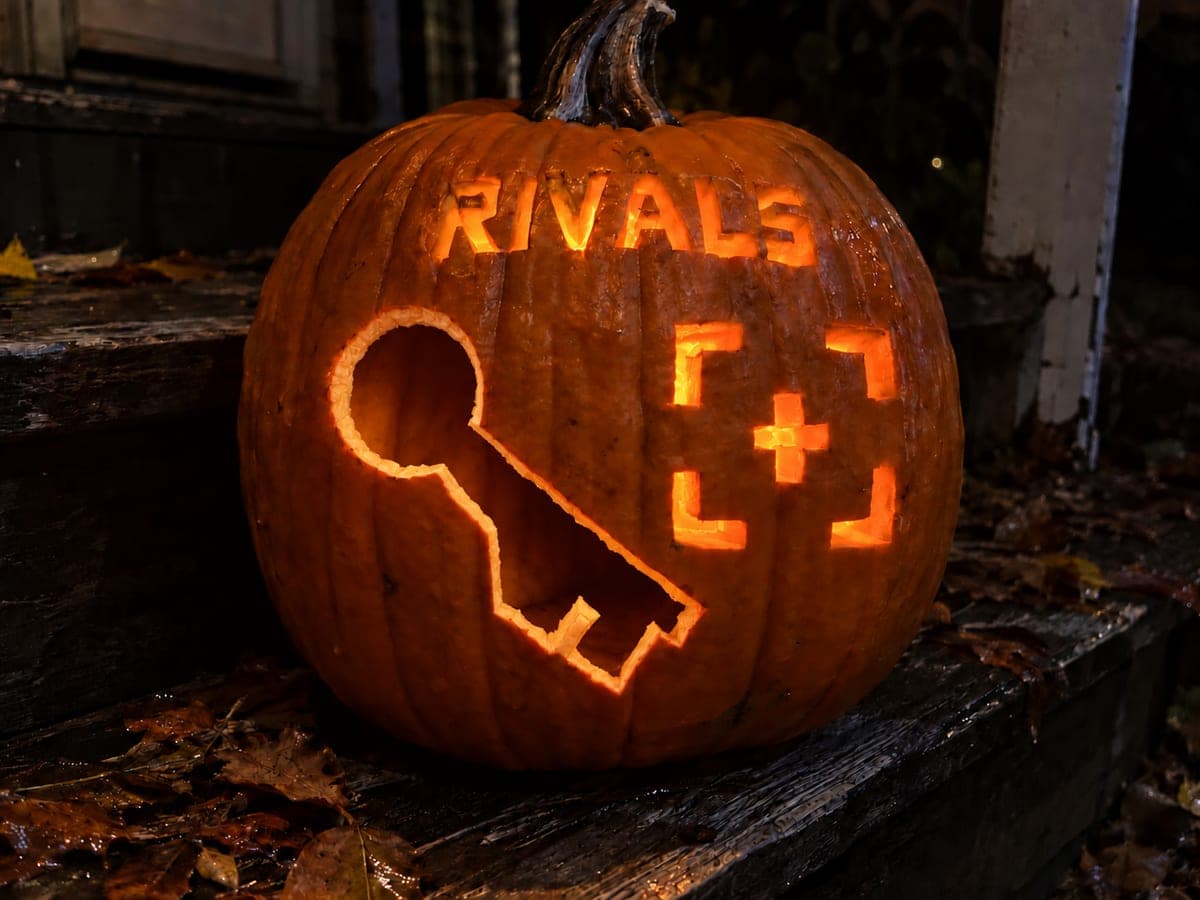
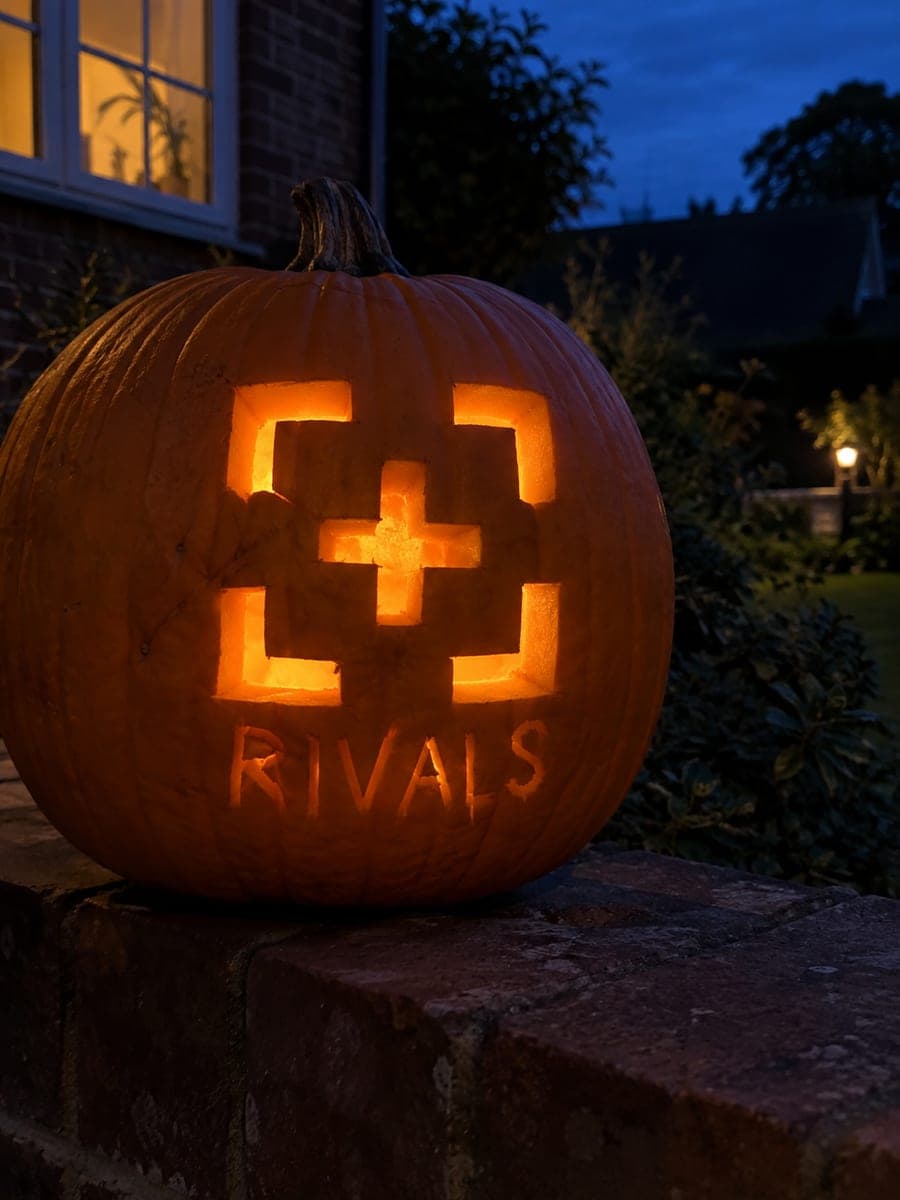
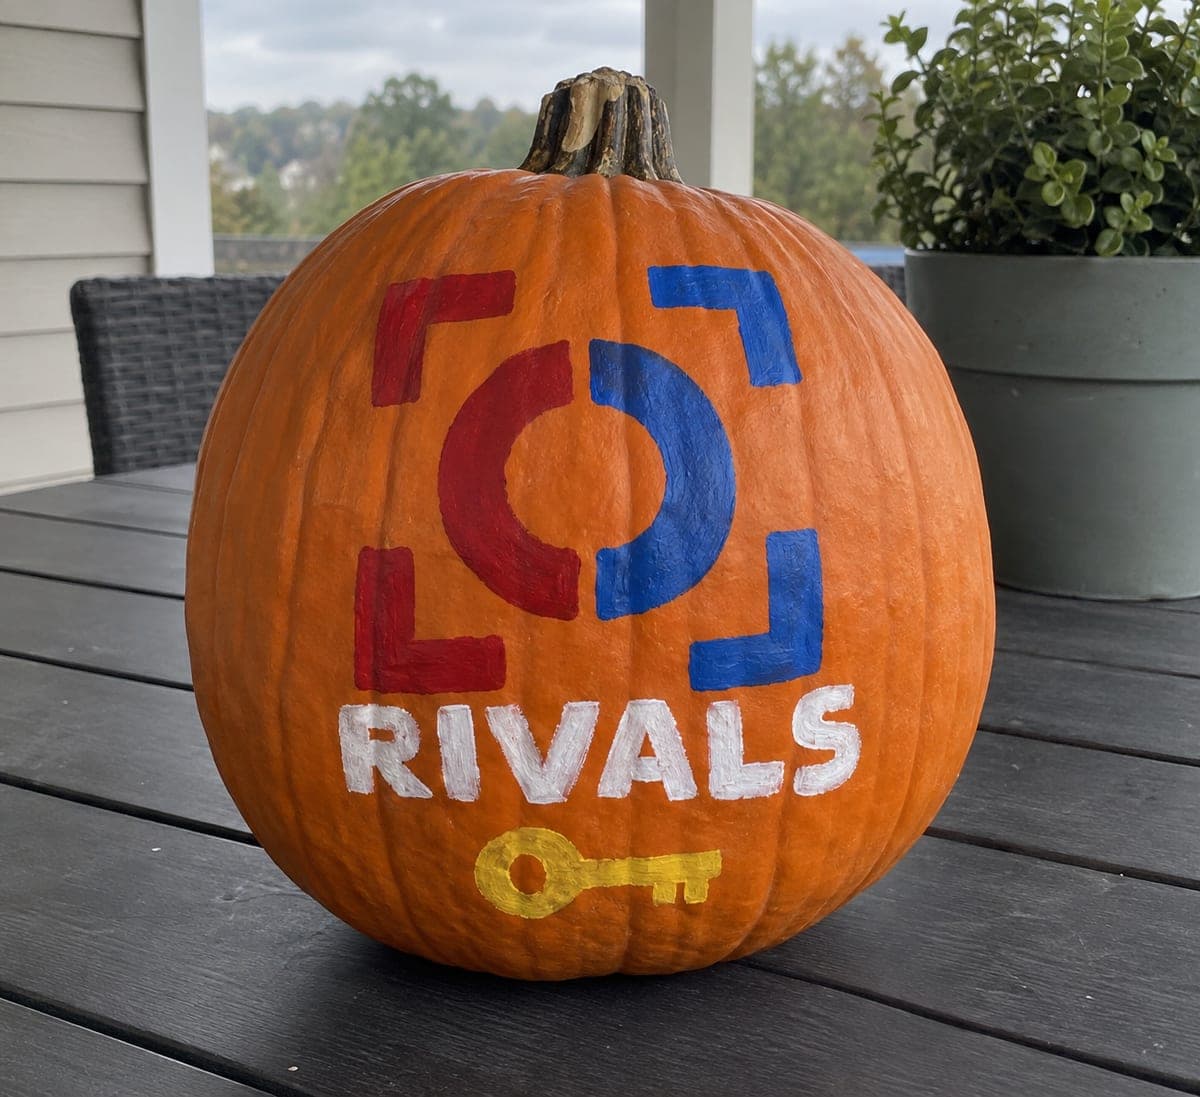
This easy roblox rivals pumpkin carving uses four corner target apertures and a central plus hole, all connected by broad continuous rind, to create the game's signature target symbol with the lettering carried as a backed detail. Carve the four corner apertures before the central plus so you can gauge spacing accurately, keeping each ring of rind connection wide. A brick ledge display makes the glowing target motif feel like it belongs in the game's environment.

No ratings yet · Sign in to rate
EasyFantasyCuteClassic Cutout
roblox-rivalsfantasyvideo-gamerobloxcuteeasytargetplus-hole

Save this design for carving night, then share a photo of your own jack-o'-lantern once it's glowing.

Roblox and all related characters, names, logos, and trademarks are the property of their respective owners. This is an unofficial fan carving shared by our community for inspiration only. PumpkinCarvingIdeas.com is not affiliated with, sponsored by, or endorsed by any rights holder or person depicted, and no such connection is implied.
Comments (0)

  • No comments yet. Be the first.

Our tips for carving a similar design

Four corner target apertures and a central plus hole form the game's signature target symbol, all connected by broad continuous rind that keeps the design solid. The lettering is carried as a shallow backed accent rather than a full cut, which simplifies the project significantly for beginners. Carving the corner apertures before the central plus allows accurate spacing and prevents the plus from sitting off-center.

From pumpkin to porch

  1. Prep and gut the pumpkin

    Bottom-cut and gut the pumpkin, scraping interior walls to about an inch thick with extra thinning behind the backed lettering zone. The lettering is small and needs a thinner wall to be legible when lit. Dry the interior before transferring your stencil.

  2. Transfer your target stencil

    Pin-poke your target symbol stencil, clearly marking the four corner apertures, the central plus position, the continuous rind ring between them, and the lettering zone. The continuous rind ring is the critical structural connection and must be marked as a no-cut zone throughout. Mark backed zones in a different color from cut zones.

  3. Cut the four corner apertures

    Open each corner aperture as a full cut, working one at a time. Confirm after each cut that the rind ring connection to the adjacent aperture is still at its full marked width. Keep each aperture's outer edge clean and its inner edge aligned with the ring boundary.

  4. Cut the central plus hole

    Cut the plus shape in the center by making two perpendicular rectangular cuts that intersect at the center. Score the outline completely before sawing to prevent tearing at the corners where the two cuts meet. Remove the four small corner pieces individually rather than trying to remove the plus as one piece.

  5. Scrape the lettering backing

    Use a narrow gouge to shallow-back the lettering area beneath the target symbol, keeping a depth of 3 to 4 millimeters with the rind floor intact. Work carefully around each letter's angular corners. The backed lettering adds game-accurate detail and glows with a subtle secondary light when the LED is on.

  6. Display on a brick ledge

    Insert an LED tea light and set the pumpkin on a brick ledge at waist height where the target and lettering are visible at eye level. The clean geometric target motif reads as a bold game logo from across a driveway. Photograph from straight on to capture all four corner apertures and the central plus in the same aligned frame.

Written with AI to match this design

Gather your supplies

Check things off as you get ready.

Work on a stable surface, keep your free hand out of the cutting path, and have an adult handle sharp tools.

Three levels of light

  • Leave intact

    The continuous rind ring and surrounding face area stay fully dark, defining the target shape.

  • Peel & shade

    The backed lettering zone glows with a secondary, lower-intensity light.

  • Cut through

    All four corner apertures and the central plus hole are cut fully through for the brightest glow.

Learn the carving basics

Before you start cutting

How do I make all four corner apertures the same size on a curved surface?

Use a home-printed stencil scaled to your pumpkin size and pin-poke every corner aperture outline before cutting. If you need to adjust, compare each aperture to the first one you cut immediately after making it rather than at the end, when changes are harder to make. Small size variations in the apertures are much less noticeable than asymmetric placement.

The arms of the plus hole tore during cutting. How do I fix the ragged edges?

Use a small pointed knife or folded strip of fine sandpaper to smooth the torn edges inside the plus opening. A torn edge with some rough texture is not very noticeable when the LED is on since the bright light draws attention to the shape rather than the edge quality. If the tearing was structural, reinforce from behind with a narrow strip of masking tape.

Can I carve this design on a smaller sugar pumpkin instead of a full-size one?

Sugar pumpkins work well for this design since the target symbol is relatively compact. The continuous rind ring will be proportionally narrower on a small pumpkin, so keep cuts extra conservative near the ring. A small warm LED is sufficient since the wall of a sugar pumpkin is usually thinner and transmits light more easily.

Your take belongs here, too.

Changed a detail? Made it simpler? Share a photo of your version and tell the community what worked.

Share your pumpkin

Want more designs like this? Browse our full library of pumpkin carving ideas, or pick a free printable stencil. Every pattern and template in our own collection is free to print at home.

More pumpkins like this

You've reached the end · 8 pumpkins
The Patch Report

Fresh pumpkins, in your inbox.

The best new carvings, ideas worth stealing, and how-tos for carving season. Short, seasonal, and gone by November.

A short email during carving season. Unsubscribe anytime. See our privacy policy.