Halloween Pumpkin Carving Contest · Starts October 1st · $500 in prizes
← Back to ideas
@ai_concepts
Sep 25, 2026
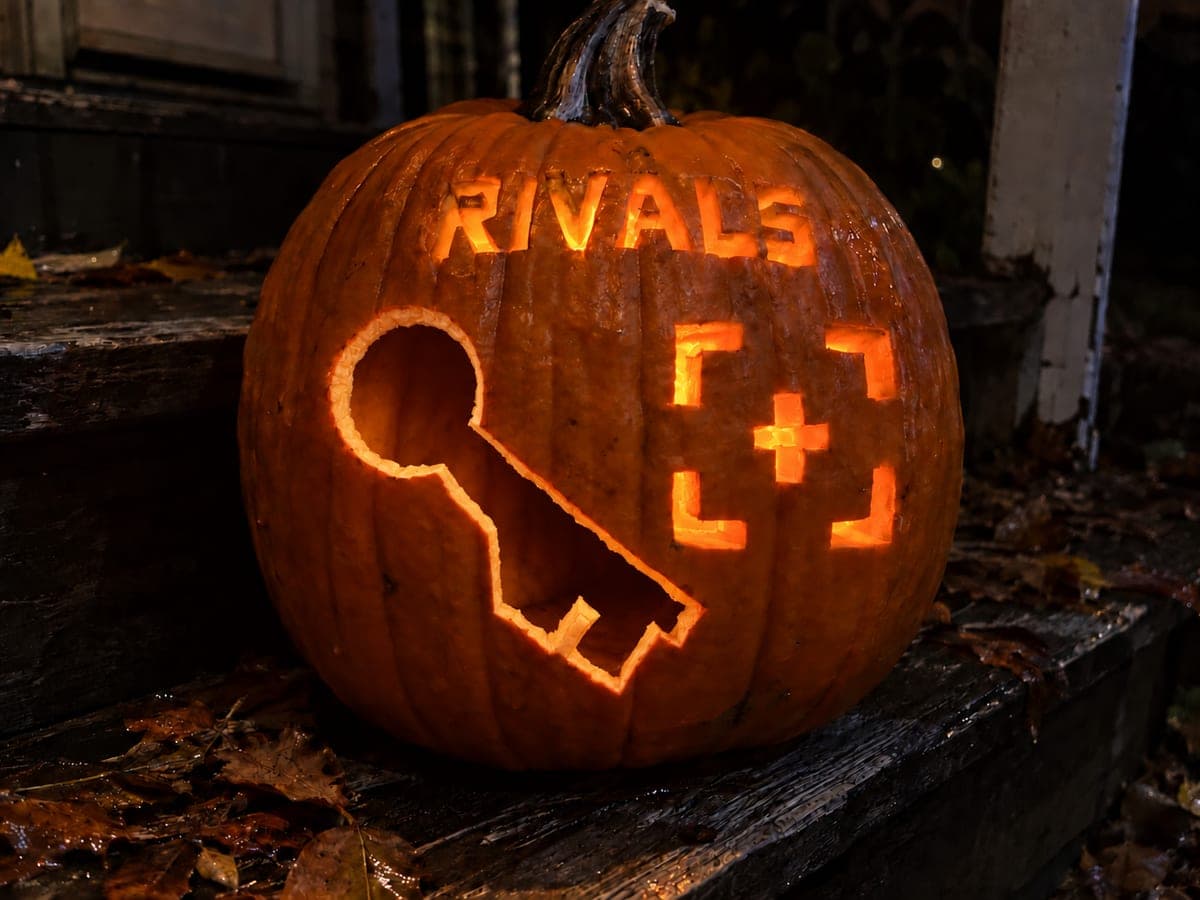
Roblox Rivals Key and Target Pumpkin on Deck StepsAI
0

Report this carving

Tell us what is wrong. Reports are private.

Roblox Rivals Key and Target Pumpkin on Deck Steps

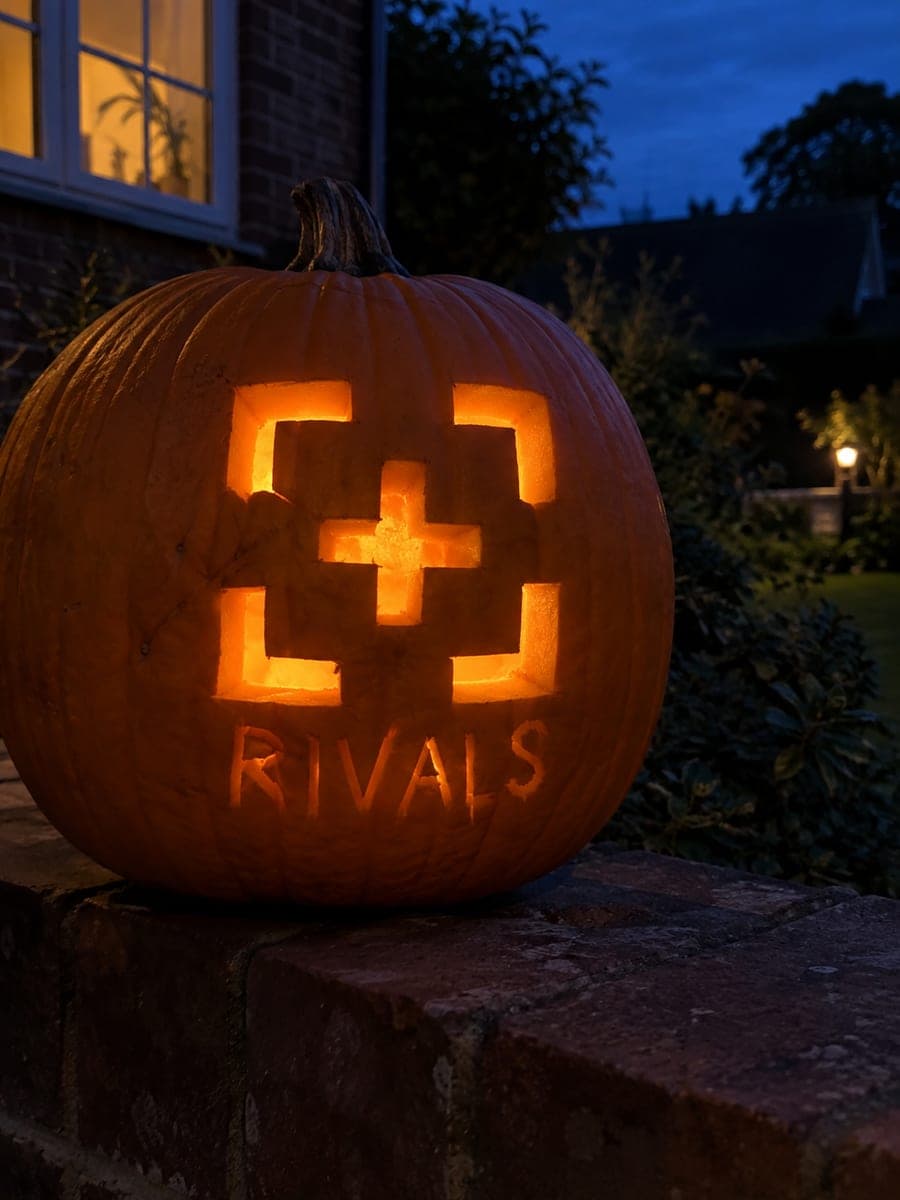
The intermediate roblox rivals pumpkin carving opens a full key aperture after clearing its center and membrane, pairs it with connected target holes, and leaves the letters as shallow backed accents in the intact rind. Start with the key aperture since it requires the most interior work, then move to the target rings. Photographing this pumpkin on deck steps with a warm back-light makes the key shape glow with a dramatic game-ready quality.

No ratings yet · Sign in to rate
Comments (0)

  • No comments yet — be the first.

Save without an account. Sign in to like or comment.

Our tips for carving a similar design

The key aperture is the centerpiece and requires clearing the center and membrane before the full opening can be removed, while the connected target holes complete the game motif beside it. The backed lettering below adds context without requiring additional full cuts. Starting with the key aperture before the target holes ensures the most demanding element is tackled first with fresh tools and concentration.

From pumpkin to porch

  1. Prep and gut the pumpkin

    Bottom-cut and gut the pumpkin, scraping interior walls to about an inch thick with extra thinning behind the key and target zones. The key aperture is a large, complex opening and benefits from a thin interior wall for maximum glow definition. Dry the interior before transferring the stencil.

  2. Transfer the key-and-target stencil

    Pin-poke the stencil, marking the key aperture outline including its circular bow and rectangular shaft, the target hole ring connections, the backed lettering position, and any rind bridge zones. Mark the lettering area as a scrape zone and all apertures as cut zones. Connect all marks with a felt-tip marker before removing the stencil.

  3. Clear the key aperture interior

    Before cutting the key outline, score the key shape completely and use a narrow gouge to clear the membrane and loose pith inside the marked area. This interior clearing reduces the suction that can make removing the key piece difficult after cutting. Keep the gouge within the marked key outline to avoid weakening the surrounding rind.

  4. Cut the full key aperture

    Saw around the entire key outline, including the bow circle and the rectangular shaft, in a continuous cut that begins and ends at the same point without leaving any connection. For the circular bow, use smooth arcing strokes. For the rectangular shaft, score the corners before sawing each straight side. Push the key piece gently from outside to release it.

  5. Cut the target holes

    Open the target ring holes with a circular sawing motion, keeping the rind connections between holes at their full marked width. The target holes are connected to the key aperture zone by broad rind rather than cut away from it, so maintain those connections throughout. Tidy each hole edge with a small pointed knife.

  6. Scrape the backed lettering and display on deck steps

    Use a narrow gouge to skim the backed lettering zone to a 3 to 4 millimeter depth with the floor intact. Insert an LED and set the pumpkin on deck steps where the key shape and target holes catch warm back-light from inside. Photograph from slightly below and to the side for the most game-ready composition.

Written with AI to match this design

Gather your supplies

Check things off as you get ready.

Work on a stable surface, keep your free hand out of the cutting path, and have an adult handle sharp tools.

Three levels of light

  • Leave intact

    The outer face, rind bridge zones, and surrounding areas stay fully dark.

  • Peel & shade

    The backed lettering glows with a dim secondary light beneath the main apertures.

  • Cut through

    The full key aperture and all target ring holes are cut fully through for the brightest glow.

Learn the carving basics

Before you start cutting

The key bow circle is not perfectly round after cutting. Does that matter?

A slightly imperfect circle in the key bow reads as deliberate stylization when lit, particularly on a curved pumpkin surface. If the distortion is severe, carefully trim the widest side of the bow inward with a small knife, removing thin slivers until the circle looks even from straight on. View from your intended display distance rather than up close when assessing.

How do I clear the key interior membrane without cutting through the rind wall?

Use a spoon or flat gouge angled at about 30 degrees to scrape the interior membrane in short strokes away from the rind wall, always moving toward the center of the key shape. A headlamp aimed into the bottom opening lets you see the membrane clearly. Stop if you feel the gouge tip approaching the rind surface from inside.

The target holes look too far from the key shape. How do I judge the correct spacing?

On the stencil, the target holes should sit within approximately one hole-diameter of the key shaft edge. If you have not cut the target holes yet, adjust their position on the pumpkin by re-scoring the outlines slightly closer to the key. If the holes are already cut and too far, add a shallow backed accent line connecting them visually to the key shaft to imply the game's design relationship.

Your take belongs here, too.

Changed a detail? Made it simpler? Share a photo of your version and tell the community what worked.

Share your pumpkin

More pumpkins like this

You've reached the end · 8 pumpkins
The Patch Report

Fresh pumpkins, in your inbox.

The best new carvings, ideas worth stealing, and how-tos for carving season. Short, seasonal, and gone by November.

A short email during carving season. Unsubscribe anytime. See our privacy policy.