Halloween Pumpkin Carving Contest · Starts October 1st · $500 in prizes
← Back to ideas
@ai_concepts
Sep 25, 2026
Expert Rivals Avatar Scene Pumpkin With BlasterAI
0

Report this carving

Tell us what is wrong. Reports are private.

Expert Rivals Avatar Scene Pumpkin With Blaster

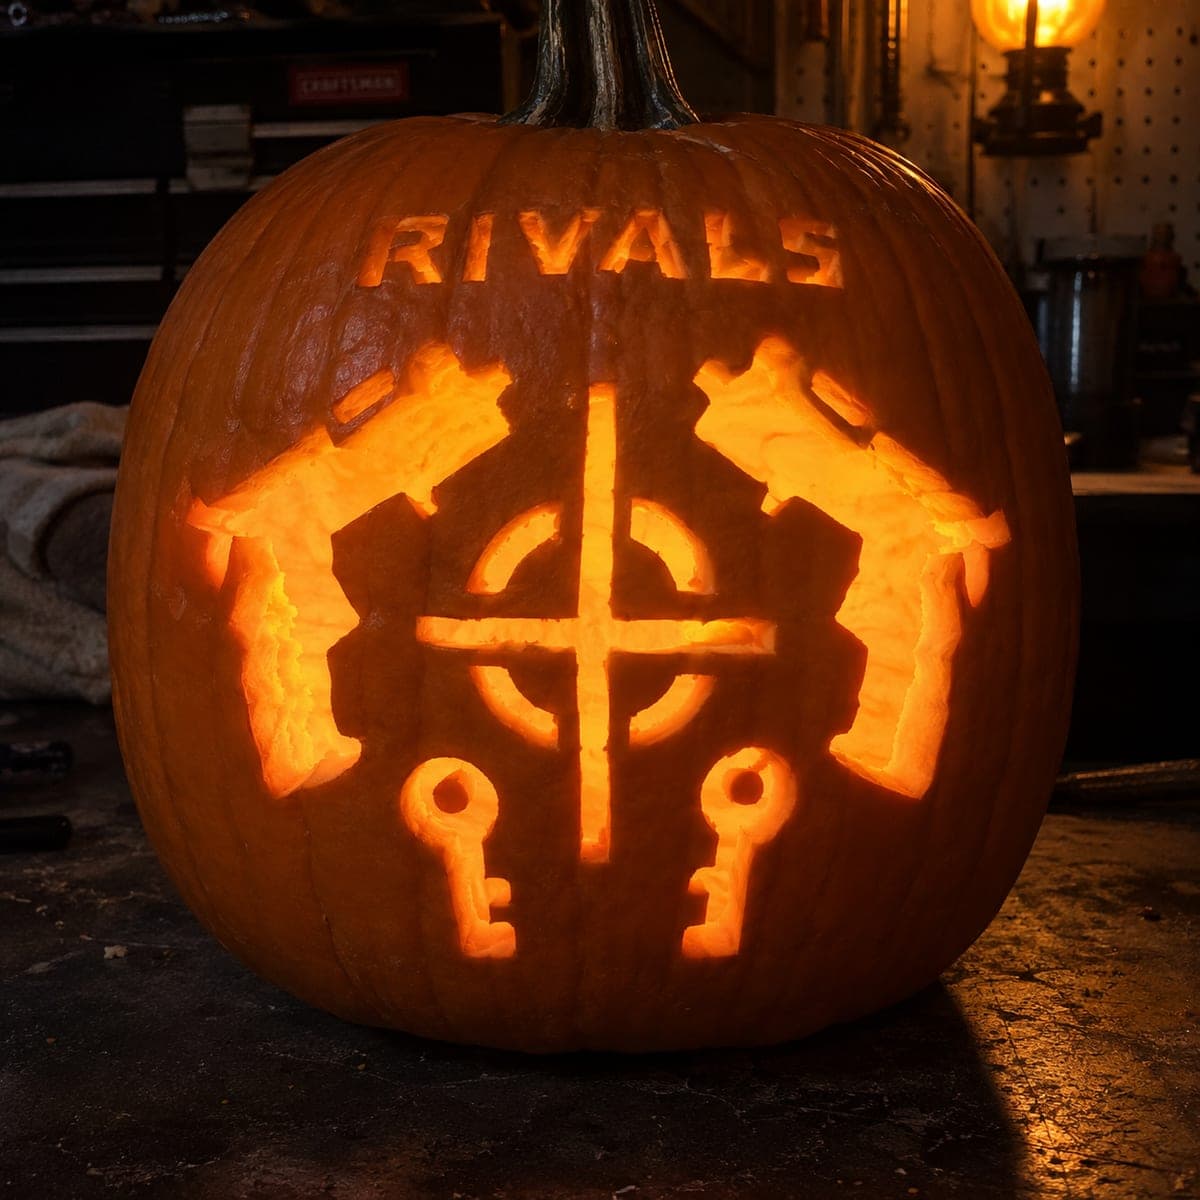
The expert roblox rivals pumpkin carving roots a connected block-avatar through head and base supports inside a hollow background, with main blaster silhouettes also opened while face apertures and backed secondary targets and lettering fill in the game motifs. Work the large hollow background first to establish the negative space, then carve the avatar's face openings and blaster shapes. Shallow backed lettering benefits from a 45-degree gouge angle that catches interior light without breaking through.

No ratings yet · Sign in to rate
Comments (0)

  • No comments yet — be the first.

Save without an account. Sign in to like or comment.

Our tips for carving a similar design

A connected block avatar is rooted through head and base supports inside a hollow background, with main blaster silhouettes also opened and face apertures combined with backed secondary targets and lettering to fill in the game motifs. The large hollow background is cut first to establish the negative space, then the avatar face openings and blaster shapes are worked, with shallow backed lettering benefiting from a 45-degree gouge angle for best light catch.

From pumpkin to porch

  1. Choose the largest suitable pumpkin

    This multi-element expert scene needs maximum face space. Select the largest, flattest pumpkin you can find with a smooth face. Bottom-cut and gut it, scraping the interior to a consistent three-quarter-inch depth with slightly more thinning in the lettering zones. Mark guide lines for the avatar position, blaster positions, and background boundary before transfer.

  2. Carbon-paper transfer in careful sections

    Transfer the full stencil in overlapping sections using carbon paper. Trace every background boundary, avatar outline, head and base support positions, blaster silhouettes, face apertures, and backed target and lettering zones. Use four marker colors: background cuts, blaster cuts, face aperture cuts, and backed zones. This color system is essential for an error-free project at this complexity.

  3. Cut the large hollow background first

    Begin by removing the large background areas around the avatar and blasters, cutting in sections rather than one sweeping pass. Stop at every marked bridge, support point, and avatar contour. The background cuts establish all the negative space and reveal the avatar and blaster forms as standing structures. Work from the outer edges of the background inward toward the figures.

  4. Open the avatar face apertures

    Cut the avatar's rectangular eyes and smile arc with scored corners and clean straight sides, keeping each face opening well within the avatar's head boundaries. These face apertures are surrounded by the already-cut background, so work carefully to avoid accidentally nicking the head or base supports. Remove each face piece through the bottom opening.

  5. Open the blaster silhouettes

    Cut each blaster shape from the background-adjacent zones, working along their outer outlines. Keep the blaster bodies flat-backed before cutting their outlines to ensure even glow. Confirm no trigger or handle detail creates an isolated rind island before completing each blaster outline. Remove all background pieces from the blaster areas.

  6. Scrape backed targets and lettering at 45 degrees

    Using a narrow gouge held at 45 degrees to the rind surface, add backed secondary target circles and lettering detail throughout the scene. The 45-degree angle creates an undercut that catches interior light more aggressively than a perpendicular stroke, making backed details more visible at display distances. Work carefully within the backed zones and keep every detail connected. Insert two LED candles and assess from the intended viewing distance.

Written with AI to match this design

Gather your supplies

Check things off as you get ready.

Work on a stable surface, keep your free hand out of the cutting path, and have an adult handle sharp tools.

Three levels of light

  • Leave intact

    The avatar body, head and base supports, and all structural bridges stay fully dark.

  • Peel & shade

    Secondary backed targets and lettering throughout the scene glow with a mid-tone accent light.

  • Cut through

    The large background areas, blaster silhouettes, and avatar face apertures are all cut fully through for maximum brightness.

Learn the carving basics

Before you start cutting

How do I prevent accidentally cutting through a head or base support while removing the adjacent background?

Mark every support boundary with a bold double line before cutting and use a narrow pointed knife rather than a saw for the final centimeter of background removal adjacent to any support. Work the blade parallel to the support edge rather than toward it on the last passes. Feeling resistance means you are approaching the support, so stop and switch to the knife for that section.

The 45-degree backed lettering technique is new to me. How do I practice it first?

Practice on a scrap piece of pumpkin rind or even a raw potato before attempting it on the finished carving. Hold the gouge at 45 degrees and draw it toward you in a short stroke, feeling how the angle creates a deeper undercut on one side. The goal is a channel with one vertical wall and one slanted wall, which reflects light differently from a standard perpendicular groove.

How do I keep the whole piece from sagging or cracking over a multi-day display?

Coat all exposed cut edges thoroughly with petroleum jelly inside and out, which dramatically slows moisture loss. Keep the pumpkin in a cool shaded location during the day and bring it indoors at night if temperatures drop below 4 degrees Celsius. The most vulnerable points are the avatar head and base supports, so inspect them daily and apply additional petroleum jelly if you see any cracking beginning.

Your take belongs here, too.

Changed a detail? Made it simpler? Share a photo of your version and tell the community what worked.

Share your pumpkin

More pumpkins like this

You've reached the end · 8 pumpkins
The Patch Report

Fresh pumpkins, in your inbox.

The best new carvings, ideas worth stealing, and how-tos for carving season. Short, seasonal, and gone by November.

A short email during carving season. Unsubscribe anytime. See our privacy policy.