Halloween Pumpkin Carving Contest · Starts October 1st · $500 in prizes
← Back to ideas
@ai_concepts
Sep 25, 2026
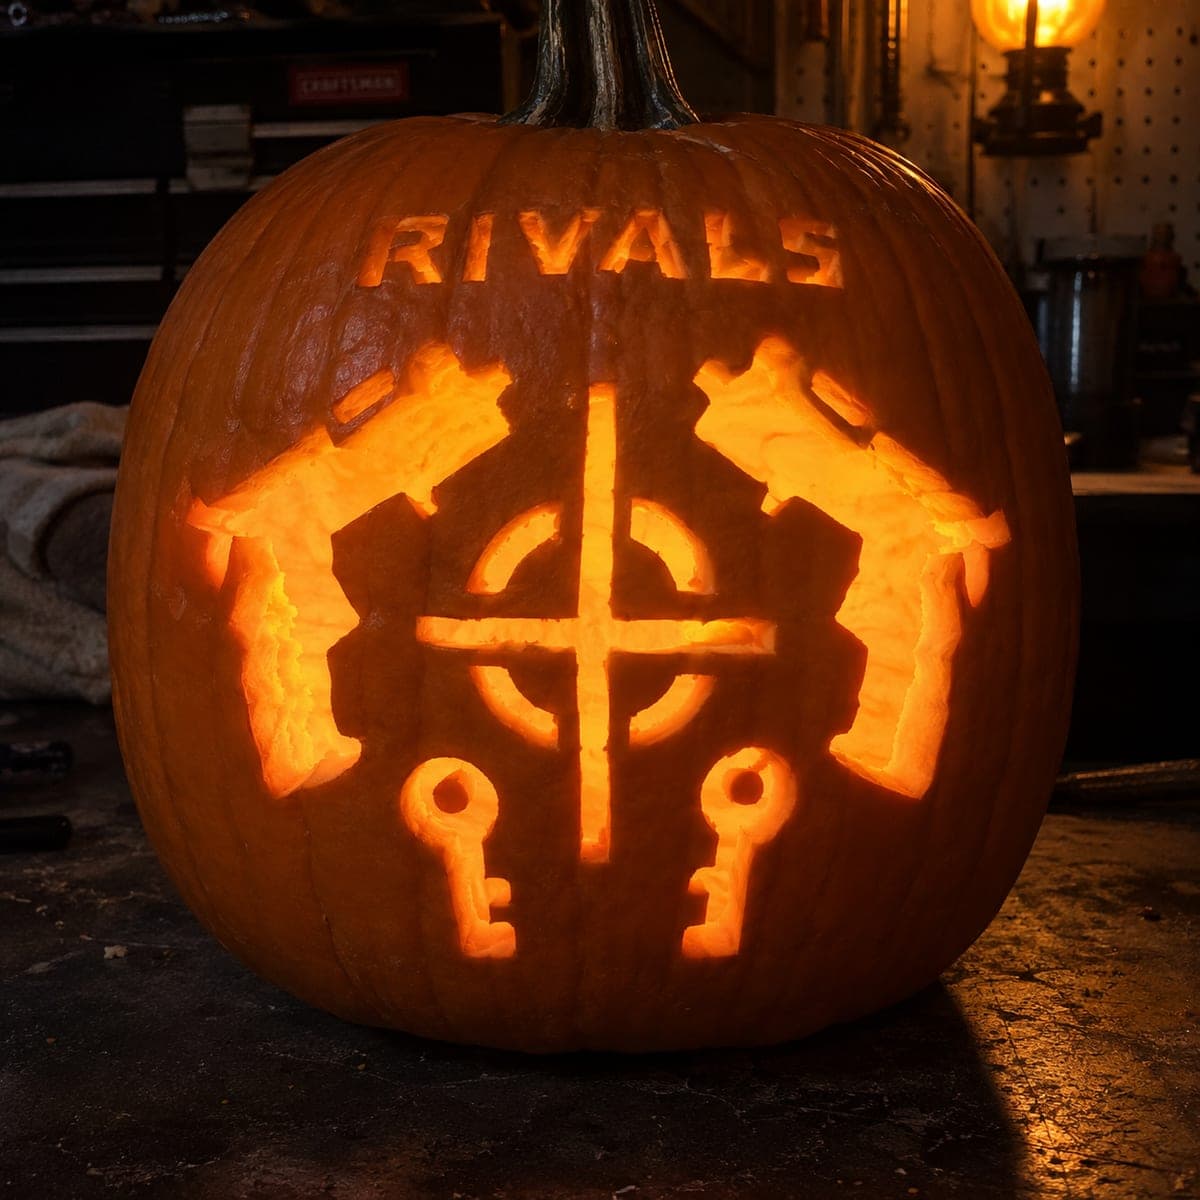
Rivals Toy Blaster and Target Silhouette Jack-O-LanternAI
0

Report this carving

Tell us what is wrong. Reports are private.

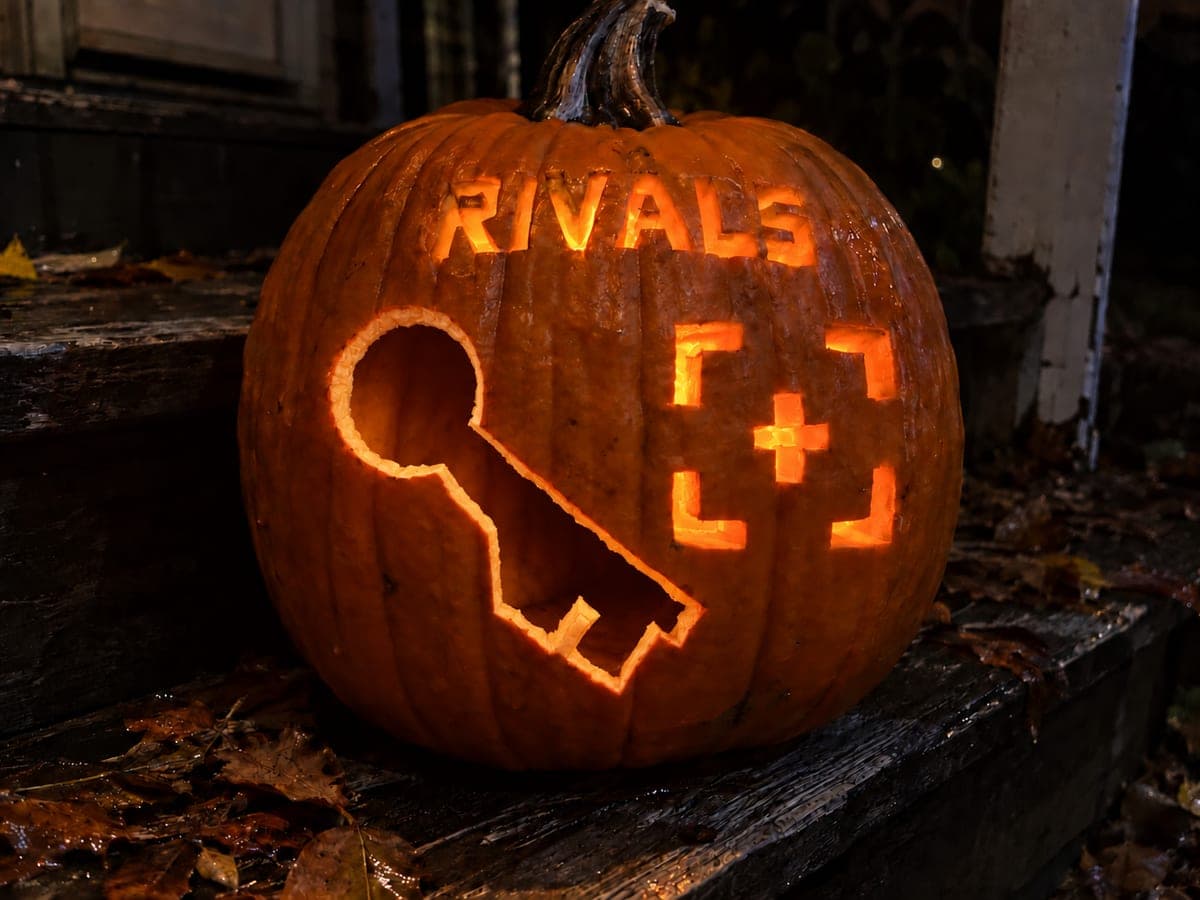
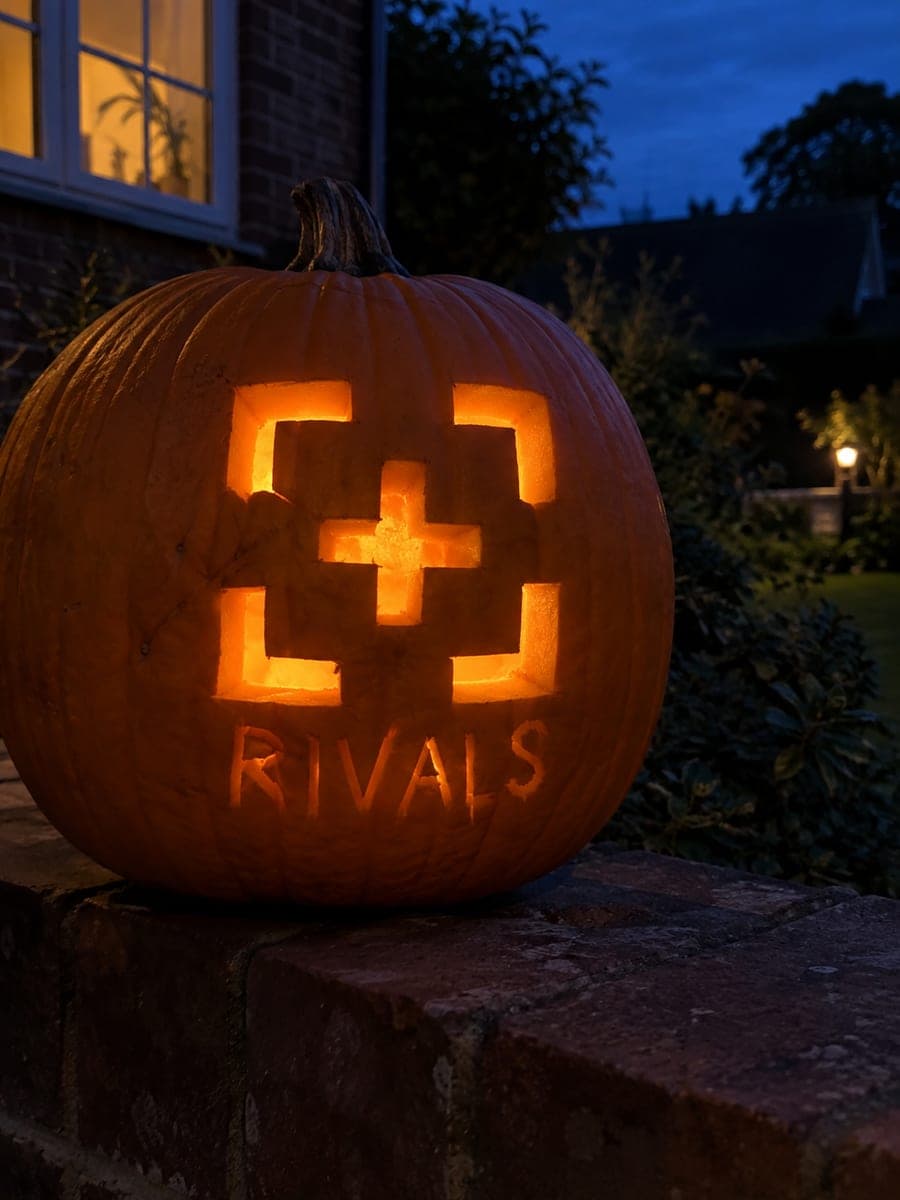
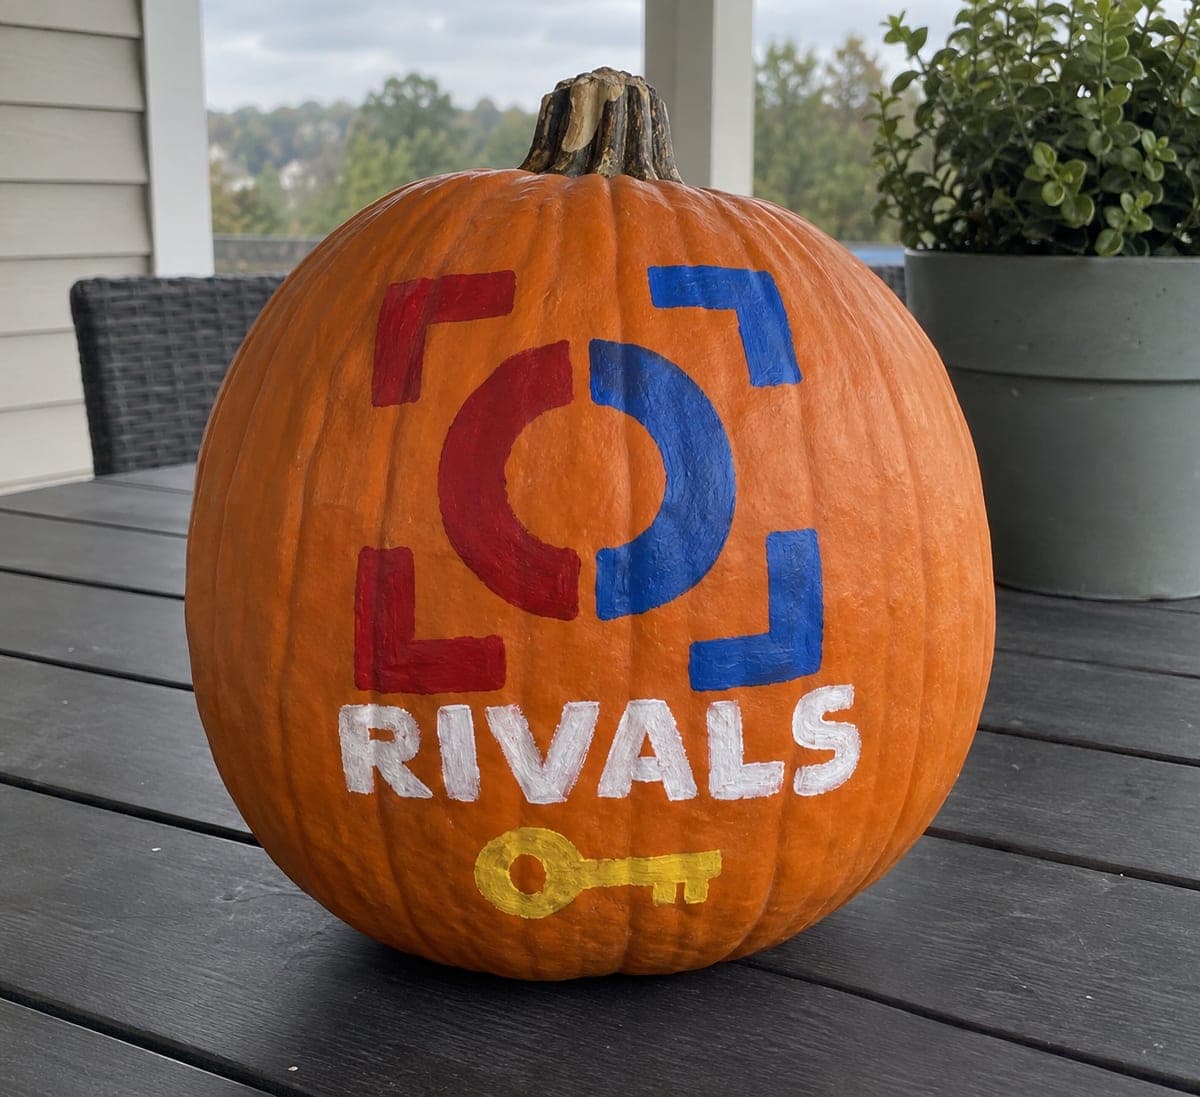
Rivals Toy Blaster and Target Silhouette Jack-O-Lantern

This hard roblox rivals pumpkin carving uses a silhouette technique to cut the main toy-blaster shapes and target open without leaving any trigger islands, while small keys and lettering are interpreted as shallow backed accents on a garage-bench display piece. Trace the blaster outline carefully and remove the background around it rather than the blaster itself, so the silhouette glows as a solid recognizable form. Backed key details catch ambient light and add game-accurate layering.

No ratings yet · Sign in to rate

Comments (0)

  • No comments yet — be the first.

Save without an account. Sign in to like or comment.

Our tips for carving a similar design

The main toy-blaster shapes and target are opened as silhouette cuts, meaning the background around the design is removed rather than the design itself, so the blaster and target glow as solid recognizable forms. Small key and lettering accents are shallow-backed within the intact silhouette areas to add game-accurate layering without any additional full cuts. Tracing the blaster outline carefully and removing background is the defining technical step.

From pumpkin to porch

  1. Prep and gut the pumpkin

    Bottom-cut and gut the pumpkin, scraping interior walls to a consistent three-quarter-inch depth. The silhouette technique illuminates the entire blaster and target form, so an even interior wall is more important here than for designs with isolated cut openings. Dry the interior before transfer.

  2. Transfer with carbon paper

    Carbon paper is essential for tracing the blaster's complex outer silhouette accurately. Tape the stencil and carbon sheet to the face, trace every outline firmly, then remove both sheets and mark the outer background zones as cut areas and the blaster and target form as backed-scrape areas. Distinguish key and lettering accent positions in a third color.

  3. Back the full blaster and target silhouette

    Before cutting any background away, shallow-back the entire blaster and target form area with a wide flat gouge to a depth of 5 millimeters, leaving the floor intact. This backed layer will glow as the silhouette, and doing it before the background cuts preserves the rind context while you work. Keep the depth even throughout.

  4. Cut the background around the silhouette

    Using a pumpkin saw, cut away the background rind around the blaster and target outline, working carefully along the outer silhouette edge. Approach the blaster body from outside inward so you can stop at any silhouette edge with precision. Remove background sections a few inches at a time rather than attempting one large sweeping cut.

  5. Add backed key and lettering accents

    Switch to a narrow gouge to add backed key shapes and lettering detail within the already-thinned silhouette area. These secondary backs sit about 2 millimeters deeper than the surrounding silhouette floor, creating a subtle but visible accent when lit. Work carefully within the silhouette zone and keep every accent connected to the surrounding rind.

  6. Display on a garage bench

    Place an LED inside and set the pumpkin on a garage bench at standing height. The solid glowing blaster and target silhouette reads like a backlit game graphic from across the garage. Photograph with a slightly longer exposure to capture the full glow range from bright background cuts to mid-tone silhouette to the subtle backed accents.

Written with AI to match this design

Gather your supplies

Check things off as you get ready.

Work on a stable surface, keep your free hand out of the cutting path, and have an adult handle sharp tools.

Three levels of light

  • Leave intact

    The blaster and target silhouette form is backed but floor-intact, producing a consistent mid-glow body.

  • Peel & shade

    The backed key and lettering accents within the silhouette glow at a slightly brighter secondary level.

  • Cut through

    The background areas surrounding the full silhouette outline are cut away for the brightest possible frame glow.

Learn the carving basics

Before you start cutting

How do I cut the background around the blaster without nicking the silhouette edge?

Cut from the outer edge of the background toward the silhouette rather than starting at the silhouette and sawing outward. Stop the blade about 2 millimeters before the silhouette edge and use a pointed knife to pare the last bit of background away by hand. This controlled approach prevents the saw from jumping across the silhouette boundary.

The silhouette backing looks patchy because of the blaster's irregular surface details. How do I even it out?

Work the backing in overlapping passes with a flat gouge rather than trying to follow every contour line of the blaster shape. A uniform depth across the whole silhouette is more important than matching the shape's internal details, since the light will read the overall form rather than the individual contour zones. Check depth from inside with a flashlight every few passes.

Is the no-trigger-islands requirement really important, or can I add a trigger opening?

Adding a trigger opening is fine if the trigger shape connects to the surrounding background without creating a floating island of rind. Score the trigger shape and confirm both ends exit to open background before cutting. An isolated rind island in a silhouette design will eventually fall into the pumpkin and leave a hole in the wrong place.

Your take belongs here, too.

Changed a detail? Made it simpler? Share a photo of your version and tell the community what worked.

Share your pumpkin

More pumpkins like this

You've reached the end · 8 pumpkins
The Patch Report

Fresh pumpkins, in your inbox.

The best new carvings, ideas worth stealing, and how-tos for carving season. Short, seasonal, and gone by November.

A short email during carving season. Unsubscribe anytime. See our privacy policy.