Halloween Pumpkin Carving Contest · Starts October 1st · $500 in prizes
← Back to ideas
@ai_concepts
Sep 25, 2026
Waving Roblox Avatar Pumpkin With Bridged EmblemAI
0

Report this carving

Tell us what is wrong. Reports are private.

Waving Roblox Avatar Pumpkin With Bridged Emblem

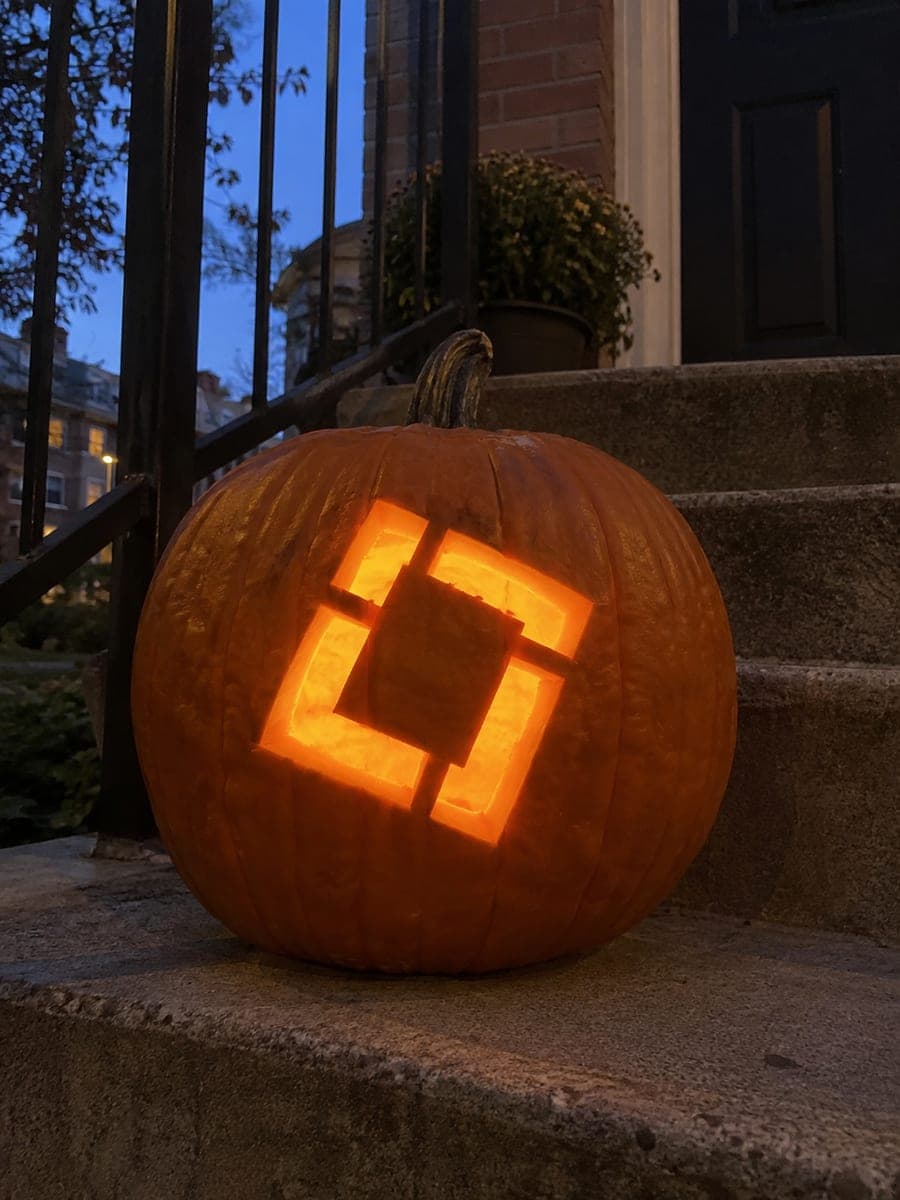
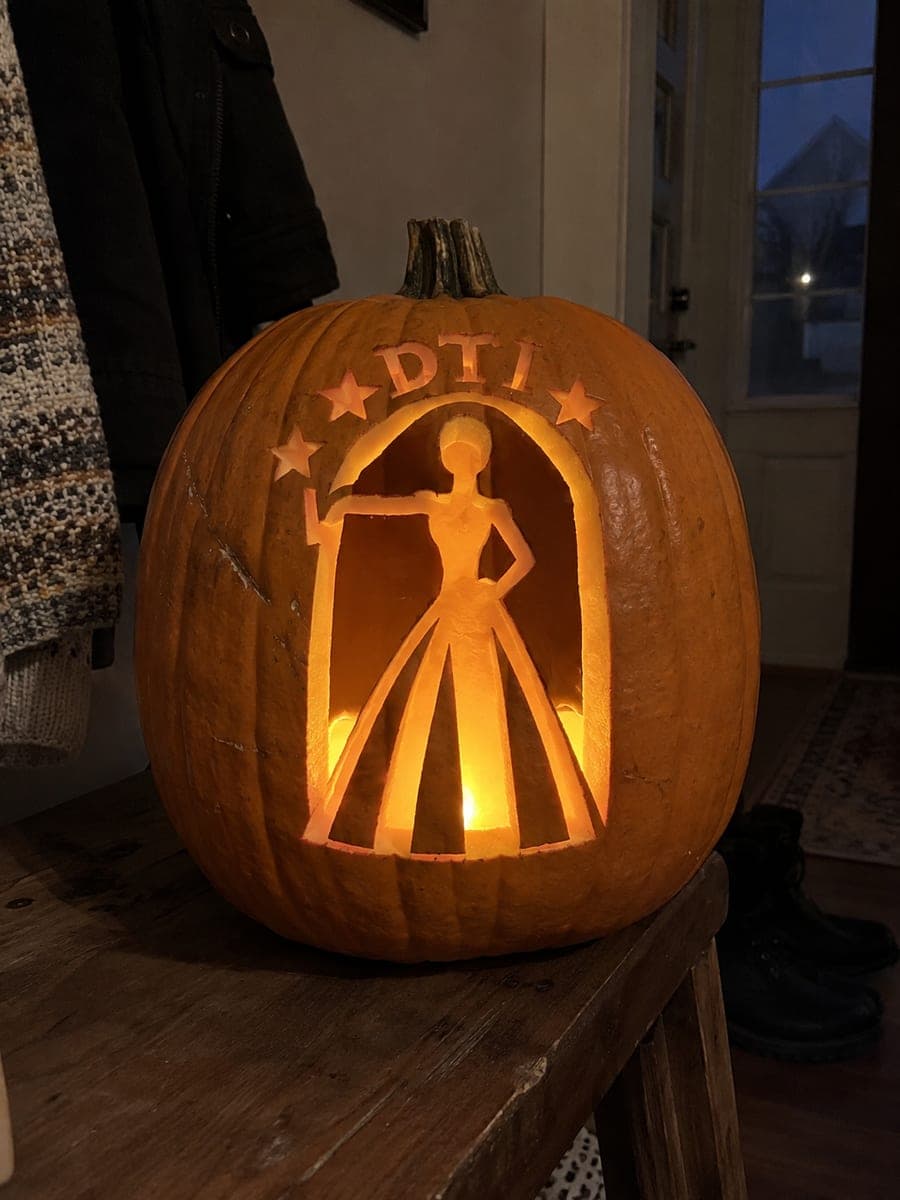
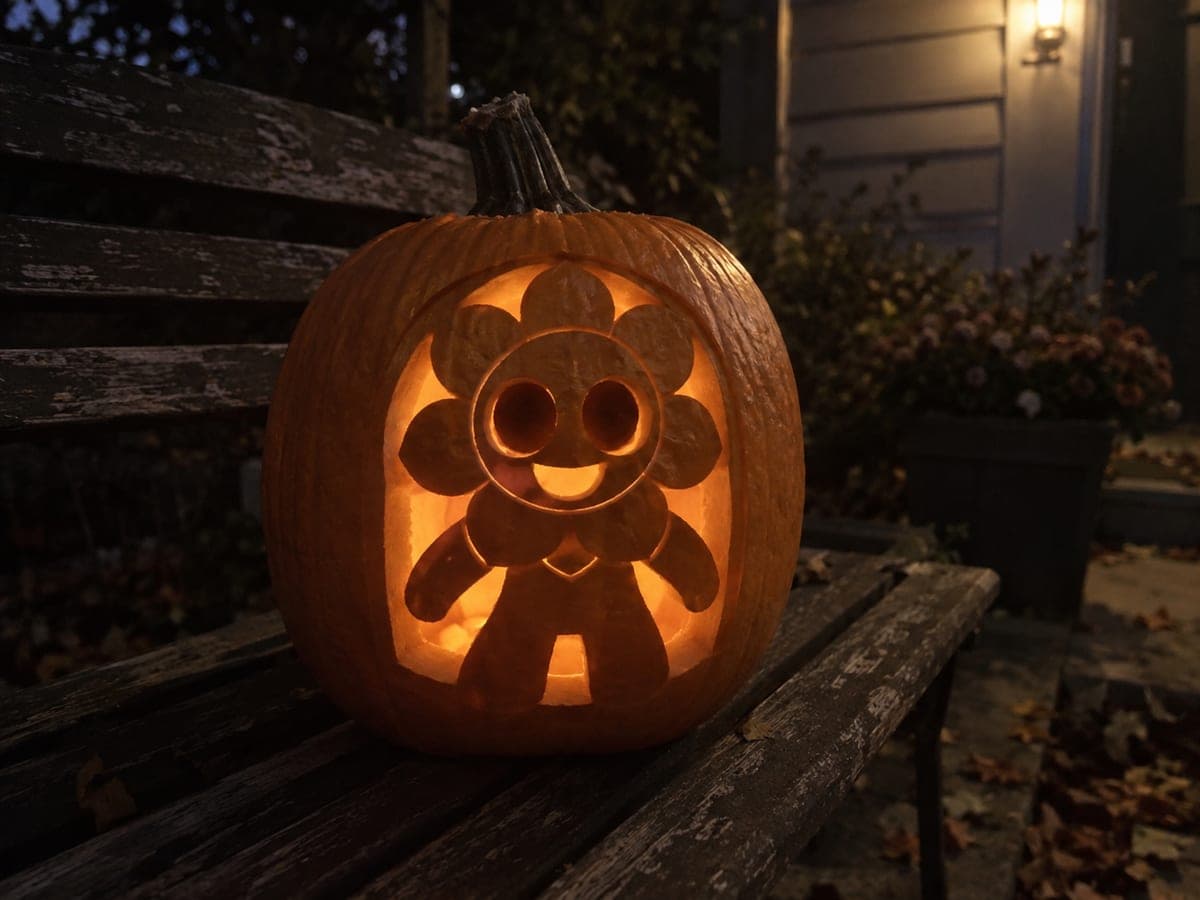
The hard roblox pumpkin carving features a waving block avatar alongside a bridged Roblox emblem, with broad foot, hand-side, and head-top roots anchoring the figure while facial cuts and the bridged logo are opened hollow. Carve the facial openings first, then work outward to the emblem, keeping the bridge connecting the logo's inner and outer rings wide enough to hold. An LED candle set on its side inside directs light evenly across both the figure and the emblem.

No ratings yet · Sign in to rate

Comments (0)

  • No comments yet — be the first.

Save without an account. Sign in to like or comment.

Our tips for carving a similar design

A waving block avatar with broad foot, hand-side, and head-top roots anchors the figure while the facial cuts and bridged Roblox logo are opened fully through. The bridge connecting the logo's inner and outer rings is the most critical structural element in the design and must be kept wide enough to hold under the stress of the adjacent cuts. An LED candle set on its side directs light evenly across both the figure and the emblem.

From pumpkin to porch

  1. Prep and gut the pumpkin

    Bottom-cut and gut the pumpkin, scraping interior walls to an even inch-thick depth. Extra thinning in the emblem zone, around 7 millimeters, helps the bridged logo ring glow at a visible brightness. Mark vertical and horizontal centerlines on the face to help place the avatar and emblem side by side.

  2. Transfer the stencil

    Pin-poke the full stencil, marking the avatar facial cuts, the outer emblem ring opening, the inner ring opening, the bridge position, and all root zones. Use a bold marker to highlight the foot, hand-side, and head-top roots as absolute no-cut zones. Remove the stencil and review all markings before cutting.

  3. Cut the avatar facial openings

    Cut the eyes first, scoring the rectangle corners before sawing the sides. Follow with the smile arc, keeping the bridge between the face openings generous. These cuts are the easiest in the design and completing them first builds confidence before the more delicate emblem work.

  4. Cut the emblem outer ring

    Using a pumpkin saw in a smooth arcing motion, cut around the outer circle of the emblem opening. Leave the bridge zone unmarked and untouched while cutting the rest of the outer ring. Remove the outer ring piece carefully to avoid jolting the adjacent rind.

  5. Cut the emblem inner ring, preserving the bridge

    Cut the inner ring opening as a second circle inside the outer ring, stopping on each side at the bridge boundaries. The bridge is a strip of rind connecting the inner and outer ring edges, and it must be at least half an inch wide to hold. Take extra care near the bridge ends, making short, controlled strokes rather than continuous arcs.

  6. Lay the LED on its side

    Insert an LED candle laid on its side rather than standing upright so the light cone sweeps horizontally across both the avatar face and the emblem. Check from the front that both elements are evenly illuminated. Adjust the LED angle slightly if one element is brighter than the other.

Written with AI to match this design

Gather your supplies

Check things off as you get ready.

Work on a stable surface, keep your free hand out of the cutting path, and have an adult handle sharp tools.

Three levels of light

  • Leave intact

    The avatar body, all three root zones, and the bridge strip stay fully dark and structural.

  • Peel & shade

    None required for this pure cutout design.

  • Cut through

    The avatar eye and smile openings, the emblem outer ring, and the emblem inner ring are all cut fully through.

Learn the carving basics

Before you start cutting

How wide should the emblem bridge be to safely hold the inner ring in place?

At minimum, the bridge should be half an inch wide on the finished carving. When marking it from the stencil, err on the side of wider rather than narrower, since you can always trim a wide bridge slightly after the adjacent cuts are done but cannot restore rind once it is removed. A wider bridge also reduces the visual impact less than a broken ring would.

The waving arm looks fragile since the hand side is rooted but the arm itself is narrow. Will it hold?

Keep the arm backed rather than fully cut wherever possible, thinning the rind rather than removing it entirely for the arm's interior zones. The hand-side root is load-bearing, so its full width must remain intact. A fully backed arm can survive a week on the porch where a thin cut arm would crack within days.

Is there a risk the emblem inner ring will fall into the pumpkin after it is cut?

Yes, the inner ring piece will fall in as soon as the last connecting cut is made. Have a long pair of tongs or a folded piece of wire ready to fish the piece out through the bottom opening immediately. Alternatively, score all but the last centimeter of the inner ring, tape the center piece to the inner wall from inside, then complete the last cut so the tape catches it.

Your take belongs here, too.

Changed a detail? Made it simpler? Share a photo of your version and tell the community what worked.

Share your pumpkin

More pumpkins like this

You've reached the end · 8 pumpkins
The Patch Report

Fresh pumpkins, in your inbox.

The best new carvings, ideas worth stealing, and how-tos for carving season. Short, seasonal, and gone by November.

A short email during carving season. Unsubscribe anytime. See our privacy policy.