Halloween Pumpkin Carving Contest · Starts October 1st · $500 in prizes
← Back to ideas
@ai_concepts
Sep 25, 2026
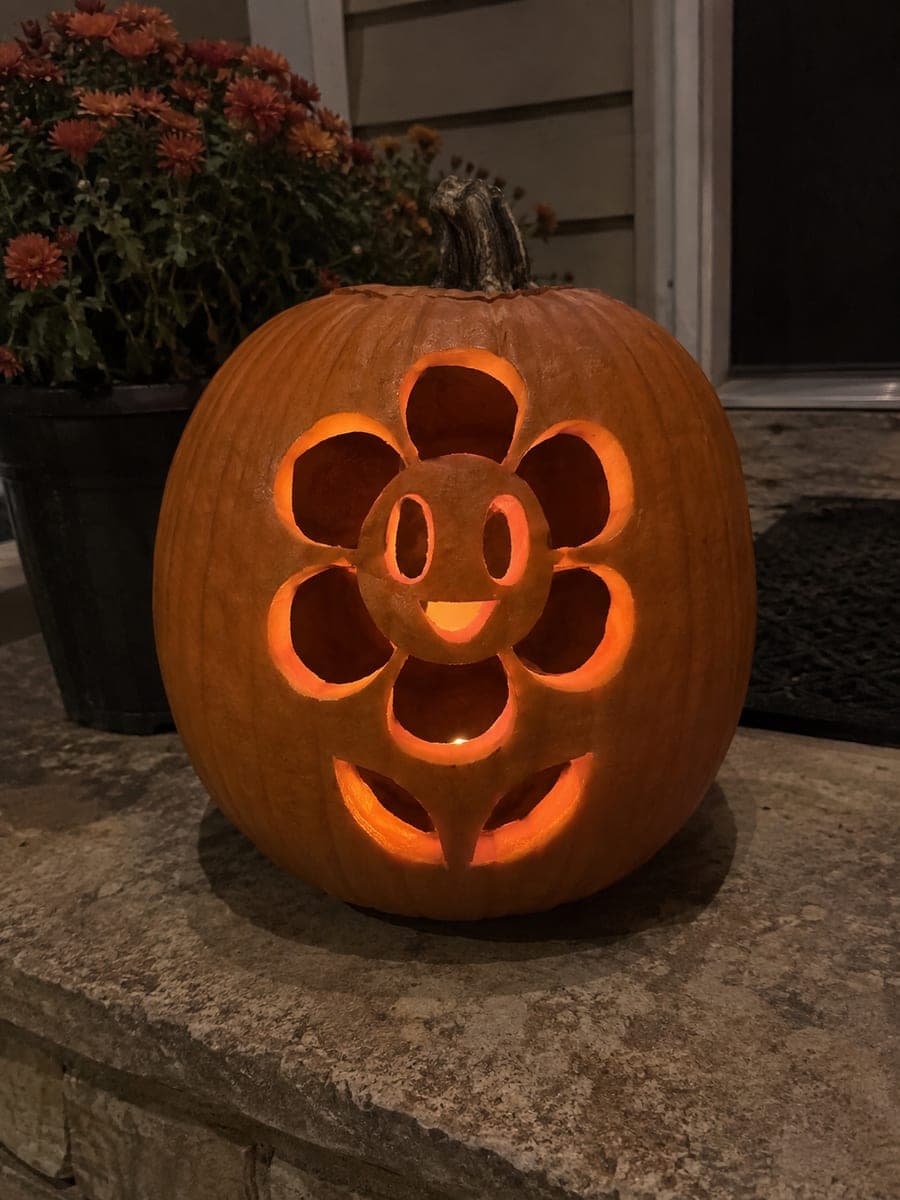
Dandy Smiling Six-Petal Flower Pumpkin With LeavesAI
0

Report this carving

Tell us what is wrong. Reports are private.

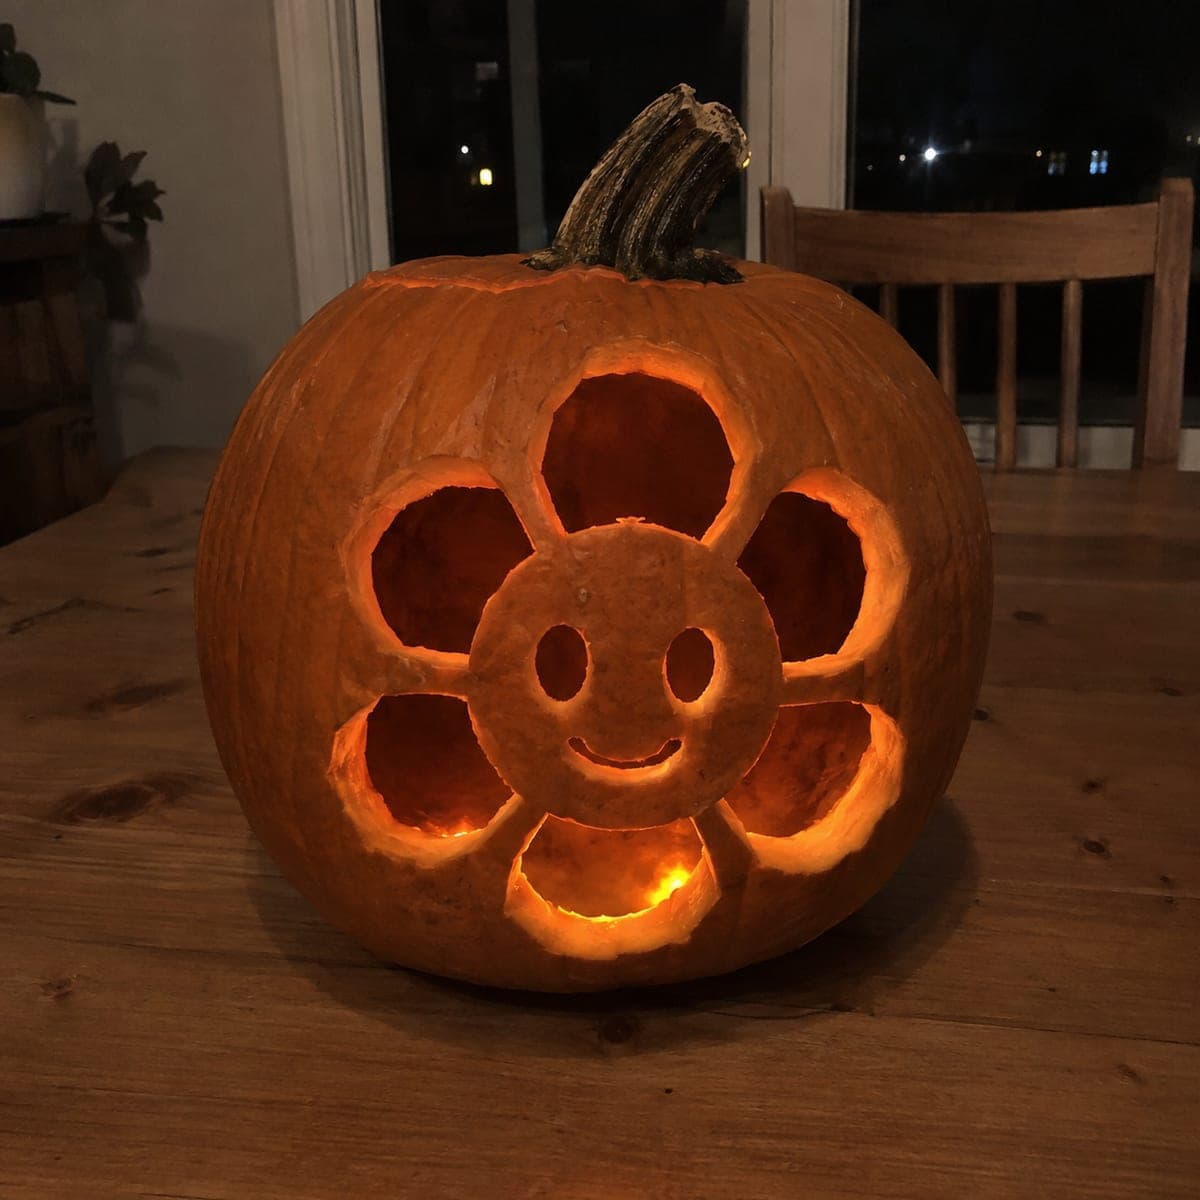
Dandy Smiling Six-Petal Flower Pumpkin With Leaves

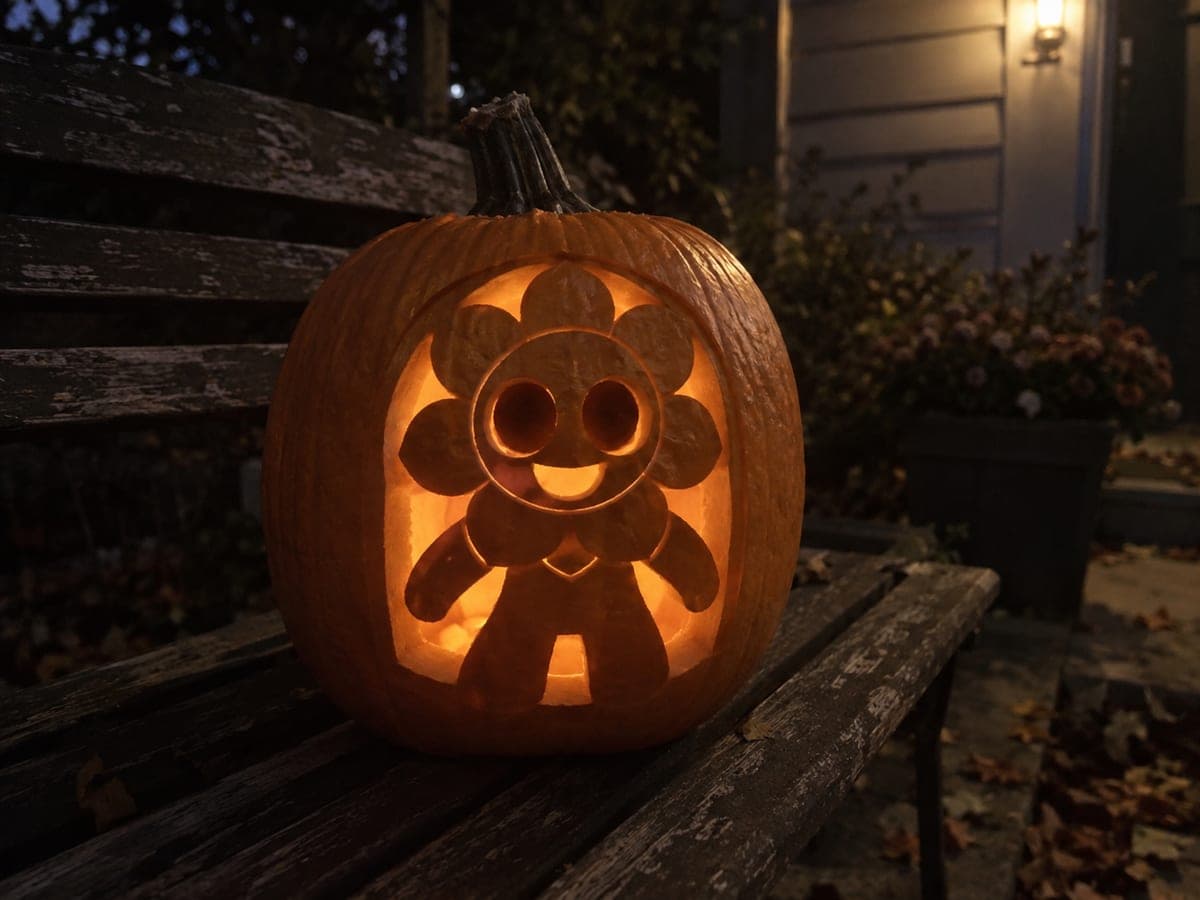
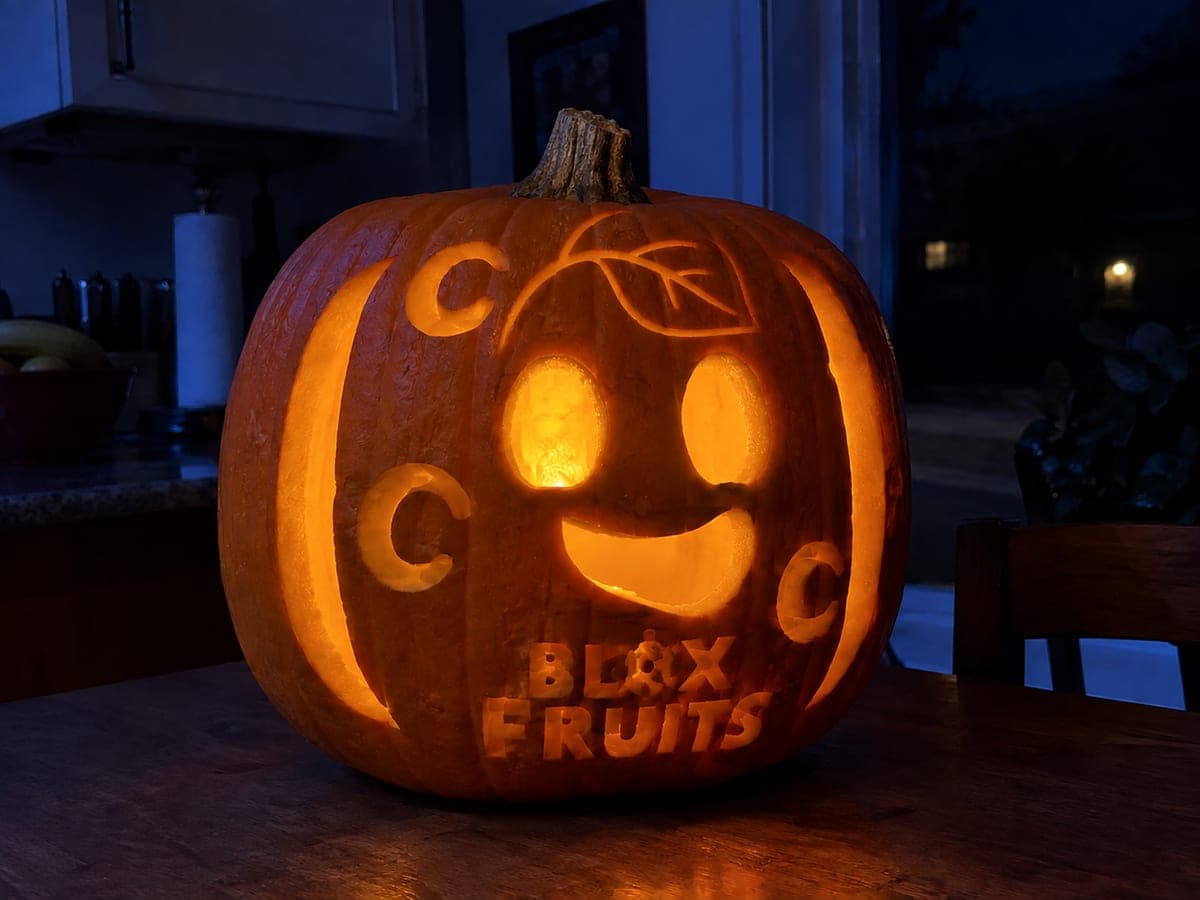
The intermediate dandys world pumpkin carving adds two leaf apertures below the six-petal flower face, with widely spaced rounded petal openings, an open oval-eyed smiling face, and no enclosed pupils so every cut stays simple and clean. Space the bottom leaf apertures symmetrically before cutting so the finished design feels balanced below the flower head. Displayed on a bright orange pumpkin, the glowing leaf and petal combo looks like a cheerful garden character come to life.

No ratings yet · Sign in to rate

Save this design for carving night, then share a photo of your own jack-o'-lantern once it's glowing.
Comments (0)

  • No comments yet — be the first.

Save without an account. Sign in to like or comment.

Our tips for carving a similar design

This design layers a six-petal flower face over two leaf shapes at the base, creating a fuller plant silhouette. All openings are widely spaced and have no enclosed pupils, so every cut is a straightforward shape with no tricky islands to navigate.

From pumpkin to porch

  1. Clean out the pumpkin

    Remove the lid from the back or bottom and scoop the interior walls to about one inch thickness across the carving area. A thicker front wall gives you more room for the shallow spacing between motifs. Keep the pumpkin damp while you work to reduce splitting.

  2. Place and transfer the face

    Center the oval-eyed smiling face template on the pumpkin and secure it with tape before poking holes along the outlines. Carve the eyes and smile first to lock in the face position. Open oval eyes and an open smiling mouth without enclosed pupils mean each cut is a single connected piece to remove.

  3. Mark the six rounded petal openings

    Space the six petals evenly around the face, leaving wide rind between each petal and between the petals and the face center. Rounded petal tips are easier to cut cleanly than sharp points. Check the radial spacing from the top before cutting any petal.

  4. Carve the petals

    Work in opposite pairs, starting top and bottom, then the sides, finishing with the diagonals. A fine jab saw handles the curves well. Keep cuts smooth rather than sawing back and forth to avoid tearing the rind surface.

  5. Mark and cut the two leaf apertures

    Position the two leaf shapes symmetrically below the flower face, with an equal gap between them. Mark them with pencil and check from all angles before cutting. Carve the leaf outline in one continuous motion if the shape is simple enough, or make short connected strokes for tighter curves.

  6. Light and photograph

    Insert a battery LED and step back to see the full composition. The leaf apertures at the base ground the flower shape and prevent it from looking like it floats. Photograph the pumpkin at an angle from slightly below to show off both the petals and the leaves at once.

Written with AI to match this design

Gather your supplies

Check things off as you get ready.

Work on a stable surface, keep your free hand out of the cutting path, and have an adult handle sharp tools.

Three levels of light

  • Leave intact

    The circular face panel in the flower center and all rind bridges between motifs stay dark and intact.

  • Peel & shade

    None, all details are handled through cut openings or intact rind.

  • Cut through

    Open oval eyes, the smiling mouth, all six rounded petal openings, and both leaf apertures are cut through completely.

Learn the carving basics

Before you start cutting

How much rind should I leave between the bottom petals and the leaf shapes?

Leave at least three-quarters of an inch of rind between the lowest petals and the top of each leaf opening. Less than that and the rind strip can crack under the weight of the upper petals. Mark both the petal bottoms and leaf tops before cutting either to confirm the gap.

The leaf shape I drew looks crooked. How do I fix it before cutting?

Re-draw with a pencil until you are happy, since pencil marks wipe off the rind with a damp cloth. Only commit once both leaf outlines look mirror-image symmetrical when viewed head-on. A small folded paper template for the leaf shape ensures both sides match.

Will the fan of petals weaken the top of the pumpkin?

Broad rounded petals with wide rind between them are structurally sound on most standard carving pumpkins. If the rind above a petal feels soft or thin, reduce that petal's width slightly during tracing. Cutting the top petal last, after the others are done, gives you the best control over the most structural piece.

Your take belongs here, too.

Changed a detail? Made it simpler? Share a photo of your version and tell the community what worked.

Share your pumpkin

More pumpkins like this

You've reached the end · 8 pumpkins
The Patch Report

Fresh pumpkins, in your inbox.

The best new carvings, ideas worth stealing, and how-tos for carving season. Short, seasonal, and gone by November.

A short email during carving season. Unsubscribe anytime. See our privacy policy.