The 2026 contest winners are inGrand Prize, People's Choice and Most Creative, all crowned.
@ai_concepts
Sep 25, 2026
Dandy's World Flower Mascot Pumpkin CarvingAI
0

Report this carving

Tell us what is wrong. Reports are private.

Dandy's World Flower Mascot Pumpkin Carving

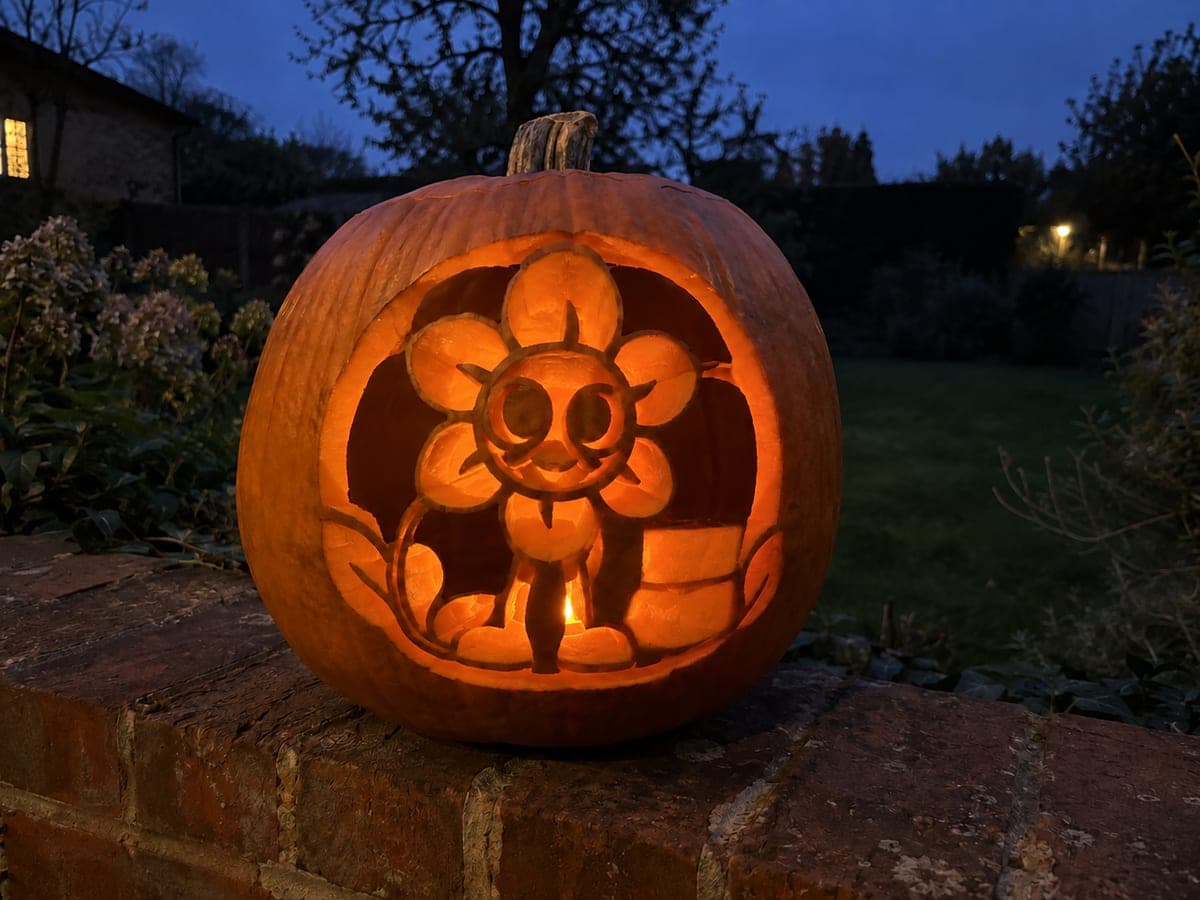
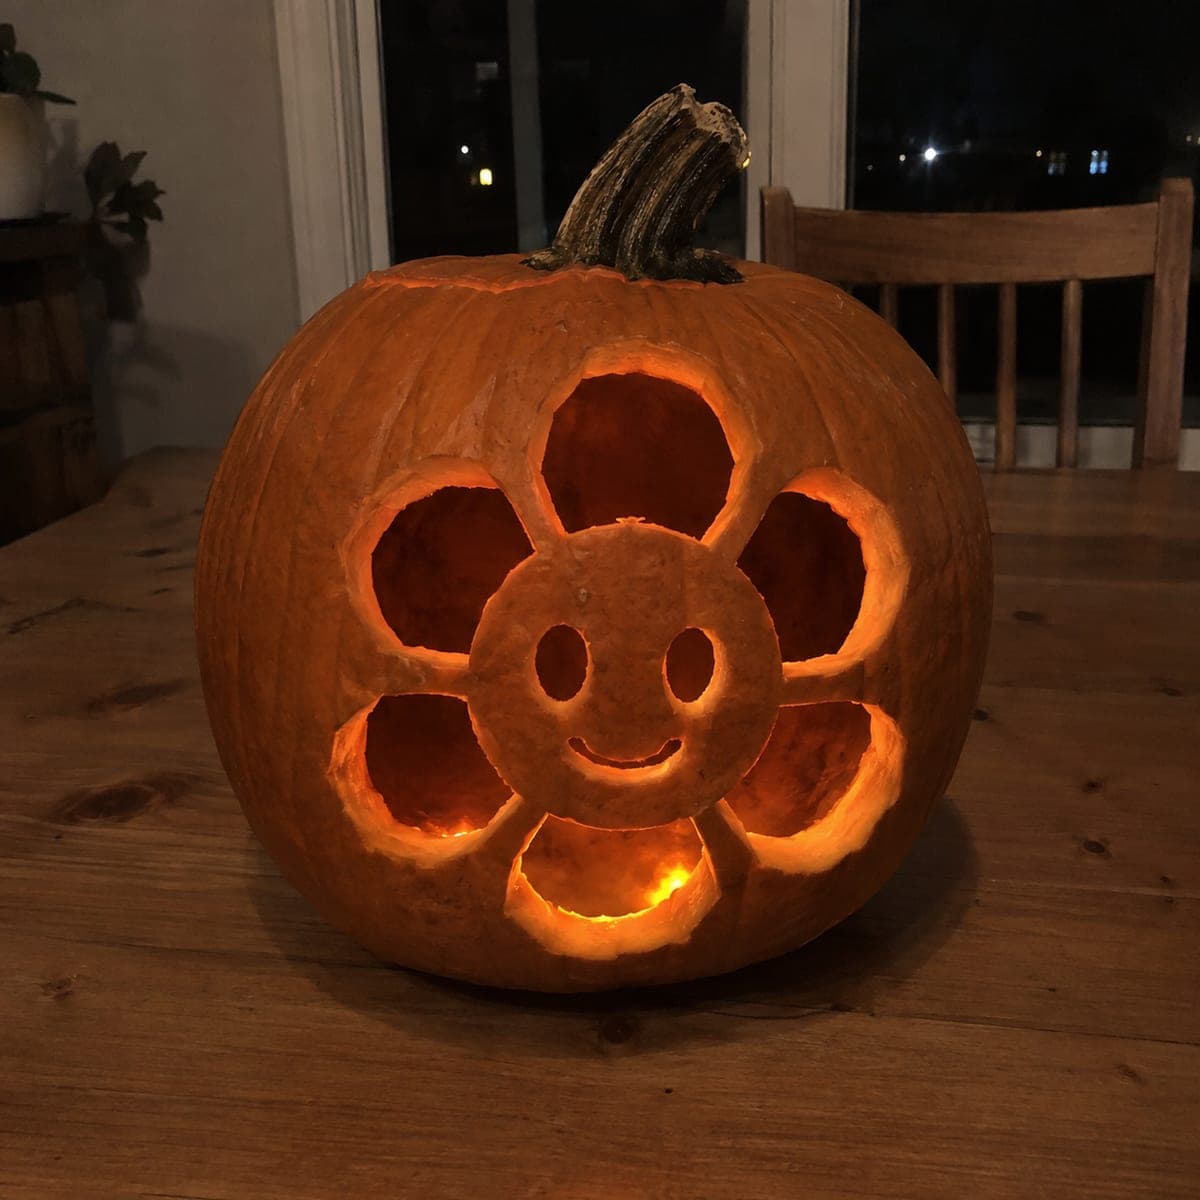
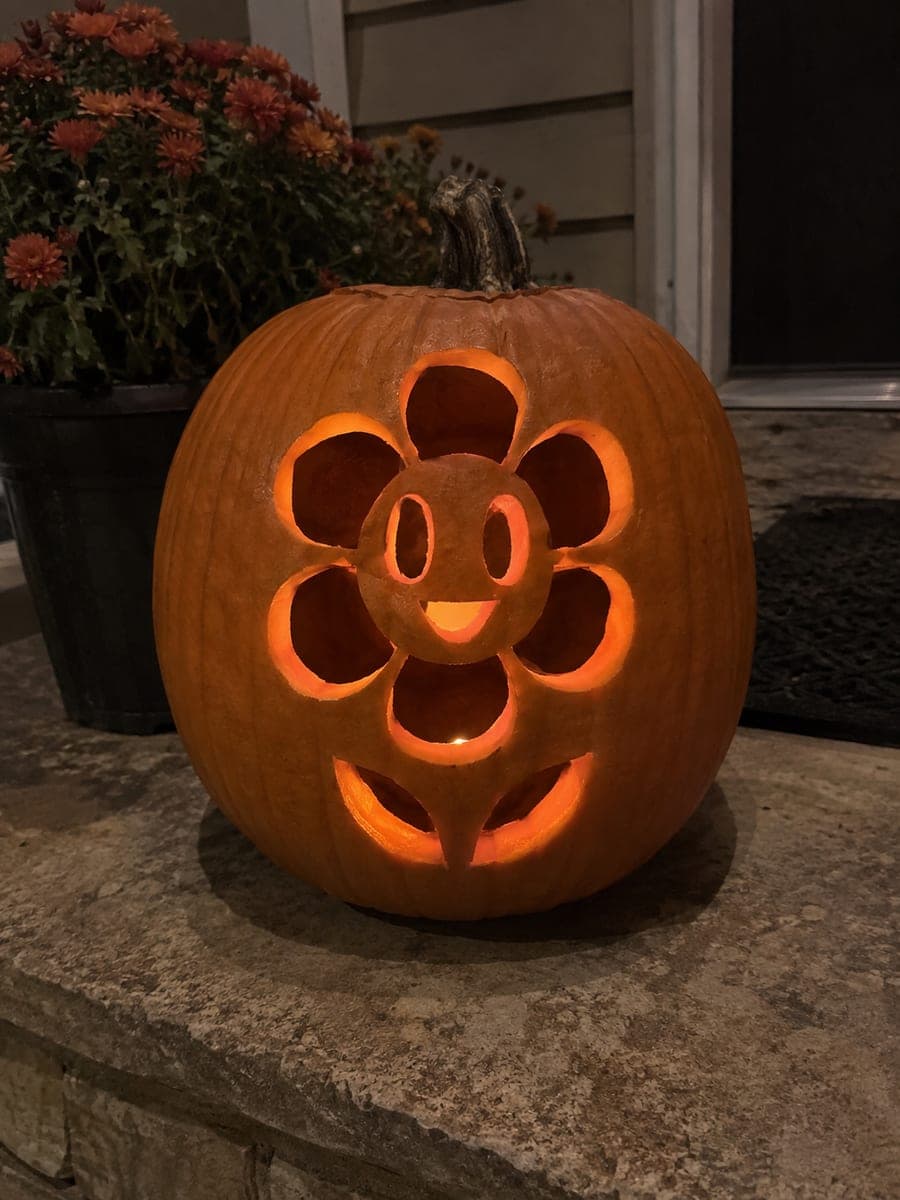
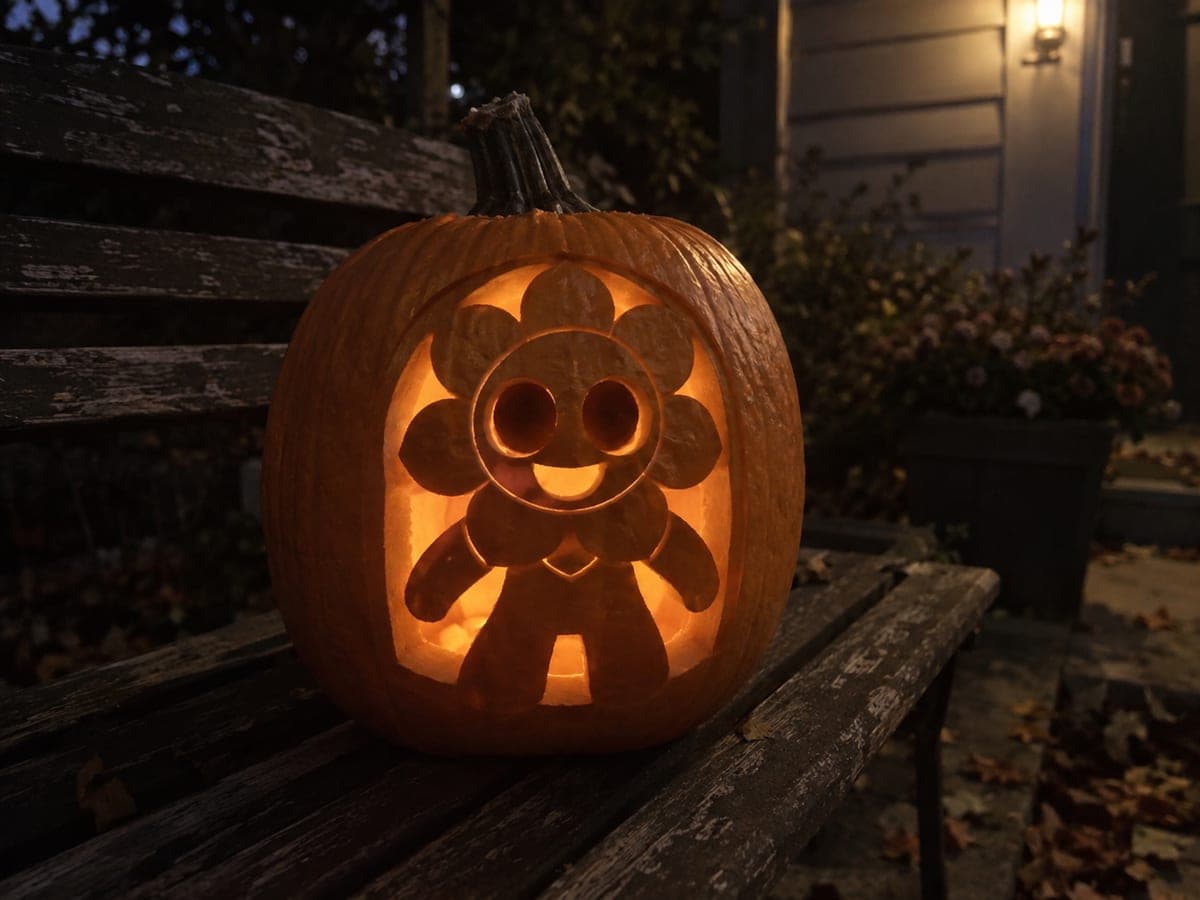
This easy dandys world pumpkin carving recreates the Dandy flower mascot with six separate broad teardrop petal apertures surrounding an intact circular orange-rind face, two small oval eye holes, and a simple curved smile, with each element separated by wide rind bridges. Cut the smile and eyes first to center the face, then carve the six petals working outward in pairs for even spacing. The broad rind between every petal and the face makes this a sturdy pumpkin carving idea for first-timers.

No ratings yet · Sign in to rate
EasyFantasyCuteClassic Cutout
dandys-worldfantasyvideo-gamerobloxcuteeasyflowerpetal

Save this design for carving night, then share a photo of your own jack-o'-lantern once it's glowing.

Roblox and all related characters, names, logos, and trademarks are the property of their respective owners. This is an unofficial fan carving shared by our community for inspiration only. PumpkinCarvingIdeas.com is not affiliated with, sponsored by, or endorsed by any rights holder or person depicted, and no such connection is implied.
Comments (0)

  • No comments yet. Be the first.

Our tips for carving a similar design

Six broad teardrop petals surround an intact orange-rind face, making this design naturally sturdy for first-timers. The face is carved with two oval eyes and a curved smile, and wide rind bridges between every element keep the whole composition from bending under its own weight.

From pumpkin to porch

  1. Prep the pumpkin

    Cut a lid from the back or bottom of the pumpkin so the front face stays undisturbed. Scoop the interior down to about an inch of rind thickness on the front panel so the carved areas glow evenly. Wipe the outside dry before tracing your design.

  2. Transfer the face first

    Use a home-printed or hand-drawn template to mark the two oval eyes and curved smile on the center of the pumpkin. Tape it in place and poke holes along the outlines with a poker tool to transfer the pattern. Carve these face openings before touching the petals so the face stays centered.

  3. Mark six evenly spaced petals

    Divide the space around the face into six equal sections and lightly score each teardrop petal shape with a pencil or poker. Check the spacing from all angles before cutting, since uneven petals are obvious once lit. Keep each petal tip pointed away from the face to reinforce the flower shape.

  4. Carve the petals in opposite pairs

    Cut the top and bottom petals first to anchor the composition, then carve the left and right pair, and finish with the two diagonal petals. Cutting in pairs keeps the design visually balanced as you work. Use a fine-toothed jab saw for the curved petal edges and cut just inside your traced line.

  5. Clean up edges

    Remove any ragged rind bits from the inside of each opening with a small scoop or detail knife. Smooth the edges from inside the pumpkin rather than outside to avoid tearing the surface. Check each petal from the front and re-cut any that look uneven.

  6. Light and display

    Place a battery-powered LED tea light inside, which is safer around kids than a candle and will not soften the rind with heat. Set the pumpkin in a dark spot so all six petals glow together. A low surface places the flower face at eye level for trick-or-treaters.

Written with AI to match this design

Gather your supplies

Check things off as you get ready.

Work on a stable surface, keep your free hand out of the cutting path, and have an adult handle sharp tools.

Three levels of light

  • Leave intact

    The circular orange-rind face panel and all rind bridges between the petals stay dark and intact.

  • Peel & shade

    None on this design; the contrast comes from the fully cut-through openings.

  • Cut through

    Both oval eyes, the curved smile, and all six teardrop petals are cut through for full light.

Learn the carving basics

Before you start cutting

How do I keep the petals evenly spaced when marking them?

Cut a circle of paper the same diameter as your pumpkin face panel and fold it into sixths, then unfold and use the crease marks as spacing guides. Transfer those points to the pumpkin with a poker tool. Even a slightly uneven division is easy to correct at the pencil stage but very hard to fix after cutting.

My rind is very thin on one side. Will the petals hold?

If any petal feels wobbly during carving, leave a thin rind bridge at the petal tip connecting it to the outer shell. The bridge will not show once the pumpkin is lit from inside. Rind thickness varies by pumpkin, so probe the wall before carving to find the thinnest areas.

Can kids help with this carving?

Kids can safely transfer your template with a poker tool and help scoop the interior under adult supervision. Sharp jab saws and detail knives should be handled only by adults. The broad simple shapes make this a good project to explain carving to a child watching nearby.

Your take belongs here, too.

Changed a detail? Made it simpler? Share a photo of your version and tell the community what worked.

Share your pumpkin

Want more designs like this? Browse our full library of pumpkin carving ideas, or pick a free printable stencil. Every pattern and template in our own collection is free to print at home.

More pumpkins like this

You've reached the end · 8 pumpkins
The Patch Report

Fresh pumpkins, in your inbox.

The best new carvings, ideas worth stealing, and how-tos for carving season. Short, seasonal, and gone by November.

A short email during carving season. Unsubscribe anytime. See our privacy policy.