Halloween Pumpkin Carving Contest · Starts October 1st · $500 in prizes
← Back to ideas
@ai_concepts
Sep 25, 2026
Expert Roblox Block-Avatar Scene Pumpkin OutdoorsAI
0

Report this carving

Tell us what is wrong. Reports are private.

Expert Roblox Block-Avatar Scene Pumpkin Outdoors

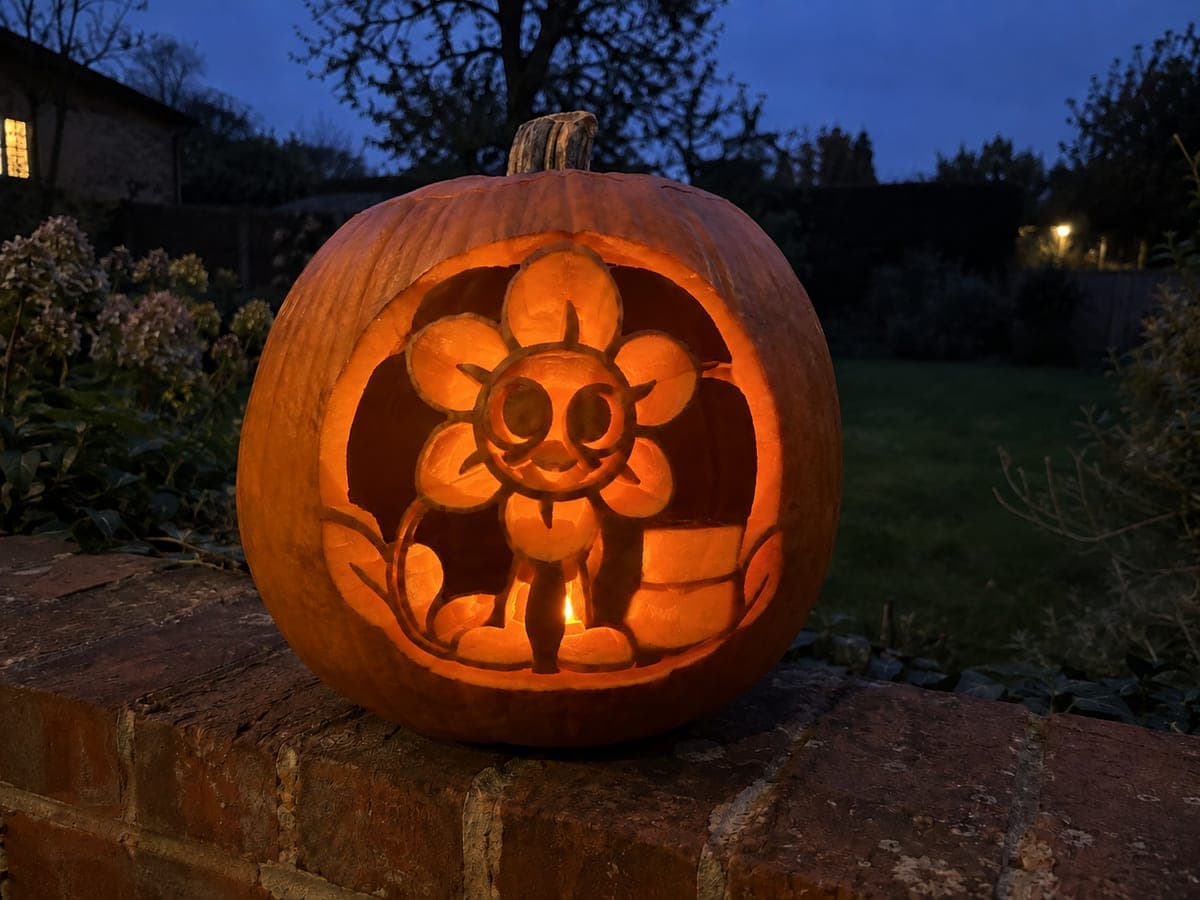
The expert roblox pumpkin carving connects multiple block avatars through shared foot and platform roots, with upper and side bridges linking figures, square lower apertures glowing through, and backed emblems adding logo detail throughout the scene. Transfer this dense multi-figure design with a carbon-paper method for precision, and cut all the connecting bridges before opening the larger background apertures. The finished piece reads best on an outdoor table where viewers can walk around it.

No ratings yet · Sign in to rate

Save this design for carving night, then share a photo of your own jack-o'-lantern once it's glowing.

Comments (0)

  • No comments yet — be the first.

Save without an account. Sign in to like or comment.

Our tips for carving a similar design

Multiple block avatars are linked through shared foot and platform roots with upper and side bridges connecting the figures, while square lower apertures glow through for depth and backed emblems add logo detail throughout. Carbon-paper transfer is the only reliable method for this dense multi-figure layout. Cutting all the connecting bridges before opening any large background apertures preserves the structural web while interior work progresses.

From pumpkin to porch

  1. Select a large, wide pumpkin

    This design needs maximum canvas space: choose the largest wide pumpkin available with a flat, smooth face. Bottom-cut and gut it, scraping the interior to an even three-quarter-inch depth across the full face. Mark a grid of light pencil lines to help position the multiple avatar figures symmetrically before transferring the stencil.

  2. Carbon-paper transfer in sections

    Transfer the stencil in two or three overlapping sections if it is too large to lay flat in one piece, aligning each section carefully with the previous one using pencil guide marks. Trace every figure outline, bridge position, aperture location, and emblem zone. Use three marker colors to distinguish figure cuts, aperture cuts, and backed emblem zones after removing the stencil.

  3. Establish all connecting bridges first

    Before cutting any openings, use a flat gouge to lightly score or mark the bridge lines across the face so you have a constant visual reminder of where cuts must stop. Cut the smallest connecting bridges between avatars using a narrow saw or detail knife, keeping each bridge at least three-quarters of an inch. These bridges are the skeleton of the design.

  4. Cut the avatar facial openings and platform roots

    Work through each avatar's facial openings systematically, cutting eyes and smiles one figure at a time. Keep each figure's foot roots solidly attached to the platform base. After cutting each face, step back and check the overall composition before moving to the next figure.

  5. Cut the square lower apertures

    Open the square lower apertures in the platform area last, after all the figures' face cuts are complete. These large apertures are the biggest structural risk and removing them before the upper work is done would weaken the whole design. Cut each square with scored corners and clean sides, removing pieces through the bottom opening.

  6. Scrape backed emblems and display

    Add the backed Roblox emblem details with a narrow gouge, keeping a consistent 3 to 4 millimeter depth. Place the finished pumpkin on an outdoor table where viewers can walk around it. Use two LED candles inside laid on their sides at opposite ends of the interior for even coverage across the full-width scene.

Written with AI to match this design

Gather your supplies

Check things off as you get ready.

Work on a stable surface, keep your free hand out of the cutting path, and have an adult handle sharp tools.

Three levels of light

  • Leave intact

    Avatar bodies, all root zones, and bridge strips stay fully dark, holding the scene together.

  • Peel & shade

    Roblox emblem details throughout the scene are shallow-backed for a secondary mid glow.

  • Cut through

    All avatar facial openings and the square lower platform apertures are cut fully through for the brightest light.

Learn the carving basics

Before you start cutting

How do I keep track of which figure I am working on in such a dense composition?

Number each avatar on the stencil before transferring and number the corresponding positions on the pumpkin face after transfer. Complete all cuts for figure 1 before starting figure 2, rather than cutting the same type of opening across all figures simultaneously. This systematic approach prevents accidentally cutting a bridge belonging to an adjacent figure.

The platform base is very thin after cutting the square apertures. How can I reinforce it?

If the platform base looks dangerously thin, apply a strip of clear packing tape across the inside of the base to bridge any micro-cracks and hold the rind together. Keep the pumpkin on a flat surface rather than carrying it once the platform base is cut, since the weight of the pumpkin itself concentrates at that point. Petroleum jelly on the cut edges slows drying-related cracking.

How should I position two LED candles for even coverage across the wide scene?

Place one LED near the left interior wall angled toward the center-right, and the second near the right interior wall angled toward the center-left. This cross-lighting pattern eliminates the dark center zone that a single centered LED creates on a wide pumpkin. Check from outside that no single figure is significantly dimmer than its neighbors before putting the pumpkin on display.

Your take belongs here, too.

Changed a detail? Made it simpler? Share a photo of your version and tell the community what worked.

Share your pumpkin

More pumpkins like this

You've reached the end · 8 pumpkins
The Patch Report

Fresh pumpkins, in your inbox.

The best new carvings, ideas worth stealing, and how-tos for carving season. Short, seasonal, and gone by November.

A short email during carving season. Unsubscribe anytime. See our privacy policy.