Similar pumpkin stencils
View all stencils →About this stencil
Download the Formula Race Car pumpkin stencil as a free printable PDF, then tape the pattern to your pumpkin and trace the lines. A detailed open-wheel formula racing car stretches across the full width of this pumpkin stencil in a low side profile, showing the nose cone, cockpit canopy, front and rear wings, and large exposed tires. The design keeps the car body as solid orange pumpkin wall with the negative space cut away around it, so the lit jack-o-lantern presents the car as an orange silhouette in a dark field. The nose cone and rear wing tips extend to very narrow points, so cut those extremities last once the large background sections have been removed and the remaining wall is light and flexible. It works as a carving template for a Halloween jack-o'-lantern or a fall porch display. It is rated Expert / Pro. Actual time varies with preparation, pumpkin size and experience. Intricate details and fragile supports need patience. Technique depends on the design; follow its PDF rather than assuming multiple depth layers.
Pumpkin size guide
- 🎃 Small (5 to 7"): print at 80%
- 🎃 Medium (7 to 10"): print at 100% (recommended)
- 🎃 Large (11 to 13"): print at 130%
- 🎃 Giant (14"+): print at 150% on tabloid paper
Frequently asked questions
Can I resize this stencil?▾
Yes. The PDF is vector so it scales cleanly. Print the pattern at 100% for a 7 to 10 inch pumpkin, 130% for 11 to 13 inch, or 150% for a giant. Use your printer's "Fit to page" or "Custom scale" setting.
What kind of paper works best?▾
Standard 20 lb letter or A4 printer paper is fine. Heavier paper is harder to bend around the pumpkin curve. If your printer supports it, set the quality to 'best' so the lines are crisp.
How long will the carved pumpkin last?▾
Usually 5 to 10 days. Coat all cut surfaces with petroleum jelly and store the pumpkin somewhere cool overnight. Avoid direct sun. Battery LED pumpkin lights produce no heat and help it last longer.
Can I sell pumpkins carved with this stencil?▾
Yes, the carved pumpkin you make is yours. The license covers personal and small-scale commercial carving (selling carved pumpkins, photographing them, posting on social). You may not resell the PDF file itself.
What if my printer doesn't print the whole stencil?▾
Set 'Page scaling' to 'Fit' in the print dialog and uncheck 'Auto-rotate'. If it still cuts off, the design includes 0.25" of safe-area margin so a small crop won't ruin it.
How to carve this stencil
- Transfer all lines carefully, paying close attention to the wing and tire outlines.
- Cut the large open background area behind the car body first, working in sections to avoid flexing the wall.
- Remove the space beneath the car between the tires, keeping the tire contact patches intact.
- Cut the narrow gap between the front wing and nose cone with a fine blade.
- Trim the rear wing and fin tips last, where the pumpkin wall is thinnest, using short controlled strokes.
- Illuminate from below so the low-slung car silhouette reads clearly against a lit backdrop.
Tools you'll need
For a expert / pro carve like this you'll want a fine-detail pumpkin saw, spoon / scoop, pin transfer tool, and detail gouges if the pattern includes shading. Here's the kit we reach for, but start with whatever you already own.

Elmchee Pumpkin Carving Kit
13-piece kit with carrying case
Saws for the larger cutouts, plus a scoop for hollowing. Covers both jobs in one kit.
View on Amazon ↗
HOME MOST LED Pumpkin Lights
4-pack, battery operated, with remote + timer
Orange glow made for jack-o'-lanterns. The remote and timer light the pumpkin every evening without reaching inside.
View on Amazon ↗
Speedball 4131 Lino Cutter Set
Handle + 5 interchangeable cutters
Interchangeable cutters for peeling and shading the face. Useful for the finer details.
View on Amazon ↗
Reviews from carvers
Every rating comes from a written review by someone who downloaded this stencil.
Carved this one?
Reviews are open to carvers who downloaded the stencil. Grab the free PDF, then come back and tell everyone how it went.
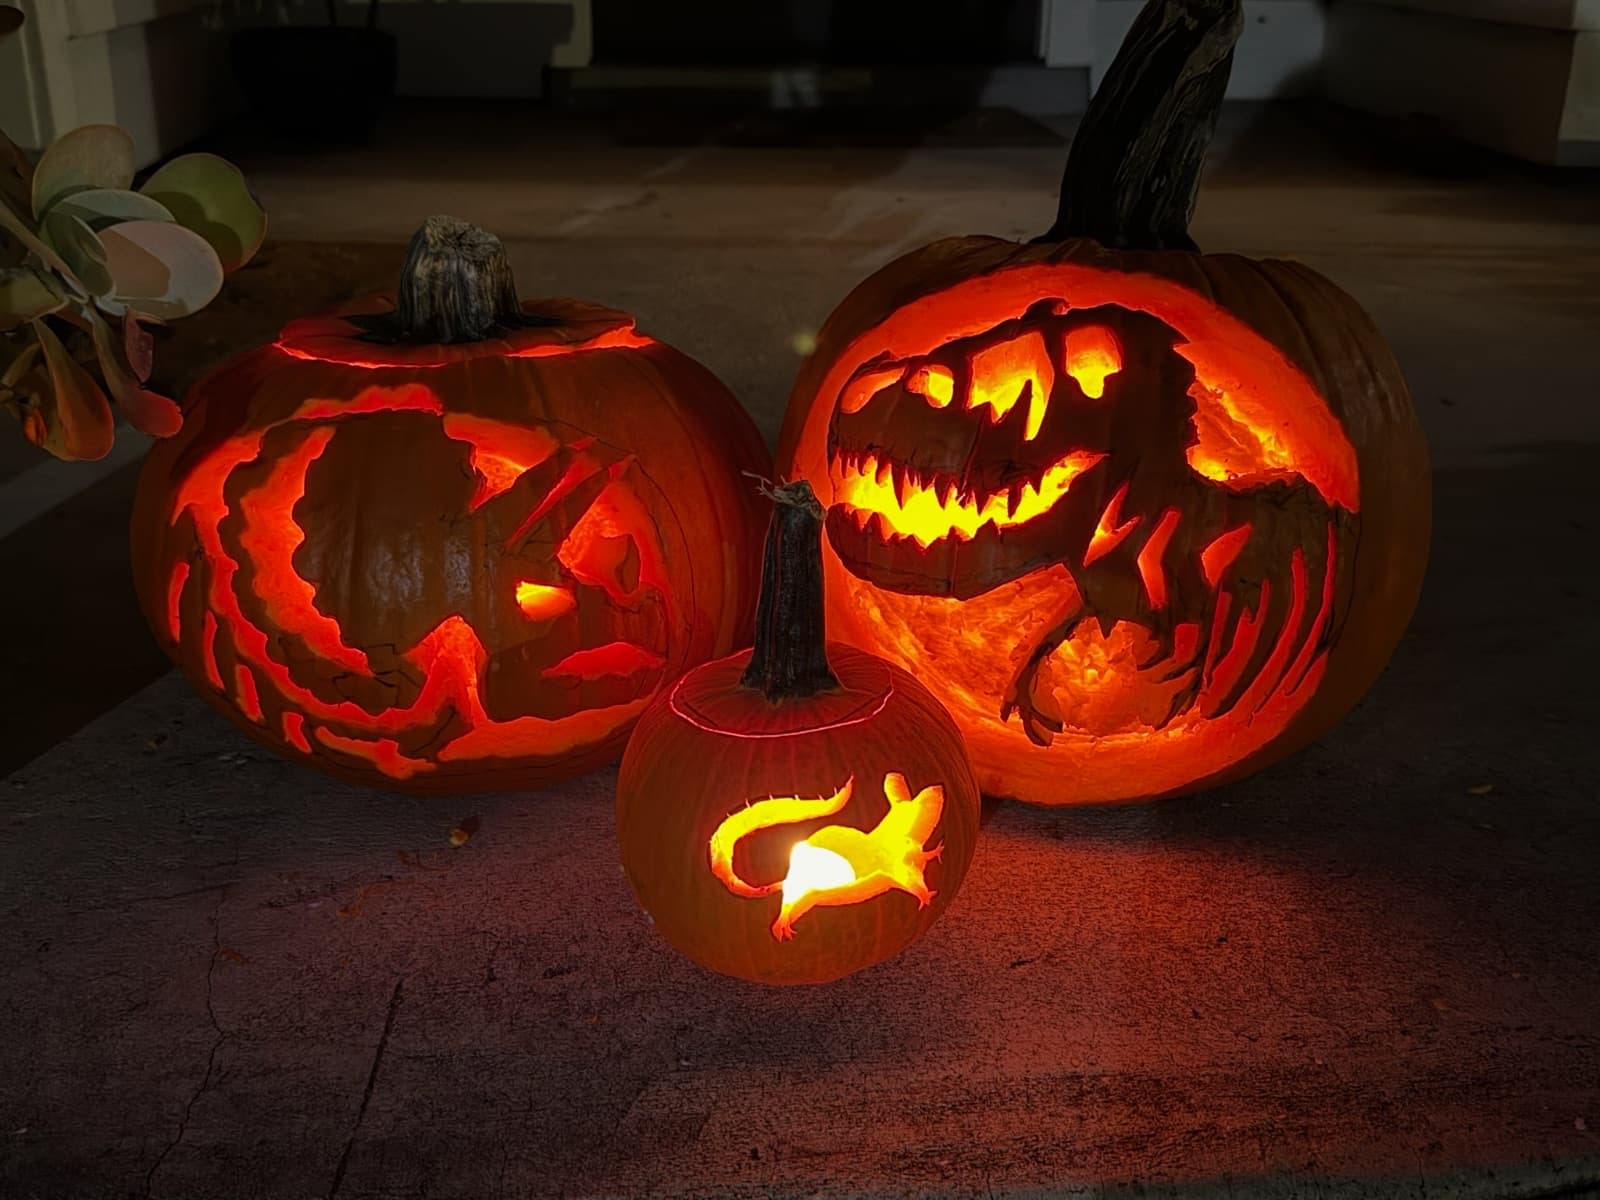
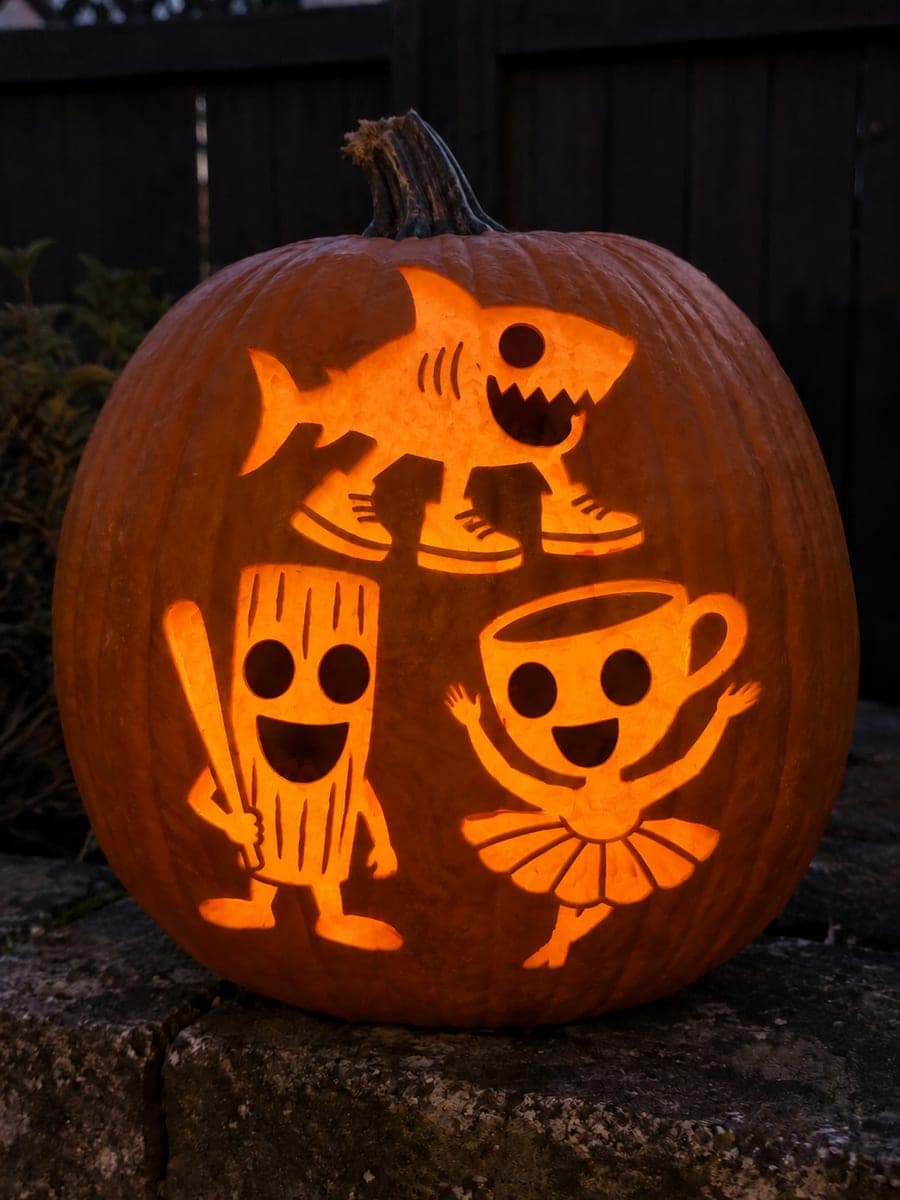
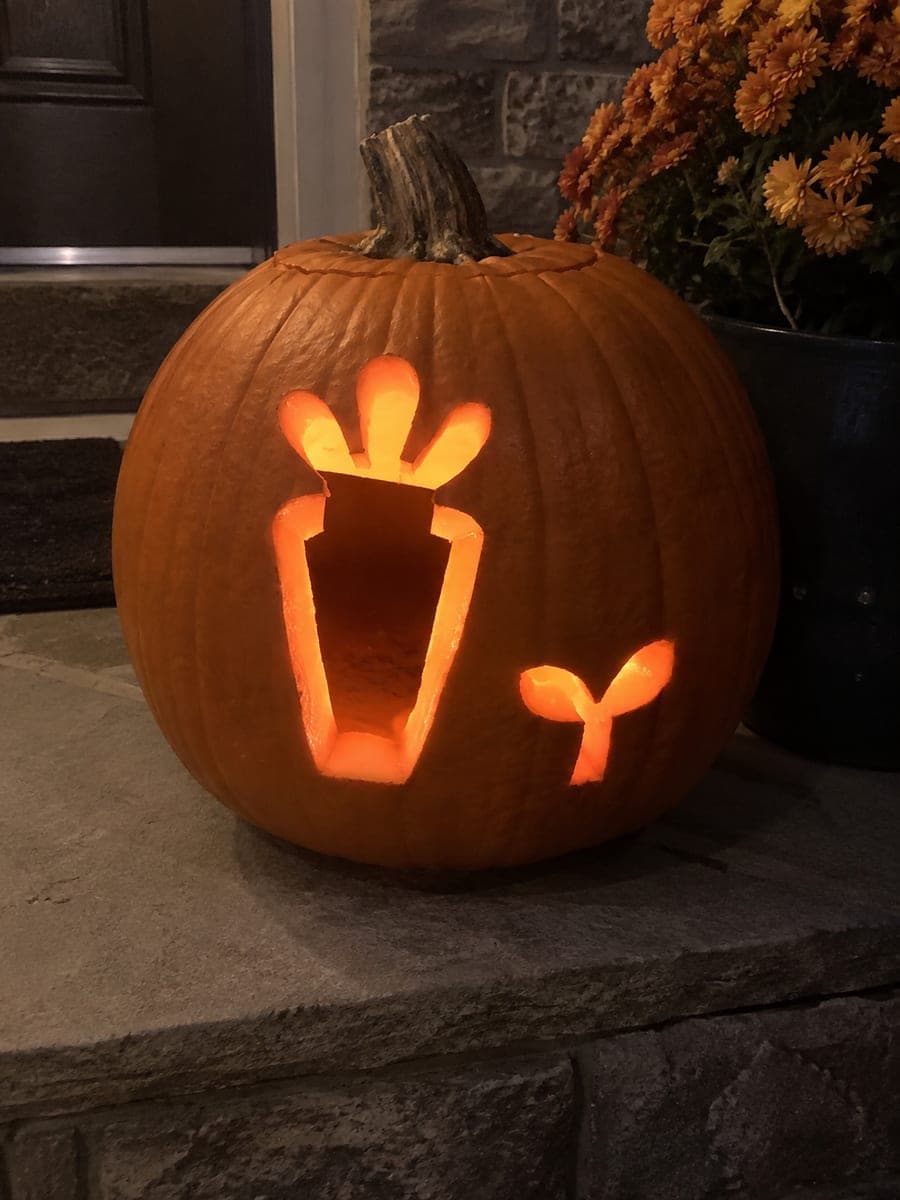
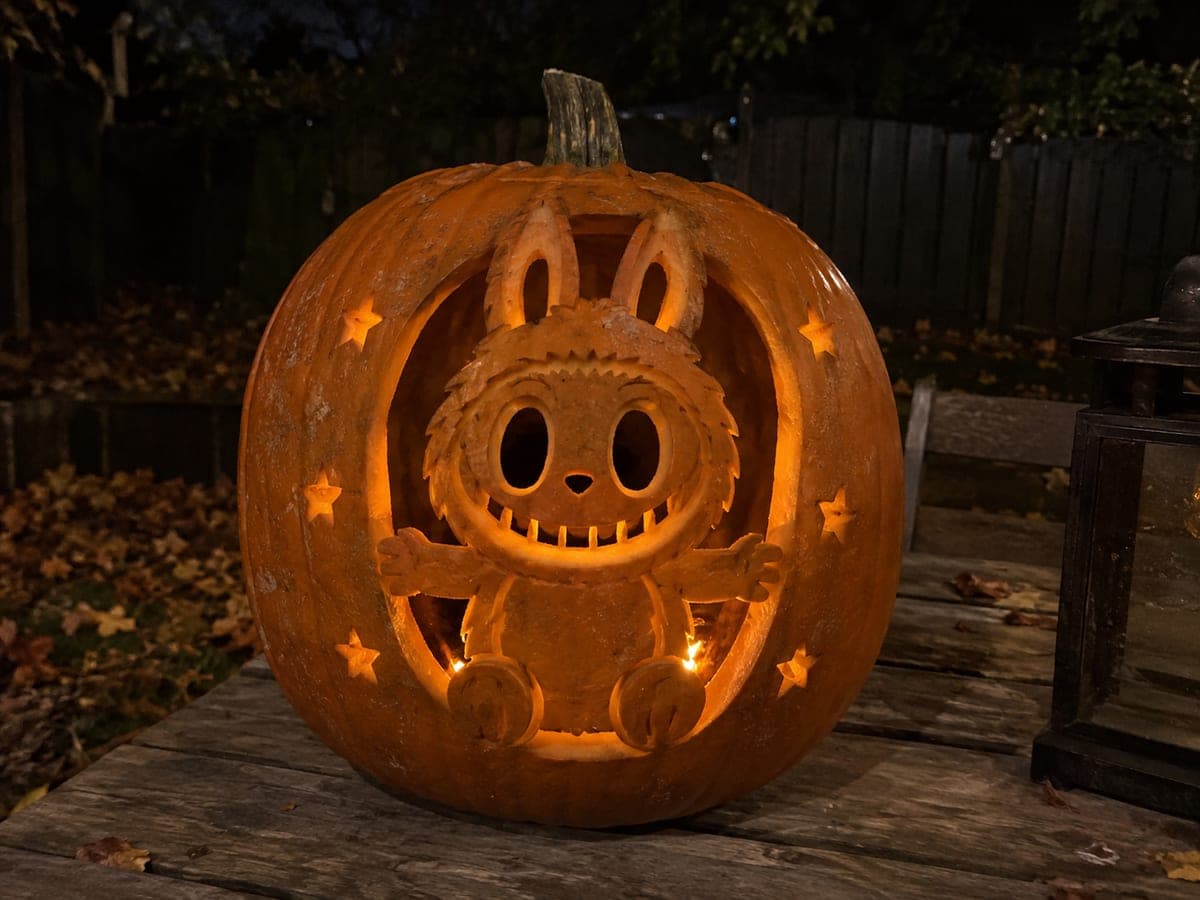
Community Pumpkin Carving Ideas
Carving ideas that use stencils like this one.
Related stencils
More patterns with a related subject. Compare their skill levels before you choose.
 Expert / Pro
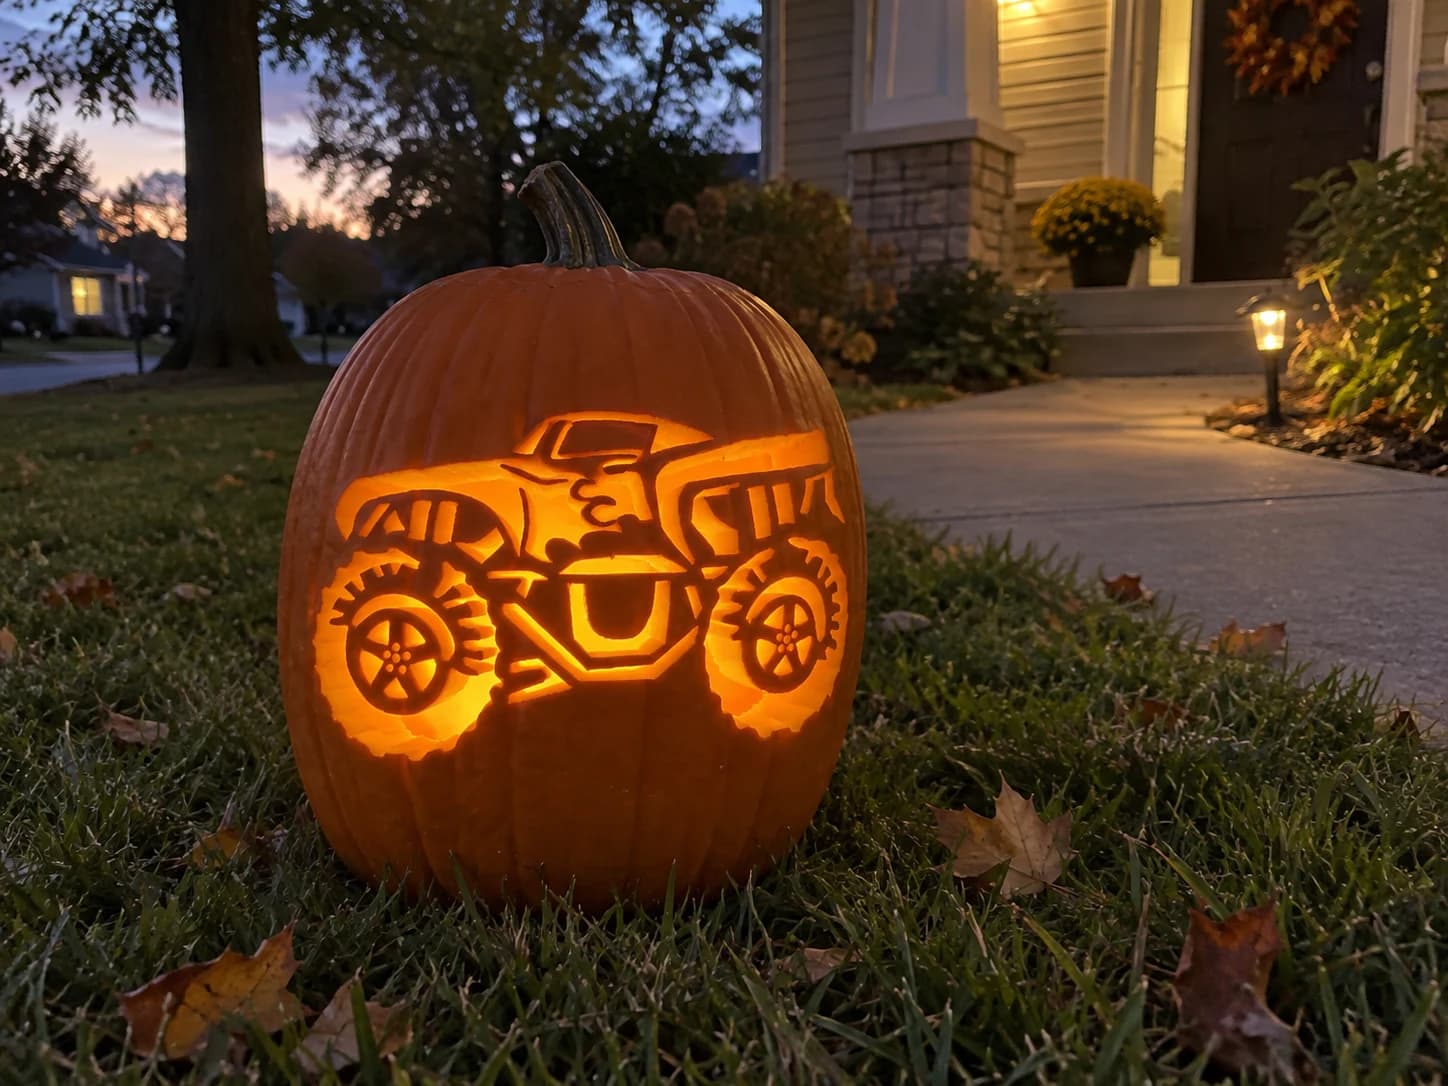
Monster Truck Pumpkin Stencil
A side-view monster truck with massive knobby tires dominates this expert pumpkin stencil: two oversized wheels with five-spoke rims, a high-clearance suspension chassis visible between the tires, a boxy cab with window cutouts, a wide front bumper, and flame or dragon graphics on the door panel. The many narrow bridges connecting the chassis rails and the spoke details inside each wheel make this a demanding carve. Cut the interior cab windows and bumper slots first, then tackle the five spokes of each wheel one at a time, always working away from the thin axle hub at the center.
 Advanced
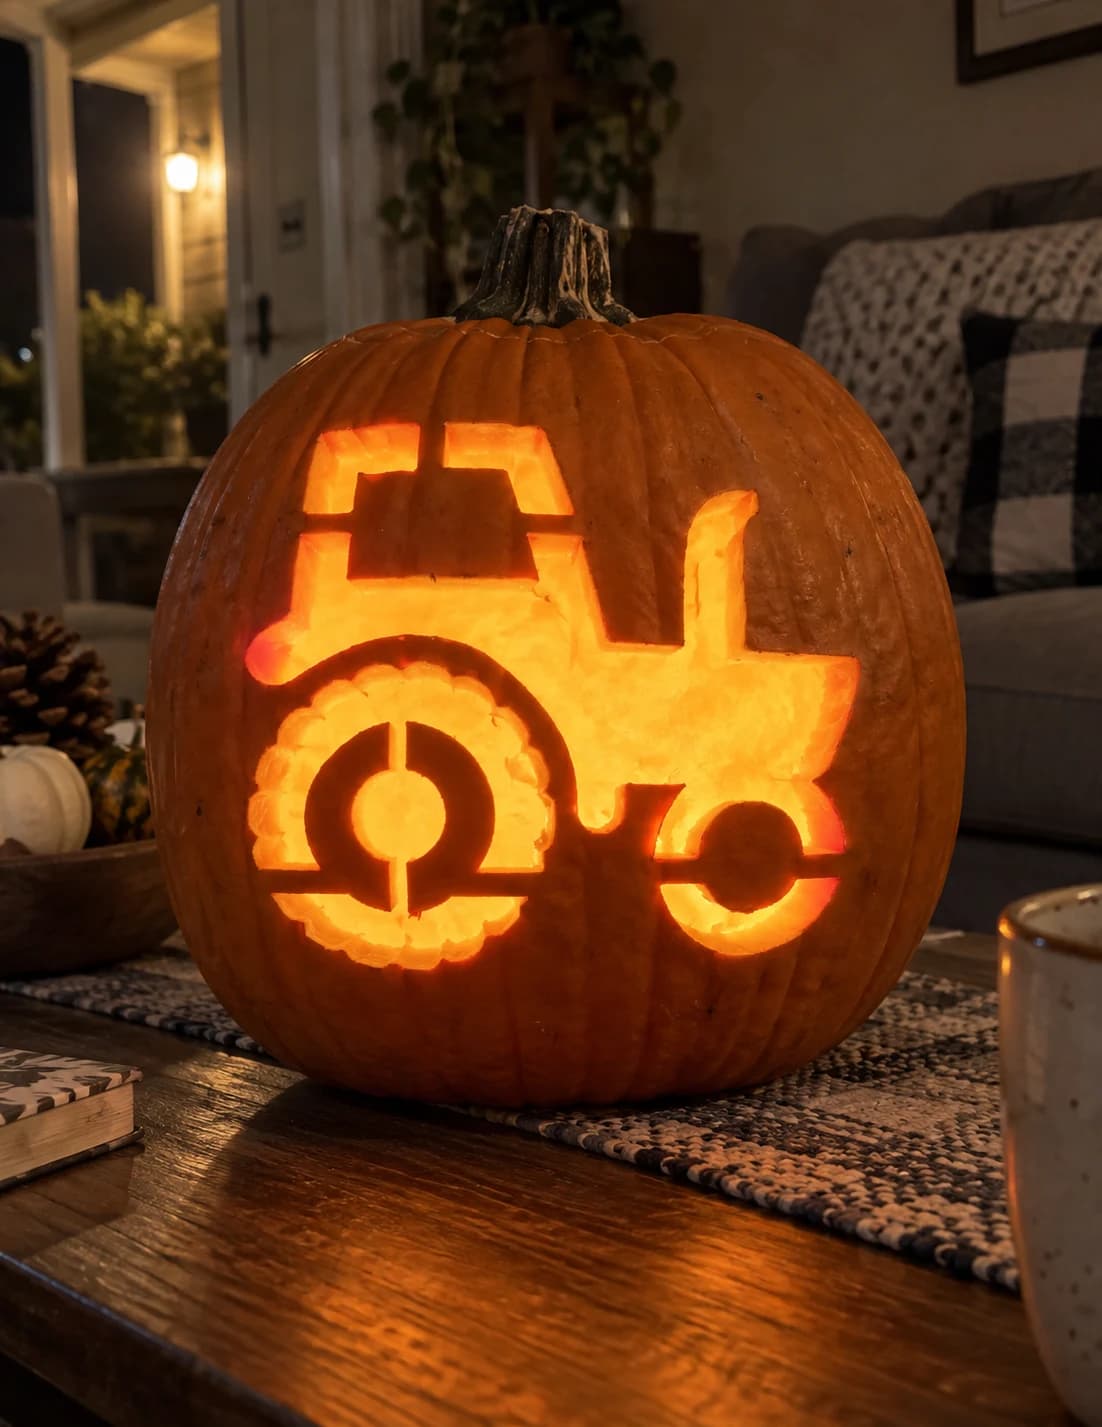
Farm Tractor Pumpkin Stencil
A side-view farm tractor fills this hard-level pumpkin stencil: a large rear wheel with a circular hub and cross-spoke cutouts, a small front wheel with a curved fender, a boxy cab section with cut-out windows, a squared hood, and a vertical exhaust stack. The rear wheel dominates the lower half of the composition and has the most intricate internal detail. Cut the cab windows and exhaust stack openings first while the pumpkin is still fully intact, then work on the large rear wheel spokes last, since removing them will flex the surrounding skin considerably.
 Advanced
Semi-Truck Pumpkin Stencil
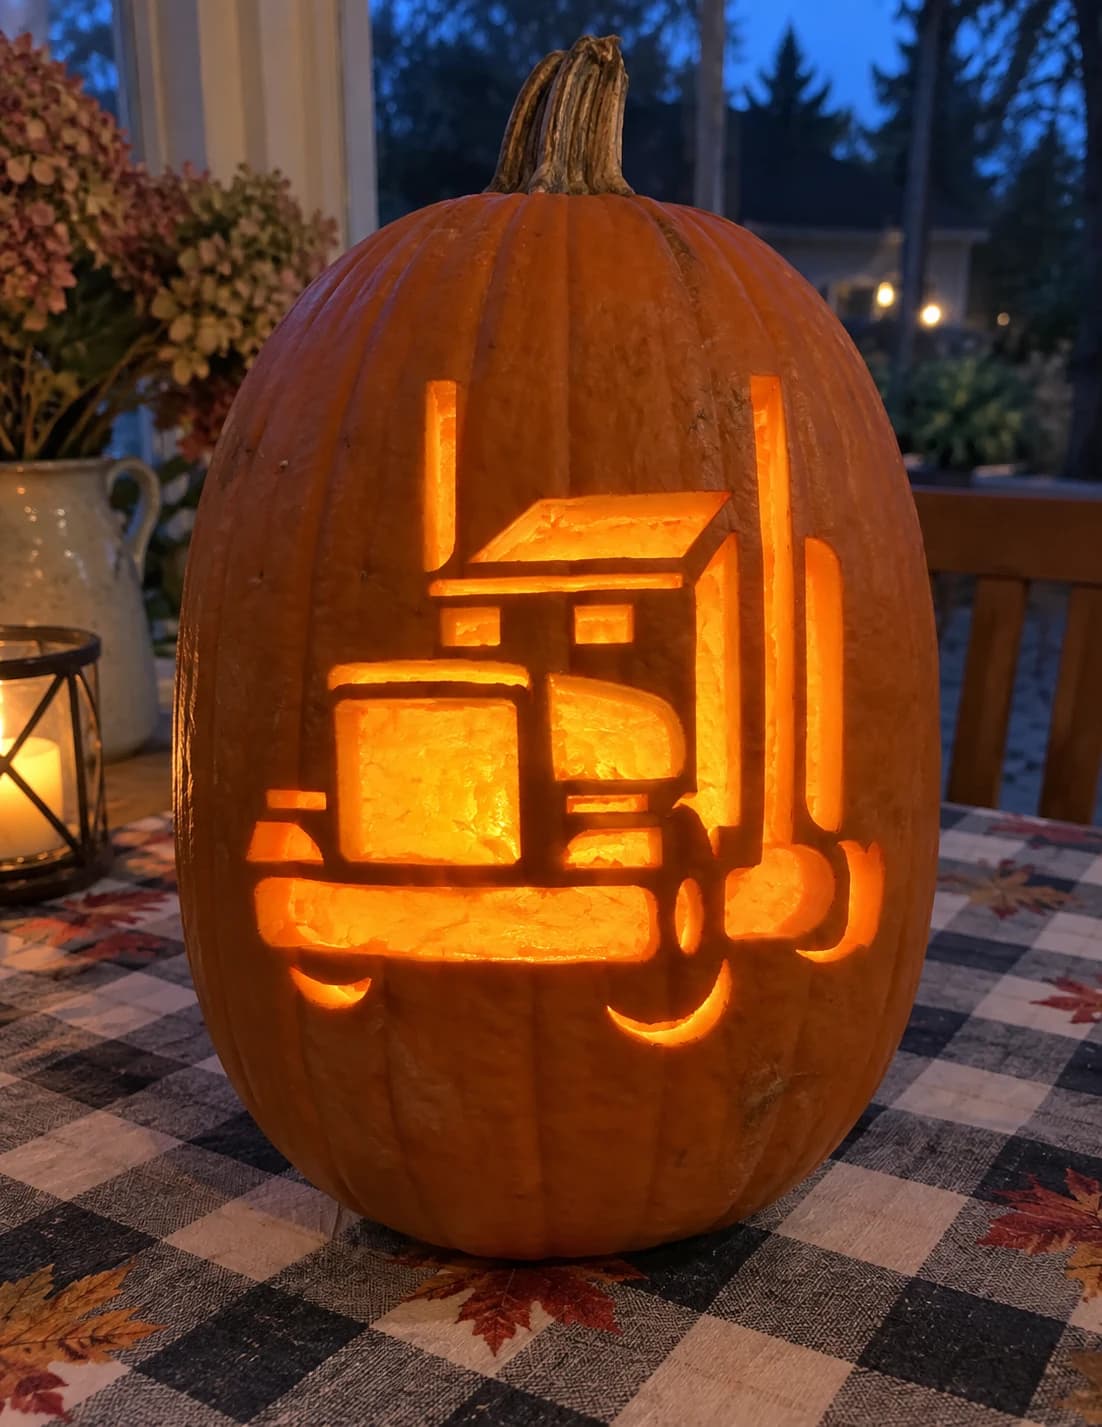
A classic eighteen-wheeler semi-truck cab shown in side profile fills this hard pumpkin stencil: a tall exhaust stack, a flat-topped sleeper cab with rectangular window cutouts, a step board, side mirrors, dual front headlights, and two large open wheel wells with small oval lug-nut details. The design reads as a cleanly geometric vehicle silhouette when lit, with the cab windows and wheel openings glowing brightest. Start with the cab window rectangles and the small mirror cutout before opening the large wheel wells, which would flex the lower pumpkin skin if cut first.
 Beginner-friendly
Off-Road 4x4 Pumpkin Stencil
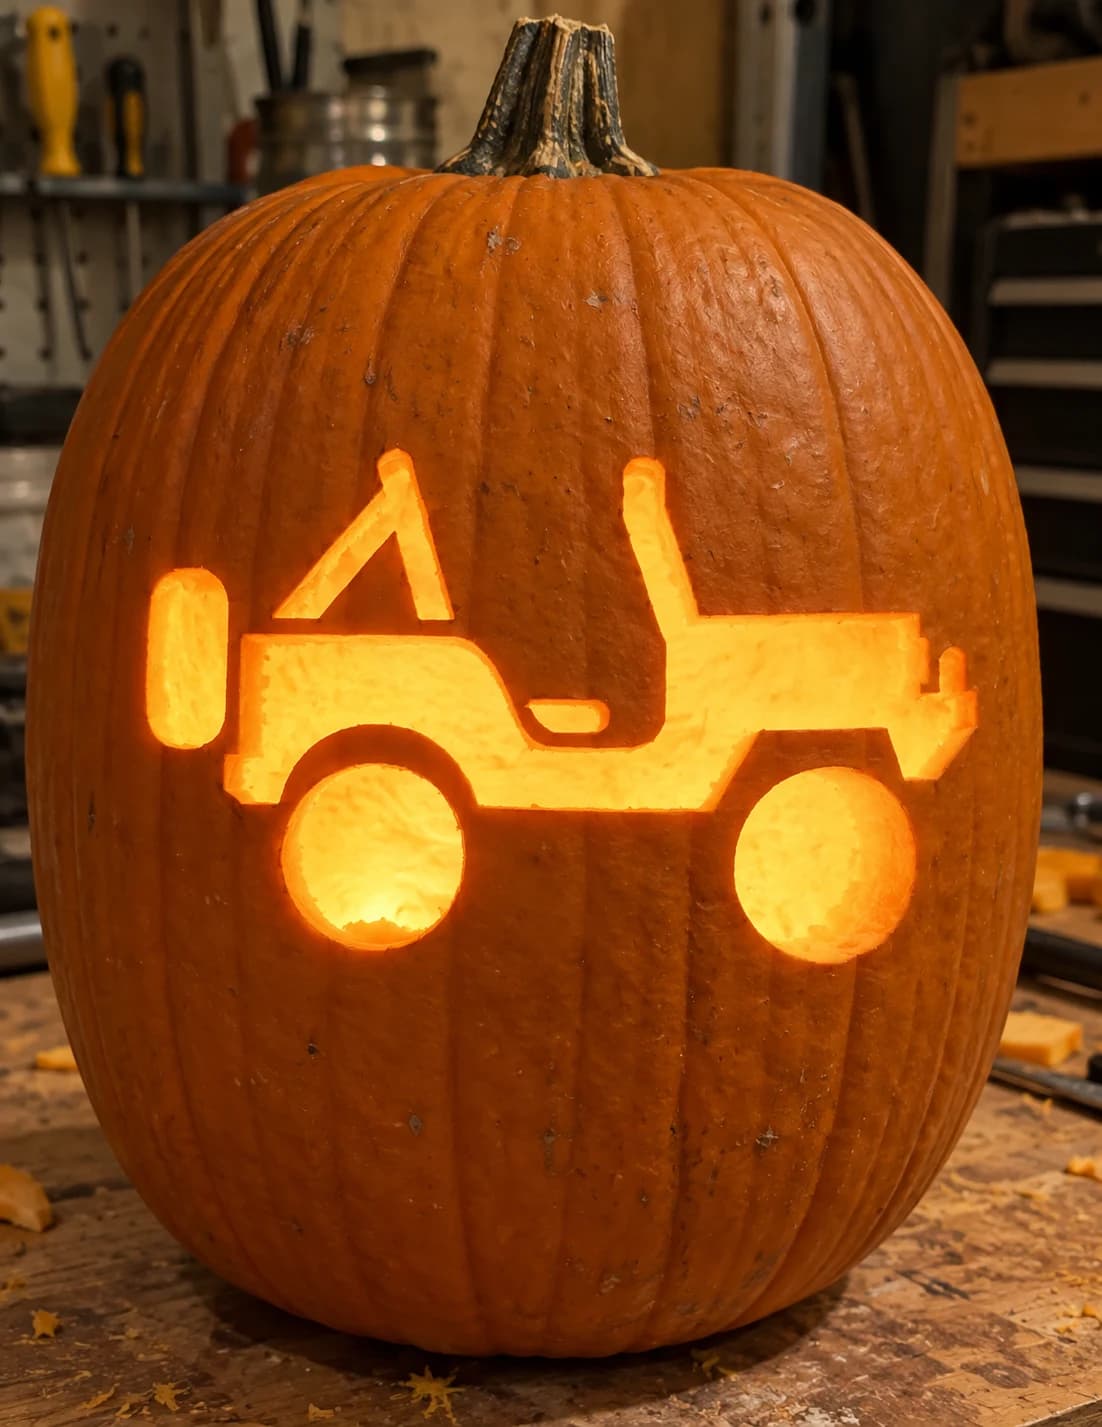
An open-top jeep faces left in a clean side-profile pumpkin stencil, showing the boxy body, roll bar, two large round tires, a spare tire mounted on the hood, and a small hitch at the rear. The body cavity and the two wheel holes are pierced through while the roll bar and body outline remain as solid pumpkin flesh. To keep the narrow roll bar from snapping, cut the large body opening first and work inward toward that bar, not the other way around.
 Advanced
Motorcycle Pumpkin Stencil
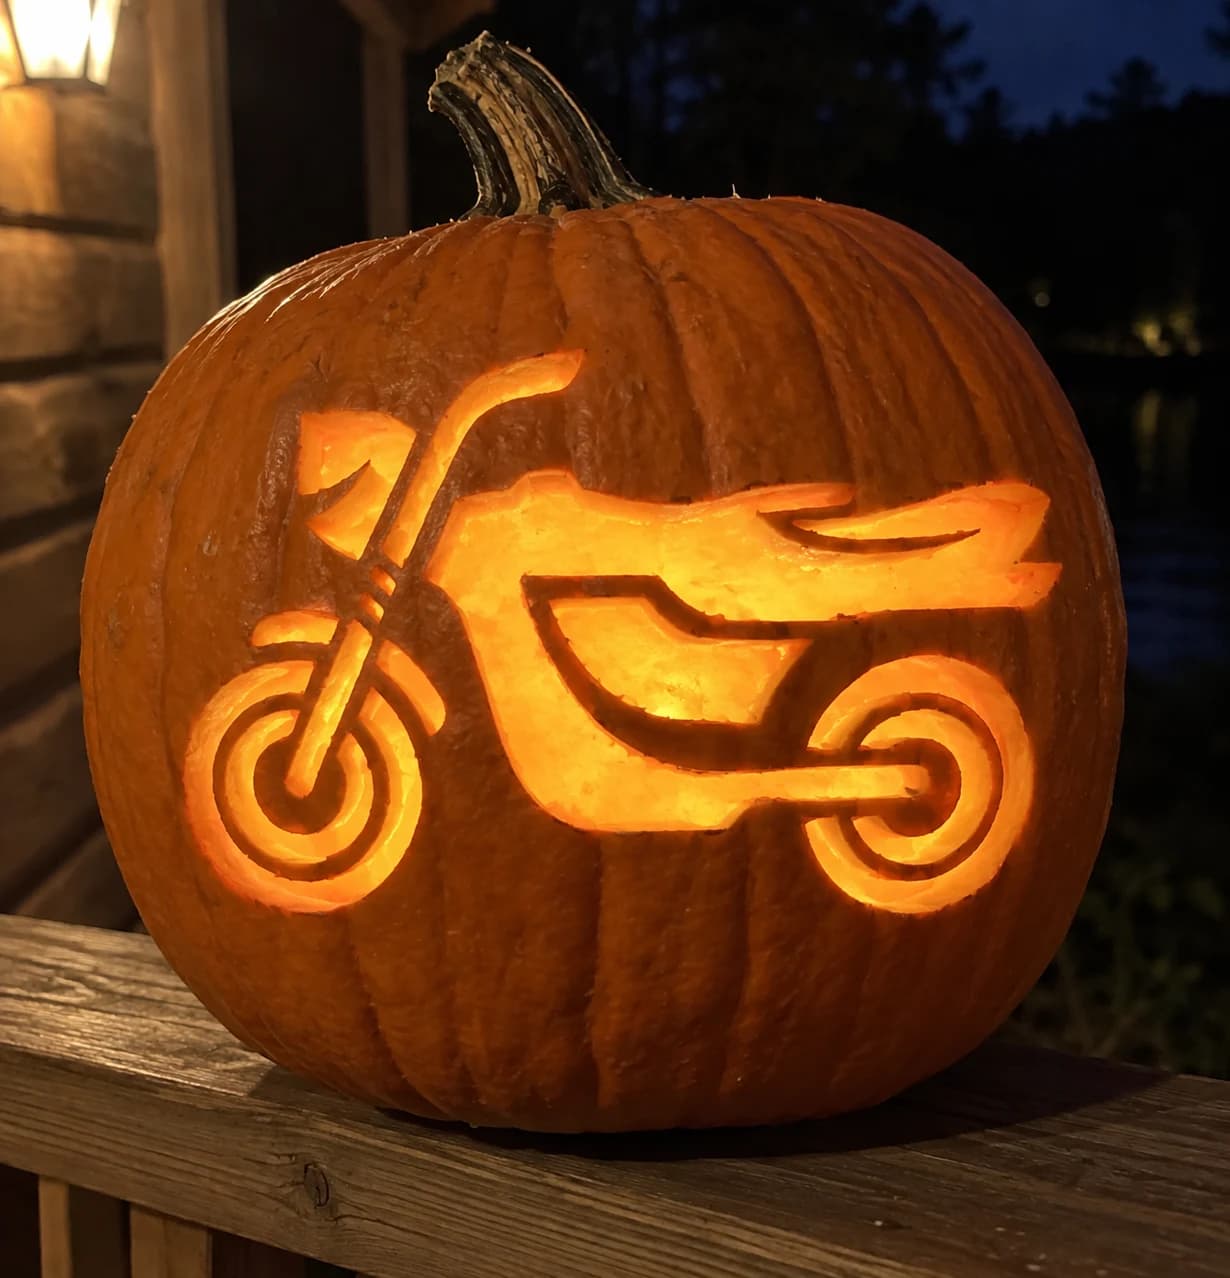
A side-profile motorcycle fills this hard pumpkin stencil with mechanical detail: the front fork and handlebars, a sculpted fuel tank, streamlined seat fairing, and two large concentric-ring wheels. The design uses a mix of solid pumpkin bridges and open cut areas so the bike reads as a crisp silhouette when the jack-o-lantern is lit. The thin fork tubes and the thin strip separating the seat from the rear fairing are the most fragile elements. Carve the two large wheel ring sections first to establish the bottom of the composition before working inward through the frame details.
 Advanced
Cruise Ship Pumpkin Stencil
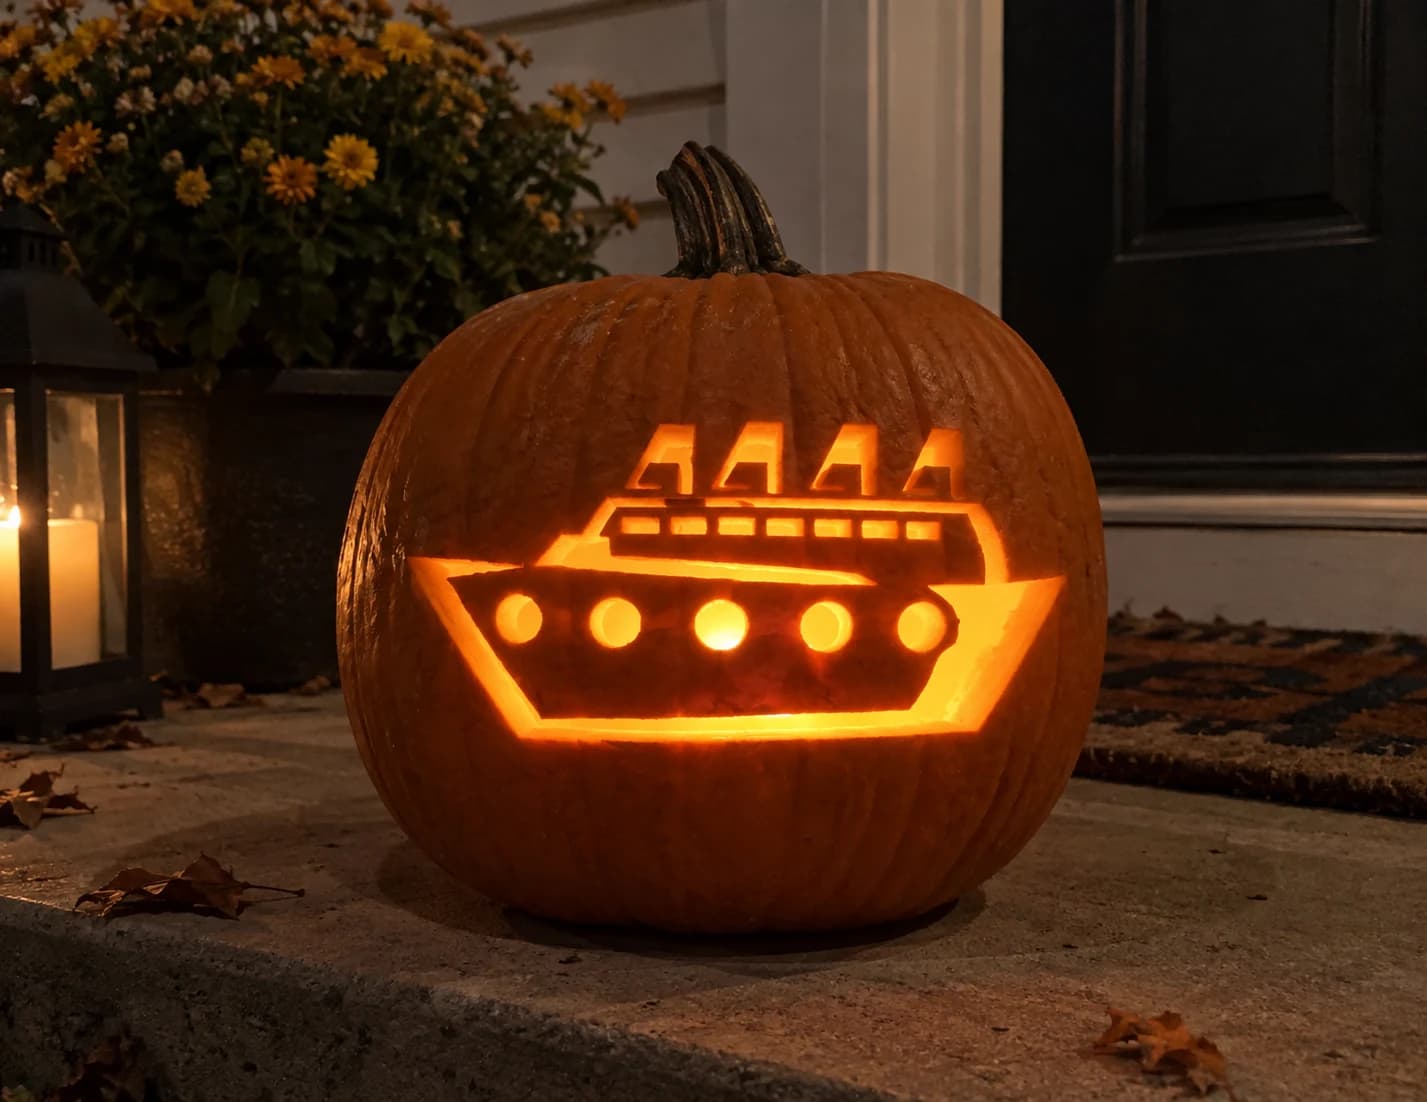
A large cruise ship viewed from a slight bow-angle fills this hard pumpkin stencil. Four tall rectangular smokestacks rise from the upper deck, the bridge superstructure runs along the top, and five circular portholes line the hull below the waterline. The design reads as a series of rectangular and circular cutouts separated by solid pumpkin strips. When lit, the port holes and superstructure windows glow individually like a ship at sea. Carve the five round portholes first since circular cuts benefit most from a fresh blade, then work upward through the rectangular deck openings.