The 2026 contest winners are inGrand Prize, People's Choice and Most Creative, all crowned.
@ai_concepts
Sep 25, 2026
Italian Brainrot Trio Jack-O-Lantern pumpkin carvingAI
0

Report this carving

Tell us what is wrong. Reports are private.

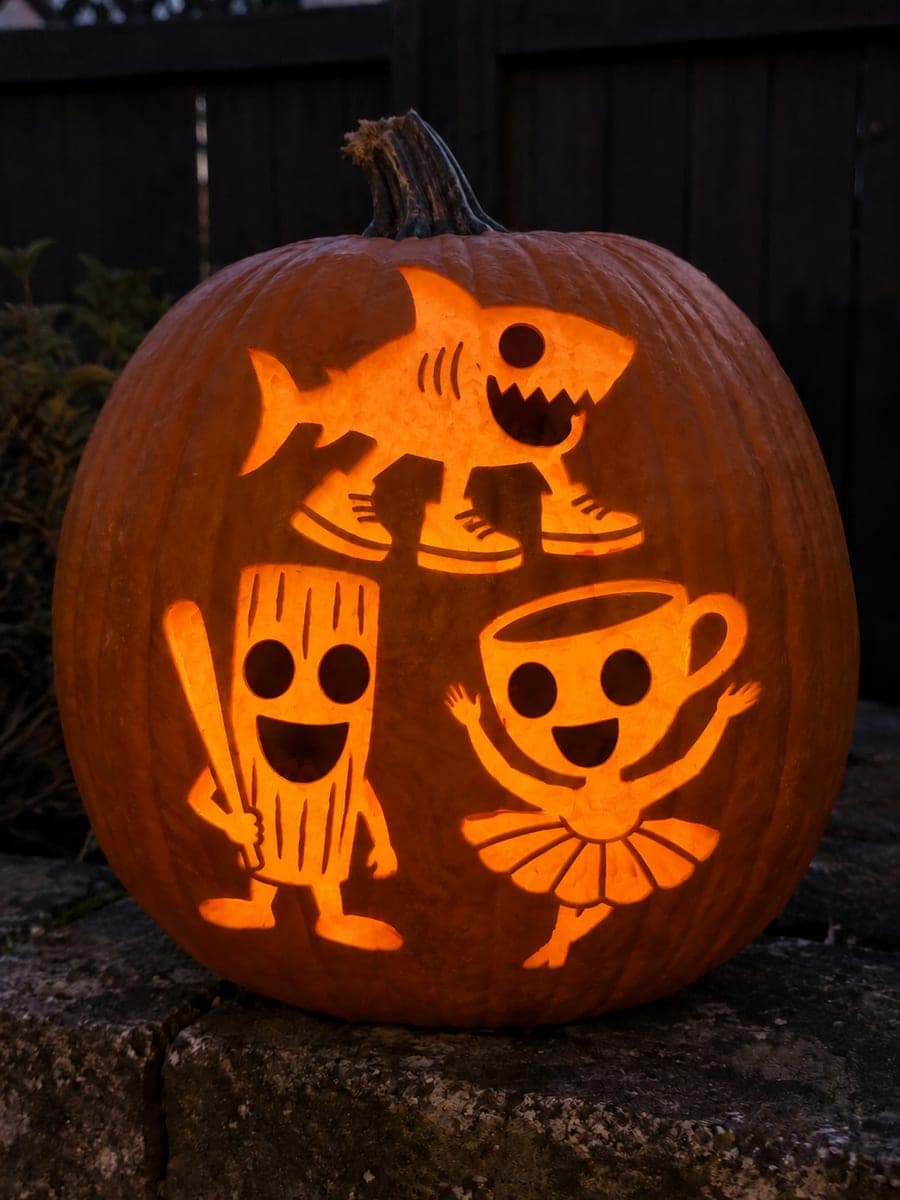
Italian Brainrot Trio Jack-O-Lantern

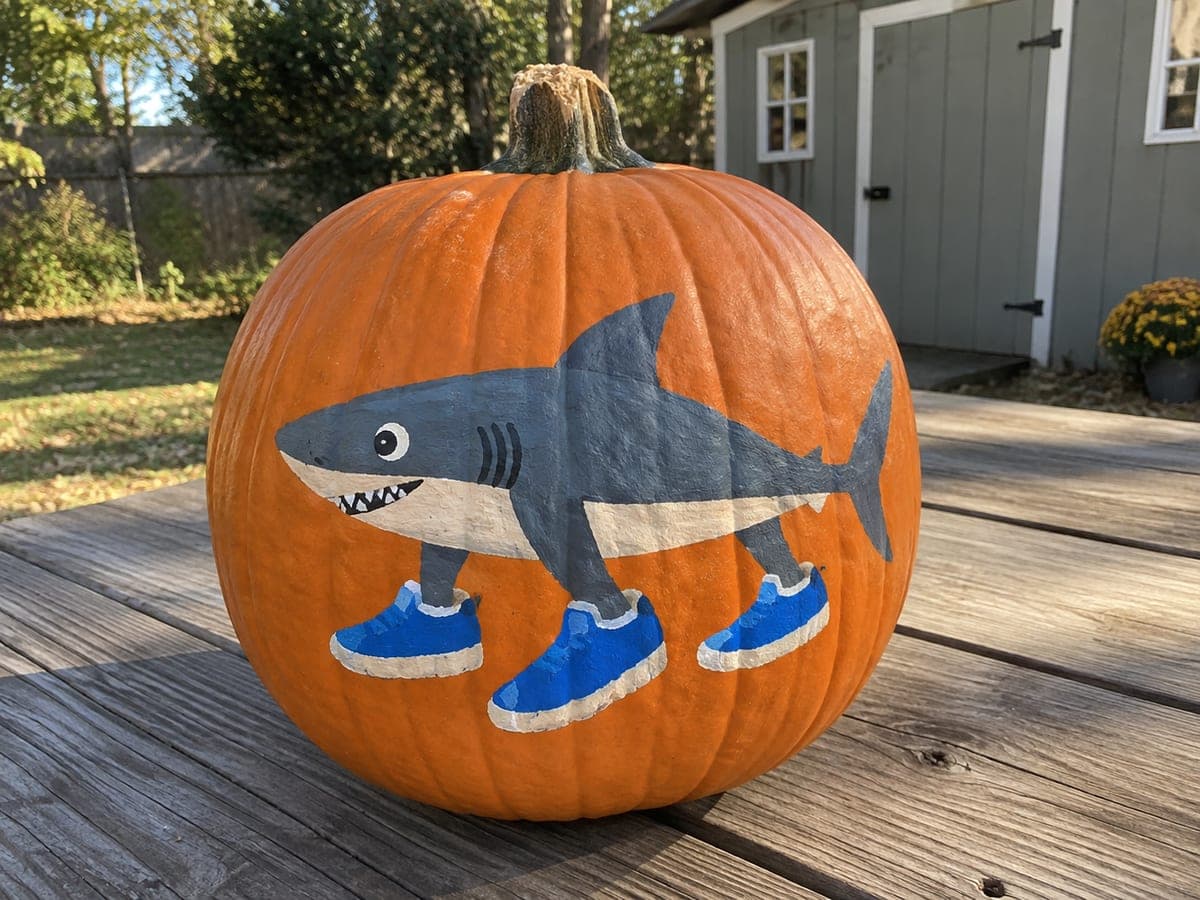
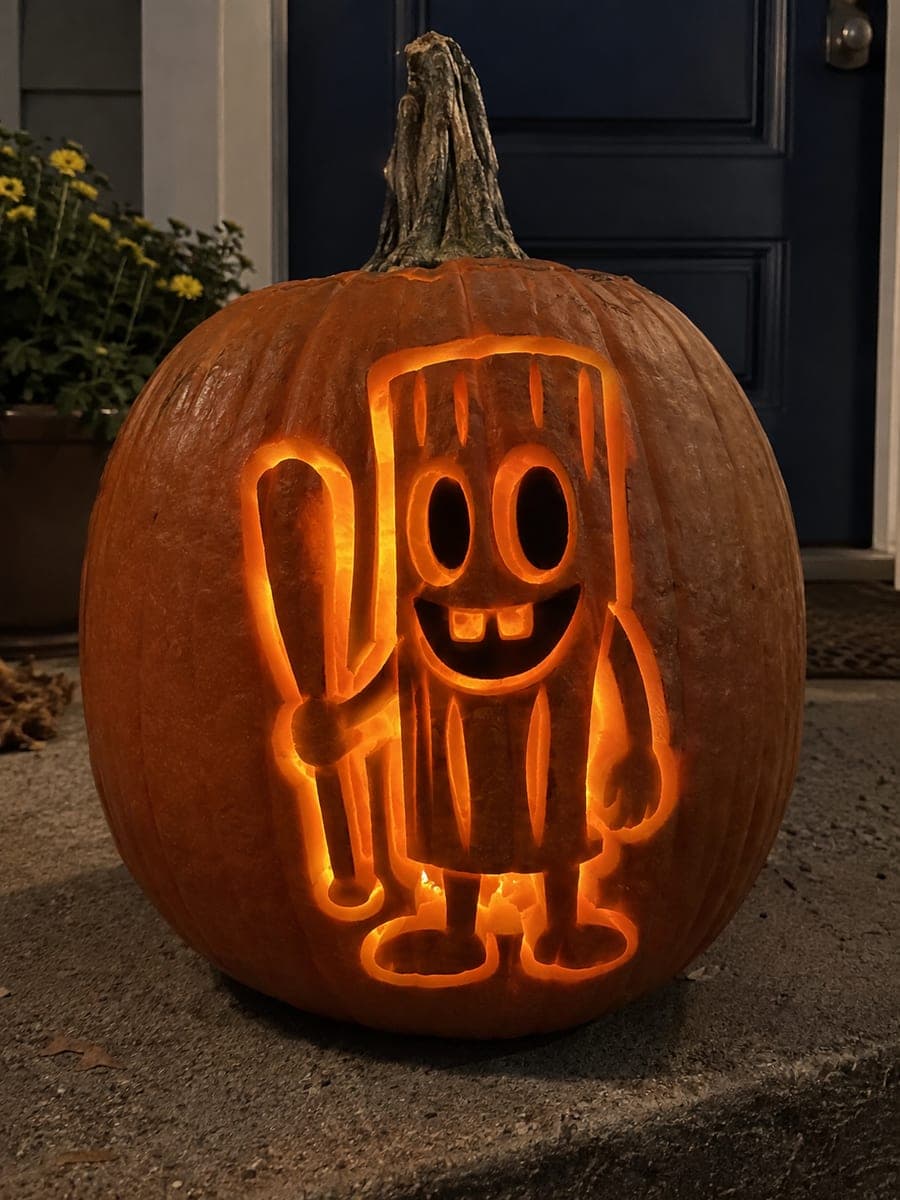
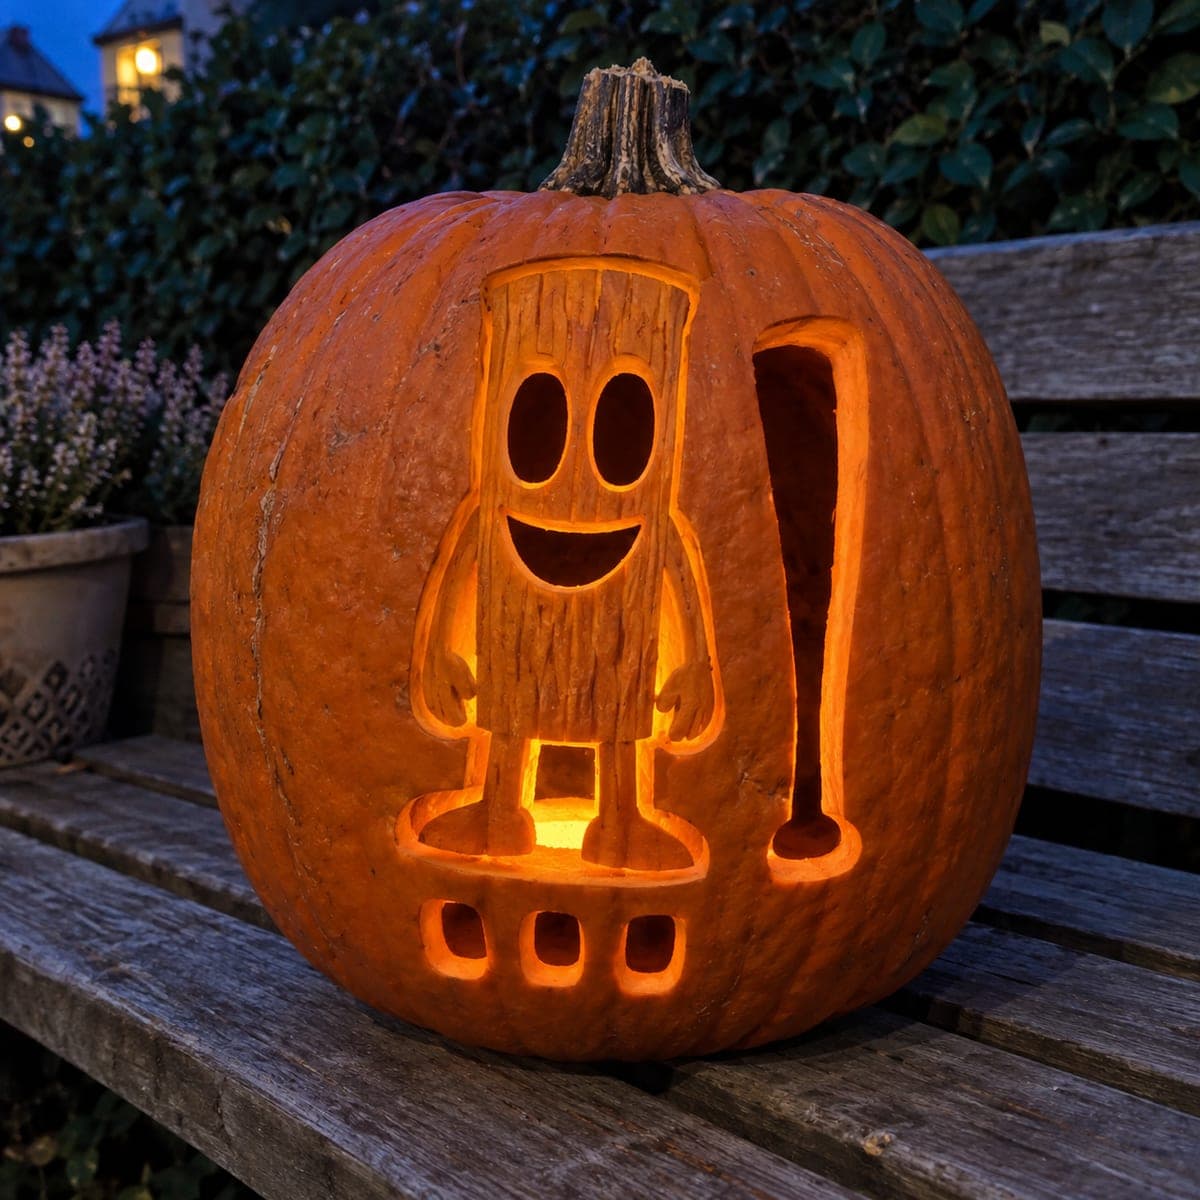
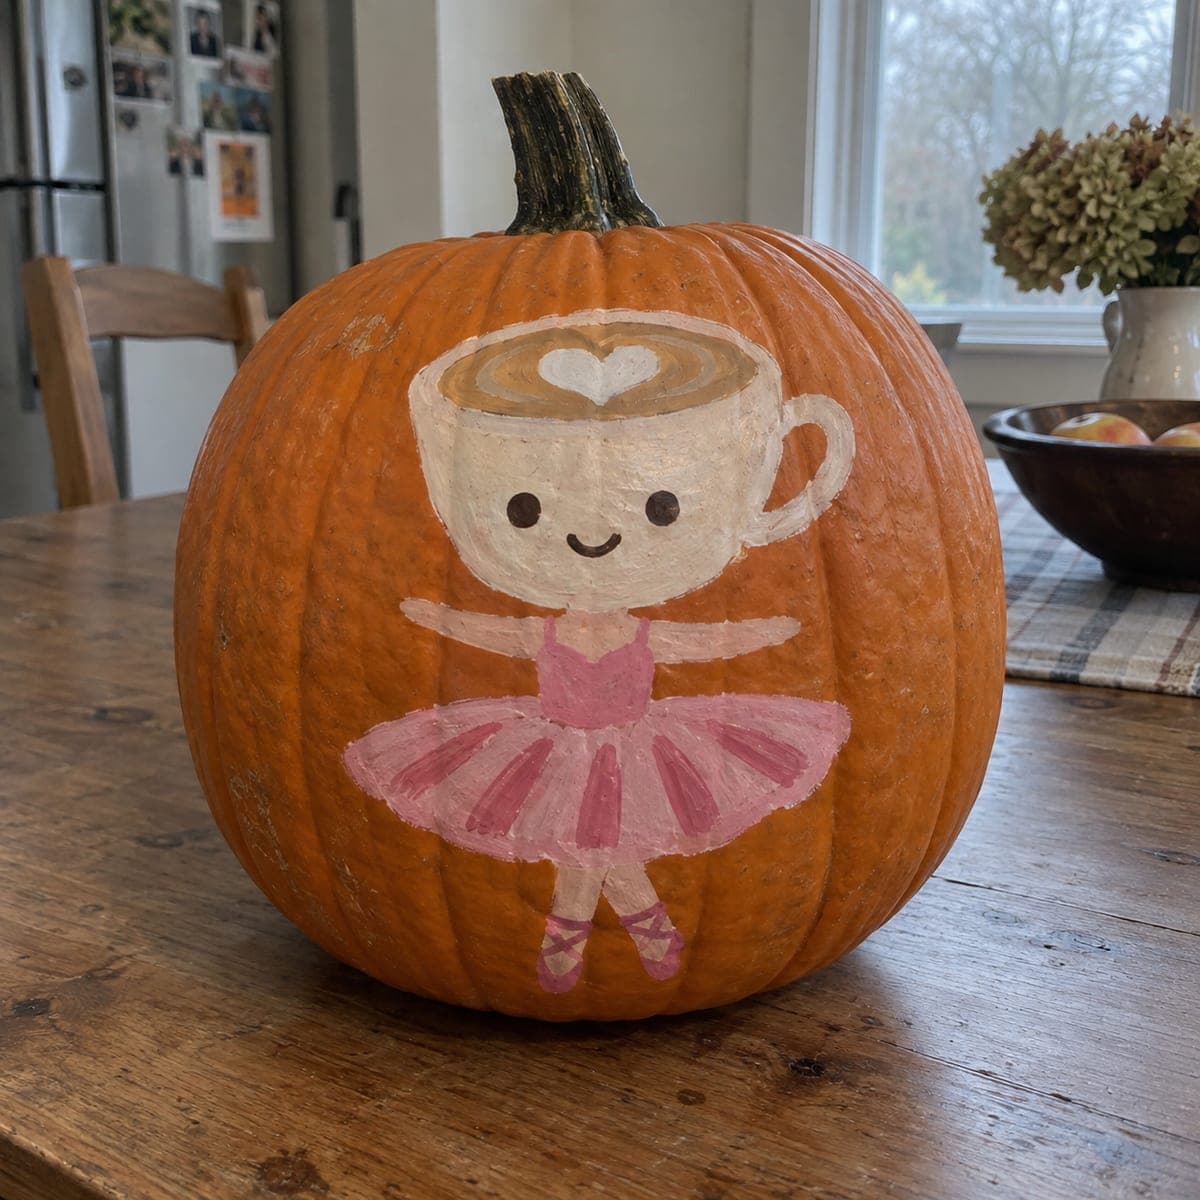
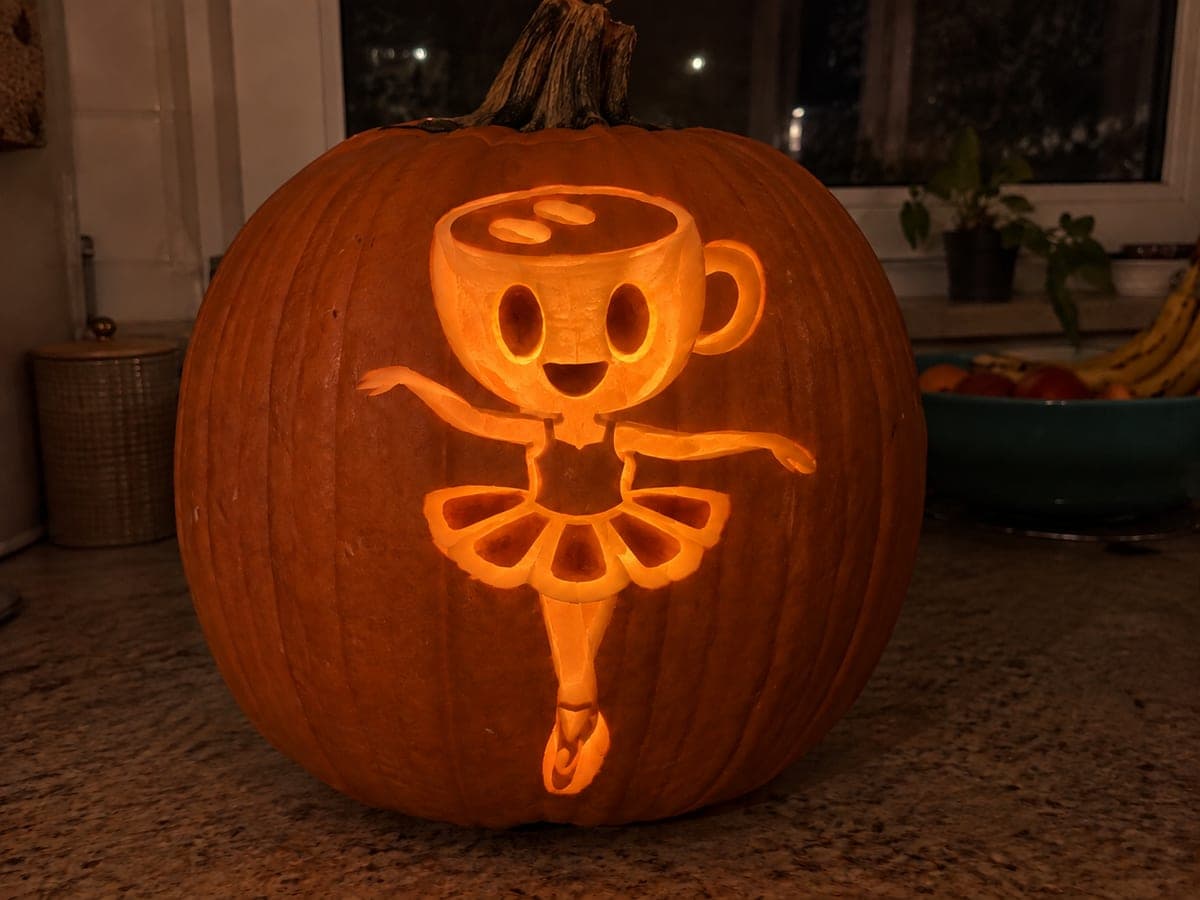
This expert Italian brainrot pumpkin carving packs all three iconic meme figures, the shark, the log, and the ballerina cup, into a single flat silhouette composition flanked by three sneakers at the base. Hollow eyes, mouths, and rooted shark teeth are the only through-cuts; every outline and small motif is shallow-backed relief. Transfer the full design with carbon paper to map every connection point before you start cutting, and leave wide rind bridges between each figure to prevent cracks.

No ratings yet · Sign in to rate
italian-brainrotfantasymemebrainrotcartoonfunnysilhouettetrio-composition

Save this design for carving night, then share a photo of your own jack-o'-lantern once it's glowing.

Italian Brainrot and all related characters, names, logos, and trademarks are the property of their respective owners. This is an unofficial fan carving shared by our community for inspiration only. PumpkinCarvingIdeas.com is not affiliated with, sponsored by, or endorsed by any rights holder or person depicted, and no such connection is implied.
Comments (0)

  • No comments yet. Be the first.

Our tips for carving a similar design

All three meme figures line up in one flat composition with three sneakers along the base, and restraint is the technique: only the eyes, mouths, and rooted shark teeth are cut through, while every outline and small motif stays shallow-backed relief. Wide rind bridges between the figures keep the crowded design from cracking.

From pumpkin to porch

  1. Choose a wide canvas

    Pick a broad, smooth pumpkin so all three figures fit without shrinking to fiddly sizes. Hollow it and thin the whole front face evenly to about an inch.

  2. Transfer the full scene

    Use carbon paper or a pin tool to transfer the complete trio plus the three sneakers, then walk the design and mark every connection point before any cutting. Knowing the bridge map in advance is what makes this carve orderly instead of risky.

  3. Cut the through-holes

    Open the eyes and mouths of all three figures, keeping the shark's teeth rooted in its jaw. These are all small cuts; do them first while the wall is at full strength.

  4. Relief the outlines

    Shave every figure outline in shallow backed relief, working left to right so your hand never rests on finished work. Keep the depth consistent; the trio reads best when all three glow at the same dim level.

  5. Relief the sneakers and motifs

    Finish the three sneakers and any small motifs the same way. Leave the wide rind bridges between figures completely untouched; they are the dark separators that keep the scene readable.

  6. Light and photograph the lineup

    A bright LED bar or two pucks light the wide design more evenly than a single point. Shoot straight-on so the whole lineup fits the frame, ideally at dusk.

Written with AI to match this design

Gather your supplies

Check things off as you get ready.

Work on a stable surface, keep your free hand out of the cutting path, and have an adult handle sharp tools.

Three levels of light

  • Leave intact

    The rind bridges between figures and all background stay dark full thickness.

  • Peel & shade

    Every figure outline, the three sneakers, and the small motifs are uniform shallow relief.

  • Cut through

    Only the eyes, the mouths, and the gaps around the rooted shark teeth are cut through.

Learn the carving basics

Before you start cutting

How do I fit three characters without the design cracking?

Keep the through-cuts tiny and the outlines as relief only, and never narrow the rind bridges between figures. The bridges are structural walls; a crowded design survives on what you leave, not what you remove.

Why is almost everything relief instead of cutouts?

Three fully cut silhouettes side by side would turn the face into lace and collapse. Relief carries all the detail at a dim glow while the wall keeps its strength, and the few bright through-cuts make the faces pop by contrast.

What is the best transfer method for a scene this detailed?

Carbon paper under a home-printed template gives continuous traced lines, which beats pin-pricking for a design with this many outlines. Tape the sheet tight, trace with a ballpoint, and lift a corner to check before removing it.

Your take belongs here, too.

Changed a detail? Made it simpler? Share a photo of your version and tell the community what worked.

Share your pumpkin

Want more designs like this? Browse our full library of pumpkin carving ideas, or pick a free printable stencil. Every pattern and template in our own collection is free to print at home.

More pumpkins like this

You've reached the end · 8 pumpkins
The Patch Report

Fresh pumpkins, in your inbox.

The best new carvings, ideas worth stealing, and how-tos for carving season. Short, seasonal, and gone by November.

A short email during carving season. Unsubscribe anytime. See our privacy policy.