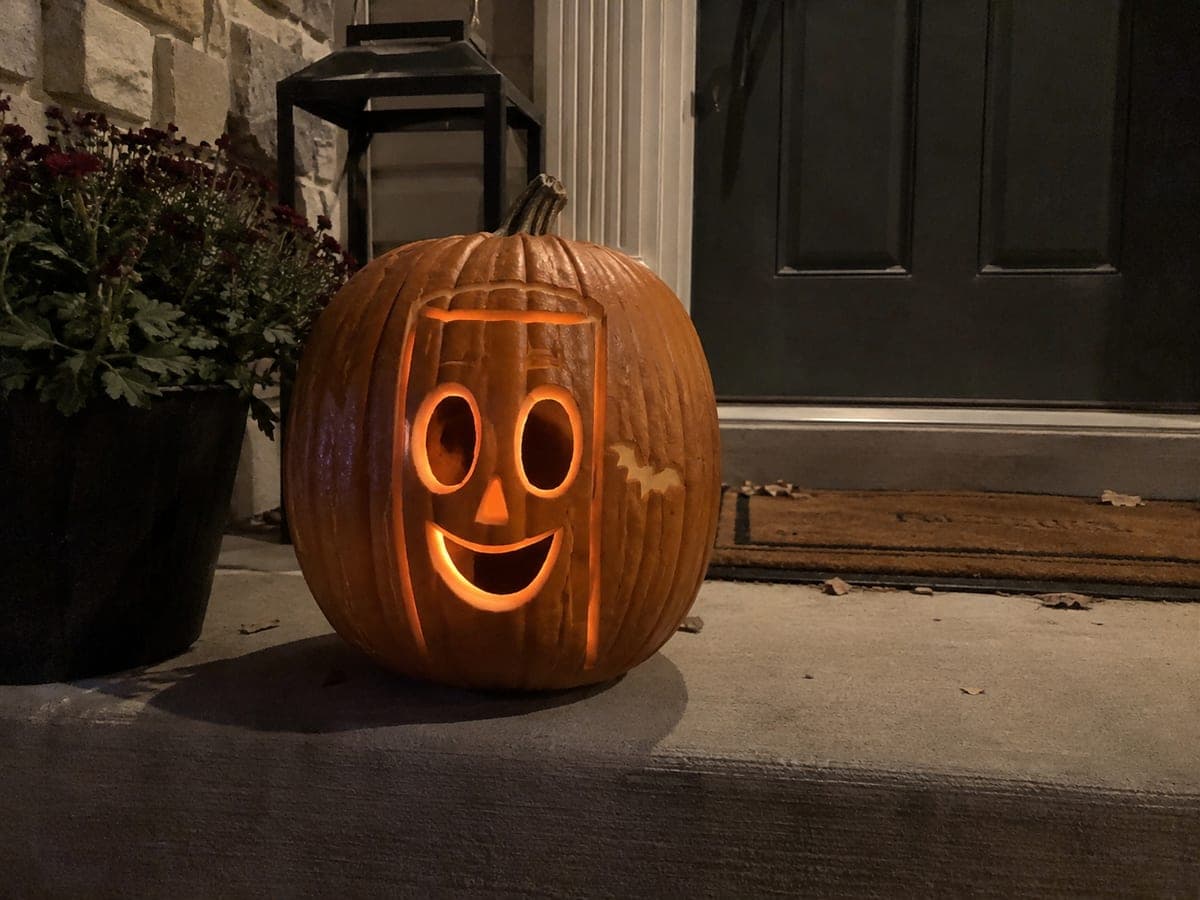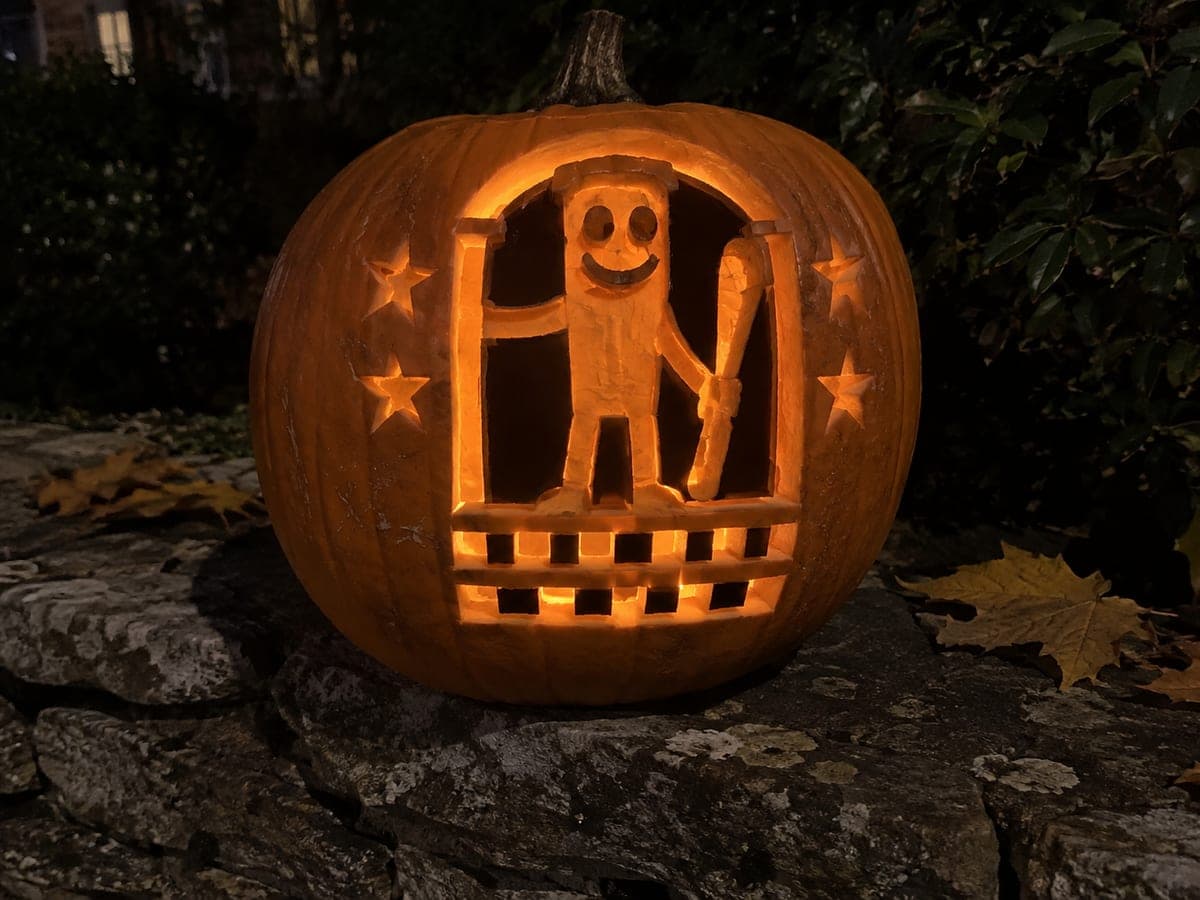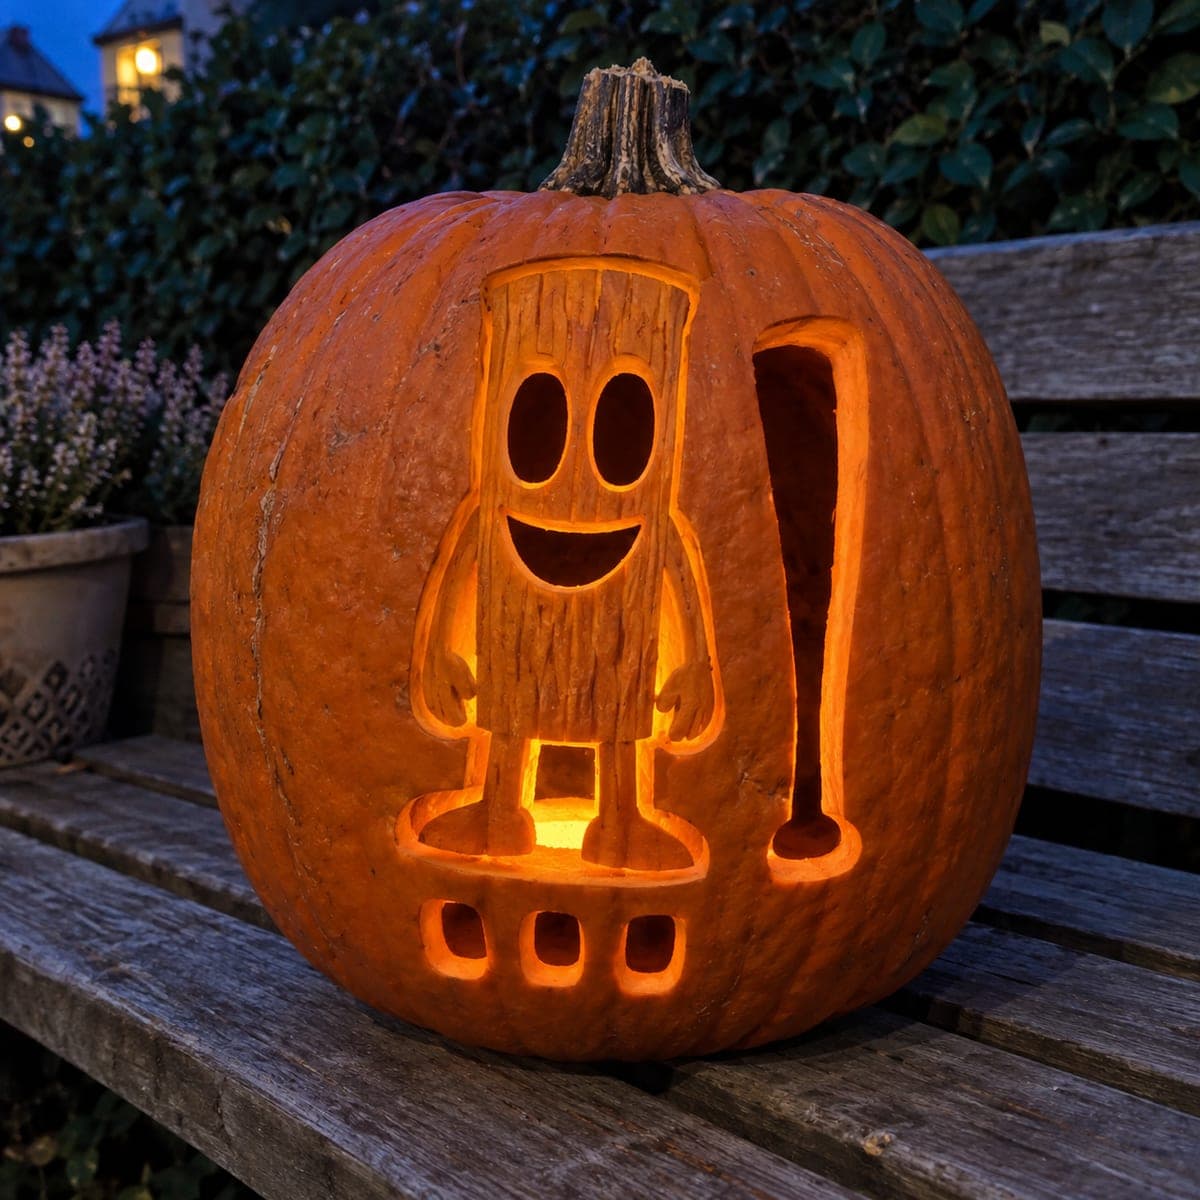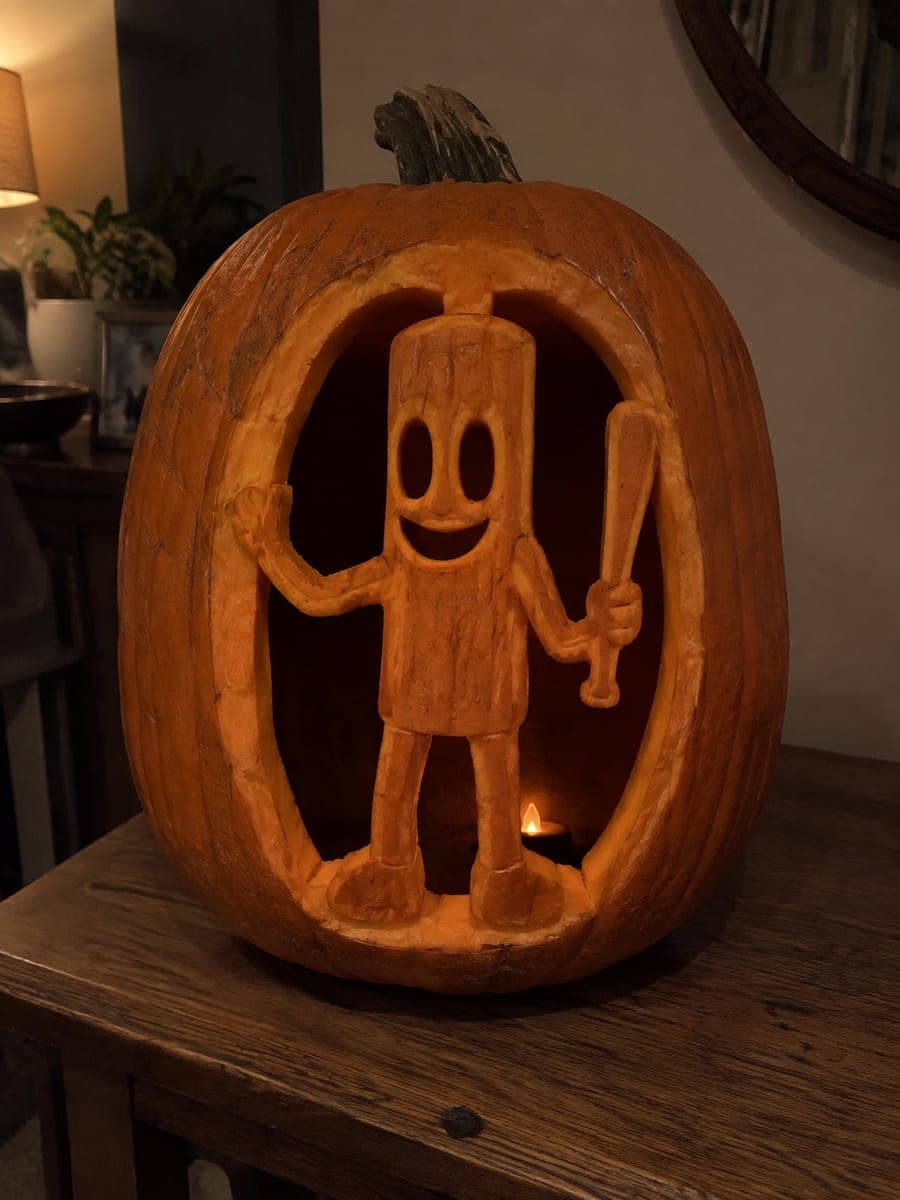
The 2026 contest winners are inGrand Prize, People's Choice and Most Creative, all crowned.
@ai_concepts
Sep 25, 2026
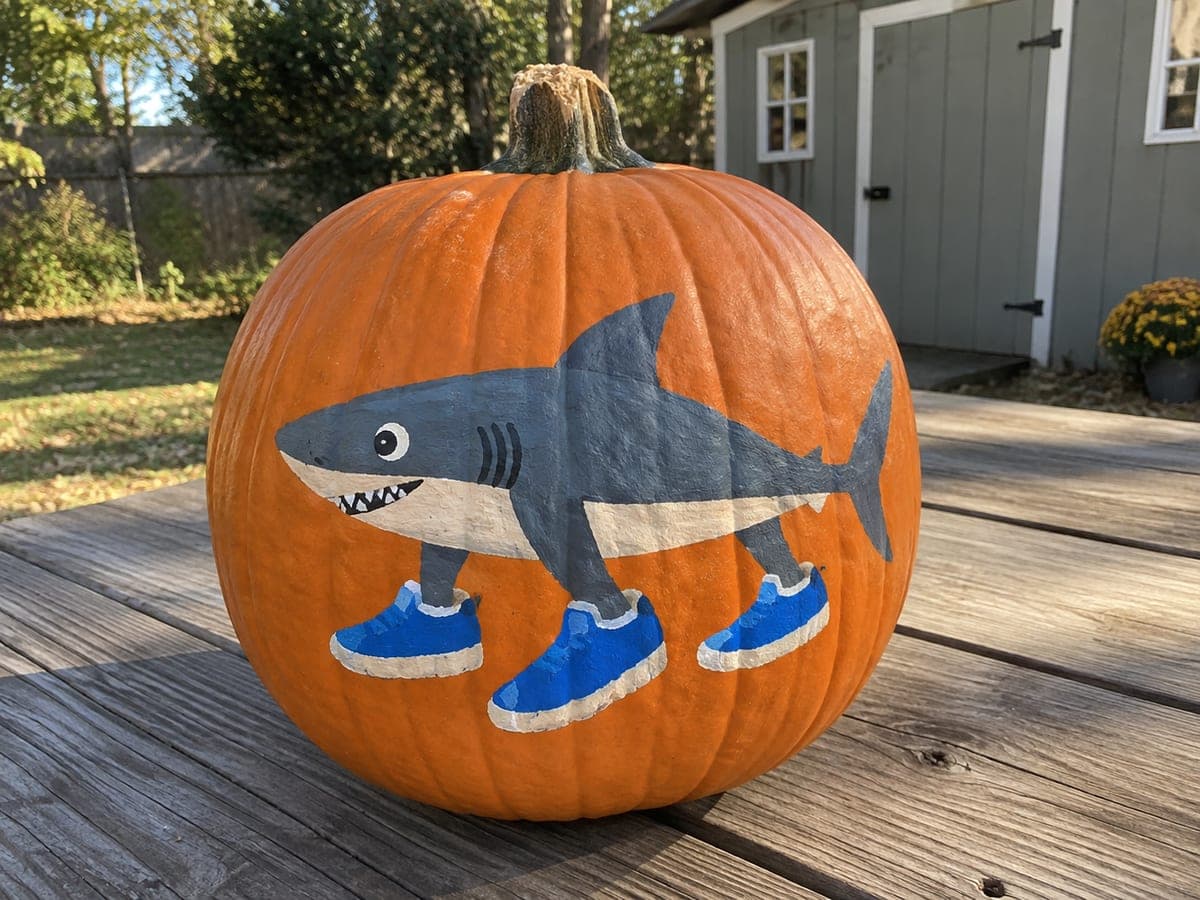
Painted Tung Tung Tung Sahur PumpkinAI
0

Report this carving

Tell us what is wrong. Reports are private.

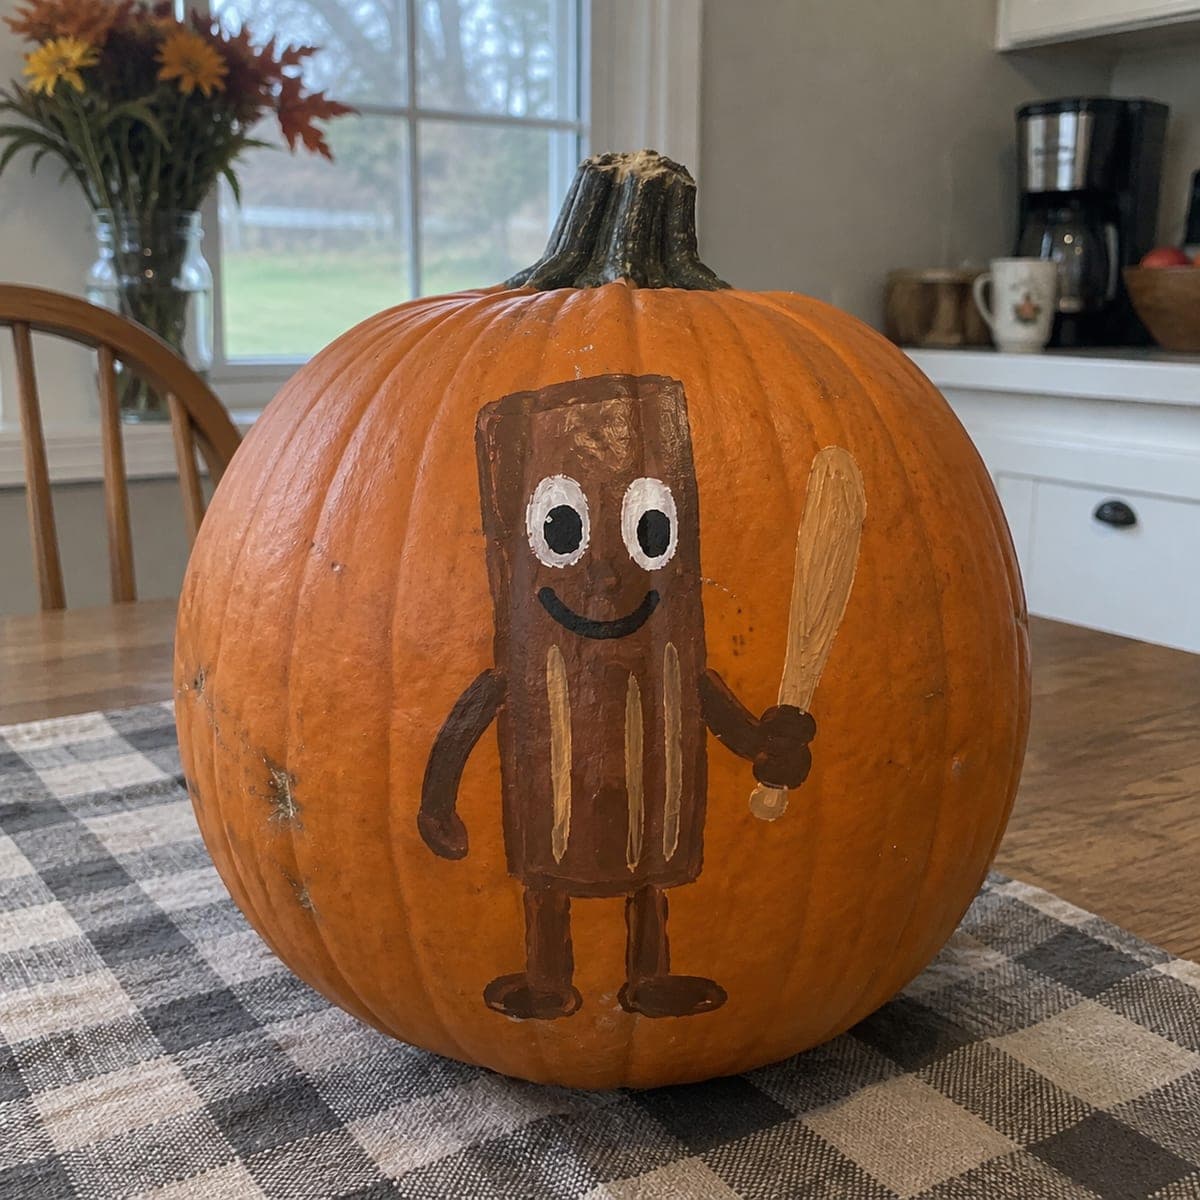
Painted Tung Tung Tung Sahur Pumpkin

This no-carve Tung Tung Tung Sahur pumpkin idea uses flat acrylic paint shapes applied directly to the intact rind for a clean, easy result with no cutting required. Sketch the log character, bat, and face elements in pencil first to lock in proportions before touching the paint. Layer lighter colors first, let each coat dry fully, then add dark outlines and detail work on top for a crisp finished look that holds up for weeks.

No ratings yet · Sign in to rate
tung-tung-tung-sahurfantasyno-carvepaintedmemebrainrotcartoonfunny

Save this design for carving night, then share a photo of your own jack-o'-lantern once it's glowing.

Tung Tung Tung Sahur and all related characters, names, logos, and trademarks are the property of their respective owners. This is an unofficial fan carving shared by our community for inspiration only. PumpkinCarvingIdeas.com is not affiliated with, sponsored by, or endorsed by any rights holder or person depicted, and no such connection is implied.
Comments (0)

  • No comments yet. Be the first.

Our tips for carving a similar design

All the design work happens on the intact rind with flat acrylic paint, so there is no structural risk and no tools sharper than a brush. Sketching the log character, bat, and face elements in pencil first locks in proportions before paint goes down. Layering lighter colors first and finishing with dark outlines gives clean, pop-art edges that look intentional and bold on the orange ground.

From pumpkin to porch

  1. Clean and dry the pumpkin

    Wipe down the rind with a damp cloth to remove dirt and natural wax. Let it dry fully before touching it with pencil or paint. A clean, dry surface is the single most important step for paint that stays put outdoors.

  2. Sketch the character in pencil

    Lightly draw the log body outline, face shapes, bat, and any accessory elements with a soft pencil. Check proportions from arm's length before committing. Pencil lines will be covered by paint, so draw as many guidelines as you need.

  3. Apply the lightest colors first

    Fill in any light areas, such as face highlights or the bat wing edges, with thin acrylic coats. Allow each coat to dry before layering. Starting light prevents darker colors from showing through and muddying the palette.

  4. Fill in mid-tone and main body colors

    Paint the log body shape and any secondary mid-tone areas. Use a medium flat brush for large fill areas and switch to a round brush for smaller shapes. Two thin coats give more even coverage than one thick one.

  5. Add outlines and fine details

    Once all color fills are fully dry, use a fine round brush and black or dark brown paint to draw the character outlines, face features, and bat details. Steady your brush hand against the pumpkin surface for control. These lines define the whole character, so take your time.

  6. Seal and display

    Apply two coats of matte acrylic varnish over the entire painted area, letting the first coat dry before the second. The sealer protects against moisture and light handling. Display in a sheltered spot to keep the design bright through Halloween.

Written with AI to match this design

Gather your supplies

Check things off as you get ready.

Work on a stable surface, keep your free hand out of the cutting path, and have an adult handle sharp tools.

Three levels of light

  • Leave intact

    Bare orange rind at the edges of the design and between painted shapes stays as a natural frame.

  • Peel & shade

    None, this design leaves the shell fully intact.

  • Cut through

    None, use a porch light or outdoor spotlight to illuminate the painted surface.

Learn the carving basics

Before you start cutting

What paint colors do I need to mix for the log body?

A warm medium brown base with slightly darker brown for grain lines covers the log shape. Mix raw sienna with a touch of burnt umber for the main body, and use straight burnt umber for the grain detail lines. A small amount of white mixed into the base brown lightens the upper highlight area.

Can I use acrylic paint markers instead of brushes for the outlines?

Yes, paint markers give very consistent line width which is great for clean character outlines. Use a medium-tip marker for the outer body outline and a fine-tip marker for face details. Shake the marker and test on paper before touching the pumpkin.

My pencil lines are showing through the light paint. How do I fix this?

Apply an additional thin coat of the light color directly over the visible pencil lines and let it dry. If lines still show, a very thin wash of white mixed with the light color laid over the top usually covers them. Pencil lines on pumpkin rind are softer than on paper, so two coats almost always hide them entirely.

Your take belongs here, too.

Changed a detail? Made it simpler? Share a photo of your version and tell the community what worked.

Share your pumpkin

Want more designs like this? Browse our full library of pumpkin carving ideas, or pick a free printable stencil. Every pattern and template in our own collection is free to print at home.

More pumpkins like this

You've reached the end · 8 pumpkins
The Patch Report

Fresh pumpkins, in your inbox.

The best new carvings, ideas worth stealing, and how-tos for carving season. Short, seasonal, and gone by November.

A short email during carving season. Unsubscribe anytime. See our privacy policy.