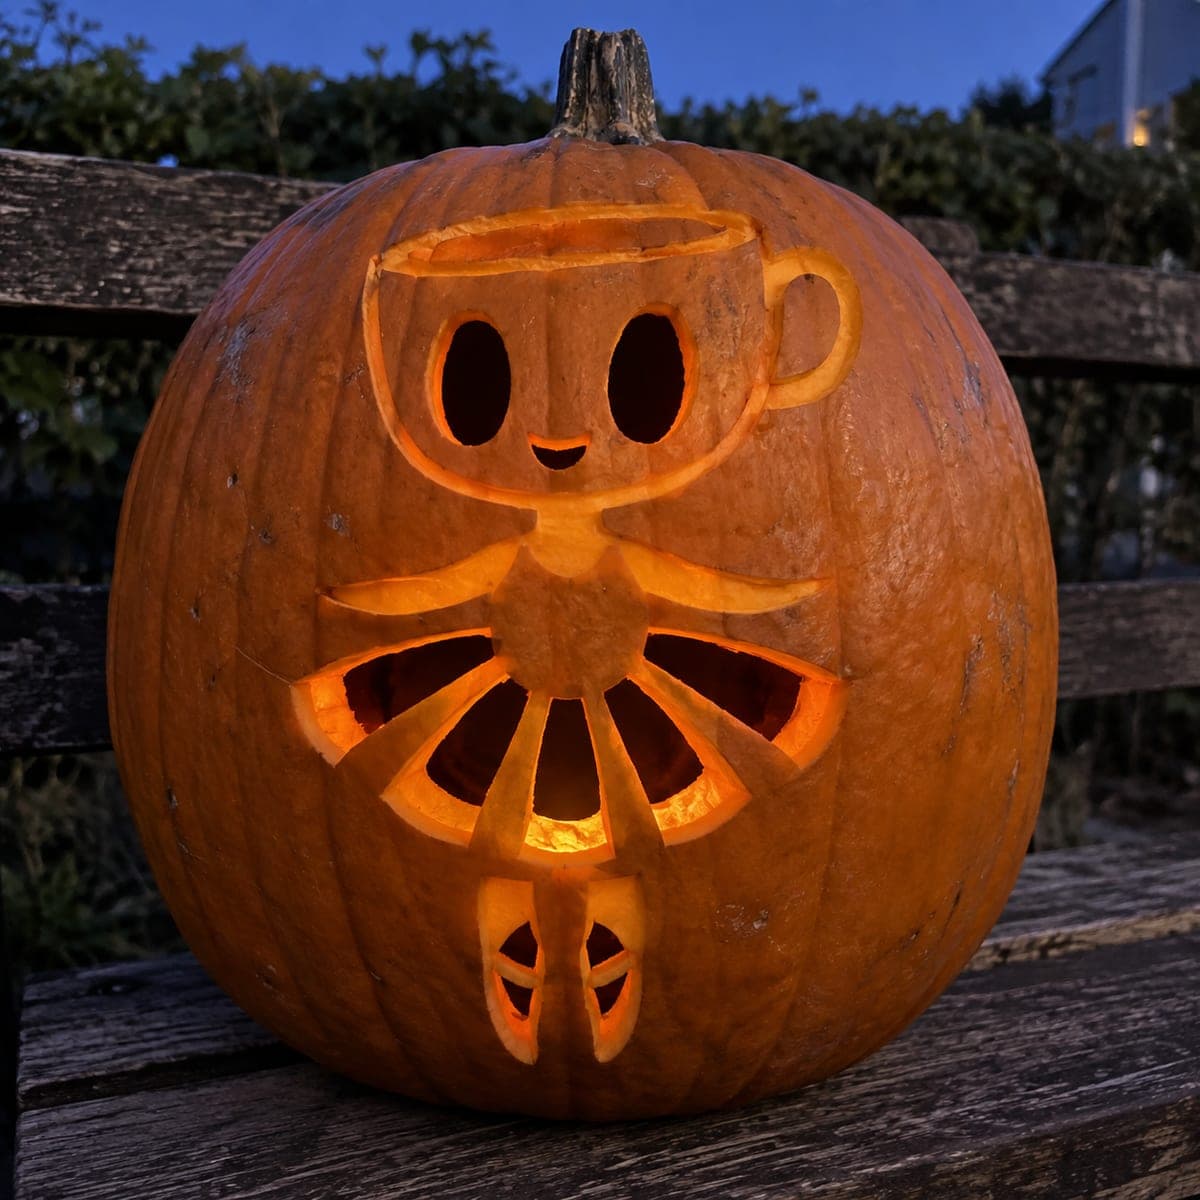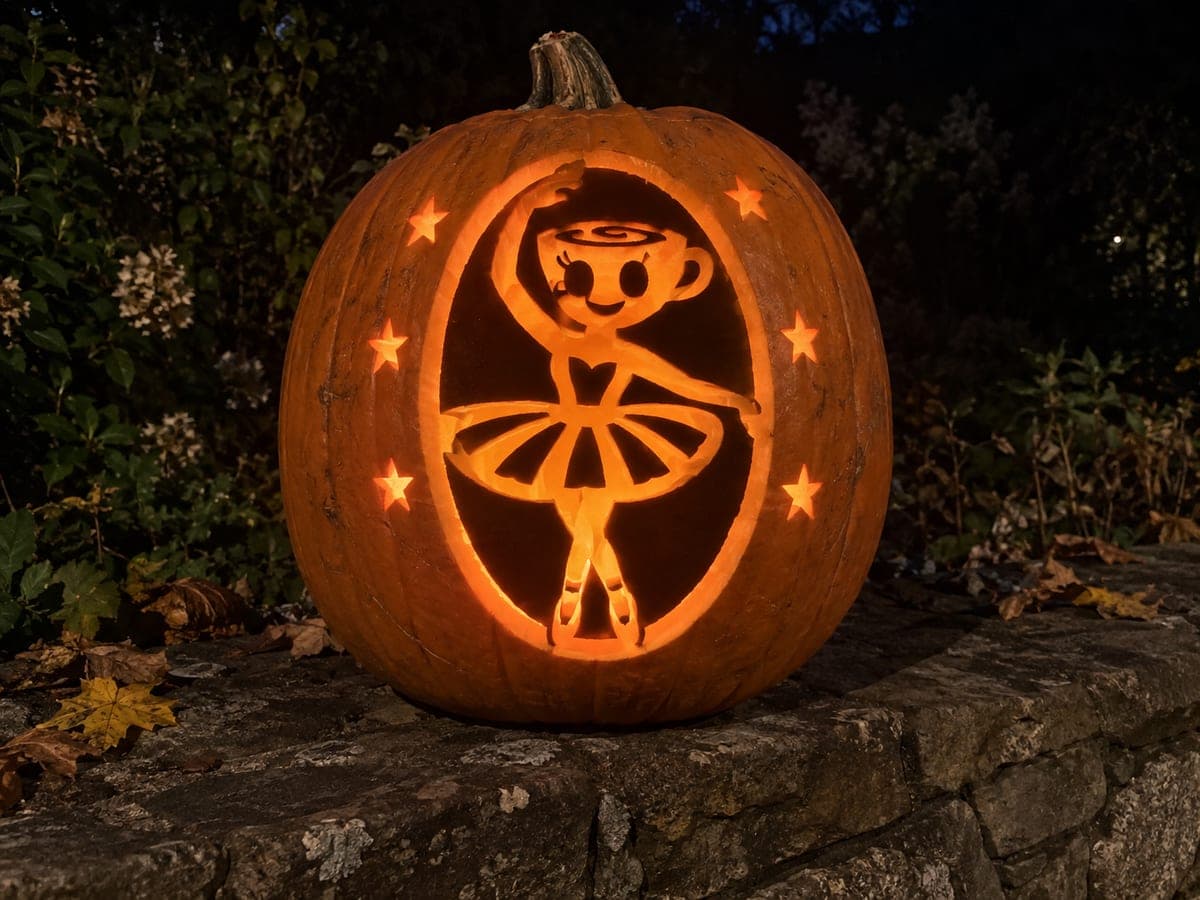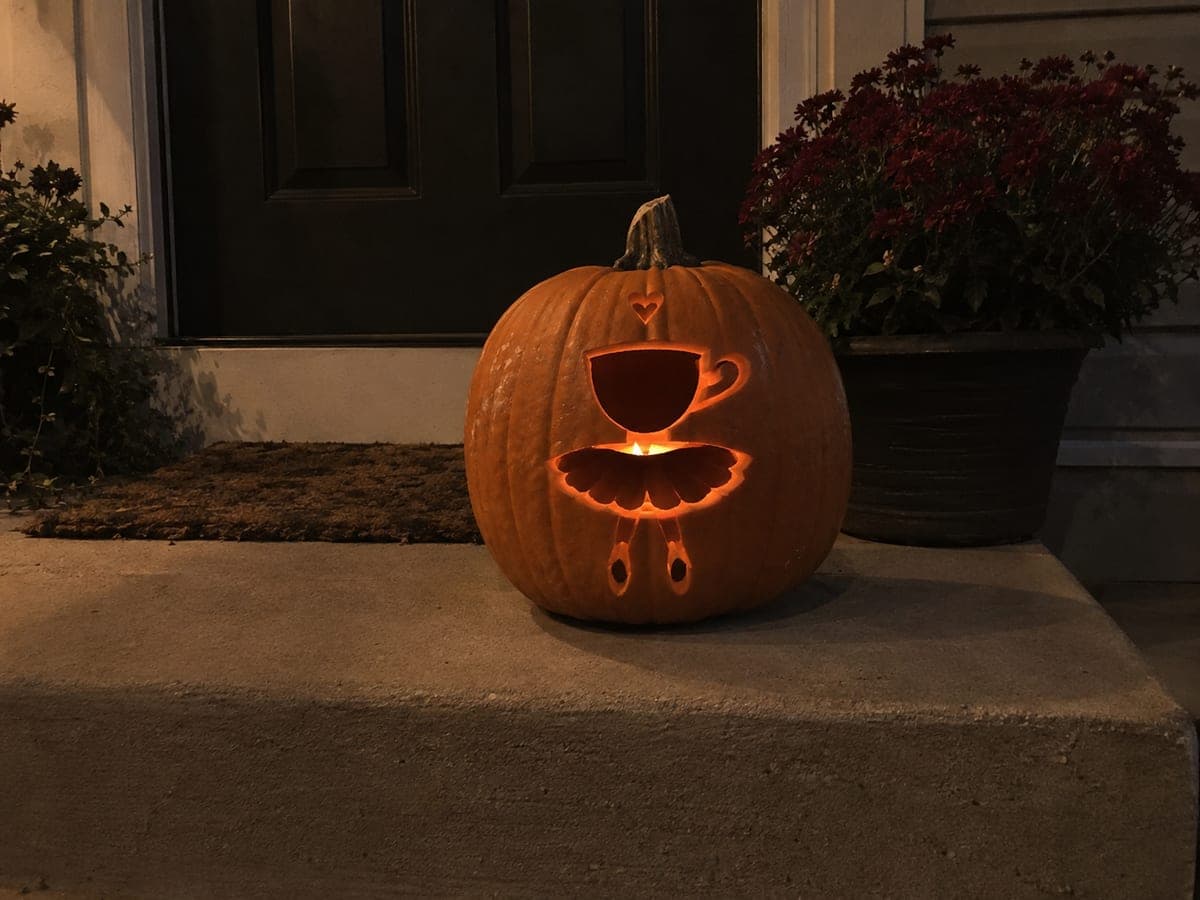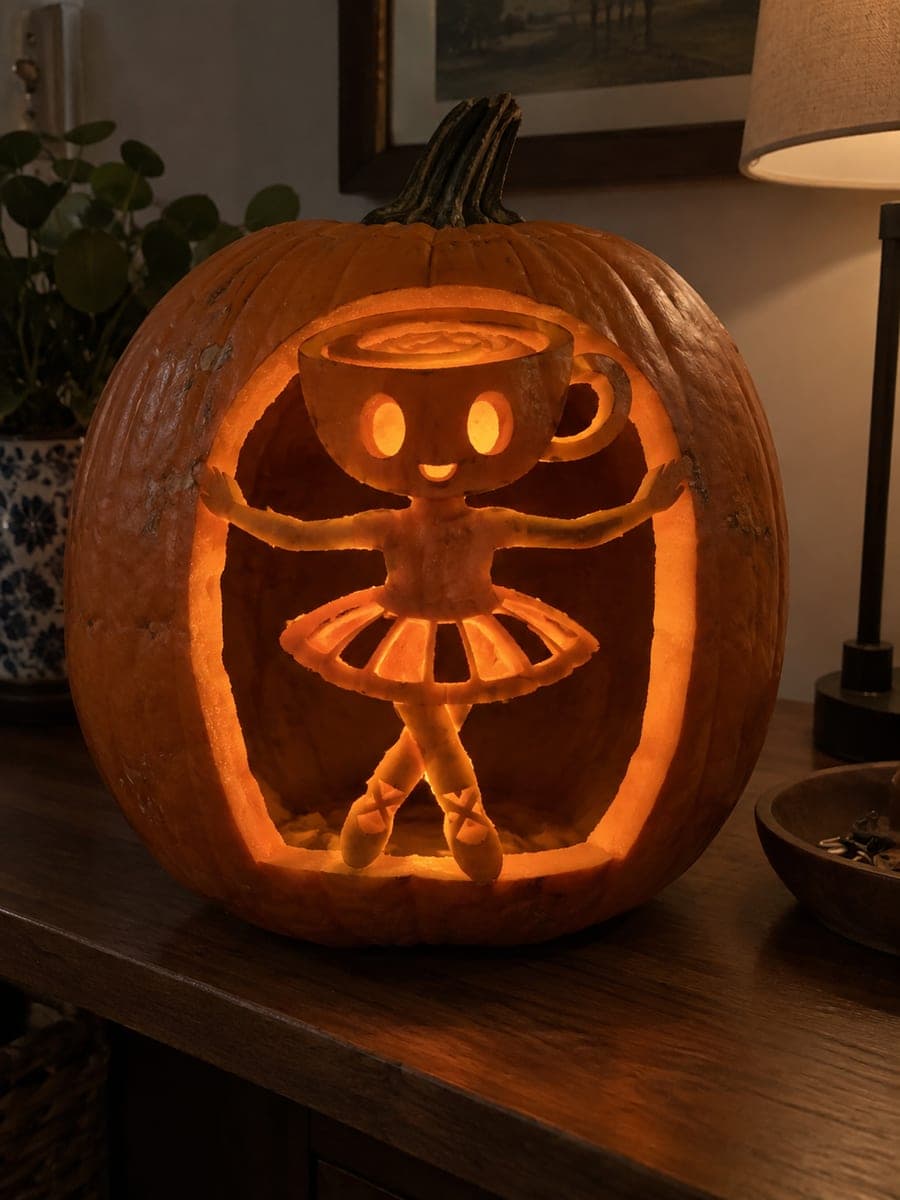
The 2026 contest winners are inGrand Prize, People's Choice and Most Creative, all crowned.
@ai_concepts
Sep 25, 2026
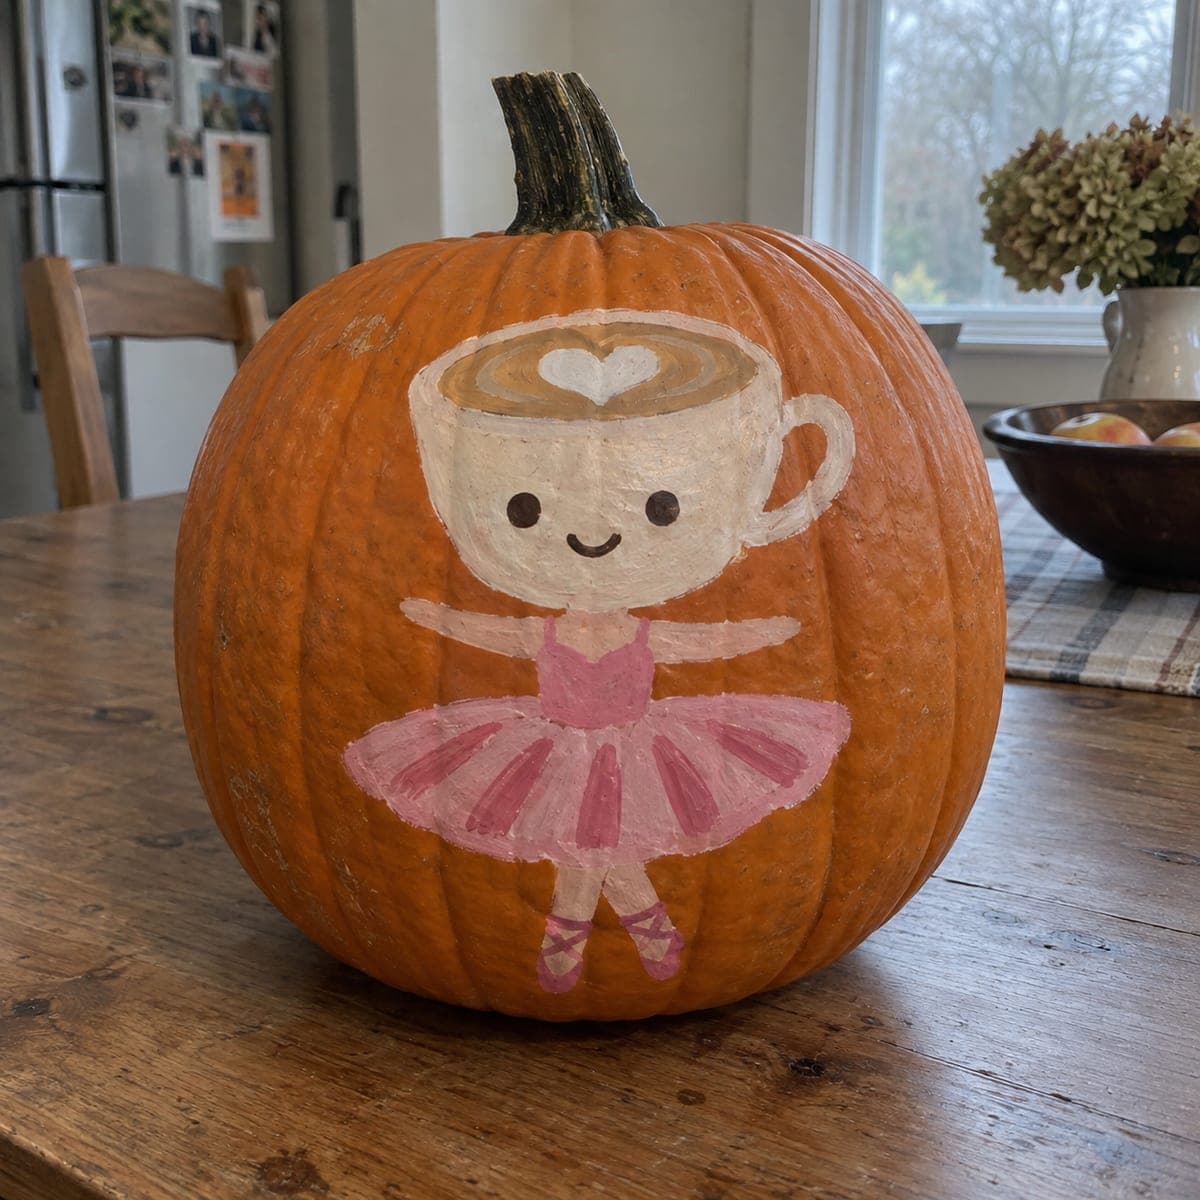
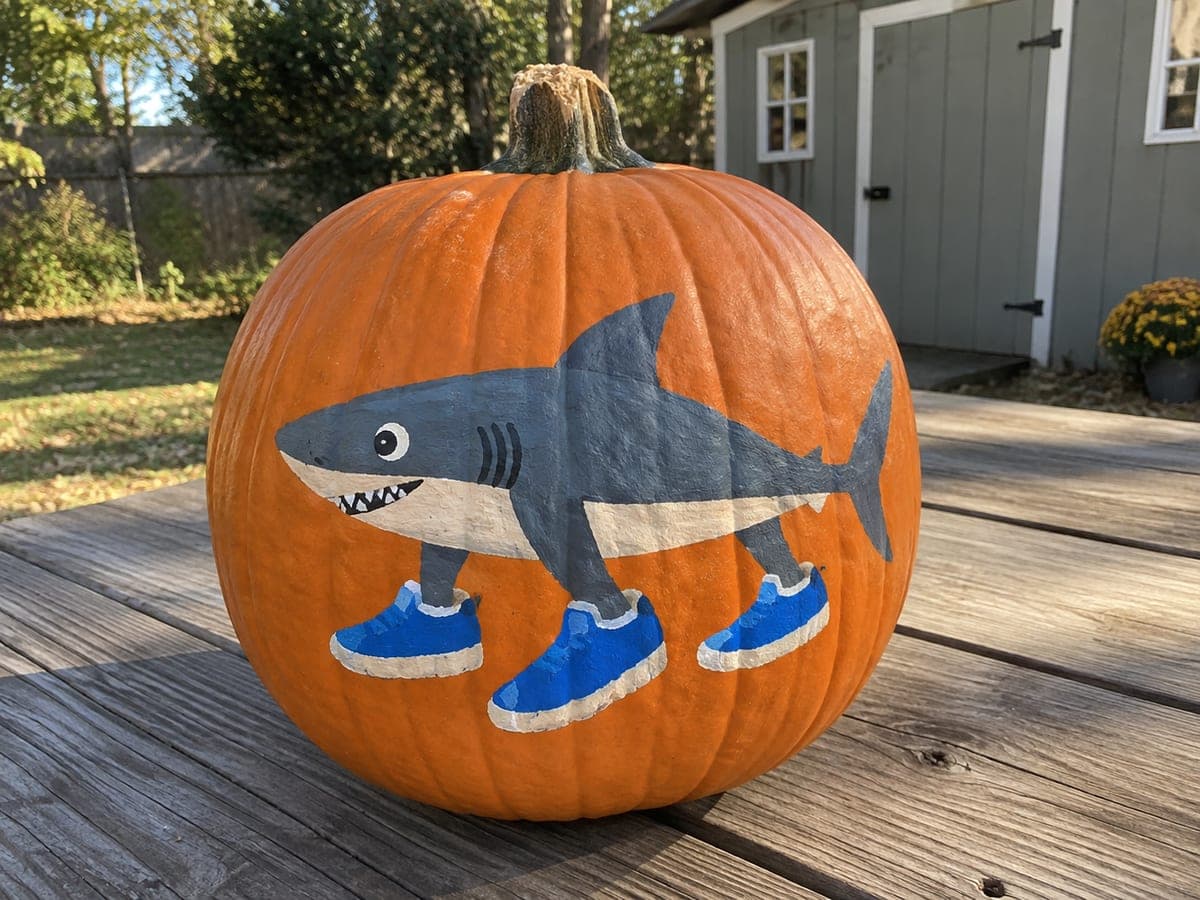
Painted Ballerina Cappuccina PumpkinAI
0

Report this carving

Tell us what is wrong. Reports are private.

Painted Ballerina Cappuccina Pumpkin

This no-carve Ballerina Cappuccina pumpkin idea renders the coffee-cup ballerina character in flat acrylic paint on the intact orange rind, making it a fun craft project for any skill level. Block in the lightest colors first, the tutu and cup highlights, before adding the mid-tones and dark outlines. Use a fine round brush for the face details and latte foam pattern, and seal the whole design with matte acrylic varnish so it stays bright through Halloween.

No ratings yet · Sign in to rate
ballerina-cappuccinafantasyno-carvepaintedmemebrainrotcartoonfunny

Save this design for carving night, then share a photo of your own jack-o'-lantern once it's glowing.

Ballerina Cappuccina and all related characters, names, logos, and trademarks are the property of their respective owners. This is an unofficial fan carving shared by our community for inspiration only. PumpkinCarvingIdeas.com is not affiliated with, sponsored by, or endorsed by any rights holder or person depicted, and no such connection is implied.
Comments (0)

  • No comments yet. Be the first.

Our tips for carving a similar design

Flat acrylic shapes on an intact rind build the character light-to-dark: tutu and cup highlights first, mid-tones next, then dark outlines and the fine face and foam details with a small round brush. A matte varnish locks it in for the season.

From pumpkin to porch

  1. Clean and sketch the pose

    Wipe the pumpkin dry and chalk the dancer: cup body, tutu, and legs in a simple pirouette pose. Chalk forgives, so redraw until the pose has motion.

  2. Paint the lightest layer

    Block in the tutu and the cup highlights with the palest colors first and let them dry. Light-first layering is the golden rule of acrylic on rind.

  3. Add the mid-tones

    Fill the cup body, limbs, and hair in their main colors over and around the dry highlights. Two thin coats keep the surface smooth and streak-free.

  4. Outline in dark

    Once dry, outline every shape in dark brown or black to give the design its cartoon punch. A steady paint pen works if brush outlining feels wobbly.

  5. Detail the face and foam

    Use a fine round brush for the small face and the latte foam pattern in the cup. These few square inches are what make the character recognizable, so slow down here.

  6. Varnish and display

    Seal with matte acrylic varnish so the colors stay bright through Halloween. Display in daylight or porch light; the design needs no interior glow.

Written with AI to match this design

Gather your supplies

Check things off as you get ready.

Work on a stable surface, keep your free hand out of the cutting path, and have an adult handle sharp tools.

Three levels of light

  • Leave intact

    Unpainted rind stays natural orange around the dancer.

  • Peel & shade

    None, the shell is never cut on this design.

  • Cut through

    None, display it under ambient light instead of lighting from inside.

Learn the carving basics

Before you start cutting

Why paint the lightest colors first?

Acrylic covers dark-over-light cleanly but not the reverse, so the pale tutu and cup highlights go down first and everything else overlaps them. Working light to dark also hides small boundary wobbles automatically.

What brush handles the tiny face details?

A size 0 or 1 round brush with a good point, lightly loaded. Brace your hand on the pumpkin, breathe out, and paint the eyes and foam swirl in single short strokes rather than reworking wet paint.

Can I mix carving into this design later?

It is best kept fully no-carve; opening the shell shortens the pumpkin's life from weeks to days and risks the painted surface splitting. If you want glow, set a string of fairy lights around the base instead.

Your take belongs here, too.

Changed a detail? Made it simpler? Share a photo of your version and tell the community what worked.

Share your pumpkin

Want more designs like this? Browse our full library of pumpkin carving ideas, or pick a free printable stencil. Every pattern and template in our own collection is free to print at home.

More pumpkins like this

You've reached the end · 8 pumpkins
The Patch Report

Fresh pumpkins, in your inbox.

The best new carvings, ideas worth stealing, and how-tos for carving season. Short, seasonal, and gone by November.

A short email during carving season. Unsubscribe anytime. See our privacy policy.