The 2026 contest winners are inGrand Prize, People's Choice and Most Creative, all crowned.
@ai_concepts
Sep 25, 2026
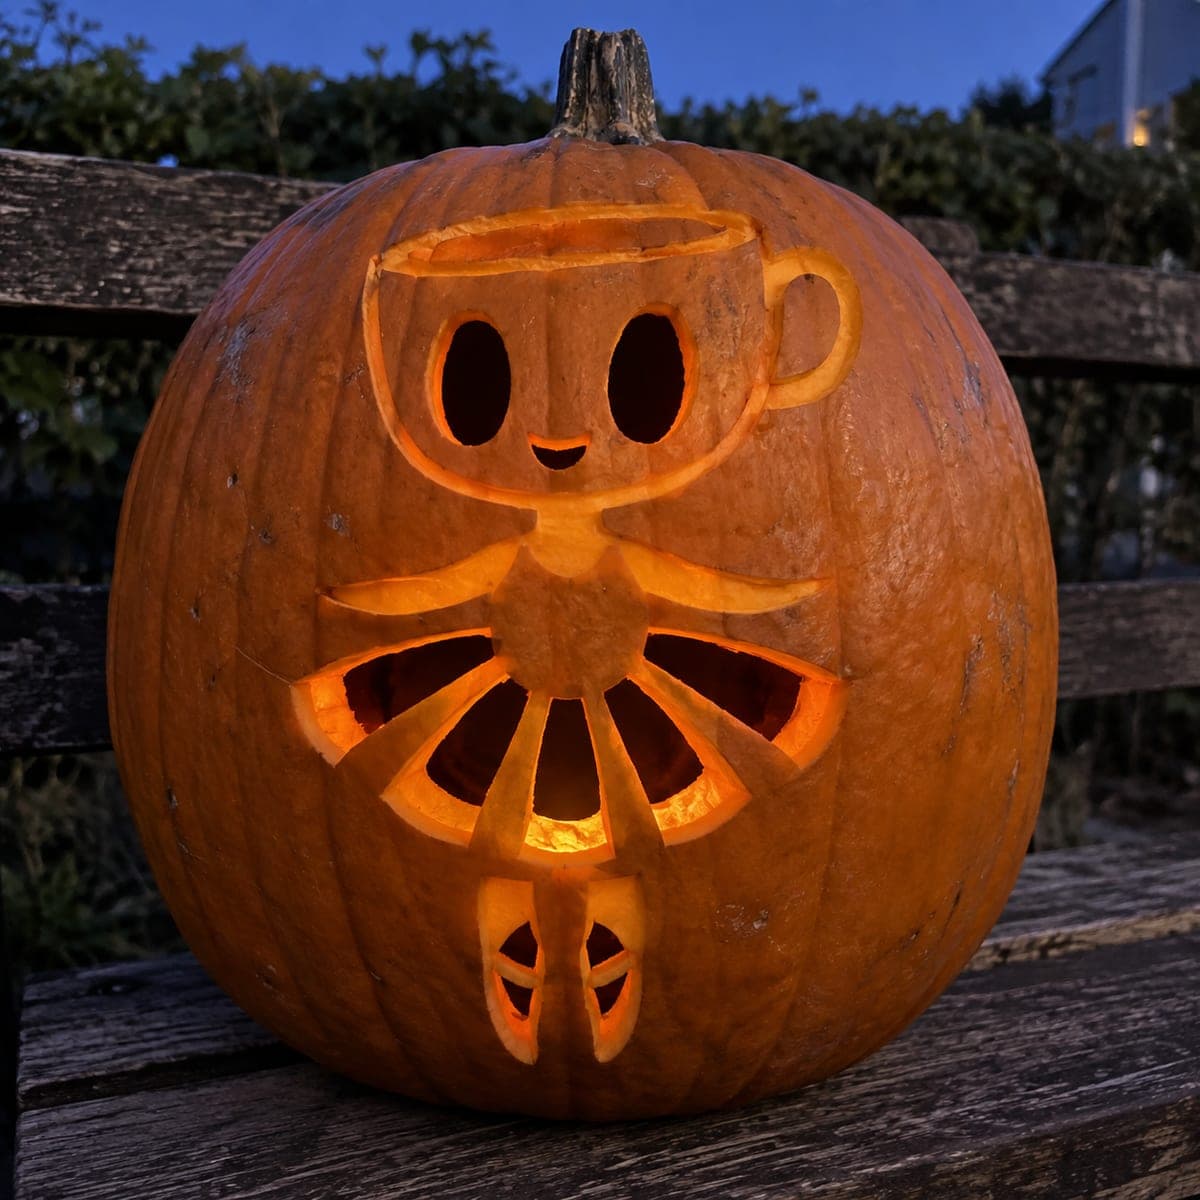
Ballerina Cappuccina Heart Frame PumpkinAI
0

Report this carving

Tell us what is wrong. Reports are private.

Ballerina Cappuccina Heart Frame Pumpkin

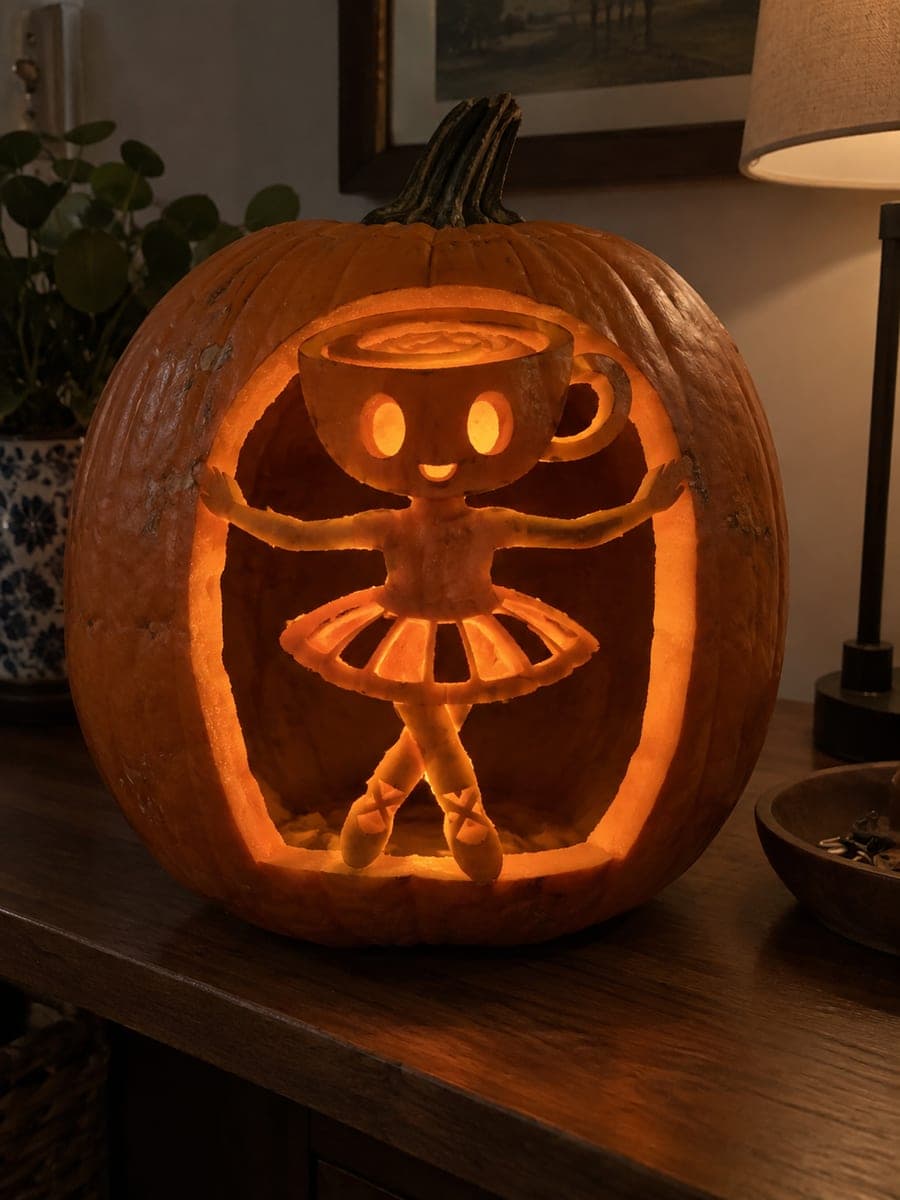
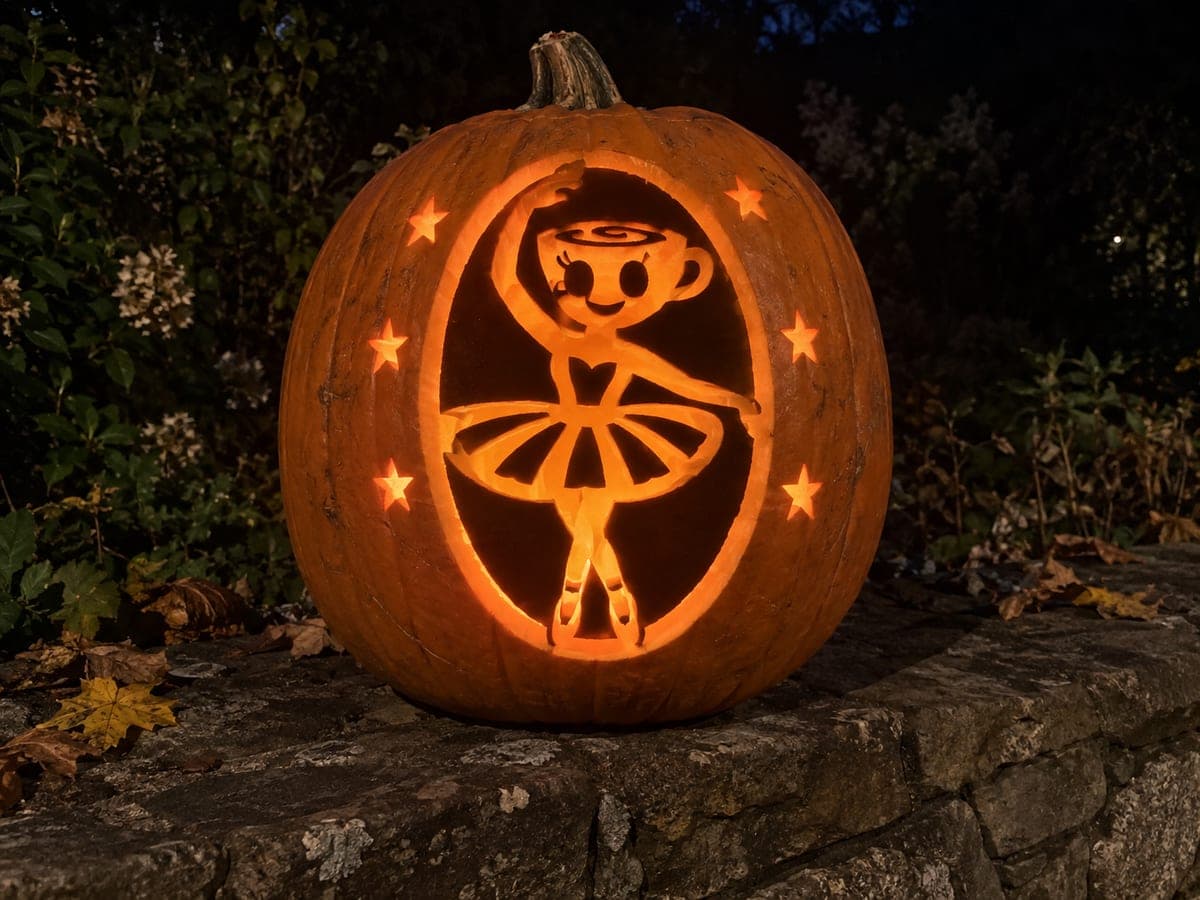
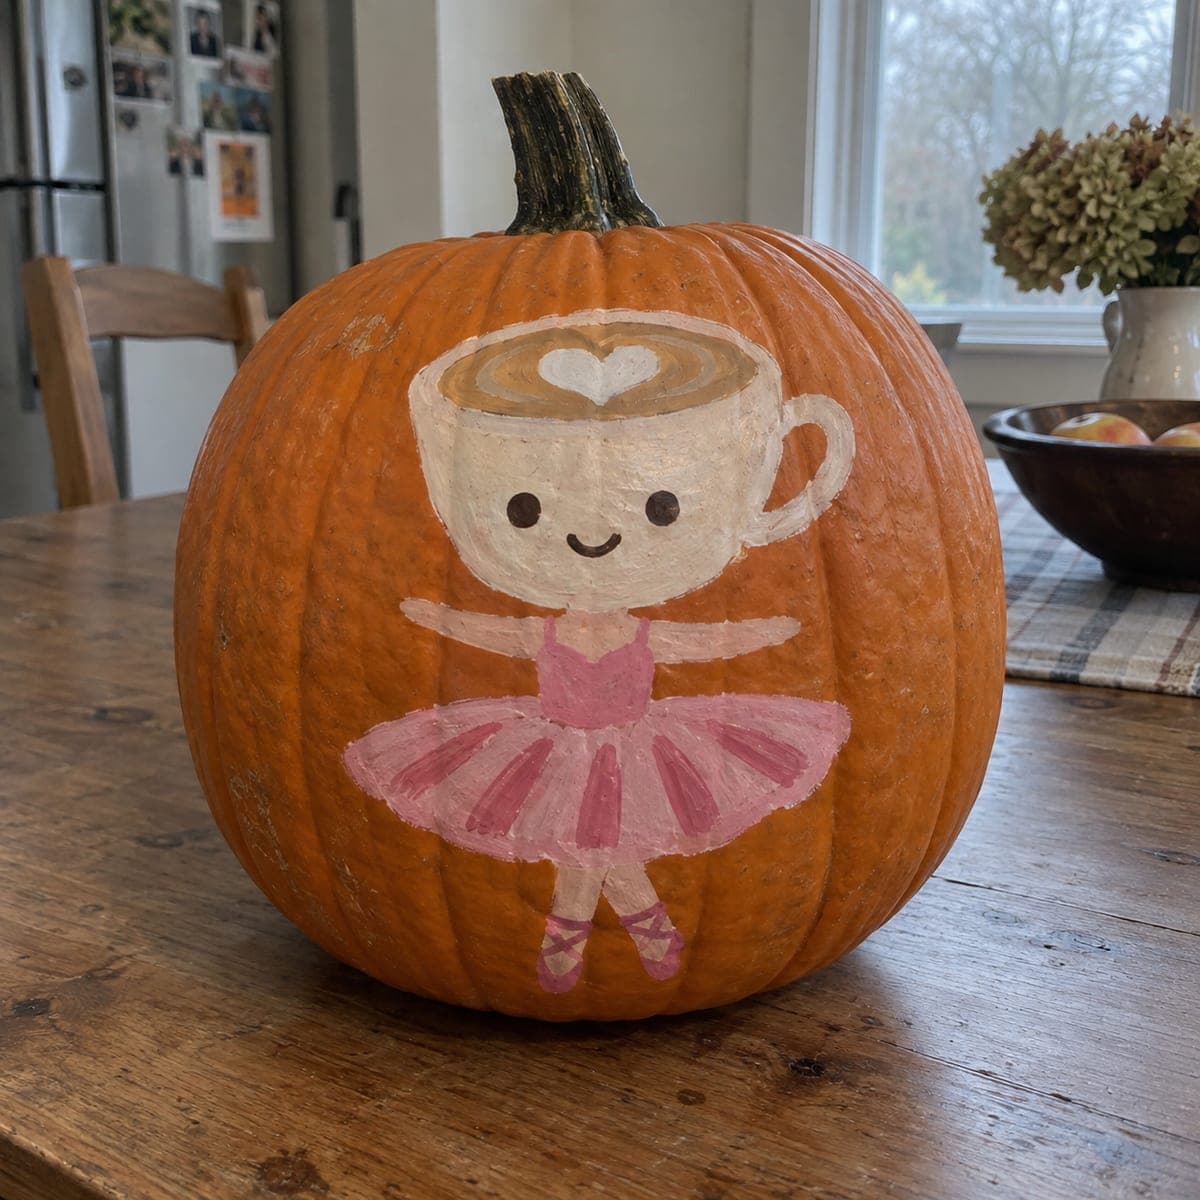
This expert Ballerina Cappuccina pumpkin carving uses a large hollow oval frame to surround the entire figure, with tutu panel openings and a heart-shaped aperture cut within the body itself for maximum glow. The raised arm connects at the top, a side hand joins the frame at one edge, the skirt attaches on both sides, and the slippers anchor the base. Score the heart opening template carefully before cutting since its curved shape inside the body is the trickiest cut in the design. Shallow backed face and latte details complete the design with texture that catches warm candlelight.

No ratings yet · Sign in to rate
ExpertFantasyFunnyClassic Cutout
ballerina-cappuccinafantasymemebrainrotcartoonfunnyoval-frameheart-aperture

Save this design for carving night, then share a photo of your own jack-o'-lantern once it's glowing.

Ballerina Cappuccina and all related characters, names, logos, and trademarks are the property of their respective owners. This is an unofficial fan carving shared by our community for inspiration only. PumpkinCarvingIdeas.com is not affiliated with, sponsored by, or endorsed by any rights holder or person depicted, and no such connection is implied.
Comments (0)

  • No comments yet. Be the first.

Our tips for carving a similar design

A large hollow oval replaces the arch of simpler versions, framing the entire figure and creating a bold silhouette effect. The figure attaches to the oval at four points: the raised arm at the top, one side hand at the frame edge, the skirt on both sides, and the slippers at the base. The trickiest element is the heart-shaped aperture cut inside the figure body, which requires careful template work because its curved cutout exists within a rind area already surrounded by tutu panel openings. Shallow backed face and latte details complete the design with warm textured glow.

From pumpkin to porch

  1. Gut and draft the complete layout

    Remove a back panel and scoop to 1-inch walls. Draw the full oval outline, figure with all four connection points clearly marked, your heart aperture template inside the body, tutu panels, and the shallow relief zones for face and latte detail. A paper template for the heart is strongly recommended: cut the heart from paper, tape it to the pumpkin surface, and trace around it for a consistent curve.

  2. Score the face and latte relief

    While the wall is still fully solid, use a linoleum cutter to score the face features and latte foam design to about half the wall thickness. Score the latte detail inside the cup body with fine curved strokes. These areas will glow amber and provide visual richness without adding structural complexity.

  3. Cut the outer oval frame

    Pierce just inside the oval outline and saw the full oval, stopping precisely at each of the four connection bridge marks. The oval is larger than an arch and curves continuously, so use a thin flexible saw blade and keep your sawing pace slow and consistent. Remove the oval sections and verify all four bridges are intact.

  4. Cut the tutu panel openings

    Open the tutu panels one at a time, fanning from the center outward, leaving retained ribs between each panel. The skirt attaches to both sides of the oval frame at the hip level, so work carefully near those junction points to avoid cutting into them. Check that the figure feels firmly seated after each panel is opened.

  5. Cut the heart aperture inside the body

    This is the most demanding cut in the design. Pierce at the top center of the heart and work around each lobe slowly with a thin-bladed saw. The heart sits inside the body rind surrounded by the open tutu panels on the lower sides, so the wall here is partially cantilevered. Use a very short stroke length and take your time at the curved lobe tips to avoid cracking.

  6. Finish the slipper base and light

    Cut any remaining slipper attachment details at the base of the oval, leaving the connection bridges intact. Insert a bright LED through the back panel. The heart aperture, tutu panels, and oval frame will all glow brightly, while the shallow backed face and latte detail glow amber. Display at eye level on a stable surface.

Written with AI to match this design

Gather your supplies

Check things off as you get ready.

Work on a stable surface, keep your free hand out of the cutting path, and have an adult handle sharp tools.

Three levels of light

  • Leave intact

    The figure body (outside the heart), connection bridges, and outer rind beyond the oval stay fully dark.

  • Peel & shade

    The shallow backed face features and latte foam detail glow at warm mid-level amber.

  • Cut through

    The oval frame opening, tutu panels, and heart-shaped aperture in the body cut fully through for bright warm light.

Learn the carving basics

Before you start cutting

The heart aperture is inside the body with tutu openings right below it. How do I prevent the rind between them from cracking?

Leave at least half an inch of solid rind between the bottom tip of the heart and the top edge of the highest tutu panel. Draw this buffer zone on the pumpkin before cutting either element. If the buffer narrows during cutting, stop and assess before continuing. A reinforcing toothpick along the crack line plus craft glue can rescue a hairline crack.

What is the best way to keep the oval cut perfectly curved?

Use a flexible thin-bladed saw and let the blade guide slightly naturally around the curve rather than forcing it. Mark the oval carefully with a dry-erase marker using a paper or cardboard oval template for consistency. Cut at a slow, steady pace and do not change your grip mid-curve.

How many connection points does the raised arm need to stay up?

The raised arm needs a solid bridge at the top of the oval, at least three-quarters of an inch wide where the arm tip meets the frame. If the arm is long and thin, also ensure it has some rind width along its length rather than tapering to a narrow strand. A thin arm that attaches only at the top tip is at high risk of breaking and should be widened in your sketch.

Your take belongs here, too.

Changed a detail? Made it simpler? Share a photo of your version and tell the community what worked.

Share your pumpkin

Want more designs like this? Browse our full library of pumpkin carving ideas, or pick a free printable stencil. Every pattern and template in our own collection is free to print at home.

More pumpkins like this

You've reached the end · 8 pumpkins
The Patch Report

Fresh pumpkins, in your inbox.

The best new carvings, ideas worth stealing, and how-tos for carving season. Short, seasonal, and gone by November.

A short email during carving season. Unsubscribe anytime. See our privacy policy.