The 2026 contest winners are inGrand Prize, People's Choice and Most Creative, all crowned.
@ai_concepts
Sep 25, 2026
Italian Brainrot Ballerina PumpkinAI
0

Report this carving

Tell us what is wrong. Reports are private.

Italian Brainrot Ballerina Pumpkin

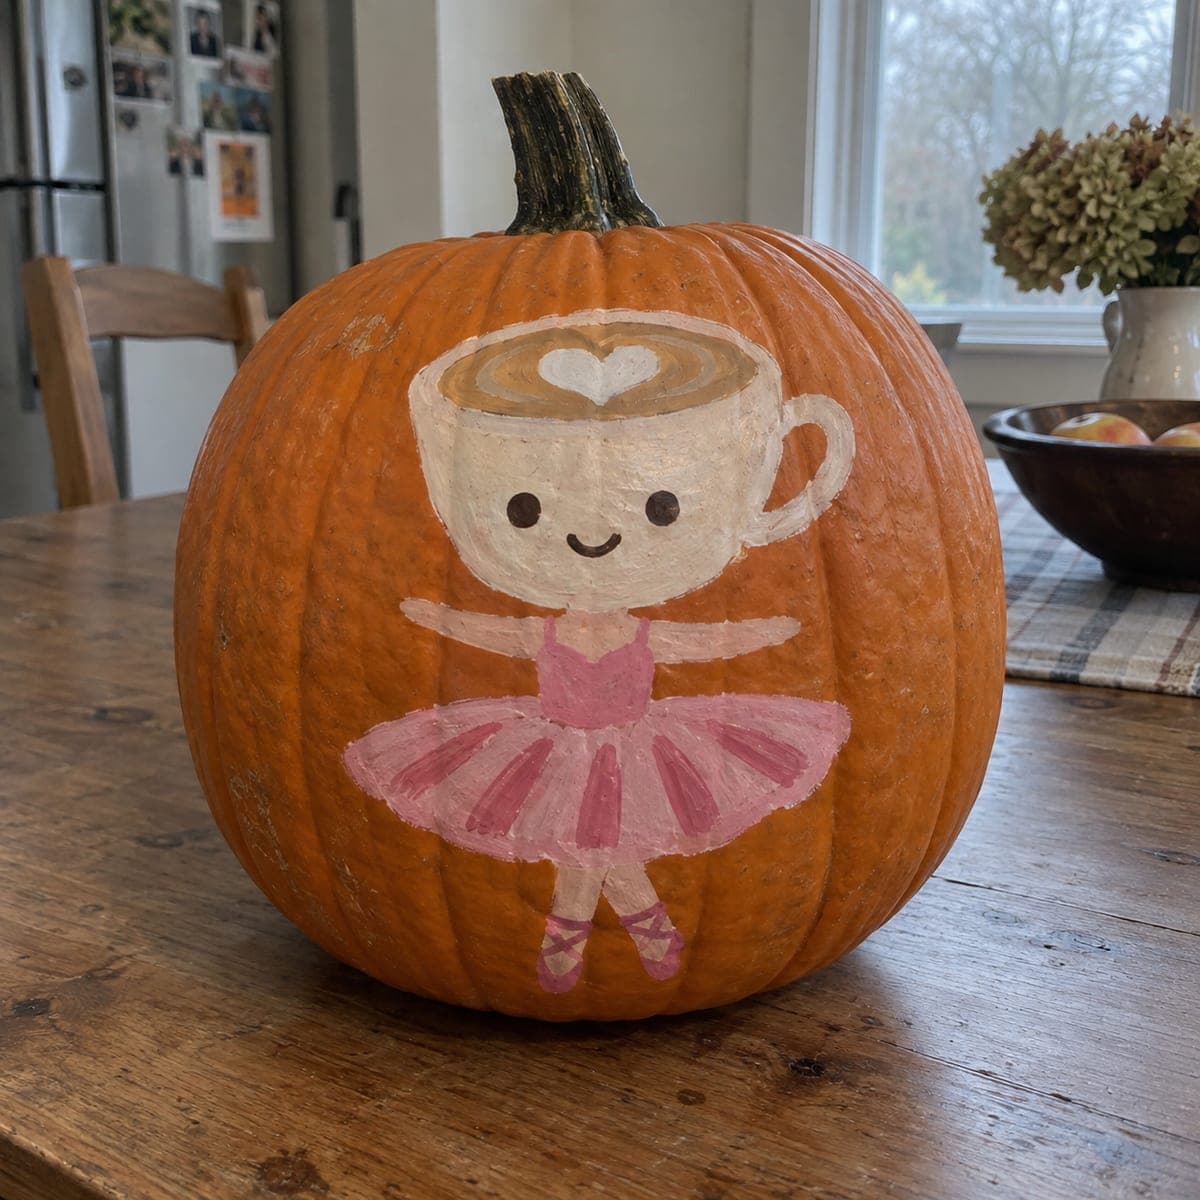
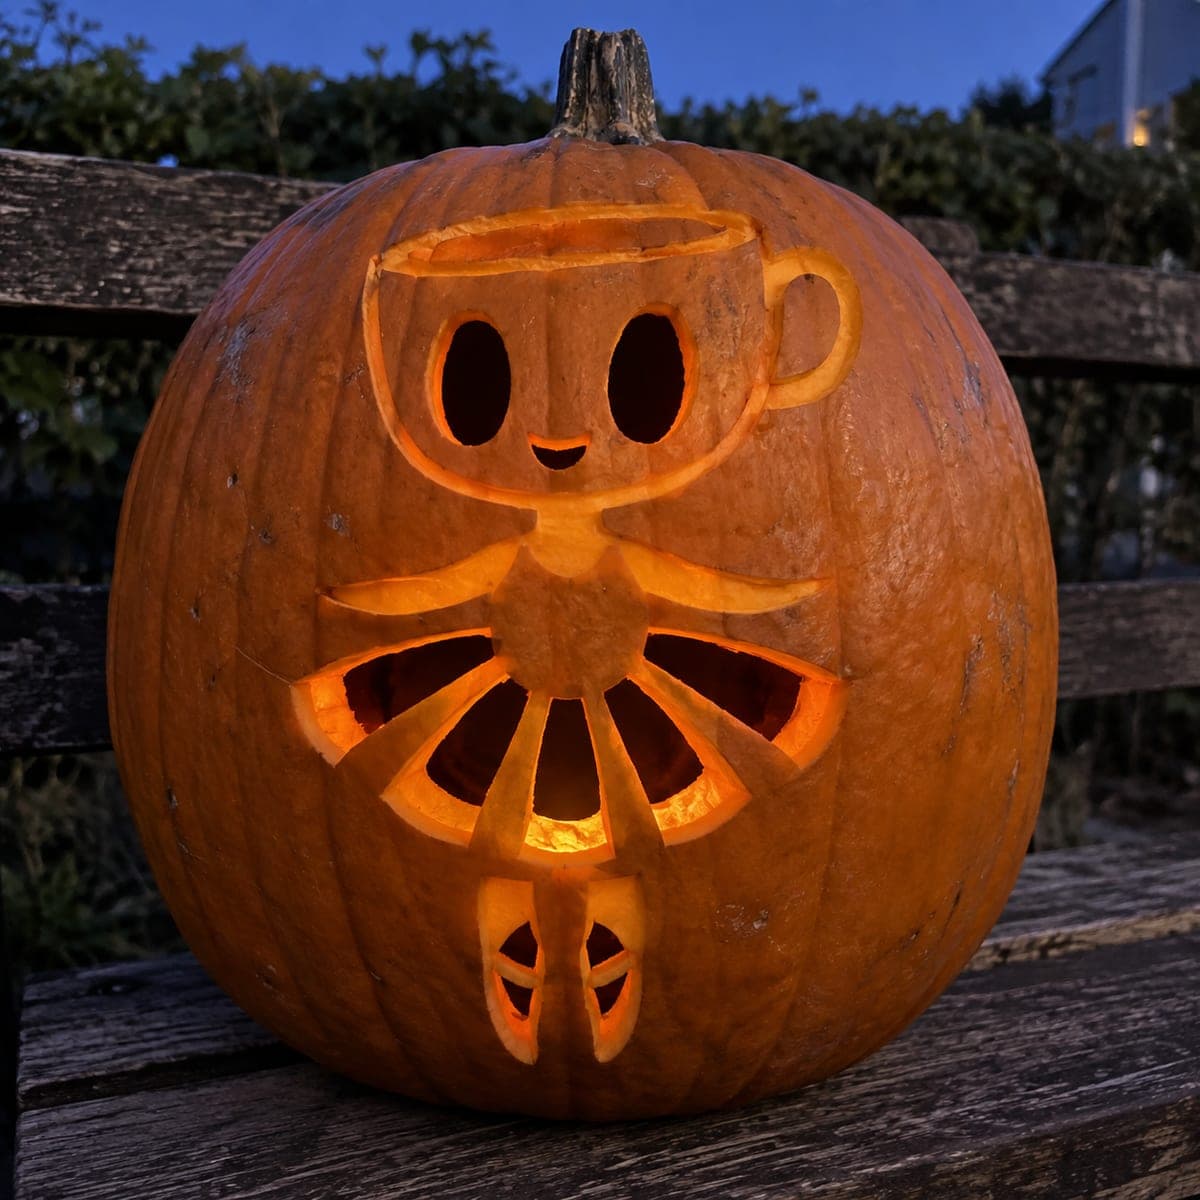
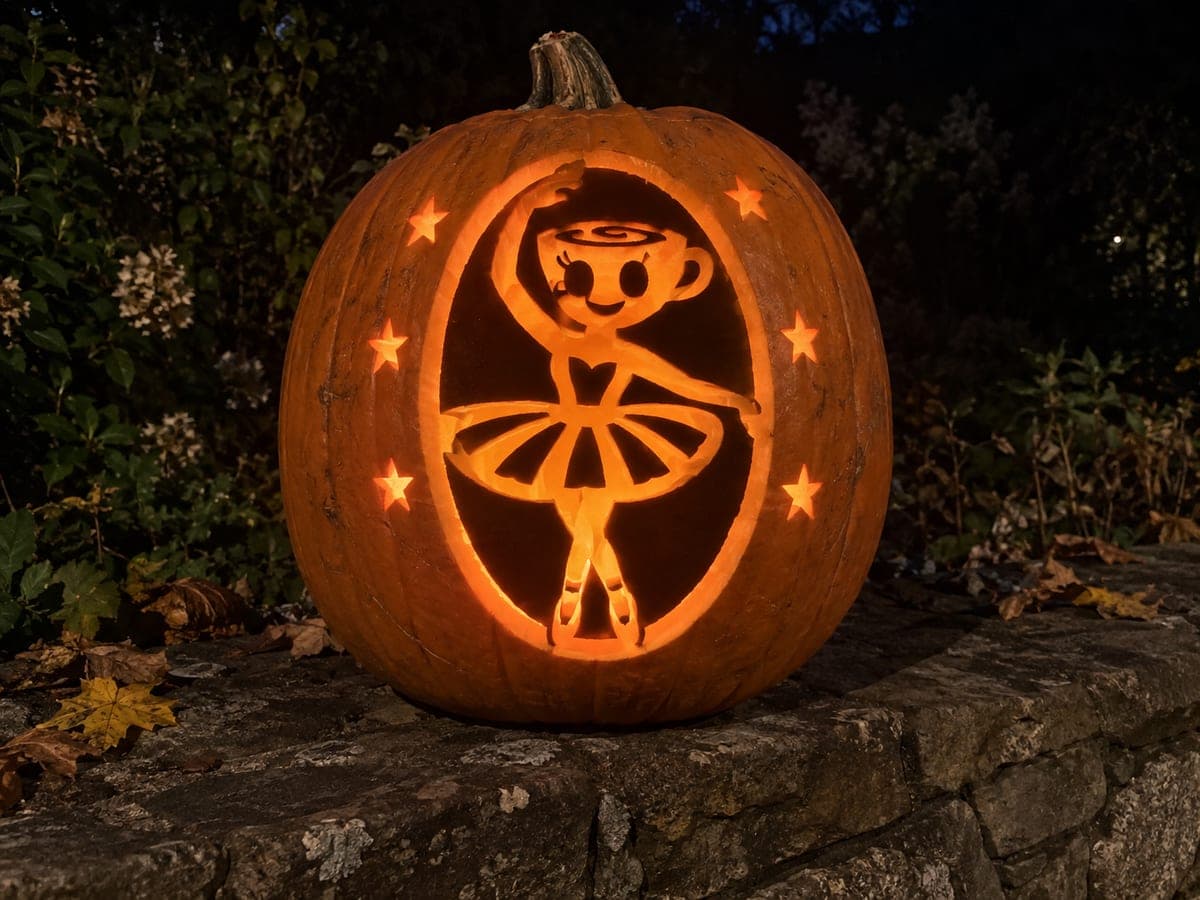
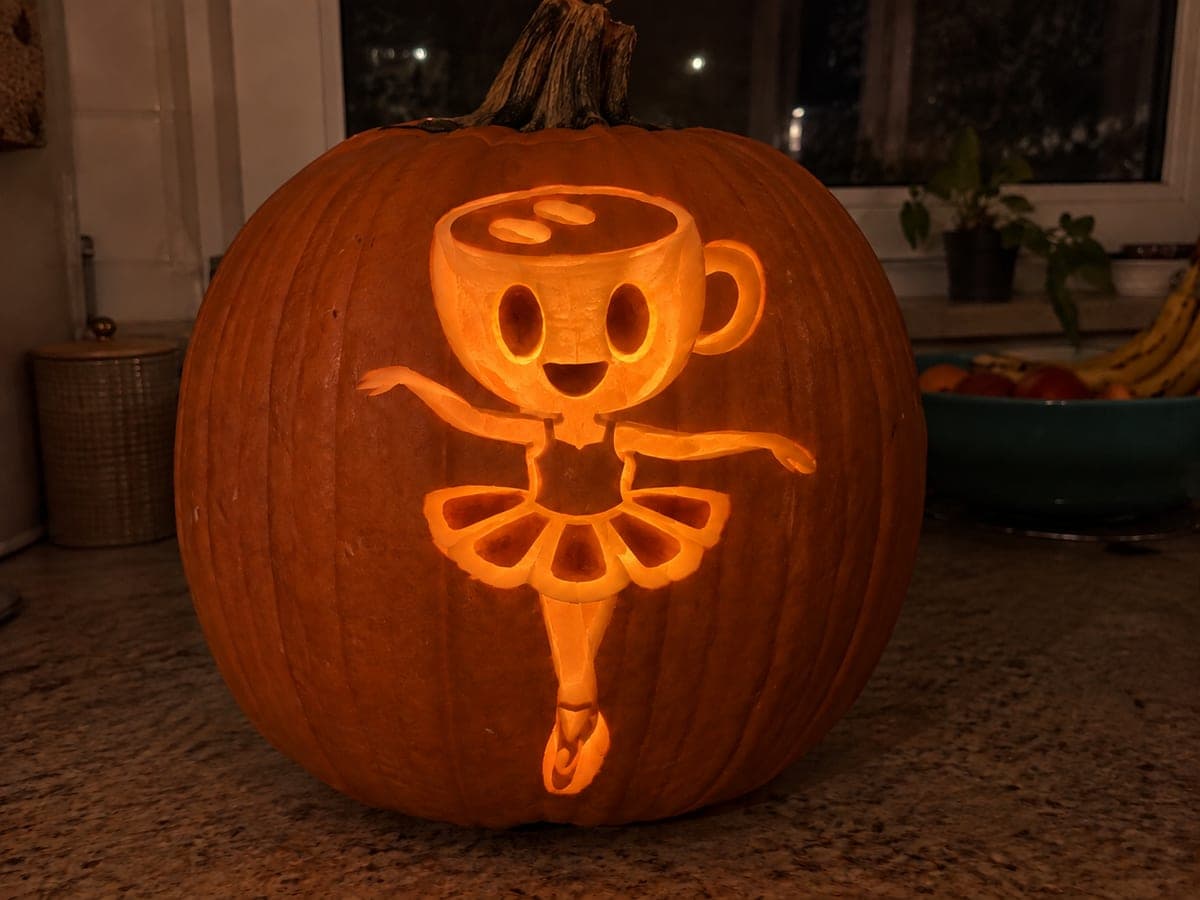
This hard Italian brainrot pumpkin carving turns the ballerina cappuccina meme into a carved design with recessed hollow eyes, a small smile, and fanned tutu wedge openings around the skirt, while the cup body and limb contours stay as backed rind relief. The key challenge is keeping the body contour connected at every edge so no piece falls free. Plan the tutu wedge cuts before touching the face, since removing the skirt panels first gives you a stable grip on the pumpkin throughout.

No ratings yet · Sign in to rate
HardFantasyFunnyClassic Cutout
italian-brainrotfantasymemebrainrotcartoonfunnytutu-wedgecup-body

Save this design for carving night, then share a photo of your own jack-o'-lantern once it's glowing.

Italian Brainrot and all related characters, names, logos, and trademarks are the property of their respective owners. This is an unofficial fan carving shared by our community for inspiration only. PumpkinCarvingIdeas.com is not affiliated with, sponsored by, or endorsed by any rights holder or person depicted, and no such connection is implied.
Comments (0)

  • No comments yet. Be the first.

Our tips for carving a similar design

The dancer's tutu is the star: fanned wedge openings radiate around the skirt while the cup body, limbs, and small smiling face stay as backed rind relief with recessed hollow eyes. The whole game is keeping the body contour connected at every edge so nothing falls free.

From pumpkin to porch

  1. Prep and plan the grip

    Hollow the pumpkin and thin the carving face to about an inch. Because the skirt panels come out early, plan to hold the pumpkin by its base and crown throughout, never by the carved zone.

  2. Transfer with connections marked

    Pin-transfer the design and trace over every place the cup body, arms, and legs touch surrounding rind. Your template's thin joins should be widened on the pumpkin; connected contour is the rule for this carve.

  3. Cut the tutu wedges first

    Open the fanned skirt wedges one at a time, alternating sides of the skirt so stress stays balanced. Removing these first gives you a stable pumpkin to grip for the finer work.

  4. Cut the face recesses

    Open the small recessed eyes and smile with a fine blade. They are shallow-set and tiny, so let the saw find its own pace; forcing small cuts is how cracks start.

  5. Back the cup and limbs

    Shave the cup body, handle area, and limb contours in shallow relief so they glow dimly around the bright tutu. There is no isolated handle center to worry about; keep everything attached as drawn.

  6. Light for the skirt

    Place a warm LED low in the cavity so the fan of wedges throws light downward like stage lighting. Check each wedge glows evenly and trim any that sit dim.

Written with AI to match this design

Gather your supplies

Check things off as you get ready.

Work on a stable surface, keep your free hand out of the cutting path, and have an adult handle sharp tools.

Three levels of light

  • Leave intact

    The background rind and the dancer's core mass stay dark.

  • Peel & shade

    The cup body, handle contour, limbs, and small details are shallow backed for a dim glow.

  • Cut through

    The fanned tutu wedge openings and the recessed eyes and smile are cut through.

Learn the carving basics

Before you start cutting

Why cut the skirt before the face?

The wedges are the biggest cuts, and big cuts should happen while the wall is strongest. They also free up a firm way to hold the pumpkin; tiny recessed face cuts are much safer on a stable, already-vented shell.

How even do the tutu wedges need to be?

Aim for consistent width and spacing, but perfect symmetry is not the goal; a slightly irregular fan still reads as a twirling skirt. Cut alternating sides as you go so no one section of rind carries all the stress.

What keeps the cup body from falling out?

The body is never fully outlined; its contour stays connected to the surrounding rind at multiple points and is only shaved in relief. As long as you resist deepening the relief into a through-cut, nothing can drop.

Your take belongs here, too.

Changed a detail? Made it simpler? Share a photo of your version and tell the community what worked.

Share your pumpkin

Want more designs like this? Browse our full library of pumpkin carving ideas, or pick a free printable stencil. Every pattern and template in our own collection is free to print at home.

More pumpkins like this

You've reached the end · 8 pumpkins
The Patch Report

Fresh pumpkins, in your inbox.

The best new carvings, ideas worth stealing, and how-tos for carving season. Short, seasonal, and gone by November.

A short email during carving season. Unsubscribe anytime. See our privacy policy.