Similar pumpkin stencils
View all stencils →About this stencil
The Rock Singer pumpkin stencil is a free printable PDF template. Print it, tape the pattern on, and trace it onto your pumpkin. A vintage rock-and-roll singer with a greased pompadour and an open-mouthed grin holds a microphone to his lips on this Halloween pumpkin stencil, his body squared up in a wide stance with legs apart and a guitar strap across the chest. The figure is built from large and medium pierced sections with solid orange bridges defining the face, hair curl, and clothing folds. When lit, the silhouette reads as a golden retro performer mid-song. Cut the face details, including the open mouth and eye lines, before removing the large chest and torso sections that support the surrounding wall. It makes a fun jack-o'-lantern design for Halloween night. It is rated Advanced. Estimated time: 2-3 hours. Actual time varies with preparation, pumpkin size and experience. Fine details and narrow supports need careful planning. Follow the cutting and shading key in this design’s PDF.
Pumpkin size guide
- 🎃 Small (5 to 7"): print at 80%
- 🎃 Medium (7 to 10"): print at 100% (recommended)
- 🎃 Large (11 to 13"): print at 130%
- 🎃 Giant (14"+): print at 150% on tabloid paper
Frequently asked questions
Can I resize this stencil?▾
Yes. The PDF is vector so it scales cleanly. Print the pattern at 100% for a 7 to 10 inch pumpkin, 130% for 11 to 13 inch, or 150% for a giant. Use your printer's "Fit to page" or "Custom scale" setting.
What kind of paper works best?▾
Standard 20 lb letter or A4 printer paper is fine. Heavier paper is harder to bend around the pumpkin curve. If your printer supports it, set the quality to 'best' so the lines are crisp.
How long will the carved pumpkin last?▾
Usually 5 to 10 days. Coat all cut surfaces with petroleum jelly and store the pumpkin somewhere cool overnight. Avoid direct sun. Battery LED pumpkin lights produce no heat and help it last longer.
Can I sell pumpkins carved with this stencil?▾
Yes, the carved pumpkin you make is yours. The license covers personal and small-scale commercial carving (selling carved pumpkins, photographing them, posting on social). You may not resell the PDF file itself.
What if my printer doesn't print the whole stencil?▾
Set 'Page scaling' to 'Fit' in the print dialog and uncheck 'Auto-rotate'. If it still cuts off, the design includes 0.25" of safe-area margin so a small crop won't ruin it.
How to carve this stencil
This is a cut-through stencil: the gray areas on the printable pattern are the pieces you remove, and everything white stays attached. The steps below give you the safest carving order. Plan on about 2-3 hours from print to candle.
Set up first. Print the PDF at 100% scale on letter or A4 paper. Cut the lid at an angle, scoop the pumpkin clean, and thin the carving wall to about 1 inch where the design will sit. Tape the pattern on (snip small darts in the paper so it hugs the curve) and transfer every outline by poking dots along the lines, about one every 1/8 inch. Peel the paper away and carve dot to dot with short, straight strokes.
Carving order
- Cut the small face details first. Start with the tiniest interior pieces: the eyebrow slivers, the closed-eye curves, the little zigzag by the sideburn, and the nose and ear strokes. Poke a starter hole for each and saw gently; these sit between narrow white bridges that must survive.
- Carve the singing mouth and mic. Cut the open mouth pieces, then the round microphone head and its angled handle. Work the fingers of the raised hand one slot at a time, sawing toward each fingertip from both directions.
- Cut the hair. Remove the sweeping pompadour pieces and the long sideburn strips next. Each lock tapers to a point, so cut toward the tips from both ends and support each strip as it frees.
- Carve the jacket and belt. Cut the collar triangles, the chest and sleeve pieces, and the belt-buckle cluster at the waist. Keep the white gaps between every panel intact; they are what hold the figure together.
- Finish with the legs. Cut the wide bell-bottom leg pieces and the small shoe strips last. Leave a small tab on each of the two biggest leg panels until their other edges are done, then support each plug and cut it free.
Clear loose fibers out of each opening as you go, and never twist or pry the blade against the shell; back it out and recut instead. When every piece is out, wipe the cut edges dry and drop in a battery LED puck.
Tools you'll need
For a advanced carve like this you'll want a fine-detail pumpkin saw, spoon / scoop, pin transfer tool, and small gouge if the pattern includes shading. Here's the kit we reach for, but start with whatever you already own.

Elmchee Pumpkin Carving Kit
13-piece kit with carrying case
Saws for the larger cutouts, plus a scoop for hollowing. Covers both jobs in one kit.
View on Amazon ↗
HOME MOST LED Pumpkin Lights
4-pack, battery operated, with remote + timer
Orange glow made for jack-o'-lanterns. The remote and timer light the pumpkin every evening without reaching inside.
View on Amazon ↗
Speedball 4131 Lino Cutter Set
Handle + 5 interchangeable cutters
Interchangeable cutters for peeling and shading the face. Useful for the finer details.
View on Amazon ↗
Reviews from carvers
Every rating comes from a written review by someone who downloaded this stencil.
Carved this one?
Reviews are open to carvers who downloaded the stencil. Grab the free PDF, then come back and tell everyone how it went.
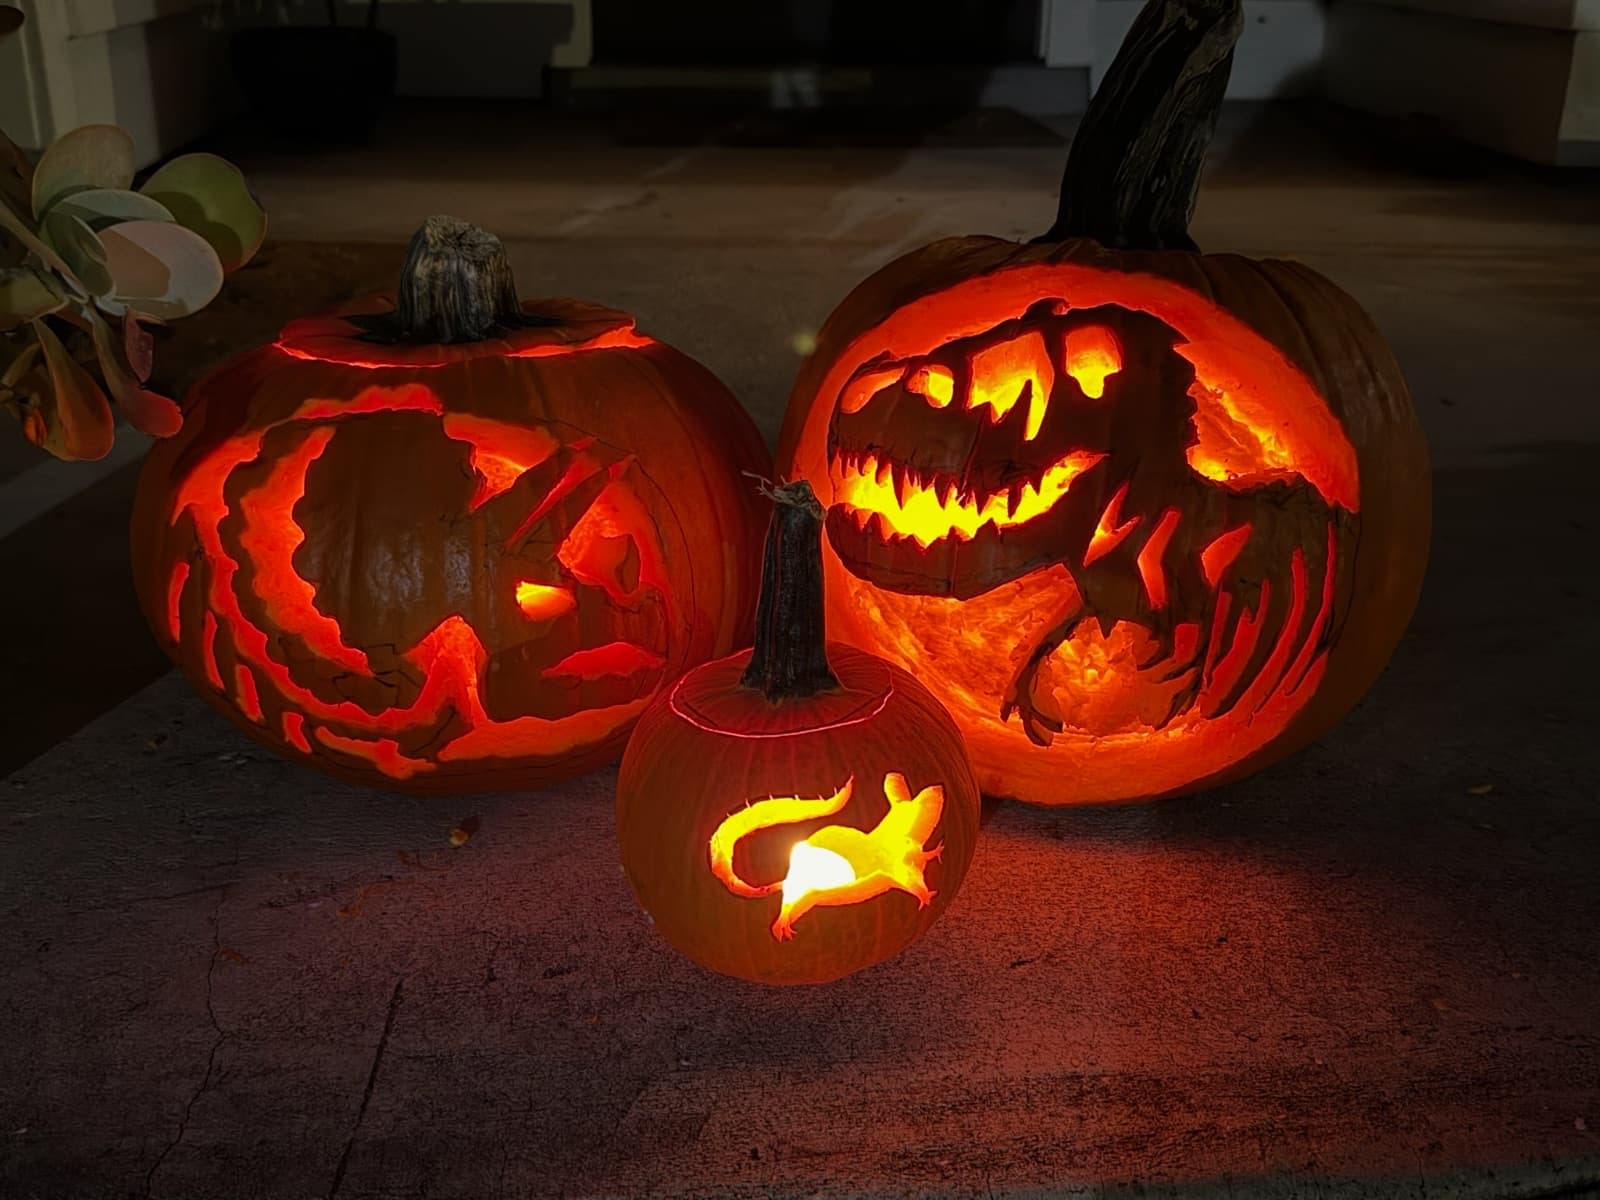
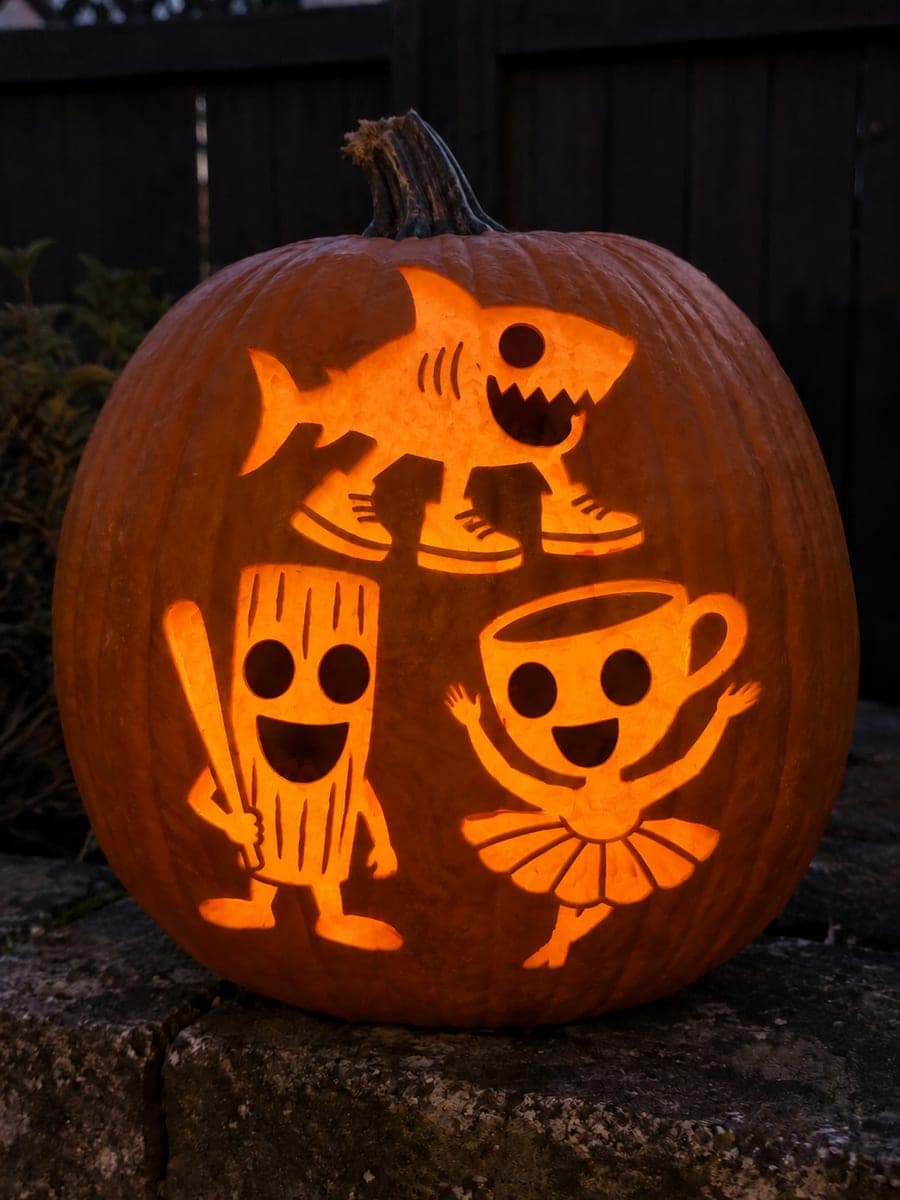
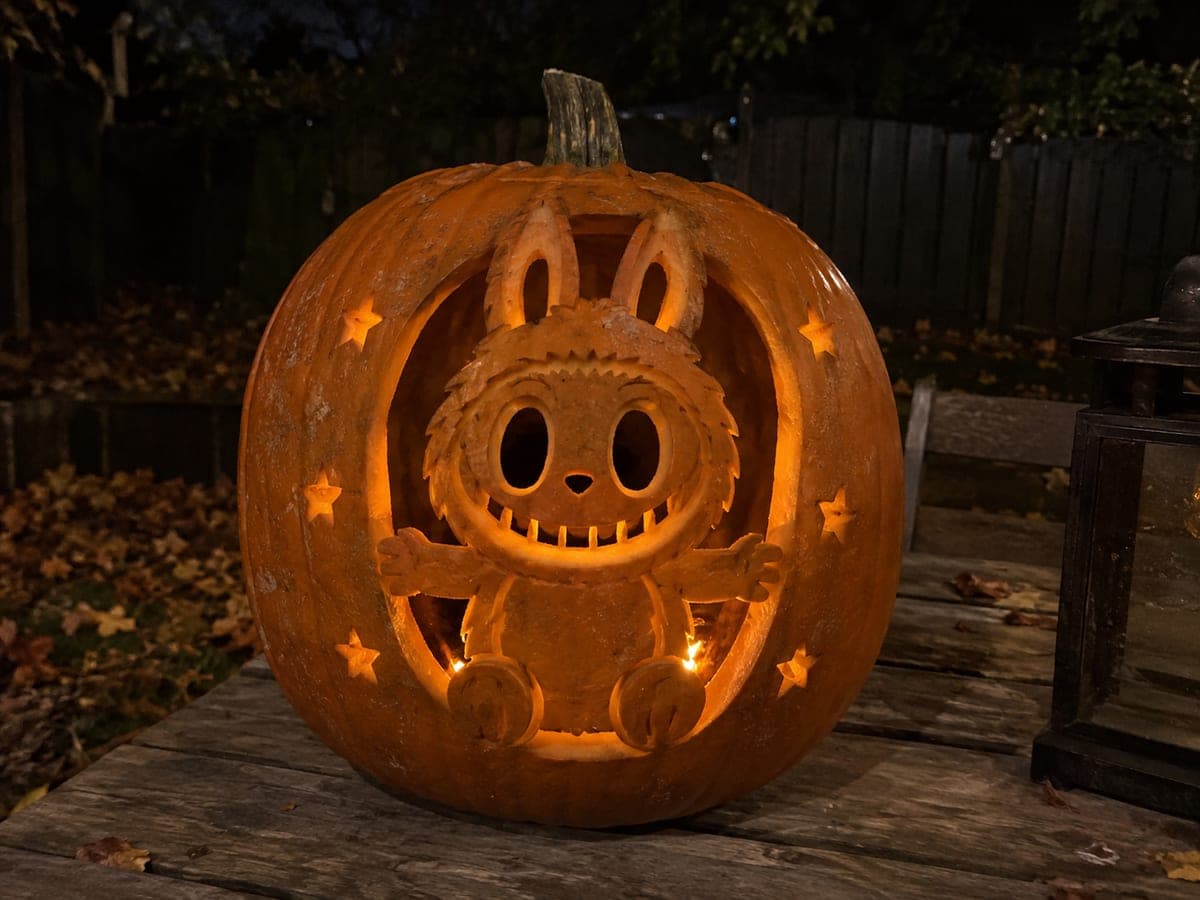
Community Pumpkin Carving Ideas
Carving ideas that use stencils like this one.
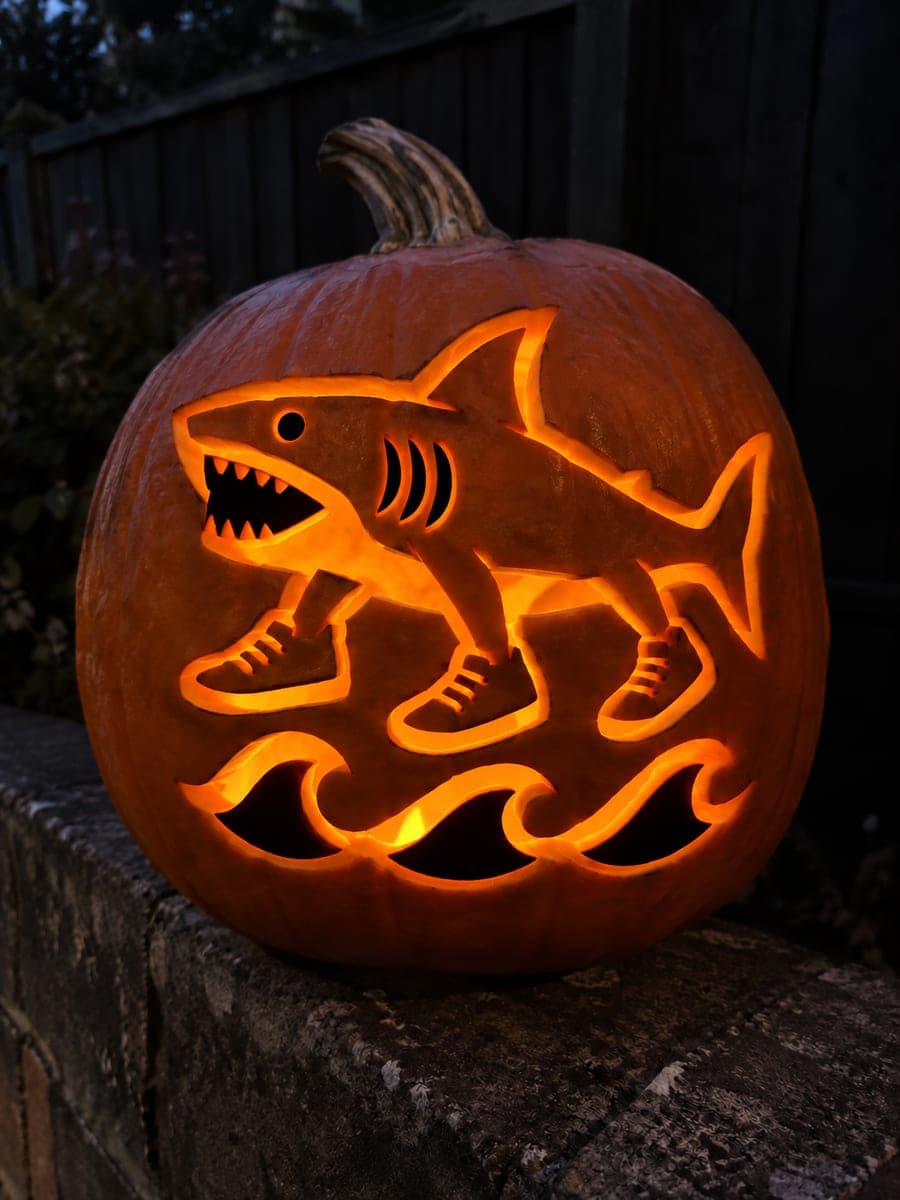
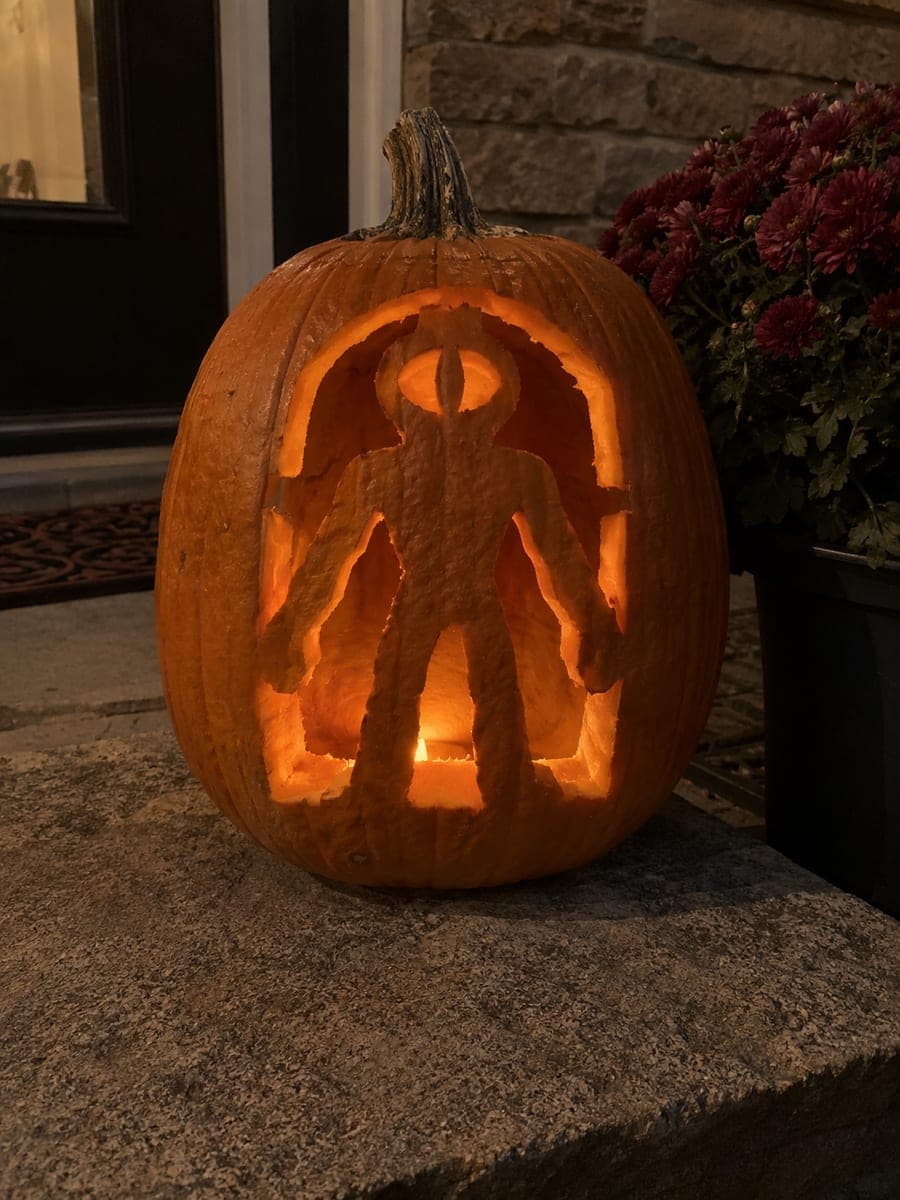
Related stencils
More patterns with a related subject. Compare their skill levels before you choose.
 Advanced
The Postcard Grin Pumpkin Stencil
Arched triple line brows curl above big eyes divided by rind bars, a long triangle nose drops between them, and a huge grin shows a full row of rounded teeth with dotted curlicue accents swirling at each cheek. All the openings are cut through in a cheerful retro style straight off an old holiday postcard. Rated hard for its many small dots and thin brow lines, it rewards a fine detail saw and a drill for the dots.
 Advanced
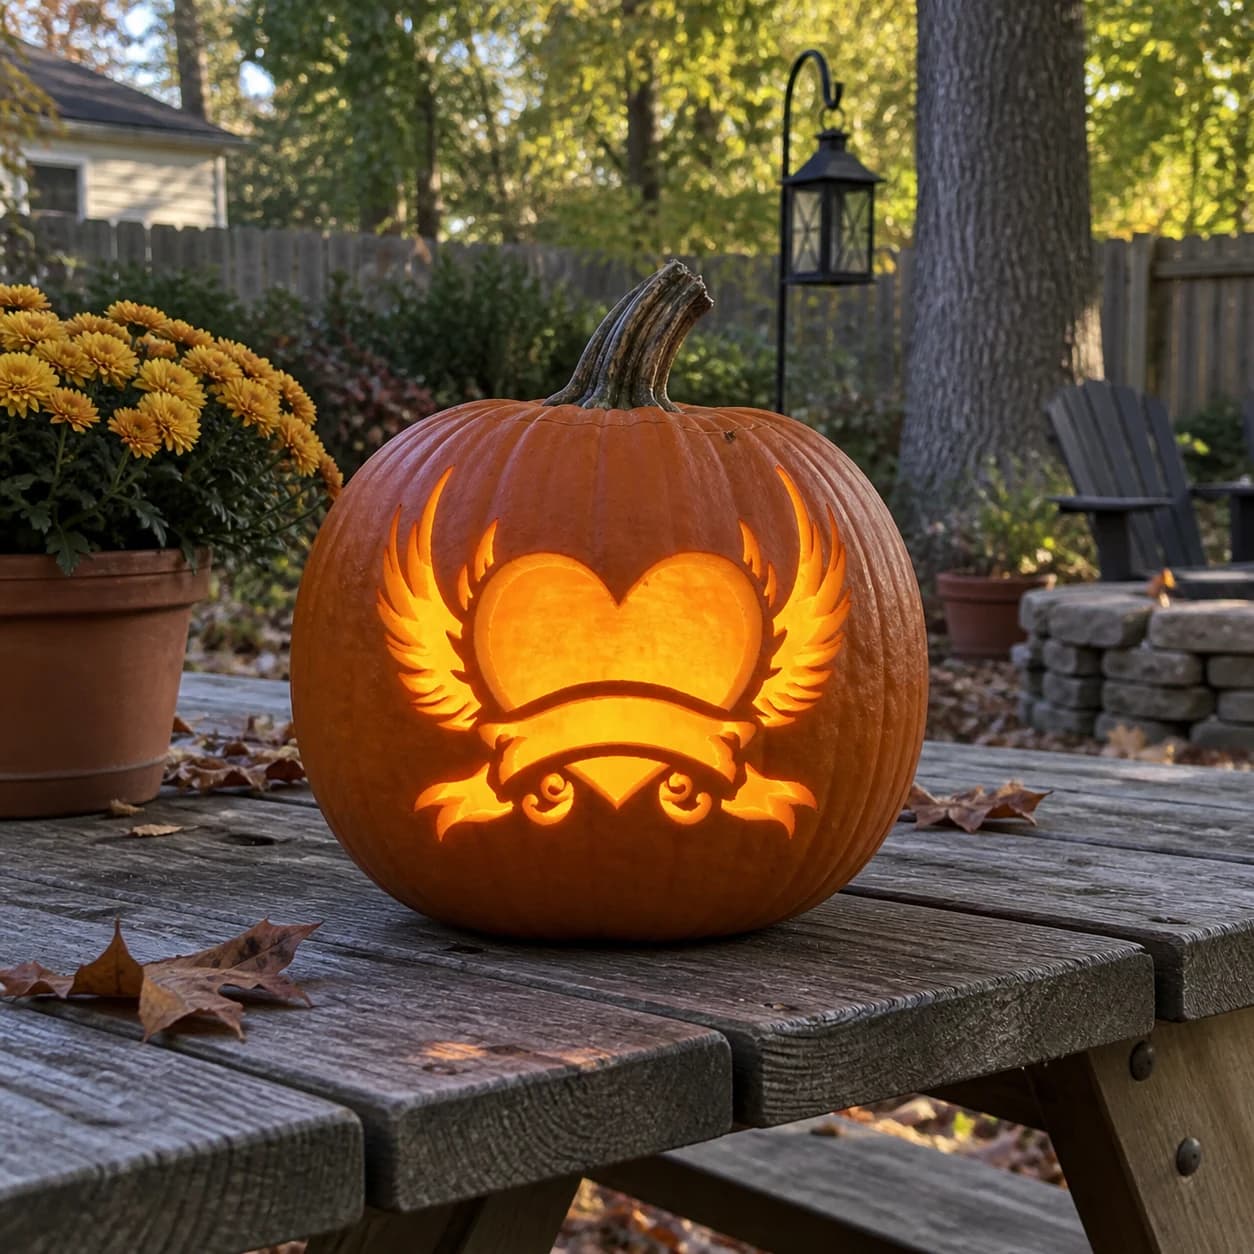
Winged Heart Pumpkin Stencil
A large heart with feathered wings spread wide anchors this hard pumpkin stencil, with a scrolling banner ribbon below carrying decorative curl accents. The heart is kept solid as pumpkin flesh while the wing feather gaps and banner interior are cut through, creating a tattoo-style composition that glows with intricate layered detail. The individual feather separations along each wing are narrow and numerous; carve them starting at the outermost wingtip and working toward the heart so the wing stays attached to the body of the pumpkin longest.
 Advanced
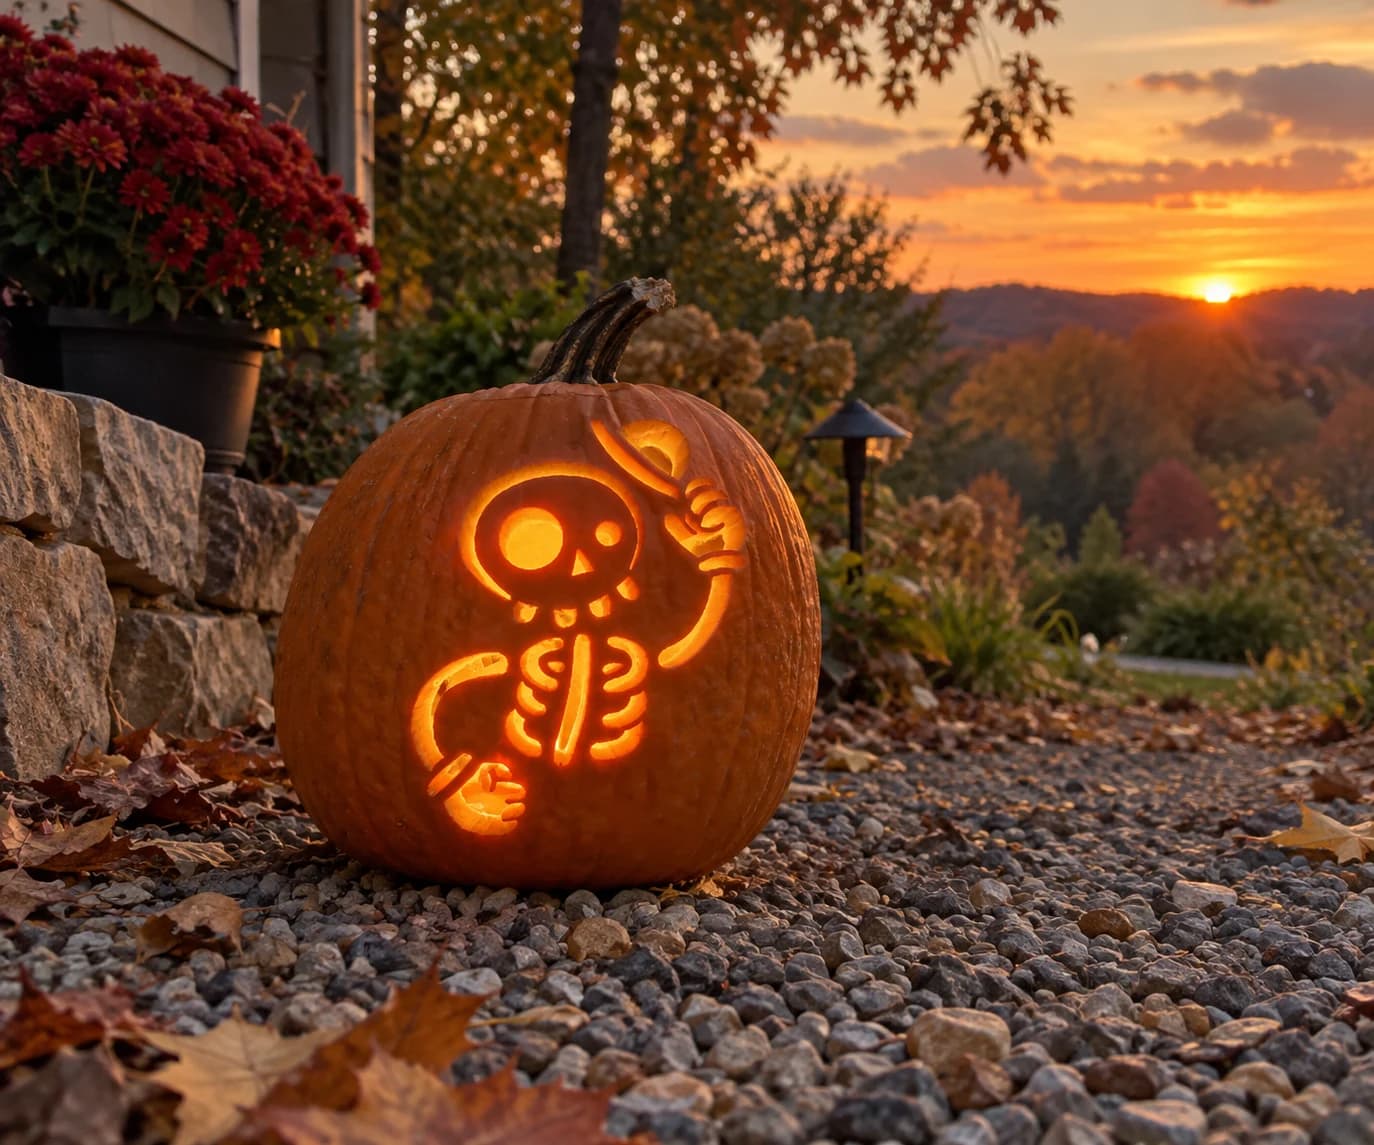
Dapper Bones Pumpkin Stencil
A cartoon skeleton in a bowler hat tips its hat with one bony hand while its round skull grins with simple triangular nose and dot eyes on this Halloween pumpkin stencil. The ribcage, arm bones, and pelvis are each rendered as small separate cut islands surrounded by pumpkin skin. Because the design is built from many floating cutout islands, carve the larger open bone shapes in the torso before tackling the small finger and toe segments, so the pumpkin stays structurally sound while you work the finer extremities.
 Advanced
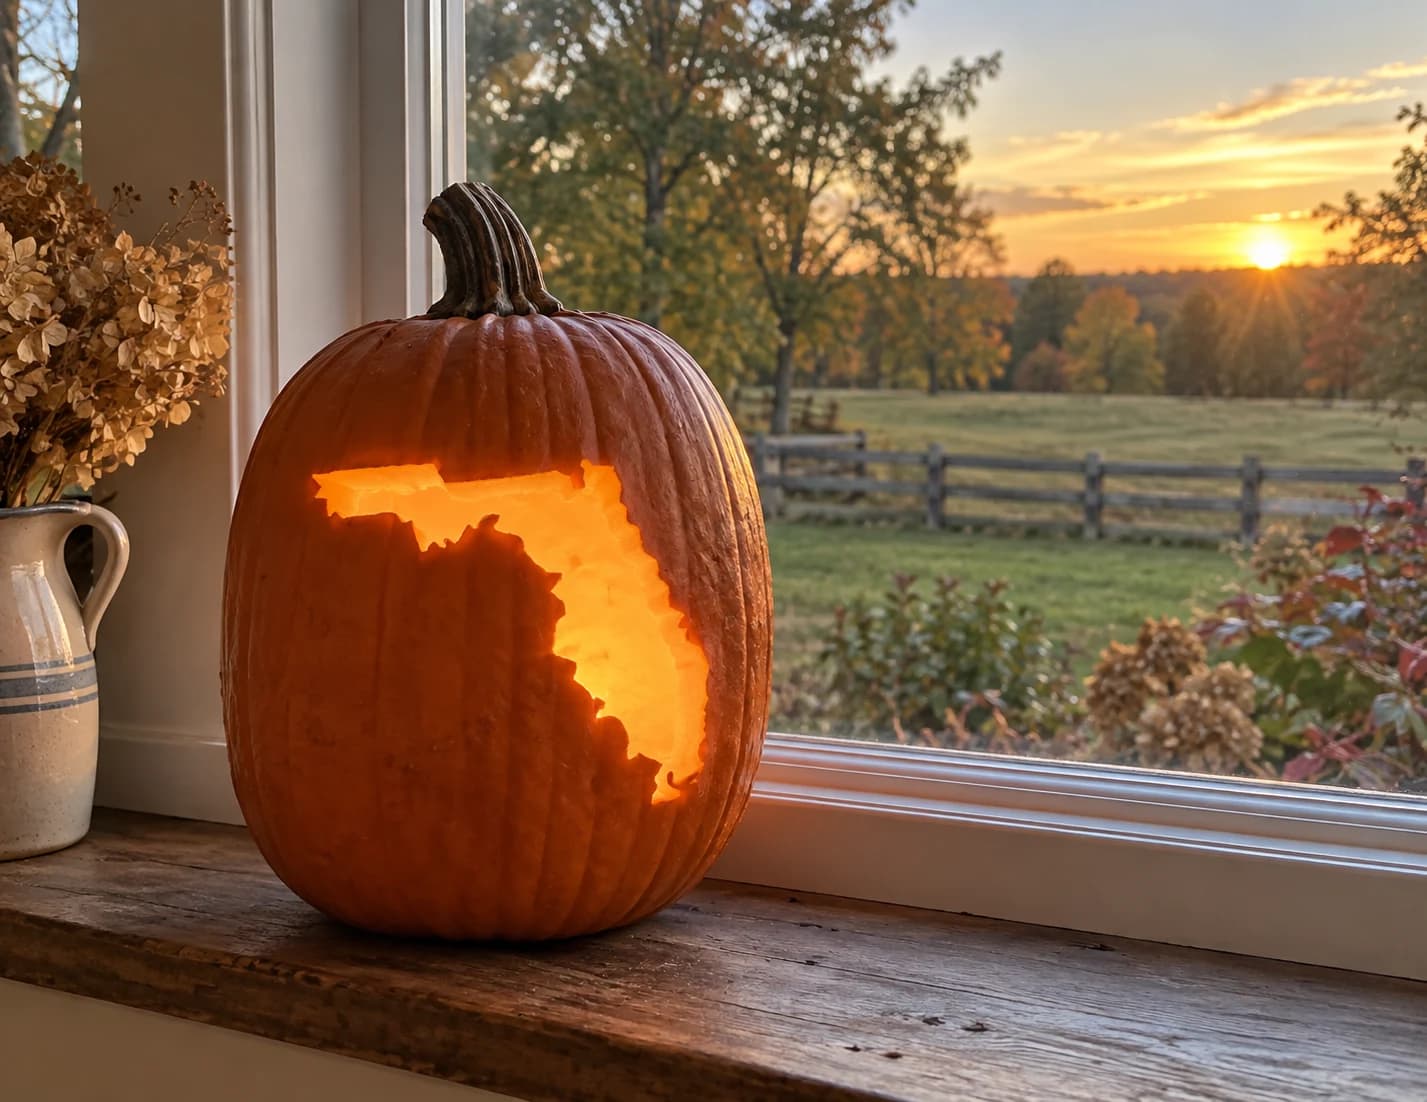
Florida Pumpkin Stencil
The outline of the state of Florida is cut as a single solid silhouette on this states pumpkin stencil: the long panhandle extends left, and the distinctive peninsula curves south and ends in a ragged coastline. The entire shape is one continuous void with no internal bridges, making it a fully open lantern window. The tricky part is the complex Atlantic coastline on the right side, where small inlets create many convex curves in quick succession: slow down on those curves and let the blade pivot rather than forcing a turn.
 Expert / Pro
The Big Gasp Pumpkin Stencil
An ornamental surprised face: two big eyes striped with vertical bars sit beneath fanned brow lines, above a tall oval gasping mouth ringed by a halo of teardrop cutouts. Every bar, fan line, teardrop, and the central oval is pierced through, and the sheer number of narrow slits is what makes this an expert carve. Cut all the fine slits before the big oval, working outward from the center, so the wall keeps its strength as long as possible.
 Expert / Pro
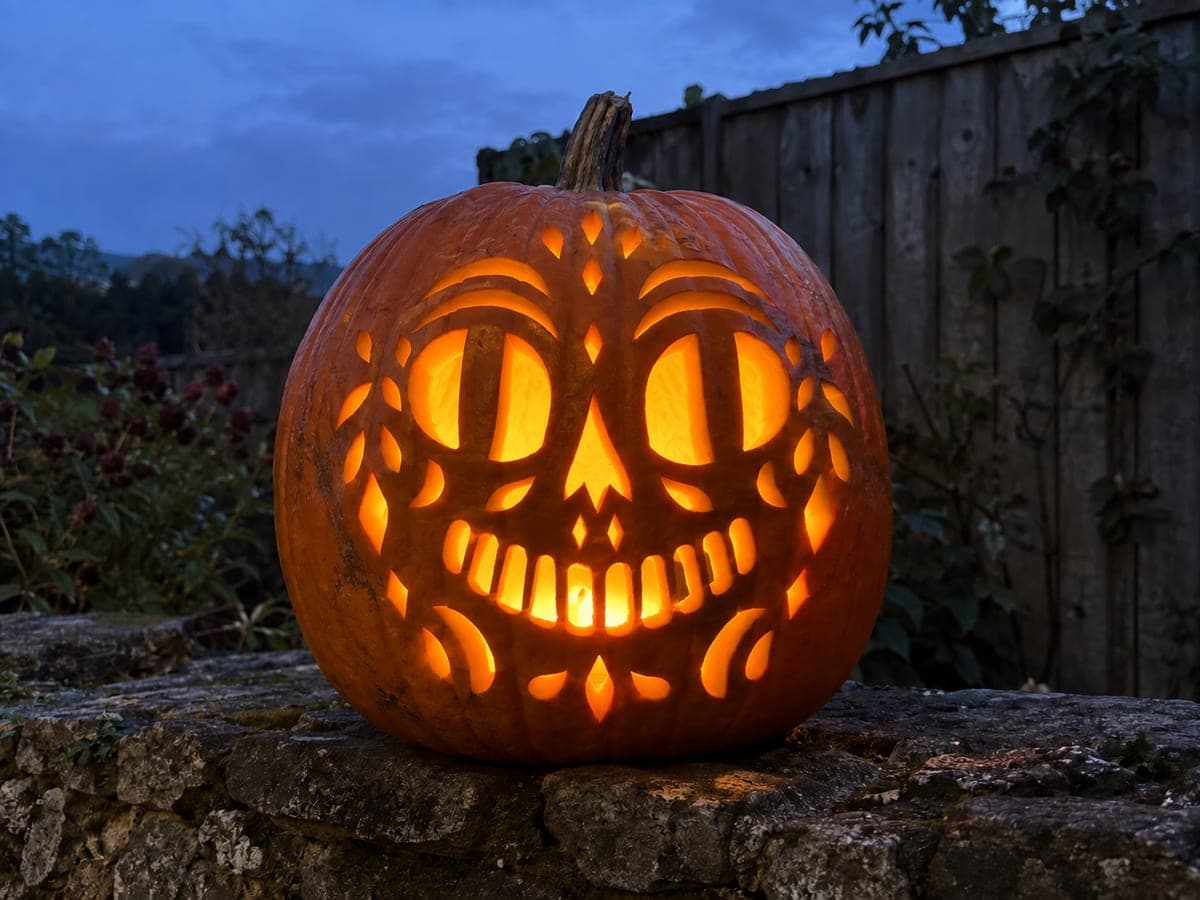
Vintage Calavera Pumpkin Stencil
A vintage sugar-skull-style face packed with detail: huge round eyes crossed by curved bars, arching brow flourishes, a diamond nose, ten scalloped tooth slots in a wide grin, and comma-shaped swirls framing the cheeks. Everything is cut through, with slim rind bridges holding the eye bars and tooth dividers in place. As an expert pattern, treat those bridges as sacred; cut away from them, never toward them, and remove waste in small pieces.