Similar to This
View all stencils →About this stencil
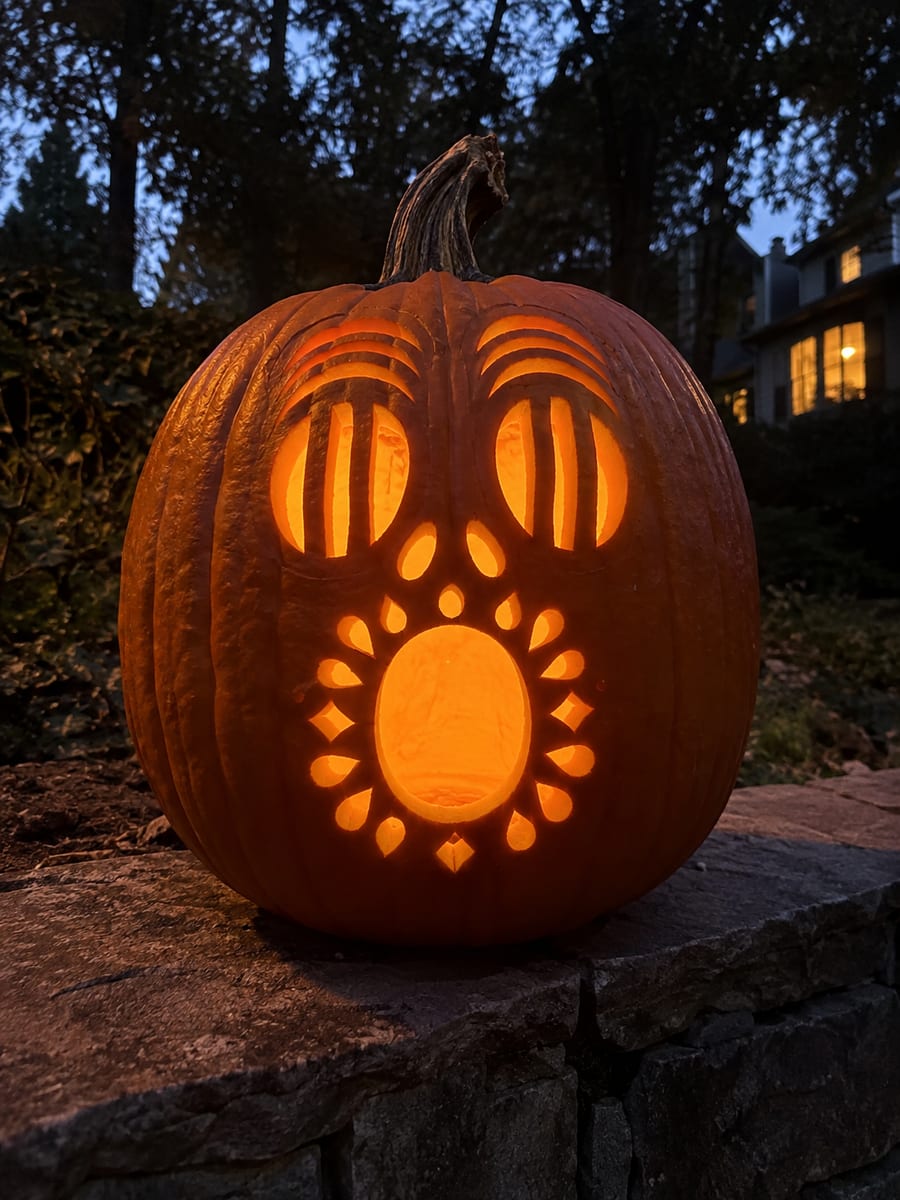
An ornamental surprised face: two big eyes striped with vertical bars sit beneath fanned brow lines, above a tall oval gasping mouth ringed by a halo of teardrop cutouts. Every bar, fan line, teardrop, and the central oval is pierced through, and the sheer number of narrow slits is what makes this an expert carve. Cut all the fine slits before the big oval, working outward from the center, so the wall keeps its strength as long as possible. This design is rated Expert / Pro and takes most carvers around 240 minutes from trace to glow. Sculpting-grade work. Three or more depth layers, fine detail.
Pumpkin size guide
- 🎃 Small (5–7") — print at 80%
- 🎃 Medium (7–10") — print at 100% (recommended)
- 🎃 Large (11–13") — print at 130%
- 🎃 Giant (14"+) — print at 150% on tabloid paper
Frequently asked questions
Can I resize this stencil?▾
Yes. The PDF is vector so it scales cleanly. Print at 100% for a 7–10 inch pumpkin, 130% for 11–13 inch, or 150% for a giant. Use your printer's "Fit to page" or "Custom scale" setting.
What kind of paper works best?▾
Standard 20 lb letter or A4 printer paper is fine. Heavier paper is harder to bend around the pumpkin curve. If your printer supports it, set the quality to 'best' so the lines are crisp.
How long will the carved pumpkin last?▾
Usually 5–10 days. Coat all cut surfaces with petroleum jelly and store the pumpkin somewhere cool overnight. Avoid direct sun. Battery LED pumpkin lights produce no heat and double the lifespan.
Can I sell pumpkins carved with this stencil?▾
Yes, the carved pumpkin you make is yours. The license covers personal and small-scale commercial carving (selling carved pumpkins, photographing them, posting on social). You may not resell the PDF file itself.
What if my printer doesn't print the whole stencil?▾
Set 'Page scaling' to 'Fit' in the print dialog and uncheck 'Auto-rotate'. If it still cuts off, the design includes 0.25" of safe-area margin so a small crop won't ruin it.
How to carve this stencil
- 1Print it
Download the PDF and print at 100% scale on letter or A4 paper.
- 2Prep the pumpkin
Cut the lid at an angle, scoop the guts, thin the wall to ~1 inch.
- 3Tape it on
Snip darts in the paper so it lies flat against the curve.
- 4Transfer the design
Poke along every line — about one dot every 1/8 inch.
- 5Carve it
Connect the dots with short straight cuts. Center first, work outward.
- 6Light it up
Drop in a battery LED pumpkin light and you're done.
Tools you'll need
For a expert / pro carve like this you'll want a full ribbon tool set, clay sculpting loops, x-acto knife, and dremel (optional). Here's the kit we reach for — start with whatever you already own.

Elmchee Pumpkin Carving Kit
13-piece kit with carrying case
Saws for the larger cutouts, plus a scoop for hollowing. Covers both jobs in one kit.
View on Amazon ↗
HOME MOST LED Pumpkin Lights
4-pack, battery operated, with remote + timer
Orange glow made for jack-o'-lanterns. The remote and timer light the pumpkin every evening without reaching inside.
View on Amazon ↗
Speedball 4131 Lino Cutter Set
Handle + 5 interchangeable cutters
Interchangeable cutters for peeling and shading the face. Useful for the finer details.
View on Amazon ↗
Community Pumpkin Carving Ideas
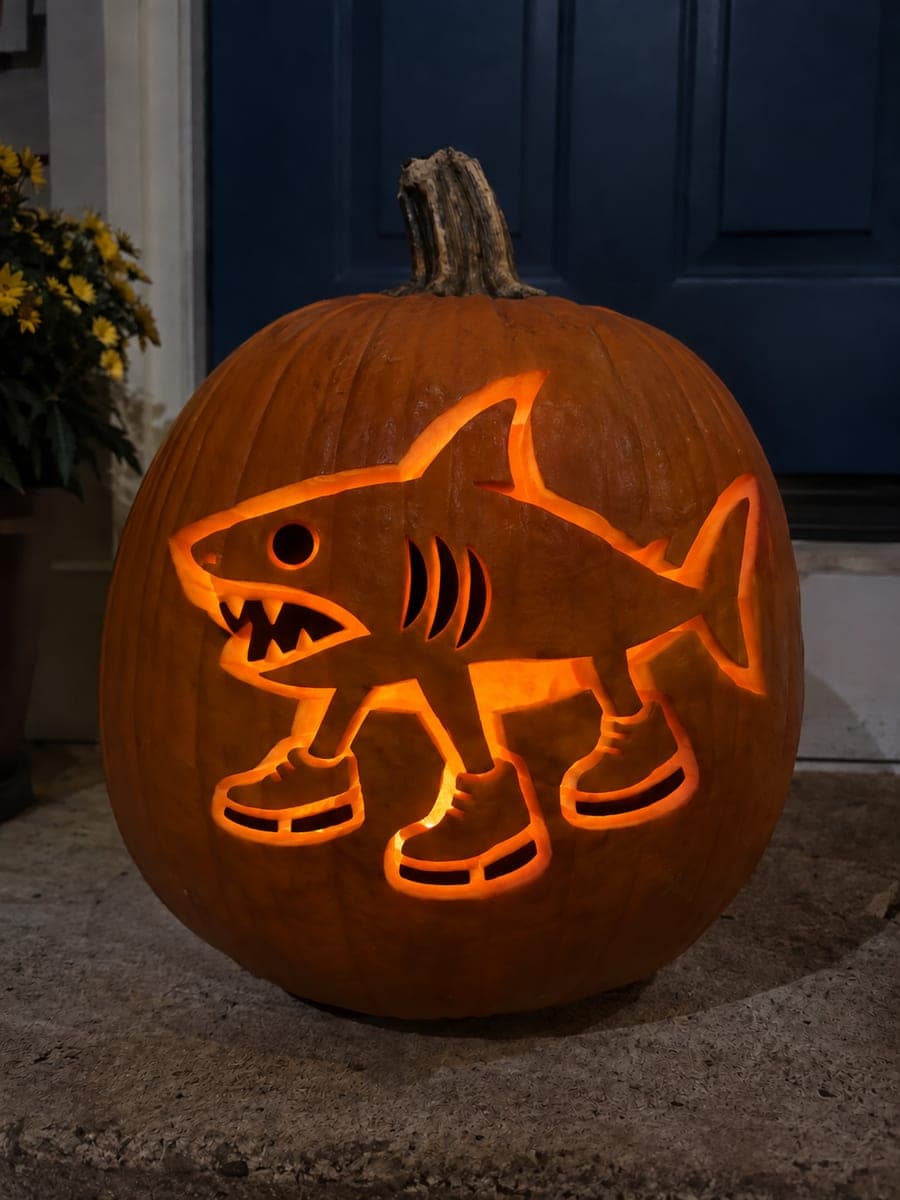
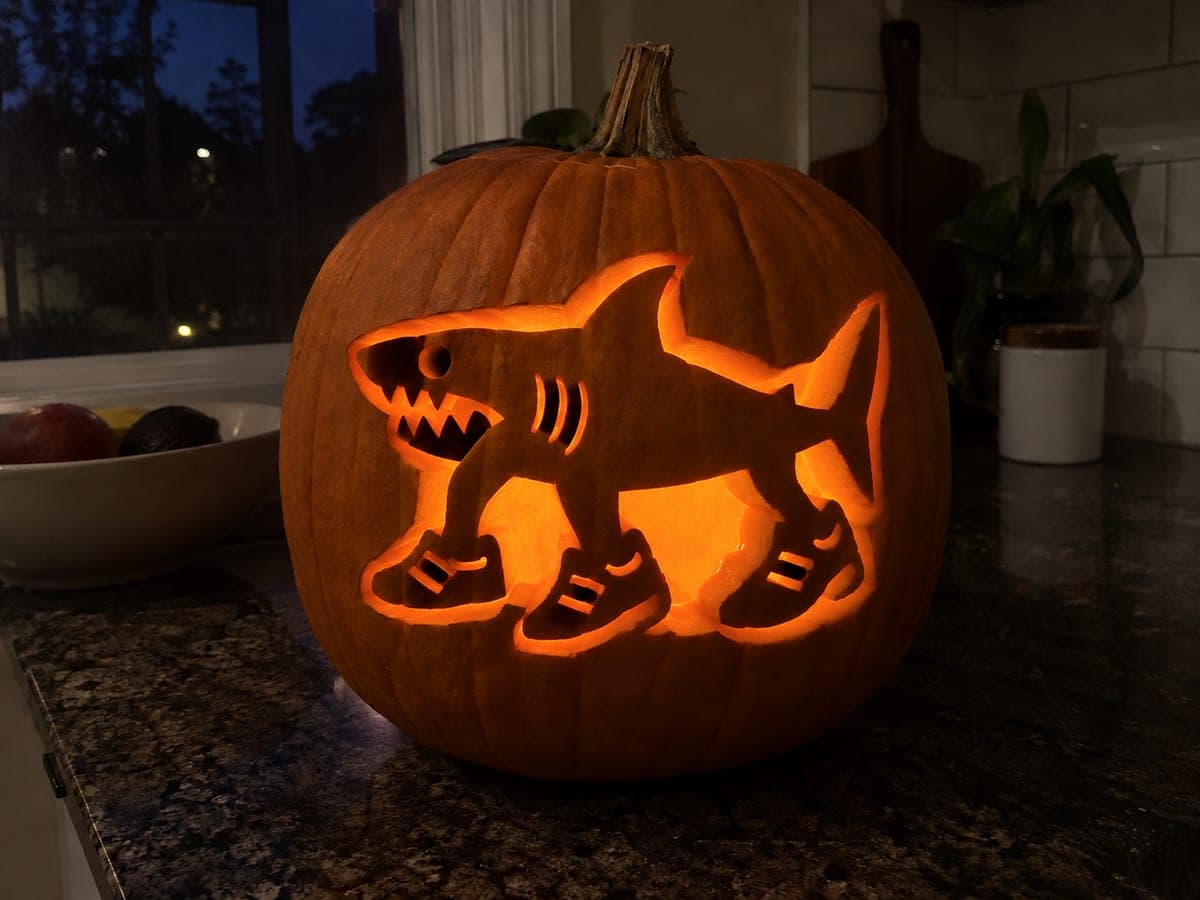
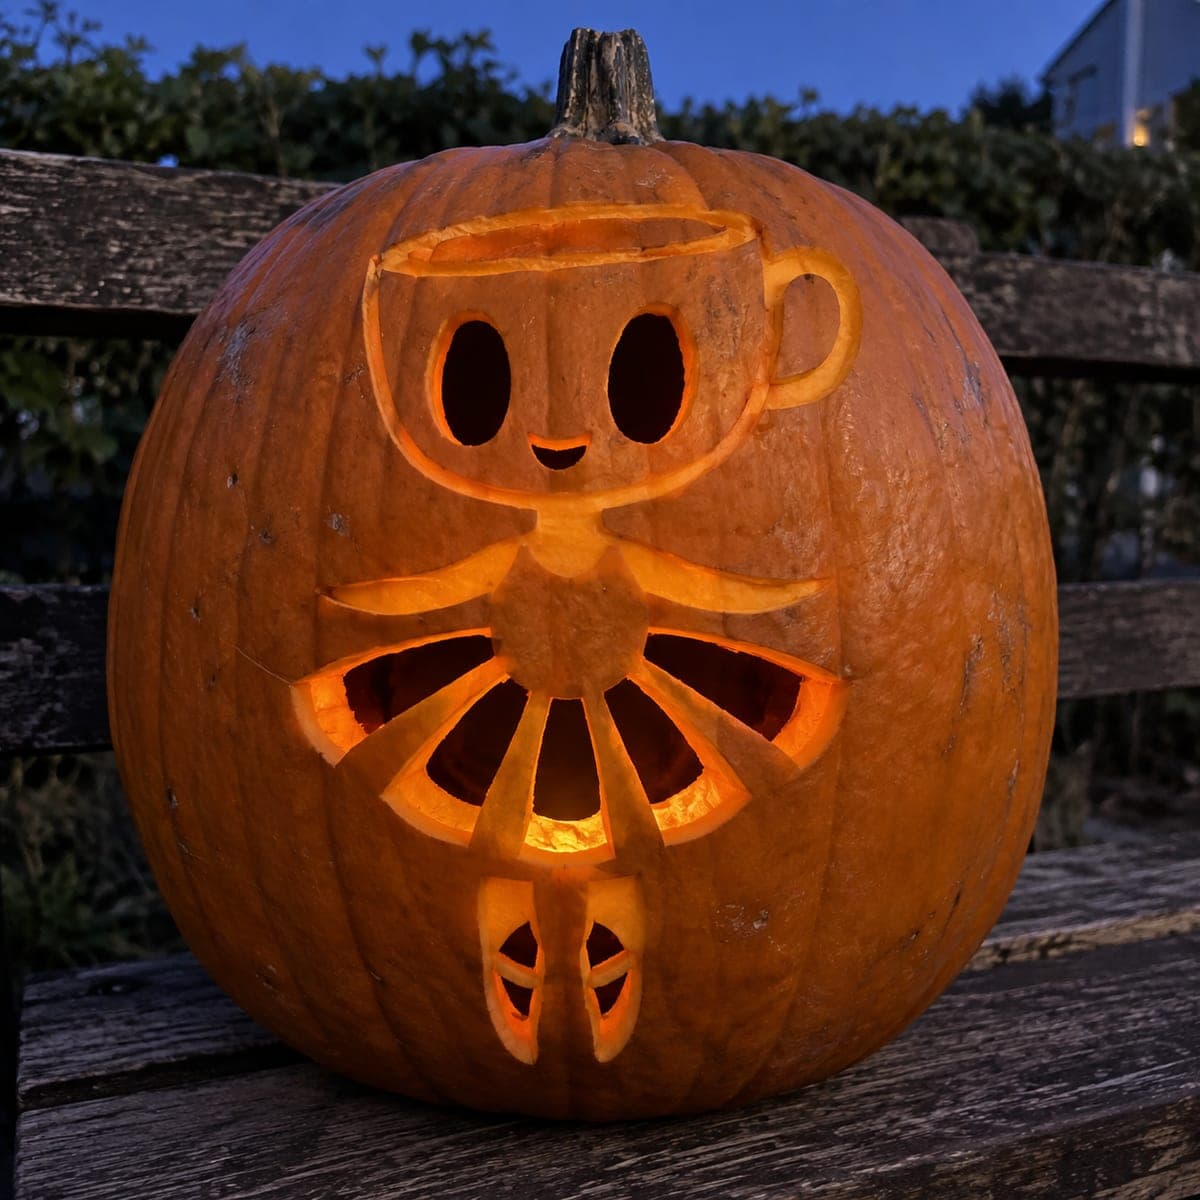
Carving ideas that use stencils like this one.
Related stencils
Carvers who liked this one also downloaded these.
 Beginner-friendly
Three Eyes and Wide Oval Mouth
A delightfully weird mutant face with three round eyes arranged in a triangle above one huge wide oval mouth. All four shapes are pierced through, and the extra eye instantly turns an ordinary pumpkin into a little alien visitor. This is an easy carve with no fragile parts; leave at least an inch of rind between the eyes and the mouth rim so the bridge stays strong.
 Beginner-friendly
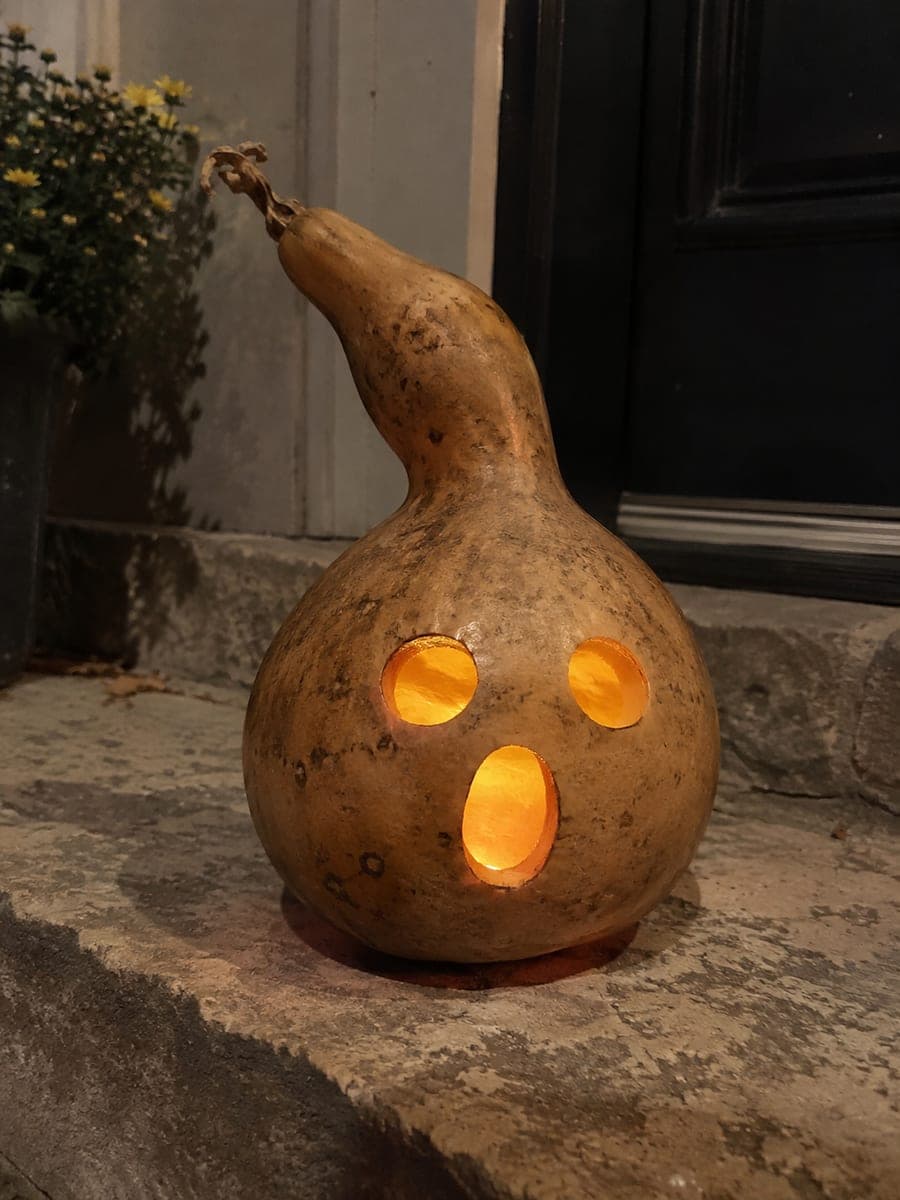
Unequal Gourd Surprise Eyes
Made for a bottle gourd or any tall, curvy squash, this design is a startled little face: two round eyes of slightly different sizes and a tall oval mouth frozen mid-gasp. All three shapes are cut through, and the mismatched eyes give the face its comic personality. Gourd walls are thinner and harder than pumpkin, so an easy-carve tip is to drill a pilot hole in each shape and saw slowly outward from there.
 Expert / Pro
Long Pupils and Triangle Grin
A mischievous jester face topped with an arcing crown of small diamond cutouts, tall eyes with long slit pupils, diamond accents on each cheek, and a huge grin lined with pointed triangle teeth. Every diamond, eye, and tooth gap is pierced through, so the whole face sparkles like carnival lights. As an expert pattern full of tiny repeated shapes, cut all the small diamonds first with a narrow saw before opening the large mouth, which weakens the wall.
 Intermediate
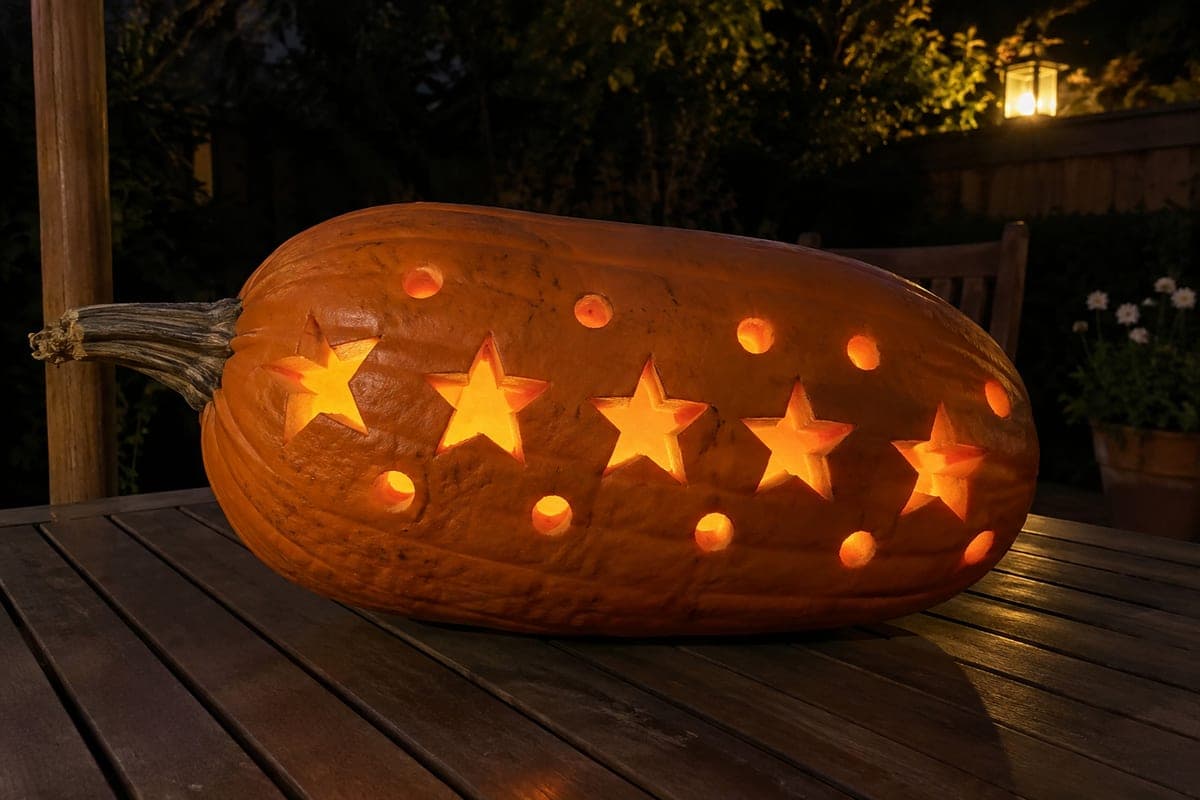
Five Star Band and Ten Circles
Designed for a long pumpkin lying on its side, this pattern runs a band of five bold stars across the middle with ten round holes scattered above and below like floating orbs. Every star and circle is a simple cut-through, and the sideways layout makes it a fun tabletop centerpiece instead of an upright face. At medium difficulty the stars are the focus: poke each star's five points before cutting so the angles meet sharply.
 Expert / Pro
Sorrow Brows and Falling Tears
A theatrically miserable face with layered droopy brow wrinkles stacked like ribs above two barred, half-lidded eyes, a long drooping nose, and a deep striped frown, all surrounded by cascading columns of teardrops. Every wrinkle, bar, and tear is cut through, creating an ornate pattern of dozens of small openings. This expert carve is all about sequence: work from the center outward and leave the fragile tear columns at the edges for last.
 Expert / Pro
Unequal Eyes and Scallop Grin
A wonderfully odd face with two unequal eyes split by vertical bar pupils, a diamond nose, and a huge grin whose lower edge scallops into rounded lobes, all surrounded by constellations of freckle dots and hanging teardrop points. Everything is cut through, from the big mouth down to dozens of tiny drilled holes. This expert design is a marathon of small cuts; drill all the freckle dots first, then carve the scalloped grin so the thin borders between lobes keep support.