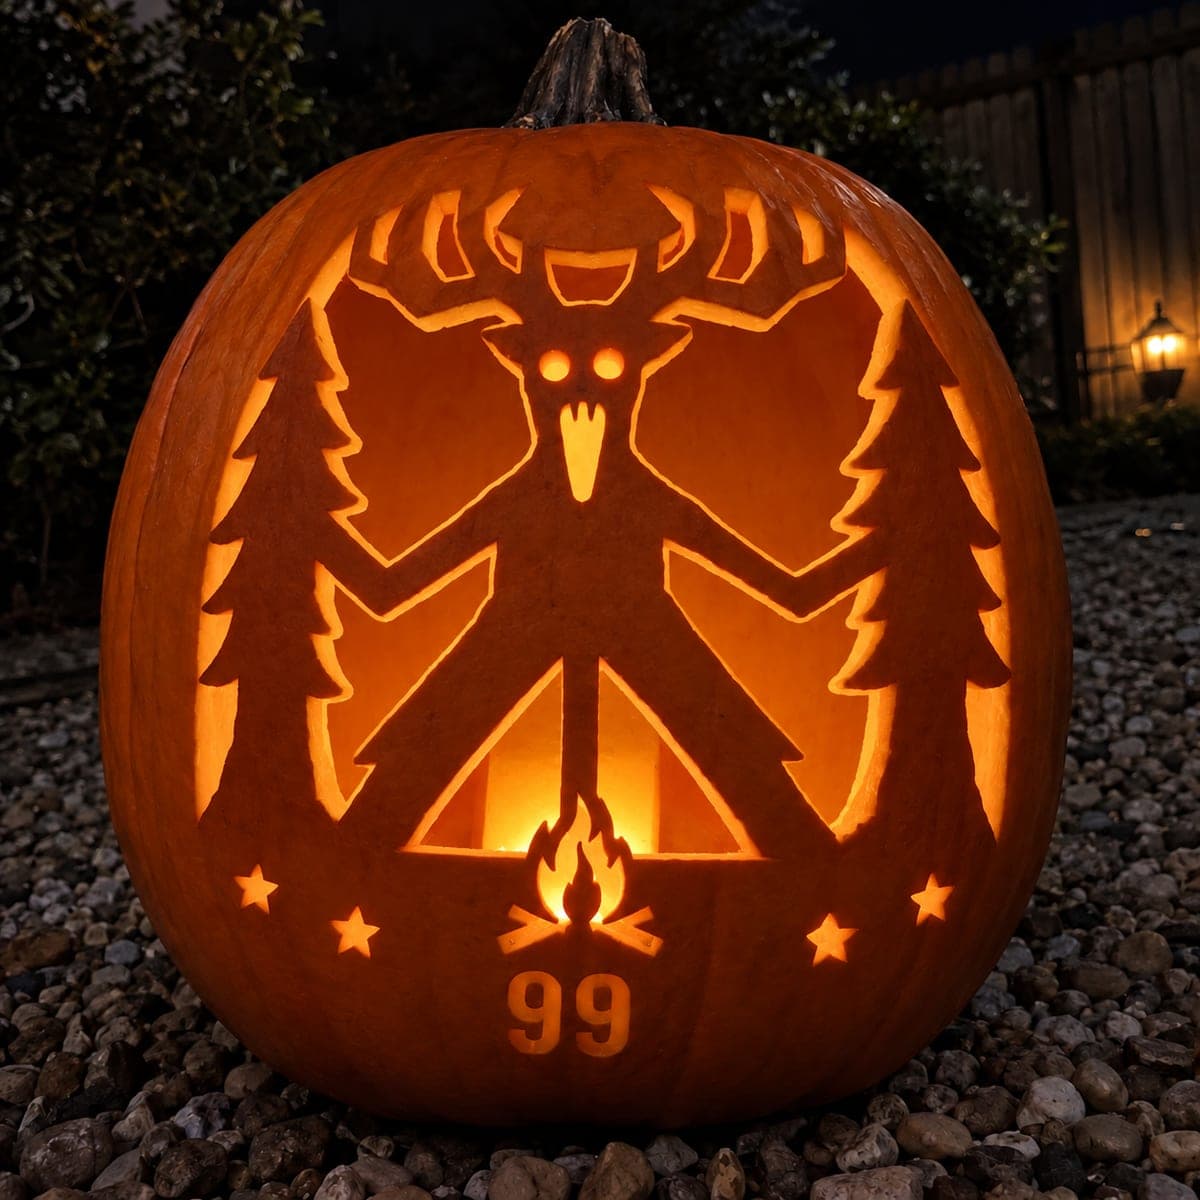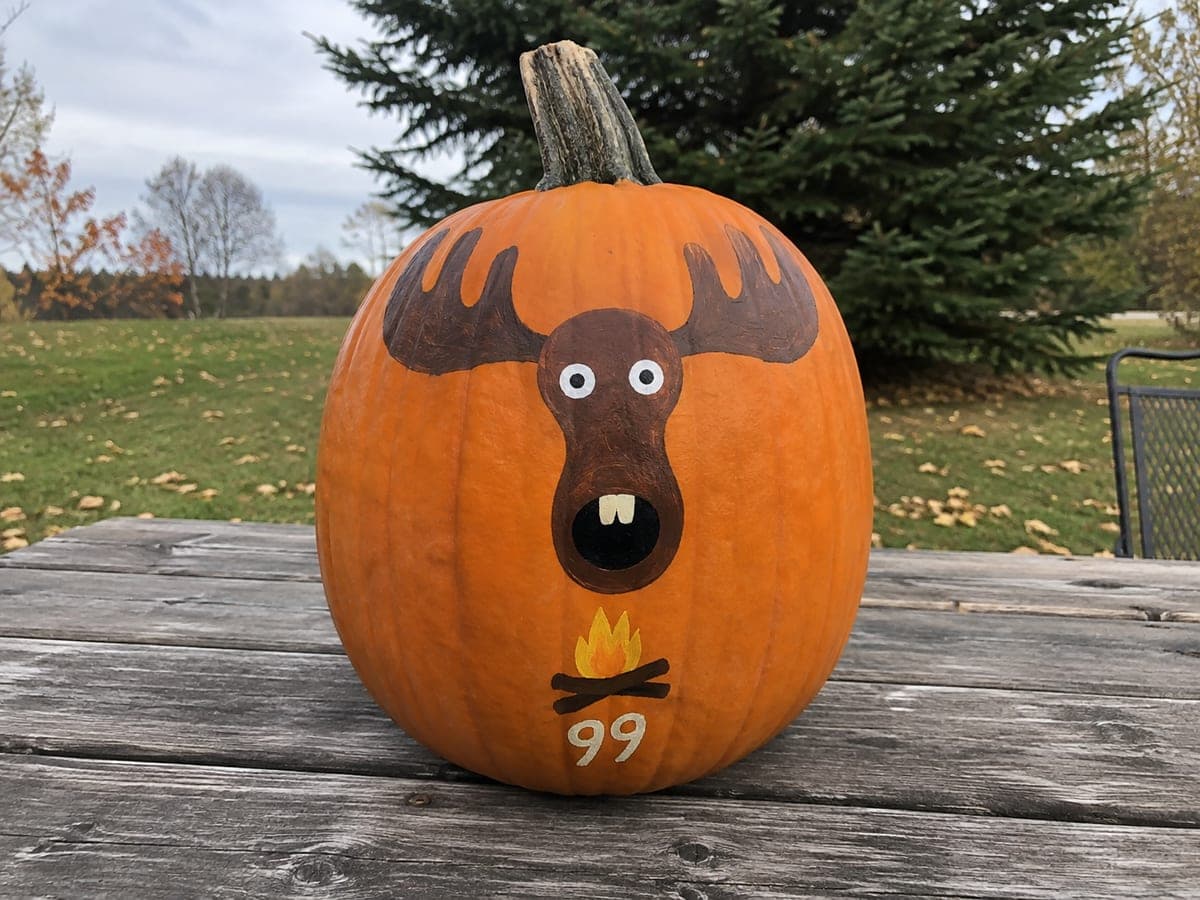
The 2026 contest winners are inGrand Prize, People's Choice and Most Creative, all crowned.
@ai_concepts
Sep 25, 2026
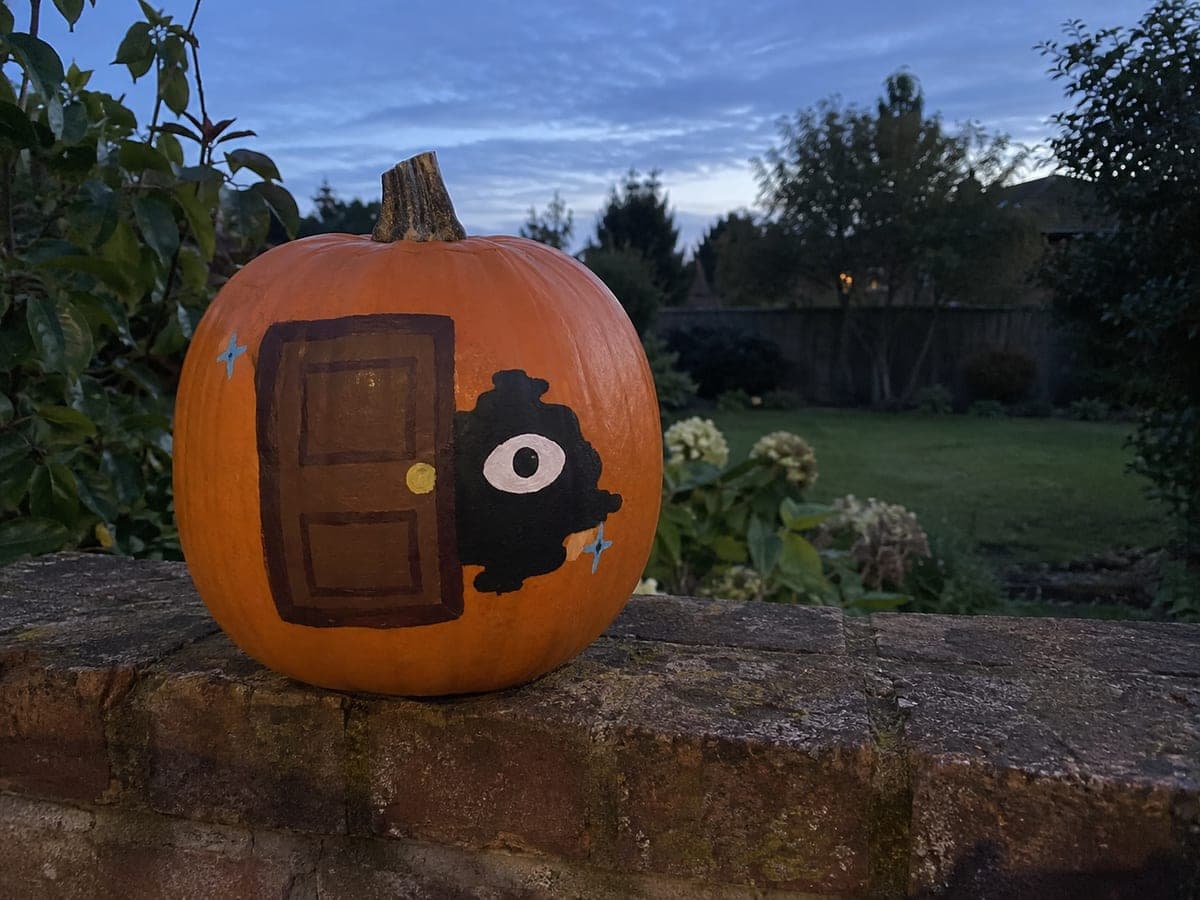
Painted Forest Deer and Campfire PumpkinAI
0

Report this carving

Tell us what is wrong. Reports are private.

Painted Forest Deer and Campfire Pumpkin

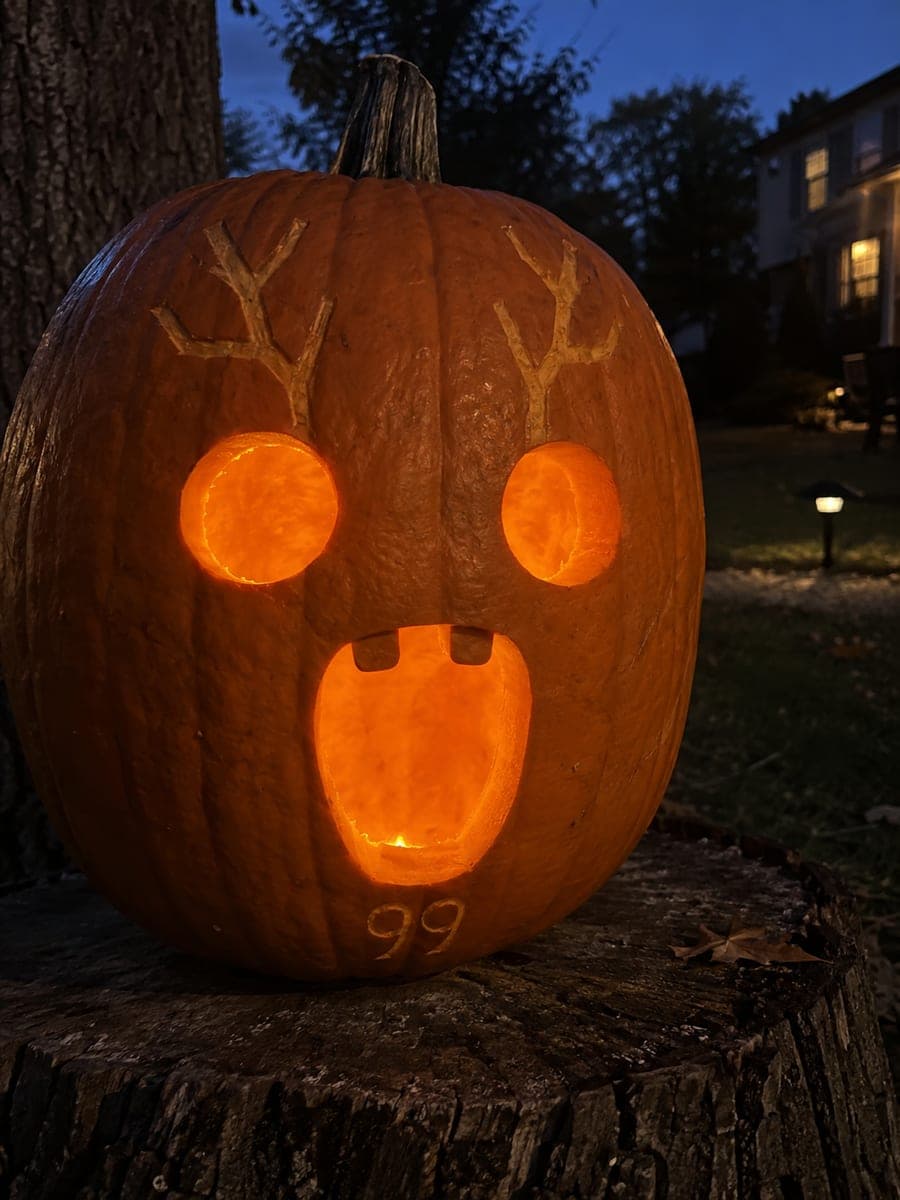
This no-carve 99 nights in the forest pumpkin idea paints a flat deer head with eyes and antlers alongside a simple flame shape on an intact gourd for an easy and atmosphere-rich display piece. Block in the deer head first with an off-white or tan base, then layer in the dark eye shapes and antler details. Keep the flame shapes warm orange at the center fading to yellow at the tips for a convincing fire effect without any cutting.

No ratings yet · Sign in to rate
99-nights-in-the-forestspookyno-carvepaintedvideo-gamerobloxscaryeasy

Save this design for carving night, then share a photo of your own jack-o'-lantern once it's glowing.

Roblox and all related characters, names, logos, and trademarks are the property of their respective owners. This is an unofficial fan carving shared by our community for inspiration only. PumpkinCarvingIdeas.com is not affiliated with, sponsored by, or endorsed by any rights holder or person depicted, and no such connection is implied.
Comments (0)

  • No comments yet. Be the first.

Our tips for carving a similar design

A flat painted deer head, a simple campfire flame, and supporting painted details build the entire design on an intact rind using acrylic paint. Blocking in the deer head with a tan or off-white base establishes the form before any detail work begins. Warming the flame shapes from a bright orange center out to pale yellow tips creates convincing fire without any carving.

From pumpkin to porch

  1. Clean and dry the pumpkin

    Wash the surface with a damp cloth and allow it to dry completely before painting. Any waxy bloom on the rind can be gently sanded with fine-grit sandpaper to improve paint adhesion. Choose the flattest, most visible face of the pumpkin for the main design.

  2. Sketch the layout

    Lightly pencil in the deer head in the upper two-thirds of the painting area, and the campfire flame shapes in the lower third. Keep the deer head wider than it is tall so the antlers have room to spread. A rough pencil sketch takes only a few minutes and prevents proportion problems later.

  3. Paint the deer head base

    Apply a solid coat of off-white or tan acrylic over the deer head shape and let it dry completely. This base coat blocks the orange rind color so subsequent layers read accurately. Two thin coats cover better than one thick coat and are less likely to crack.

  4. Add the eyes, antlers, and facial details

    Mix a dark brown or black to paint the large eye shapes, the antler branches above the head, and any muzzle definition. Work from dark to light, adding a small white highlight dot to each eye last to give them the unsettling reflective quality the game design is known for.

  5. Paint the campfire flame

    Block in the main flame shape in bright orange, then feather pale yellow from the center out toward the tips while the orange is still slightly wet for a soft gradient. Add short dark lines at the base of the flame to suggest log shadows. Let the entire painting dry for at least one hour.

  6. Seal and display

    Spray with a clear acrylic sealer to protect the paint from dew and humidity. Place the pumpkin on a dark surface outdoors and angle a warm outdoor spotlight toward it for nighttime display. The contrast of the painted deer against the orange rind is strongest under direct light.

Written with AI to match this design

Gather your supplies

Check things off as you get ready.

Work on a stable surface, keep your free hand out of the cutting path, and have an adult handle sharp tools.

Three levels of light

  • Leave intact

    The bare orange rind around the painted elements stays untouched as the natural background.

  • Peel & shade

    None; the shell remains fully intact throughout this no-carve design.

  • Cut through

    None; rely on an external spotlight or porch light for evening display.

Learn the carving basics

Before you start cutting

How do I get the campfire gradient to look smooth rather than stripy?

Apply the orange base coat first and while it is still slightly tacky, load a dry brush with yellow and feather short strokes from the center outward. Blending is easier on a slightly wet surface. If the paint dries before you finish blending, dampen the area lightly with a misting of water and blend again.

The antlers look too dark against the tan head. How can I fix this?

Wait for the dark brown antler layer to dry, then apply a thin tan dry-brush layer over the antler edges to soften the border and suggest the fur-to-bone transition. This adds depth without requiring you to repaint the whole head.

How long will the painted design look good?

A sealed acrylic design on an intact pumpkin can look fresh for two to three weeks in cool, dry conditions. Bringing the pumpkin indoors overnight and keeping it away from direct rain will extend the lifespan significantly compared to an unsealed carving.

Your take belongs here, too.

Changed a detail? Made it simpler? Share a photo of your version and tell the community what worked.

Share your pumpkin

Want more designs like this? Browse our full library of pumpkin carving ideas, or pick a free printable stencil. Every pattern and template in our own collection is free to print at home.

More pumpkins like this

You've reached the end · 8 pumpkins
The Patch Report

Fresh pumpkins, in your inbox.

The best new carvings, ideas worth stealing, and how-tos for carving season. Short, seasonal, and gone by November.

A short email during carving season. Unsubscribe anytime. See our privacy policy.