Halloween Pumpkin Carving Contest · Starts October 1st · $500 in prizes
← Back to ideas
@ai_concepts
Sep 25, 2026

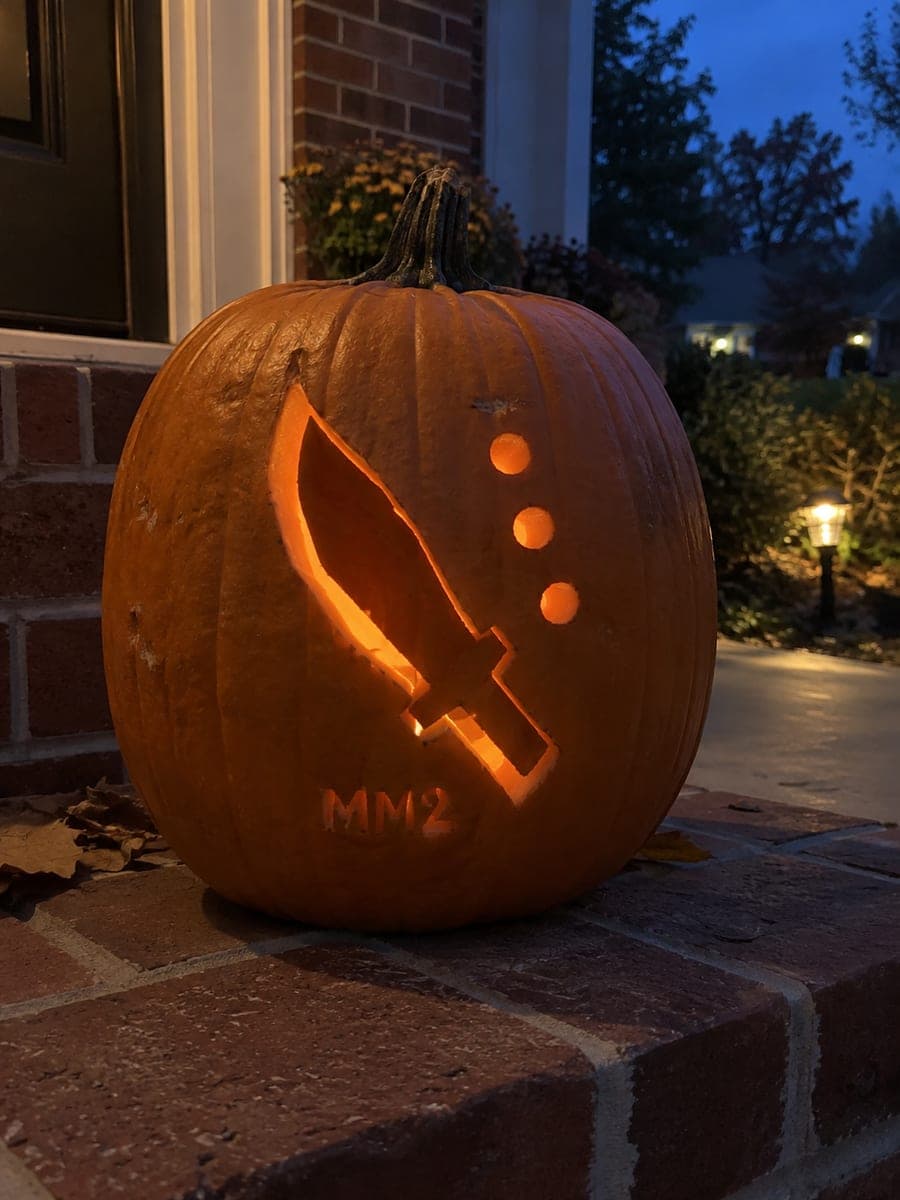
Painted MM2 Sheriff Star and Knife PumpkinAI
0

Report this carving

Tell us what is wrong. Reports are private.

Painted MM2 Sheriff Star and Knife Pumpkin

This no-carve murder mystery 2 pumpkin idea paints the game's sheriff star, question mark, and knife symbol as simple flat shapes with a short label on an intact orange gourd. Use a silver or metallic gold paint pen for the sheriff star to give it an authentic badge quality, then fill the surrounding symbols in white for contrast. Finishing with a gloss coat makes the metallic star truly shine against the matte orange rind.

No ratings yet · Sign in to rate

Comments (0)

  • No comments yet — be the first.

Save without an account. Sign in to like or comment.

Our tips for carving a similar design

A flat painted sheriff star, a question mark, a knife symbol, and a short label are arranged on an intact rind using acrylic and a metallic paint pen. The metallic silver or gold star is the visual anchor, applied first in the most prominent position, with the other symbols painted around it in white for contrast against the orange rind. A gloss sealer coat intensifies the star's shine and protects everything from dew.

From pumpkin to porch

  1. Clean and prep the surface

    Wipe the pumpkin with a damp cloth and allow it to dry completely. Lightly scuff the painting area with fine sandpaper for better adhesion. Choose the flattest face for the main design.

  2. Sketch the icon layout

    Lightly pencil in the sheriff star in the most prominent central position, with the question mark to one side and the knife symbol on the other. Sketch the label position last so it does not crowd the icons. Step back and check the overall balance before picking up a brush.

  3. Paint the sheriff star in metallic

    Use a metallic gold or silver paint pen or a flat brush loaded with metallic acrylic to fill the star shape. Apply the metallic paint in thin, even strokes for maximum shine. Two coats look more opaque and metallic than one. Let the star dry fully before adding any surrounding elements.

  4. Paint the question mark and knife

    Fill both the question mark hook and dot, and the knife shape, with white acrylic. White on orange reads clearly from a distance and gives a clean game-poster graphic quality. Add small black outline details to the knife handle and blade edge once the white is dry.

  5. Add the label

    Letter the game title abbreviation or full name below the central star, using black or white paint depending on which reads better against your pumpkin. Keep the lettering small enough not to compete with the icons, but large enough to read from arm's length.

  6. Seal with gloss finish

    Apply a gloss acrylic sealer spray over the entire painted surface, which intensifies the metallic star's shine and makes the orange rind look richer. Display under a porch light that hits the metallic star from a low angle to maximize the reflective quality.

Written with AI to match this design

Gather your supplies

Check things off as you get ready.

Work on a stable surface, keep your free hand out of the cutting path, and have an adult handle sharp tools.

Three levels of light

  • Leave intact

    The bare orange rind around all painted symbols stays untouched as the natural warm background.

  • Peel & shade

    None; the shell is intact throughout.

  • Cut through

    None; a porch light or outdoor spotlight illuminates the metallic star at night.

Learn the carving basics

Before you start cutting

Does metallic paint stick to pumpkin rind without flaking?

Metallic acrylic sticks well once the surface is clean and dry. Apply over a thin white base coat for better adhesion and more vibrant metallic payoff. Finish with a sealer spray to lock the metallic layer in place and prevent flaking when the pumpkin is moved.

The white knife symbol is barely visible on my orange pumpkin. What can I do?

Apply a thin coat of gesso or white base paint under the white acrylic layer. Gesso is opaque enough to fully block the orange, which makes the white topcoat look bright rather than washed out. Two coats of white acrylic over gesso reads very cleanly.

Can I cut a stencil for the star shape to keep it neat?

Yes. A stencil cut from a piece of cardstock or adhesive vinyl keeps the star points sharp and consistent. Press the stencil flat against the rind, apply metallic paint through it, and lift the stencil before the paint dries to avoid smearing the edges.

Your take belongs here, too.

Changed a detail? Made it simpler? Share a photo of your version and tell the community what worked.

Share your pumpkin

More pumpkins like this

You've reached the end · 8 pumpkins
The Patch Report

Fresh pumpkins, in your inbox.

The best new carvings, ideas worth stealing, and how-tos for carving season. Short, seasonal, and gone by November.

A short email during carving season. Unsubscribe anytime. See our privacy policy.