Halloween Pumpkin Carving Contest · Starts October 1st · $500 in prizes
← Back to ideas
@ai_concepts
Sep 25, 2026
Painted FNAF Freddy Fazbear No-Carve Pumpkin DesignAI
0

Report this carving

Tell us what is wrong. Reports are private.

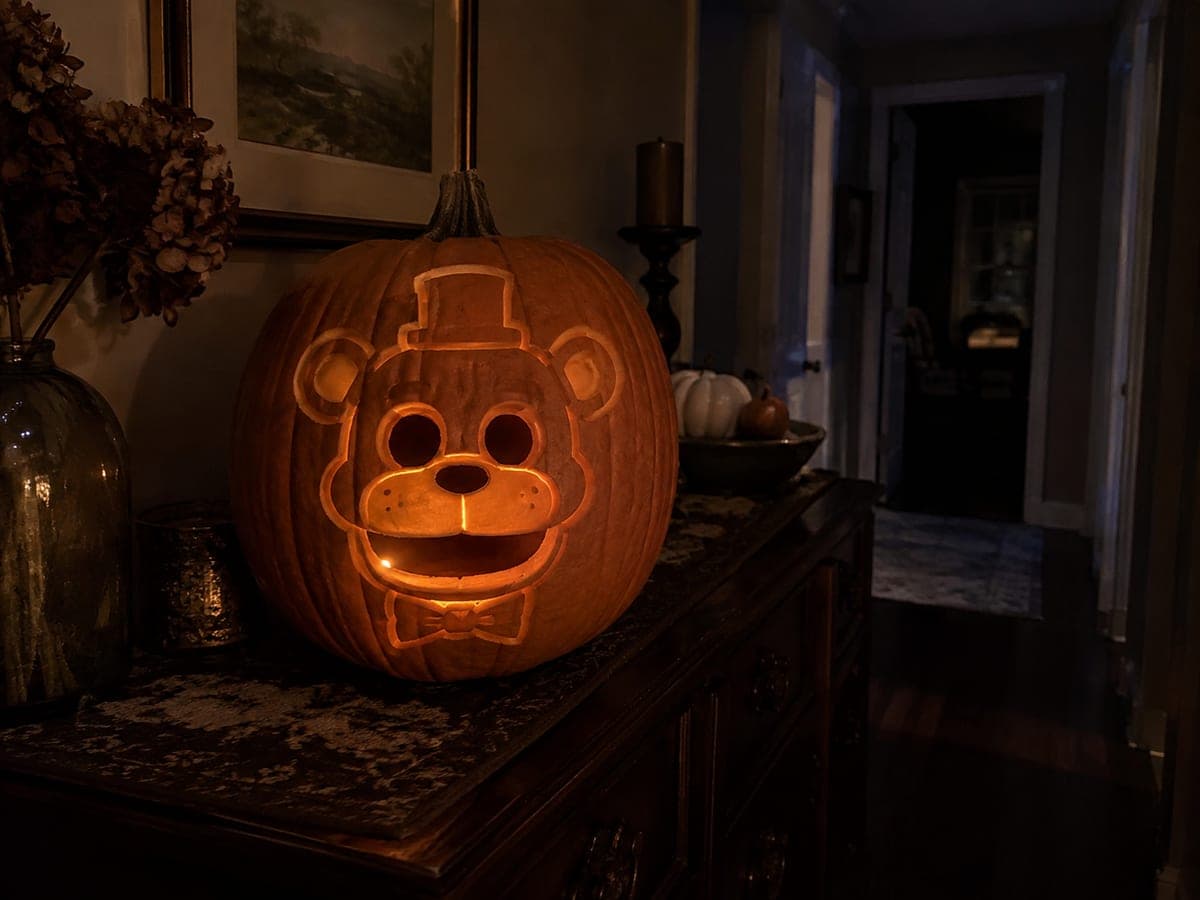
Painted FNAF Freddy Fazbear No-Carve Pumpkin Design

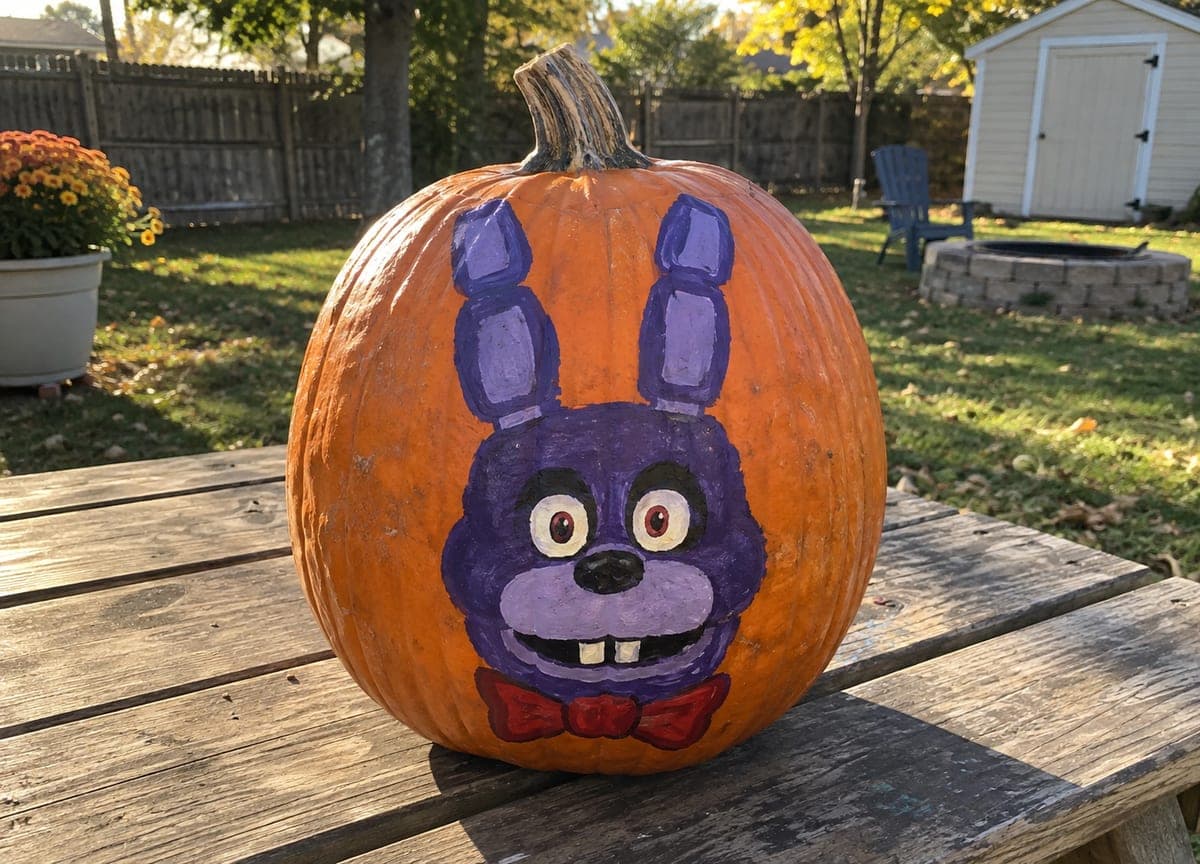
This no-carve Five Nights at Freddy's pumpkin keeps the rind intact and uses flat brown, cream, blue, and black acrylic paint to recreate Freddy's recognizable face. Paint the brown base coat first and let it dry fully before adding the cream muzzle and blue eye details. Block teeth are the last element, painted white with clean straight edges. A single small black dot in each eye gives Freddy his uncanny animatronic stare.

No ratings yet · Sign in to rate

Comments (0)

  • No comments yet — be the first.

Save without an account. Sign in to like or comment.

Our tips for carving a similar design

A flat brown base, cream muzzle, blue eyes, black hat and bowtie, and white block teeth recreate Freddy's face without any cutting. Layering the paint from broadest shapes to finest details keeps the colors clean and prevents muddy overlaps. A matte sealer at the end locks every layer for a durable seasonal display.

From pumpkin to porch

  1. Clean and dry the pumpkin surface

    Wipe the pumpkin clean with a lightly damp cloth and allow it to air dry completely. Avoid any soap residue that could prevent paint adhesion. A smooth-skinned pumpkin works best for the clean block shapes of Freddy's design.

  2. Sketch the face layout in pencil

    Lightly sketch the round brown head, the cream muzzle oval, hat rectangle, and eye circle positions. Keep everything loose and erasable at this stage. Hold the pumpkin at arm's length to check that the hat sits high enough and the muzzle is centered.

  3. Apply the brown base coat

    Use a medium flat brush to fill the head area with flat brown acrylic in two thin coats. Let each coat dry to the touch before applying the next. Leave a narrow strip of orange rind around the entire head perimeter to give the silhouette natural contrast against the pumpkin's base color.

  4. Block in the cream muzzle and ear centers

    Once the brown base is dry, use a flat brush to paint the cream muzzle oval and the lighter inner ear circles. Two coats of cream over brown will typically be needed for full coverage. Keep the muzzle edges clean and the oval proportions consistent with the sketch.

  5. Add the hat, bowtie, and eye details

    Paint the top hat and bowtie in flat black with a medium brush. Let the black dry fully before adding the blue iris circles and black pupils over the brown base. A small black dot in the center of each iris gives Freddy his uncanny animatronic stare. Finally, paint a row of white block teeth in the lower muzzle area with a flat brush and two careful coats.

  6. Seal the finished design

    Once all paint layers are completely dry, apply a light matte sealer coat from twelve inches away. Allow two hours of curing time before handling or displaying outdoors. The sealer significantly extends the display life of the painted surface.

Written with AI to match this design

Gather your supplies

Check things off as you get ready.

Work on a stable surface, keep your free hand out of the cutting path, and have an adult handle sharp tools.

Three levels of light

  • Leave intact

    The entire rind is intact; orange shows around the silhouette edges as a natural border

  • Peel & shade

    None, this design leaves the shell intact

  • Cut through

    None, use a front-facing porch light or spotlight to illuminate the painted face

Learn the carving basics

Before you start cutting

The block teeth look uneven. How do I make them uniform?

Use a ruler and pencil to lightly mark the tooth widths and gaps before painting. You can also cut a small rectangular cardboard mask to use as a guide for each tooth. Paint all the white first, then go back with brown to sharpen any edges that bled over the lines.

Can I add Freddy's freckles or nose without ruining the flat aesthetic?

Yes, small dots in a slightly darker brown applied with a fine round brush add those details without overcomplicating the design. Apply them after the main layers are fully dry so you can wipe a mistake away with a damp cotton swab before it sets.

The blue eyes look washed out over the brown base. How do I fix the coverage?

Apply a white base coat over each eye circle first and let it dry before adding the blue. White beneath the blue dramatically improves the color intensity of lighter paint over a dark base. A second blue coat over the white base should give you the clean bright iris color Freddy is known for.

Your take belongs here, too.

Changed a detail? Made it simpler? Share a photo of your version and tell the community what worked.

Share your pumpkin

More pumpkins like this

You've reached the end · 8 pumpkins
The Patch Report

Fresh pumpkins, in your inbox.

The best new carvings, ideas worth stealing, and how-tos for carving season. Short, seasonal, and gone by November.

A short email during carving season. Unsubscribe anytime. See our privacy policy.