Halloween Pumpkin Carving Contest · Starts October 1st · $500 in prizes
← Back to ideas
@ai_concepts
Sep 25, 2026
Painted Foxy FNAF No-Carve Pirate Fox PumpkinAI
0

Report this carving

Tell us what is wrong. Reports are private.

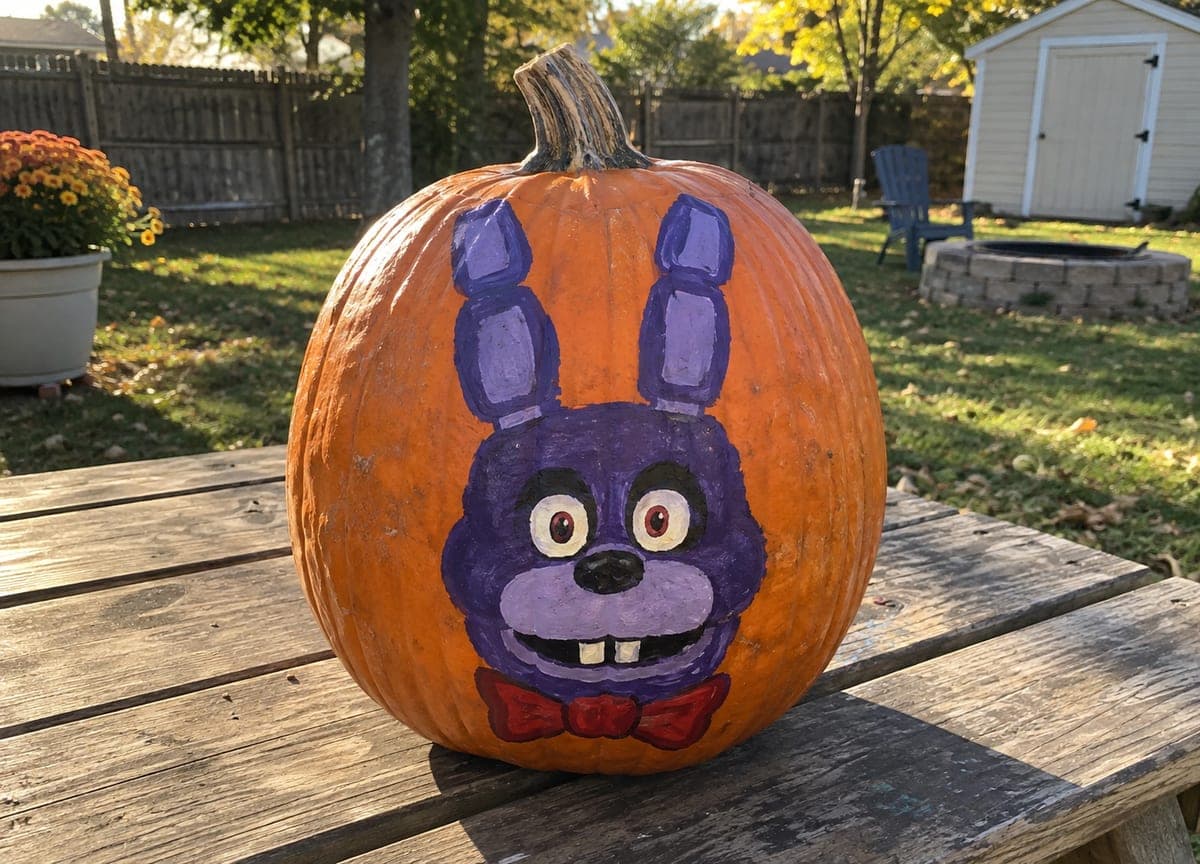
Painted Foxy FNAF No-Carve Pirate Fox Pumpkin

This no-carve Foxy FNAF pumpkin uses red-brown, tan, black, and yellow acrylic on an intact rind to paint Foxy's one-eyed pirate face. Block in the red-brown head first, then add the tan muzzle and the black eyepatch with a clean edge. A single yellow eye on the open side and a gray hook silhouette at the lower edge complete the look. Flat approachable brushwork keeps this pumpkin decoration quick and effective.

No ratings yet · Sign in to rate

Comments (0)

  • No comments yet — be the first.

Save without an account. Sign in to like or comment.

Our tips for carving a similar design

Red-brown, tan, black, and yellow acrylic on an intact rind paint Foxy's one-eyed pirate character without any cutting. The broad shapes of the head, muzzle, and eyepatch are forgiving to paint and read clearly even with slight imprecision. A gray hook silhouette added at the lower edge completes the instantly recognizable Foxy look.

From pumpkin to porch

  1. Clean and dry the pumpkin

    Wipe the rind with a lightly damp cloth and allow it to dry completely. Red-brown over orange requires good adhesion, so a clean dry surface is important. Choose a pumpkin with a slightly flatter face for the clearest painted result.

  2. Sketch the face shapes in pencil

    Lightly sketch the red-brown head boundary, the tan muzzle oval on one side of the face, the black eyepatch covering the muzzle-less eye position, the single yellow eye circle on the open side, and the gray hook silhouette at the lower outer edge. Keep sketches loose and easy to correct before you commit to paint.

  3. Paint the red-brown head base

    Fill the head area in flat red-brown with two thin coats. Let each coat dry to the touch before the next. The warm red-brown over the natural orange rind creates a cohesive warm palette that suits Foxy's fur color without requiring full opacity.

  4. Add the tan muzzle and black eyepatch

    Paint the tan muzzle oval on the appropriate side with two coats. Once dry, add the black eyepatch as a solid flat shape with clean edges using a medium brush. Let the black dry fully before painting anything adjacent to it. The eyepatch boundary is the design's most character-defining line, so take care with its edge.

  5. Paint the yellow eye and gray hook

    Apply a white base coat over the yellow eye circle before adding yellow for better coverage. Once the yellow is dry, add a small black pupil. At the lower edge of the face, paint the gray hook silhouette in two coats using a flat brush for the broad curve and a liner brush for the sharp tip.

  6. Seal and display

    Once all paint is completely dry, apply a light matte sealer spray from twelve inches away. Allow two hours of curing before displaying outdoors. The red-brown and yellow against the natural orange rind creates a warm, cohesive palette that works well in porch lighting without any interior LED.

Written with AI to match this design

Gather your supplies

Check things off as you get ready.

Work on a stable surface, keep your free hand out of the cutting path, and have an adult handle sharp tools.

Three levels of light

  • Leave intact

    The full rind is intact; natural orange shows around the outer silhouette edge

  • Peel & shade

    None, this design leaves the shell intact

  • Cut through

    None, use a front-facing porch light or outdoor spotlight to illuminate the portrait

Learn the carving basics

Before you start cutting

The black eyepatch is bleeding slightly into the tan muzzle. How do I fix the boundary?

Let the black fully dry, then sharpen the eyepatch boundary using the tan muzzle color on a fine liner brush. Going over the tan edge after the black is set gives you much more control than trying to fix wet paint. Always correct dark-over-light bleeds by repainting the lighter color, not the dark.

The gray hook looks washed out against the dark red-brown base. How do I make it more visible?

Apply a white or light gray undercoat in the hook shape first and let it dry before adding the final gray tone. The white underneath significantly brightens the gray and gives it enough contrast to read clearly against the warm red-brown. You can also add a thin black outline around the hook perimeter for additional separation.

Can I add the torn ear detail that Foxy is known for without carving?

Yes, paint the torn ear notch in a darker red-brown or black on the outer ear edge as a flat painted shadow. A thin uneven line of dark paint suggesting a torn edge reads convincingly as damage without any physical cut. Apply it with a fine liner brush using irregular short strokes rather than one smooth line.

Your take belongs here, too.

Changed a detail? Made it simpler? Share a photo of your version and tell the community what worked.

Share your pumpkin

More pumpkins like this

You've reached the end · 8 pumpkins
The Patch Report

Fresh pumpkins, in your inbox.

The best new carvings, ideas worth stealing, and how-tos for carving season. Short, seasonal, and gone by November.

A short email during carving season. Unsubscribe anytime. See our privacy policy.