Halloween Pumpkin Carving Contest · Starts October 1st · $500 in prizes
← Back to ideas
@ai_concepts
Sep 25, 2026
Easy Freddy Fazbear Face Jack-O-Lantern CutoutAI
0

Report this carving

Tell us what is wrong. Reports are private.

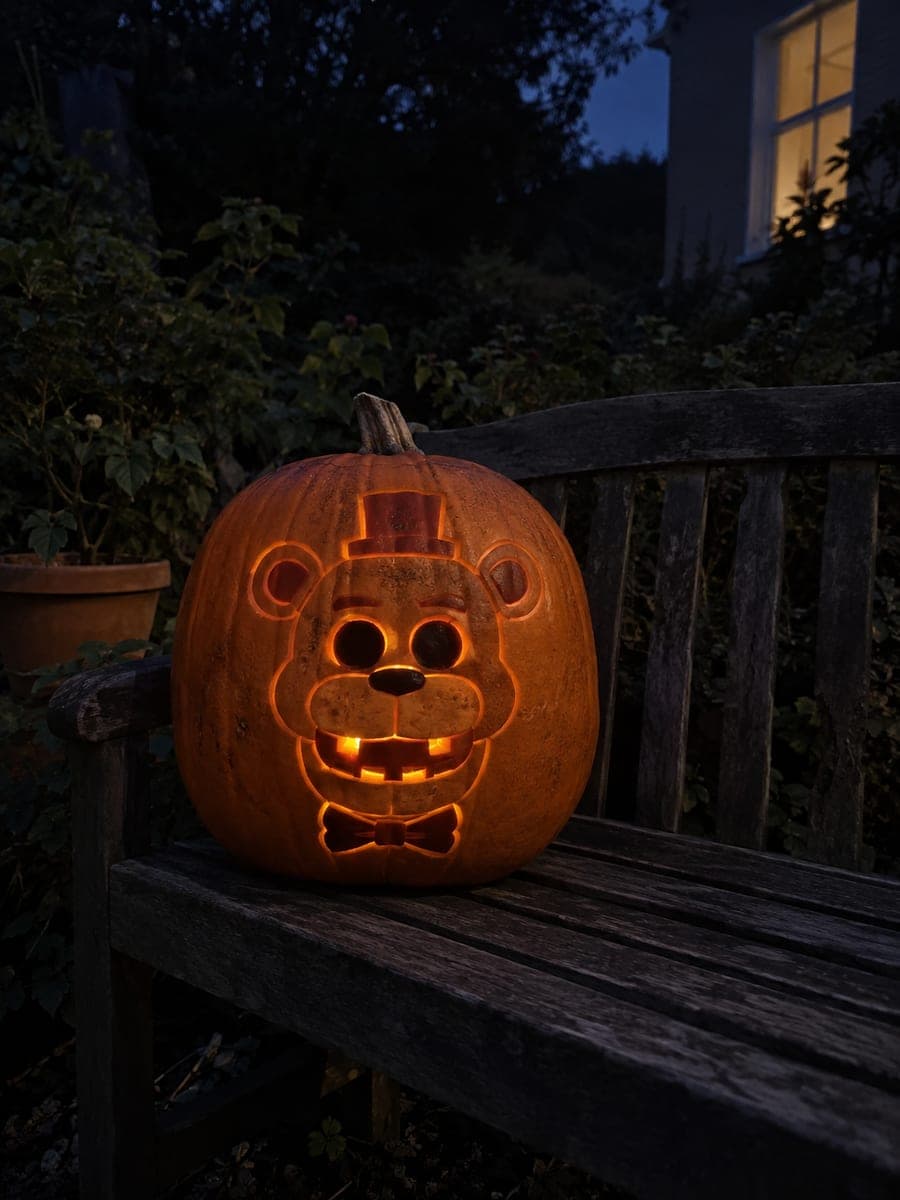
Easy Freddy Fazbear Face Jack-O-Lantern Cutout

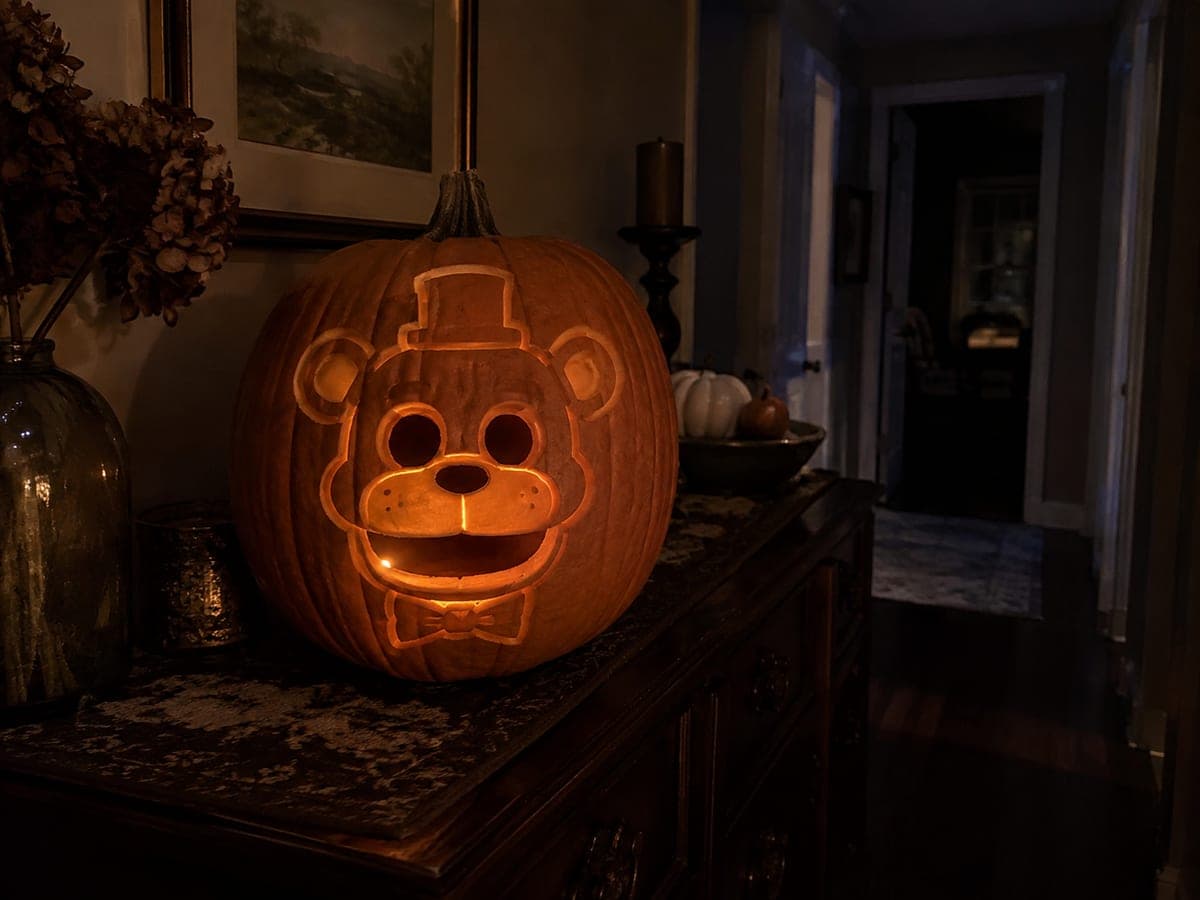
Four open apertures for Freddy's eyes, nose, and mouth are the core of this easy Five Nights at Freddy's pumpkin carving idea, with ears, hat, muzzle, and bowtie added as shallow-backed relief around the edges. Cut the four main openings first since they define the character's face, then score the backed details. Keeping the muzzle shape broad and intact helps the bear face read clearly. A warm amber LED inside captures Freddy's dimly lit animatronic atmosphere.

No ratings yet · Sign in to rate
Comments (0)

  • No comments yet — be the first.

Save without an account. Sign in to like or comment.

Our tips for carving a similar design

Four open apertures for Freddy's eyes, nose, and mouth define this easy Five Nights at Freddy's design. Backed relief around the ears, hat, muzzle, and bowtie adds character detail without any through-cuts that could weaken the shell. Cutting the four main openings first establishes the face before you add any secondary detail.

From pumpkin to porch

  1. Hollow and prep the pumpkin

    Cut the lid from the back and scoop the interior to roughly an inch of wall thickness. A thicker wall gives you more surface for the backed relief details. Dry the inside with paper towels so a template sticks cleanly. Choose a pumpkin with a broad, relatively flat face to give the four apertures room.

  2. Transfer the Freddy template

    Scale and print the face template so the four apertures span comfortably across the pumpkin's face. Tape it in place and trace all outlines with a stylus, including the muzzle border, hat brim, ears, and bowtie. Remove the paper carefully and confirm every line is visible before cutting.

  3. Cut the four main apertures

    Cut the two eye holes first since they anchor the face's proportions. Use a fine carving saw with short, controlled strokes. Then cut the small nose hole and finally the mouth opening. Cutting the mouth last prevents the lower face from becoming fragile while you work the eyes. Remove each piece by pushing inward.

  4. Shallow-back the secondary details

    Use a linoleum gouge or wide detail knife to back-carve the muzzle shape, ear surfaces, hat area, and bowtie outline. Aim for about half wall depth so these areas glow softly without breaking through. Work from the center of each shape outward and stop frequently to check depth with a flashlight behind the pumpkin.

  5. Clean up edges

    Use a detail knife tip to smooth any ragged edges around the four apertures. Wipe away all pumpkin debris with a damp cloth. Check that the broad muzzle area between the eyes and mouth is intact and solid since it carries the structural load of the face.

  6. Light and display

    Place a warm amber LED puck inside to mimic Freddy's dimly lit animatronic atmosphere. Close the back lid and set the pumpkin in place. The four apertures will glow brightly while the backed relief areas show a subtler mid-level glow. A dark entry or porch wall behind the pumpkin makes the effect more pronounced.

Written with AI to match this design

Gather your supplies

Check things off as you get ready.

Work on a stable surface, keep your free hand out of the cutting path, and have an adult handle sharp tools.

Three levels of light

  • Leave intact

    The full outer rind, hat crown, and outer ear surfaces remain dark and uncut

  • Peel & shade

    Muzzle shape, inner ear surfaces, hat brim, and bowtie are shallow-backed for a soft mid glow

  • Cut through

    Two eye holes, nose hole, and mouth opening are cut through for full bright light

Learn the carving basics

Before you start cutting

How round should the eye holes be?

Freddy's eyes read well as slightly rounded rectangles or softly oval shapes rather than perfect circles, which can be tricky to cut cleanly by hand. Draw the shape freehand first, then follow the line carefully with your saw. A small round hole saw drill attachment can help if you want a cleaner circle.

The muzzle area looks too flat after back-carving. How do I add more definition?

Use a narrow gouge to trace a shallow outline groove around the muzzle perimeter. This shadow line separates it visually from the surrounding rind. You can also add a slight dome by angling your gouge strokes to carve more deeply at the center of the muzzle than at its edges.

Is this design safe for kids to help with?

Adults should handle all cutting and back-carving with sharp tools. Kids can safely help trace the template, scoop the interior pulp with a spoon, and place the LED light inside. Keep carving tools out of reach when not in use and work on a stable, non-slip surface.

Your take belongs here, too.

Changed a detail? Made it simpler? Share a photo of your version and tell the community what worked.

Share your pumpkin

More pumpkins like this

You've reached the end · 8 pumpkins
The Patch Report

Fresh pumpkins, in your inbox.

The best new carvings, ideas worth stealing, and how-tos for carving season. Short, seasonal, and gone by November.

A short email during carving season. Unsubscribe anytime. See our privacy policy.