Halloween Pumpkin Carving Contest Β· Starts October 1st Β· $500 in prizes
← Back to ideas
@ai_concepts
Sep 25, 2026
Easy Chica FNAF Pumpkin Carving with Open BeakAI
0

Report this carving

Tell us what is wrong. Reports are private.

Easy Chica FNAF Pumpkin Carving with Open Beak

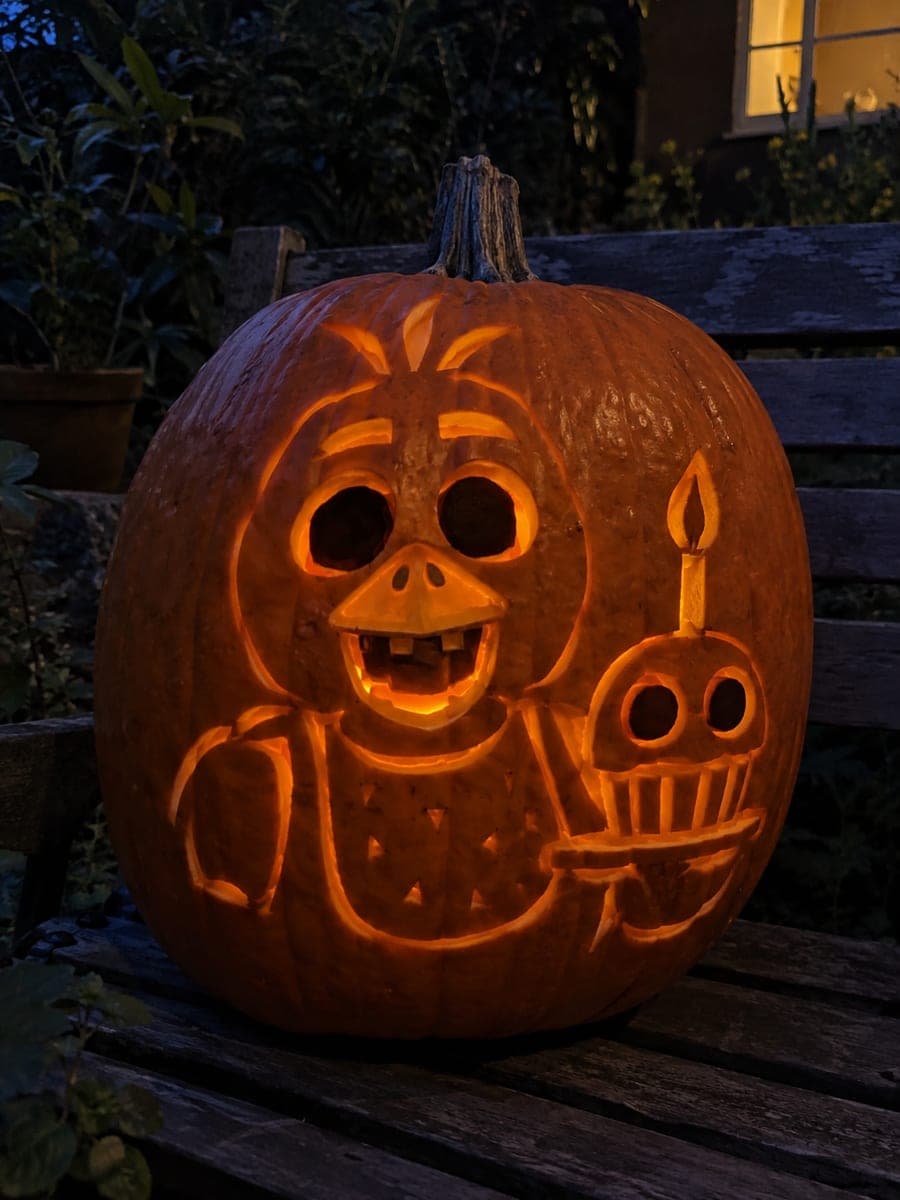
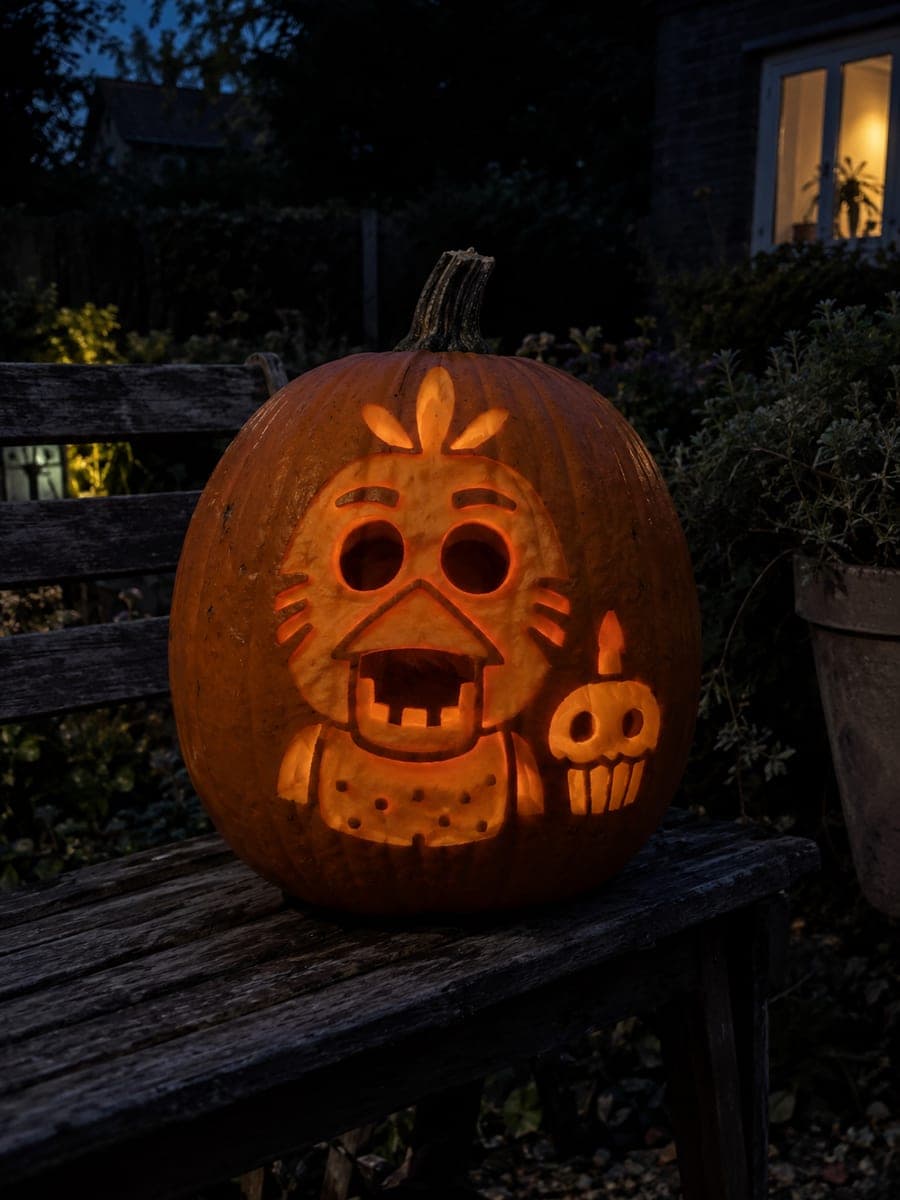
Two empty circular eyes and an open beak give this easy Chica FNAF pumpkin carving its cheerfully unsettling chicken look, with a broad intact upper beak keeping the structure solid. Shallow-backed head, tuft, and bib detail adds dimension without extra through-cuts. Punch the circular eye holes first using a round hole saw or a careful knife rotation, then cut the beak opening below. A yellow-tinted LED inside leans into Chica's bright color palette.

No ratings yet Β· Sign in to rate

Comments (0)

  • No comments yet β€” be the first.

Save without an account. Sign in to like or comment.

Our tips for carving a similar design

Two circular hollow eyes and an open beak opening form the light-giving core of this easy Chica design. A broad intact upper beak edge keeps the lower face solid while shallow-backed head, tuft, and bib relief adds dimension. Cutting the eye holes first establishes the face before the beak opening is made.

From pumpkin to porch

  1. Hollow and prep

    Cut the back lid and scoop to one inch of wall thickness. Choose a broad round pumpkin for Chica's wide, rounded head shape. Dry the interior completely. A yellow-tinted or warm LED will suit this design, so have one ready before you finish.

  2. Transfer the template

    Tape the template and trace the two circular eye positions, the beak opening outline with its broad upper edge, the tuft at the top of the head, and the bib shape below the beak. Mark the intact upper beak edge boundary clearly since protecting it is the main structural priority.

  3. Cut the circular eye holes

    Use a fine carving saw or, if available, a round hole saw attachment on a low-speed drill for clean circles. Cut both eyes before any other through-cuts. Push each circular piece inward to remove it. Confirm the spacing looks symmetrical and balanced before moving to the beak.

  4. Cut the beak opening

    Cut the lower beak gap below the intact upper beak boundary. Keep the upper beak edge wide and solid throughout this step. The bottom of the opening can extend toward the base of the face without structural concern since the upper beak provides the support.

  5. Shallow-back the head, tuft, and bib

    Use a linoleum gouge to back-carve the tuft at the crown of the head, the cheek contour areas, and the bib below the beak to about half wall depth. Work in smooth strokes and check depth with a flashlight frequently. The bib in particular benefits from a uniform depth to read as a distinct shape.

  6. Light and display

    Insert a yellow-tinted or warm white LED and close the back lid. The circular eyes glow with a clean geometric quality that reads as Chica's cartoonish proportions. Set the pumpkin at eye height on a display surface with a dark background behind it.

Written with AI to match this design

Gather your supplies

Check things off as you get ready.

Work on a stable surface, keep your free hand out of the cutting path, and have an adult handle sharp tools.

Three levels of light

  • Leave intact

    Outer rind, the broad intact upper beak edge, and outer head contour stay dark

  • Peel & shade

    Head tuft, cheek areas, and bib are shallow-backed for a soft mid glow

  • Cut through

    Both circular eye holes and the lower beak gap are fully cut through for bright light

Learn the carving basics

Before you start cutting

How do I cut clean circles without a hole saw?

Score the full circle perimeter first with a detail knife by rotating the knife around a center point, using a short loop of string as a radius guide. Then use a narrow carving saw blade to follow the scored line. Short strokes around the curve work better than long strokes, and the scored line prevents the saw from wandering.

The intact upper beak looks too thick. Can I thin it?

You can back-carve the upper beak surface to about one-quarter depth to reduce its visual weight and give it a slight glow, but do not carve it all the way through. The upper beak serves as the main structural bridge between the two sides of the lower face, so even a thin remaining layer is essential.

Is this design appropriate for a child to carve with supervision?

An adult should always handle the cutting tools. However, this design is simple enough in its cut complexity that an adult can complete it quickly while a child watches and assists with non-sharp tasks. The two round eyes and one beak opening are the only through-cuts, making this one of the lower-risk FNAF carvings in the batch.

Your take belongs here, too.

Changed a detail? Made it simpler? Share a photo of your version and tell the community what worked.

Share your pumpkin

More pumpkins like this

You've reached the end Β· 8 pumpkins
The Patch Report

Fresh pumpkins, in your inbox.

The best new carvings, ideas worth stealing, and how-tos for carving season. Short, seasonal, and gone by November.

A short email during carving season. Unsubscribe anytime. See our privacy policy.