Halloween Pumpkin Carving Contest · Starts October 1st · $500 in prizes
← Back to ideas
@ai_concepts
Sep 25, 2026
Chica FNAF Intermediate Pumpkin with Nostril PerforationsAI
0

Report this carving

Tell us what is wrong. Reports are private.

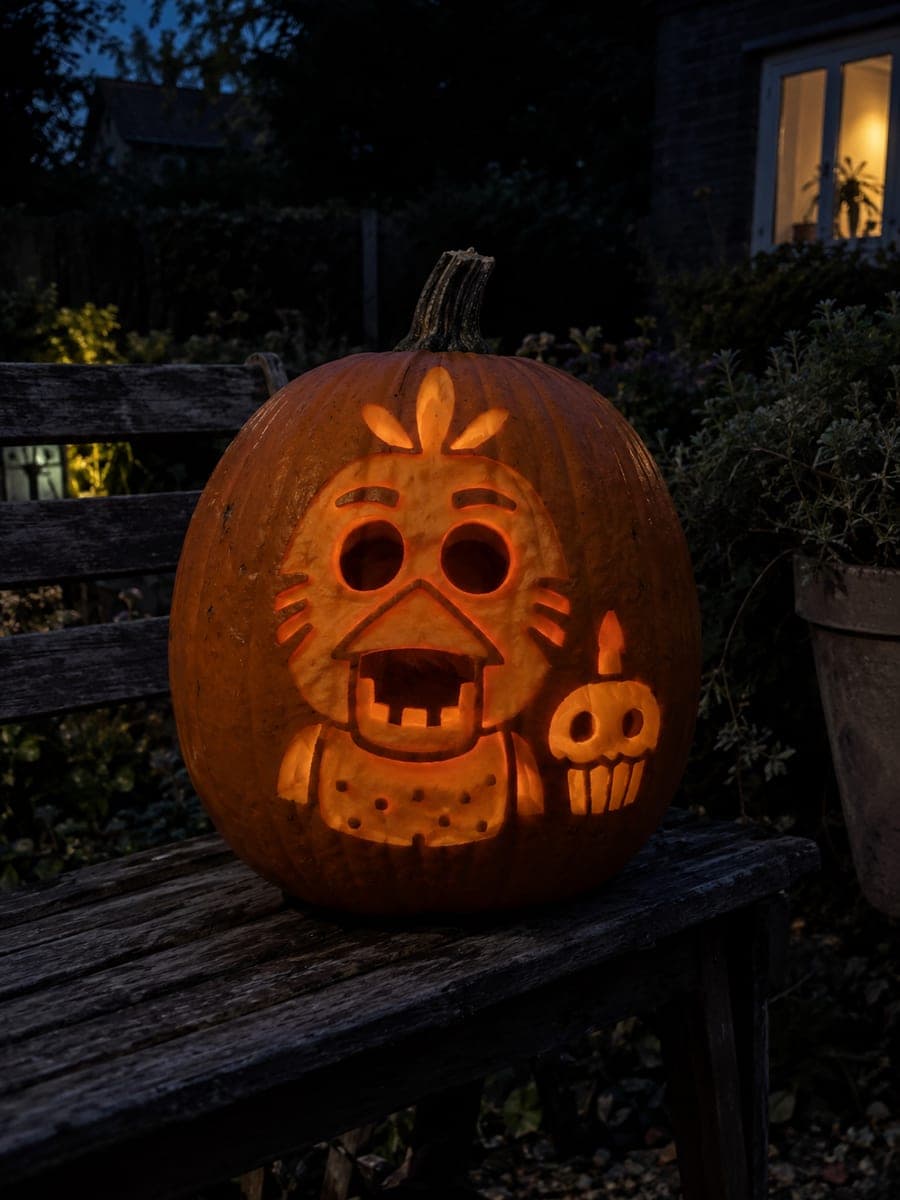
Chica FNAF Intermediate Pumpkin with Nostril Perforations

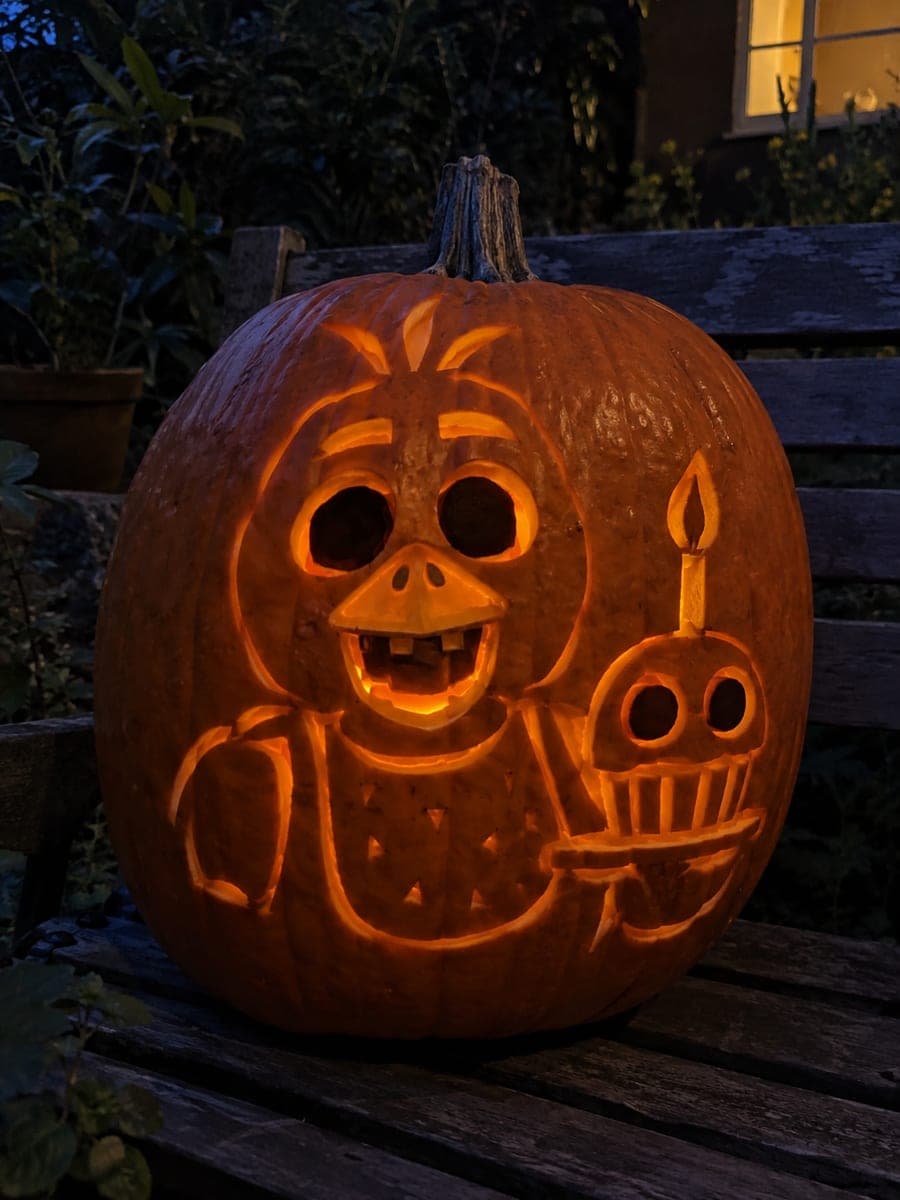
This intermediate Chica FNAF pumpkin carving idea adds small nostril perforations and two firmly rooted lower beak teeth alongside hollow circular eyes, with tuft, cheeks, and bib added as shallow-backed relief. The rooted teeth at the bottom of the beak add the detail that elevates this from easy to intermediate. Cut the eyes and main beak opening first, then carefully carve the nostril perforations and tooth shapes. Backlighting makes even the smallest nostril holes visible and eerie.

No ratings yet · Sign in to rate

Comments (0)

  • No comments yet — be the first.

Save without an account. Sign in to like or comment.

Our tips for carving a similar design

Hollow circular eyes, small nostril perforations, and an open beak with two lower rooted teeth are the structural elements of this intermediate Chica design. The nostril holes and rooted teeth are the details that elevate this above easy difficulty. Cutting the eyes and main beak opening first and adding the small perforations last keeps the rind stable throughout.

From pumpkin to porch

  1. Hollow the pumpkin

    Cut the back lid and scoop to one inch of wall thickness. The small nostril perforations require solid rind with no thin spots nearby, so take extra care to keep wall thickness consistent during the hollow. Dry the interior completely before transferring the template.

  2. Transfer the full template

    Trace the circular eye outlines, nostril perforation positions, beak opening boundary, lower tooth root lines, tuft shape, cheek area, and bib outline. Mark the two nostril center points clearly with a stylus punch so they remain visible after you remove the template paper.

  3. Cut the eye holes and beak opening

    Cut both circular eye holes first, then the beak opening. For the lower rooted teeth, score each root line before cutting the beak gap. Remove the beak piece in small sections, confirming each tooth root is firmly attached before continuing. The broad upper beak edge should remain intact.

  4. Cut the nostril perforations

    Use a fine detail knife or a small drill bit to create the small nostril holes. Score the outline of each hole before cutting through. These holes are small enough that a careful knife tip can complete them without a saw. Keep the perforations clean-edged and symmetrically placed.

  5. Shallow-back the tuft, cheeks, and bib

    Back-carve the tuft, cheek areas, and bib to about half wall depth with a linoleum gouge. Work in smooth, directional strokes and check depth with a flashlight frequently. The bib glow combined with the tiny nostril perforations creates a layered lighting effect that makes the design feel more complete than the easy version.

  6. Light and display

    Insert a warm white LED and close the back lid. The tiny nostril holes will show as distinct small points of full light against the surrounding backed beak rind. This detail is subtle but noticeable to viewers who take a close look. Display at eye level so the nostril detail is visible.

Written with AI to match this design

Gather your supplies

Check things off as you get ready.

Work on a stable surface, keep your free hand out of the cutting path, and have an adult handle sharp tools.

Three levels of light

  • Leave intact

    Outer rind, the broad upper beak edge, and lower tooth root attachments stay dark

  • Peel & shade

    Tuft, cheek areas, and bib are shallow-backed for a soft mid glow

  • Cut through

    Both circular eyes, the nostril perforations, and the beak gap around rooted lower teeth are fully cut through

Learn the carving basics

Before you start cutting

The nostril holes are so small they are hard to cut cleanly. Any technique advice?

Score the full perimeter of each hole with a detail knife before removing any material. A scoring pass first establishes a clean edge that prevents the knife from slipping outward. For the cleanest result, use a small step-drill bit at very slow speed with light pressure, stopping as soon as the tip breaks through the interior.

How do I keep the two rooted lower teeth from looking mismatched in size?

Measure and mark both tooth widths on the template before cutting rather than eyeballing them. Use a ruler to confirm the widths match at the root line and at the tip. Consistent sizing is more important than absolute width, so two slightly narrow but matching teeth look more intentional than two teeth of different widths.

Can I add a third nostril hole for more detail?

Two symmetrical nostrils are the safest layout since they keep the beak area balanced. A third central hole is possible but requires careful centering and increases the structural load on the surrounding rind. If you add a third, keep it slightly smaller than the outer two and space all three evenly.

Your take belongs here, too.

Changed a detail? Made it simpler? Share a photo of your version and tell the community what worked.

Share your pumpkin

More pumpkins like this

You've reached the end · 8 pumpkins
The Patch Report

Fresh pumpkins, in your inbox.

The best new carvings, ideas worth stealing, and how-tos for carving season. Short, seasonal, and gone by November.

A short email during carving season. Unsubscribe anytime. See our privacy policy.