Halloween Pumpkin Carving Contest · Starts October 1st · $500 in prizes
← Back to ideas
@ai_concepts
Sep 25, 2026
Hard Freddy Fazbear Pumpkin with Rooted Teeth and HatAI
0

Report this carving

Tell us what is wrong. Reports are private.

Hard Freddy Fazbear Pumpkin with Rooted Teeth and Hat

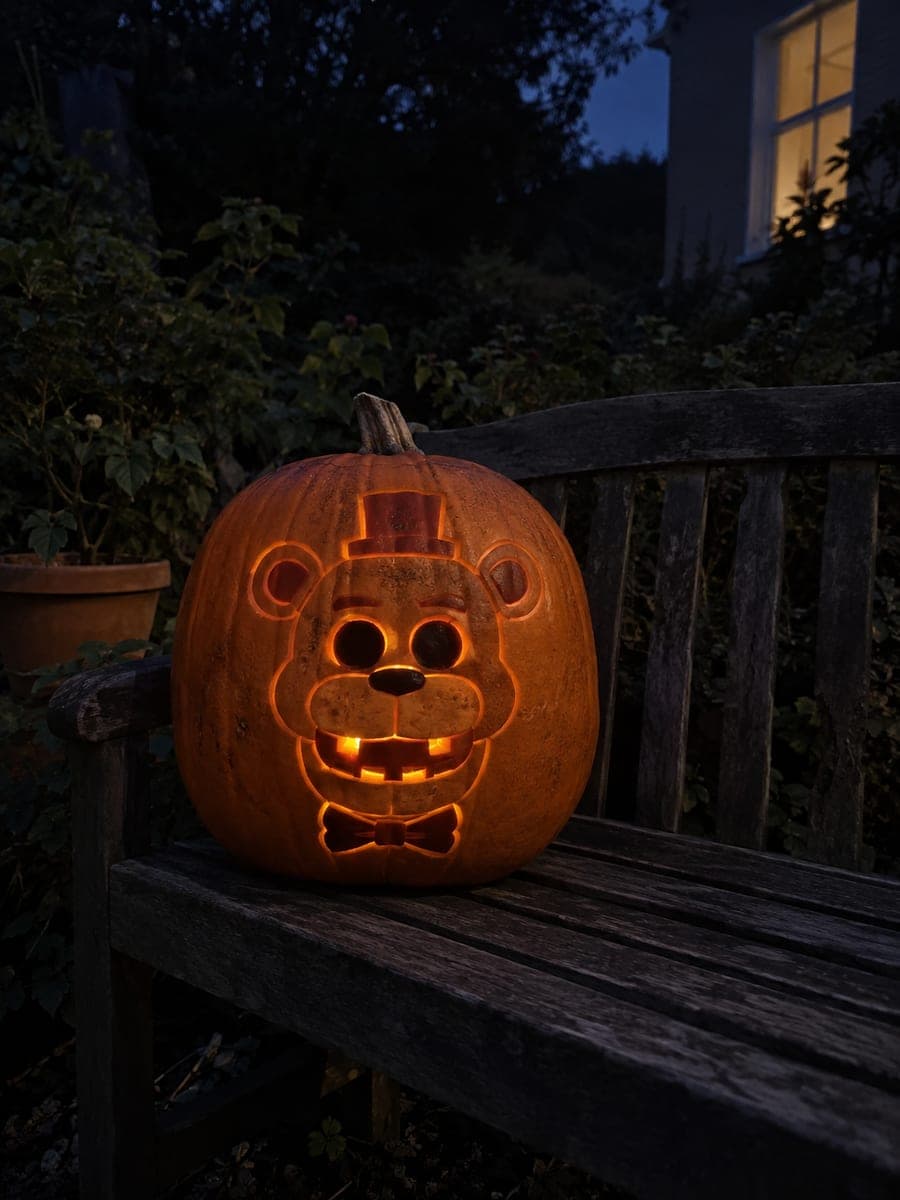
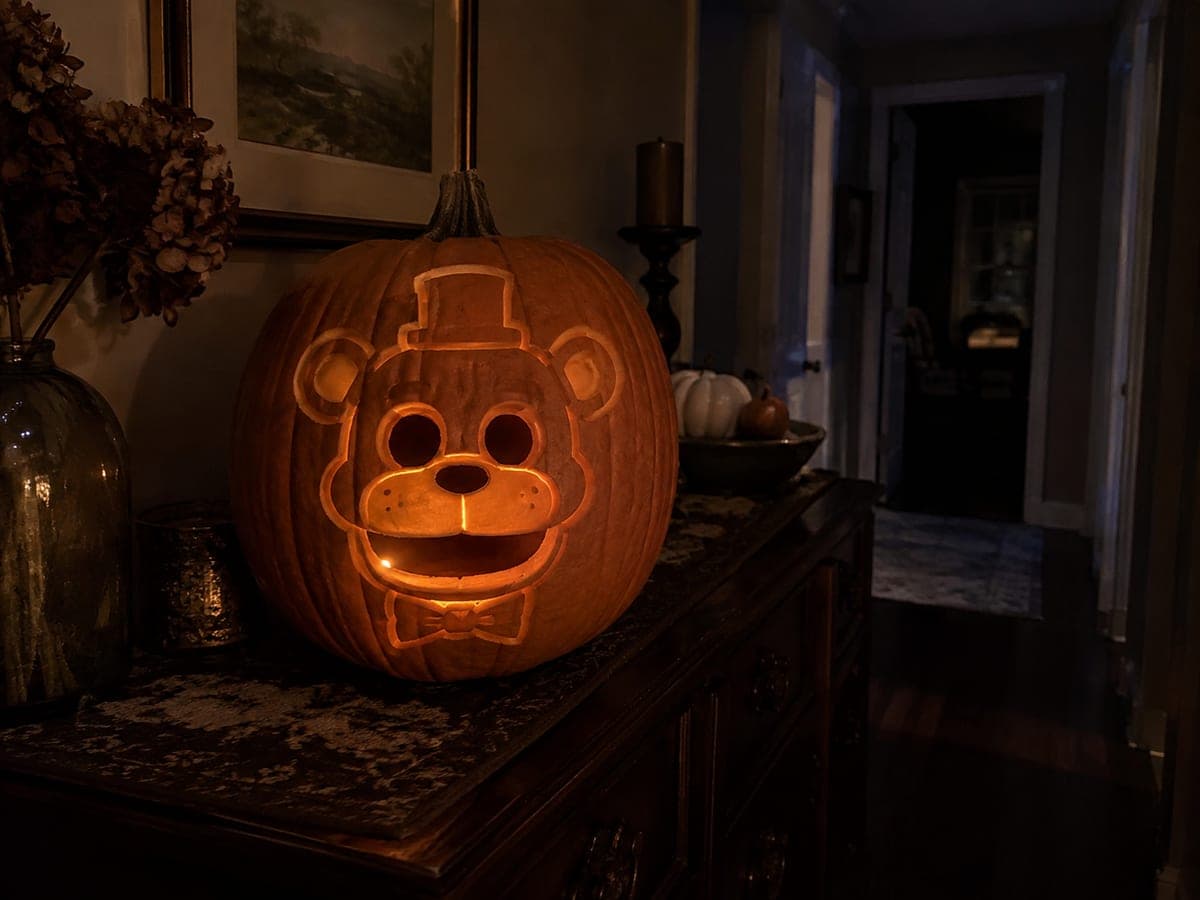
At the hard level, this Freddy Fazbear pumpkin carving adds rooted teeth attached to the lips for a more menacing expression, alongside the hollow eyes and open mouth. The hat, ears, and outer contour are all shallow-backed for fine definition. Score the tooth roots carefully before you cut the mouth opening so you have a clean base to work from. This Five Nights at Freddy's pumpkin carving idea rewards patience with a portrait that is genuinely unnerving when lit.

No ratings yet · Sign in to rate
Comments (0)

  • No comments yet — be the first.

Save without an account. Sign in to like or comment.

Our tips for carving a similar design

The hard-level Freddy adds upper lip-rooted teeth to the hollow eyes and open mouth, creating a more menacing expression than the intermediate version. The hat, ears, and outer contour are all shallow-backed for fine definition. Scoring tooth roots before cutting the mouth opening is the single most important safety step at this difficulty.

From pumpkin to porch

  1. Prep the pumpkin

    Cut the back lid and scoop to one inch of wall thickness throughout. Thicker walls help the tooth roots stay strong. Choose a pumpkin with a firm rind with minimal soft spots. Dry the interior completely before attaching the template.

  2. Transfer the template with tooth root lines

    Place the scaled template and transfer all lines including the eye positions, mouth boundary, individual tooth widths, tooth root lines at the lip edge, hat outline, ear shapes, and outer contour. Mark the tooth root lines with a double stroke so they stand out clearly from the general mouth boundary.

  3. Cut the eye apertures

    Cut both eye holes first with a fine carving saw. These anchors define the face proportions before you commit to the more complex mouth work. Confirm the spacing is correct and balanced before moving to the mouth section.

  4. Score tooth roots and cut the mouth

    Before cutting the mouth, use a detail knife to score a shallow groove along every tooth root line. This creates a stop-line that guides your saw and protects the roots when you cut the mouth gap. Then cut the mouth gap carefully, working around each tooth shape and leaving its base firmly attached to the upper lip. Remove mouth pieces in small sections.

  5. Shallow-back the hat, ears, and outer contour

    Use a linoleum gouge to back-carve the hat brim and crown detail, ear surfaces, and outer face contour. The outer contour back-carving adds subtle dimension to the bear silhouette that catches the eye in the dark. Work from the face center outward and check depth with a flashlight after each zone.

  6. Light and display

    Place a warm flickering LED inside to give the teeth erratic shadows that shift with the light variation. Close the back lid and display where viewers approach the pumpkin from the front. The row of glowing rooted teeth is the visual payoff of the additional carving work at this level.

Written with AI to match this design

Gather your supplies

Check things off as you get ready.

Work on a stable surface, keep your free hand out of the cutting path, and have an adult handle sharp tools.

Three levels of light

  • Leave intact

    Outer rind, hat crown, outer ear edges, and the full lip-to-gum area above the rooted teeth stay dark

  • Peel & shade

    Hat brim, ear surfaces, nose, bowtie, and outer face contour are shallow-backed for mid glow

  • Cut through

    Both eye apertures and the mouth gap between and around the rooted teeth are fully cut through

Learn the carving basics

Before you start cutting

How many rooted teeth should I plan for Freddy at this difficulty?

Three to five teeth along the upper lip read clearly and look menacing without overcrowding the mouth gap. More than five teeth means each tooth root is very narrow and prone to snapping. Keep each tooth root at least a quarter inch wide and taper the tooth upward from that wide base.

One of my tooth roots cracked while I was removing the mouth piece. Can I save it?

If the crack is not a full break, press the root back into position and let the pumpkin dry for an hour before continuing. A small amount of craft glue applied with a toothpick can stabilize a partial crack from behind. If the tooth broke entirely, remove the broken piece cleanly and treat that spot as part of the open mouth gap.

The hat crown looks flat after back-carving. How can I add more definition?

Add a scored groove along the hat brim line to create a clear shadow boundary between the brim and the crown. You can also back-carve the crown area slightly deeper than the brim so the brim reads as a raised ledge. These two steps together give the hat more three-dimensional presence when lit.

Your take belongs here, too.

Changed a detail? Made it simpler? Share a photo of your version and tell the community what worked.

Share your pumpkin

More pumpkins like this

You've reached the end · 8 pumpkins
The Patch Report

Fresh pumpkins, in your inbox.

The best new carvings, ideas worth stealing, and how-tos for carving season. Short, seasonal, and gone by November.

A short email during carving season. Unsubscribe anytime. See our privacy policy.