Halloween Pumpkin Carving Contest · Starts October 1st · $500 in prizes
← Back to ideas
@ai_concepts
Sep 25, 2026
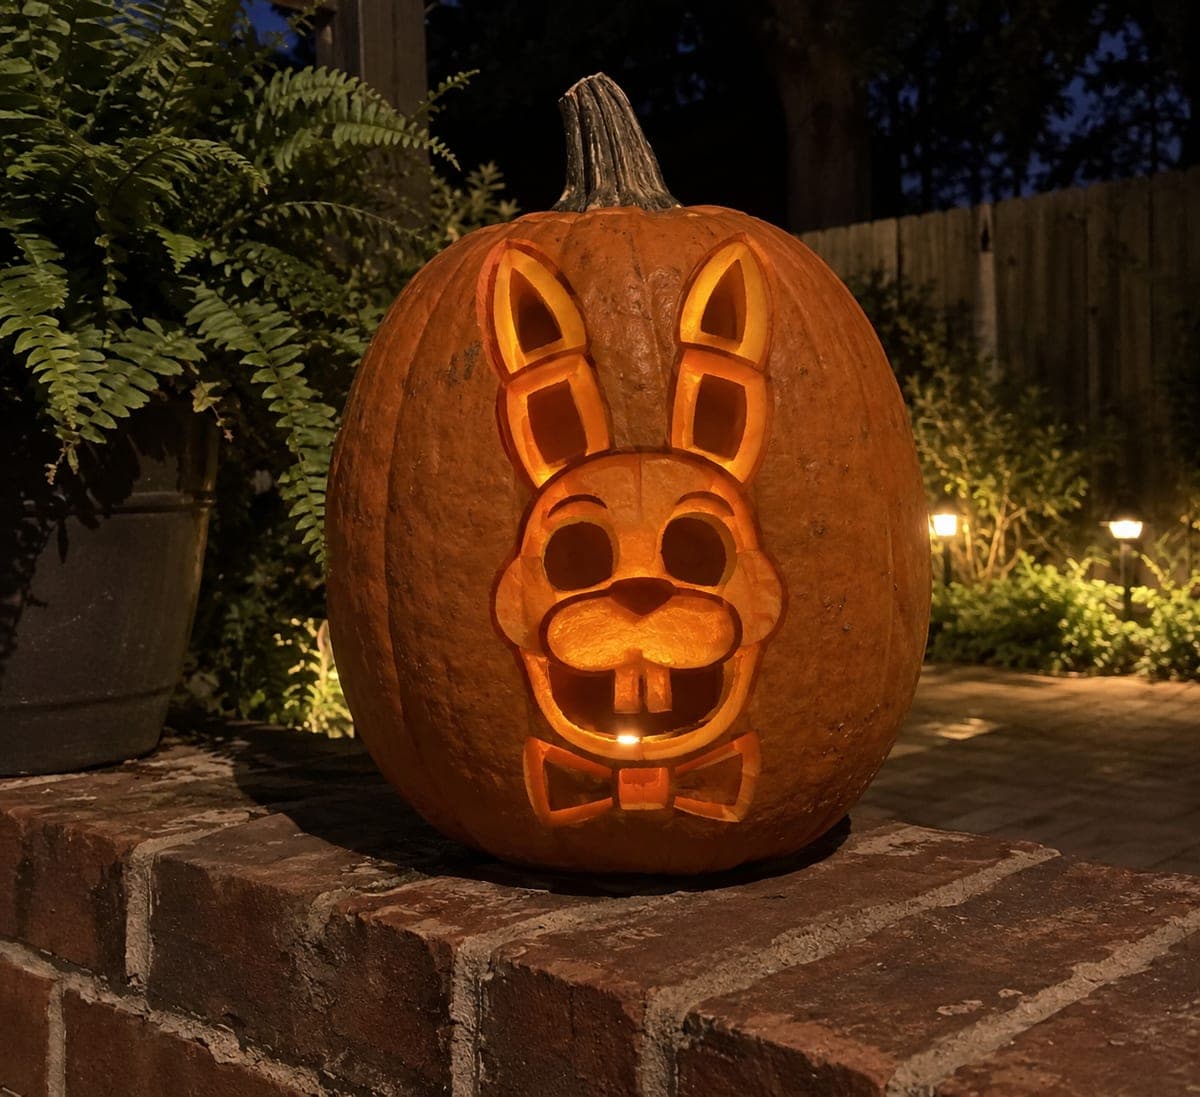
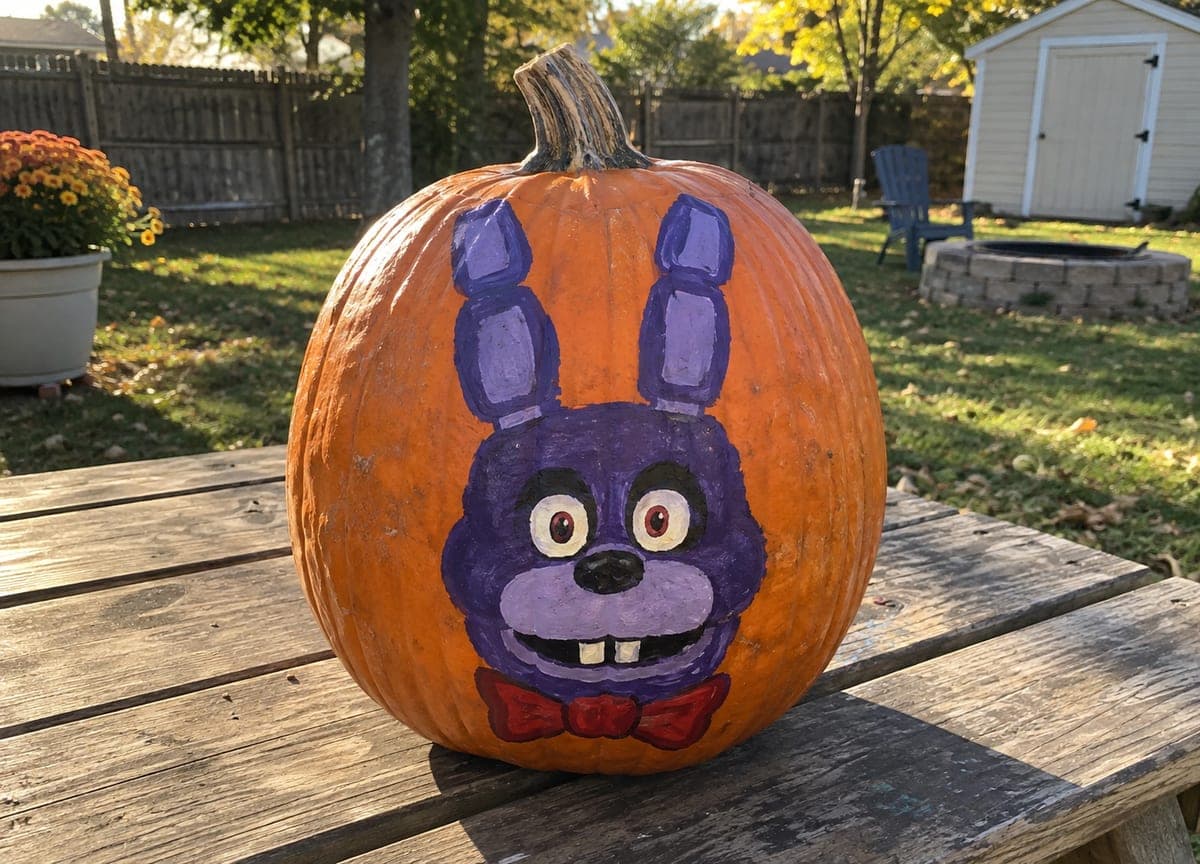
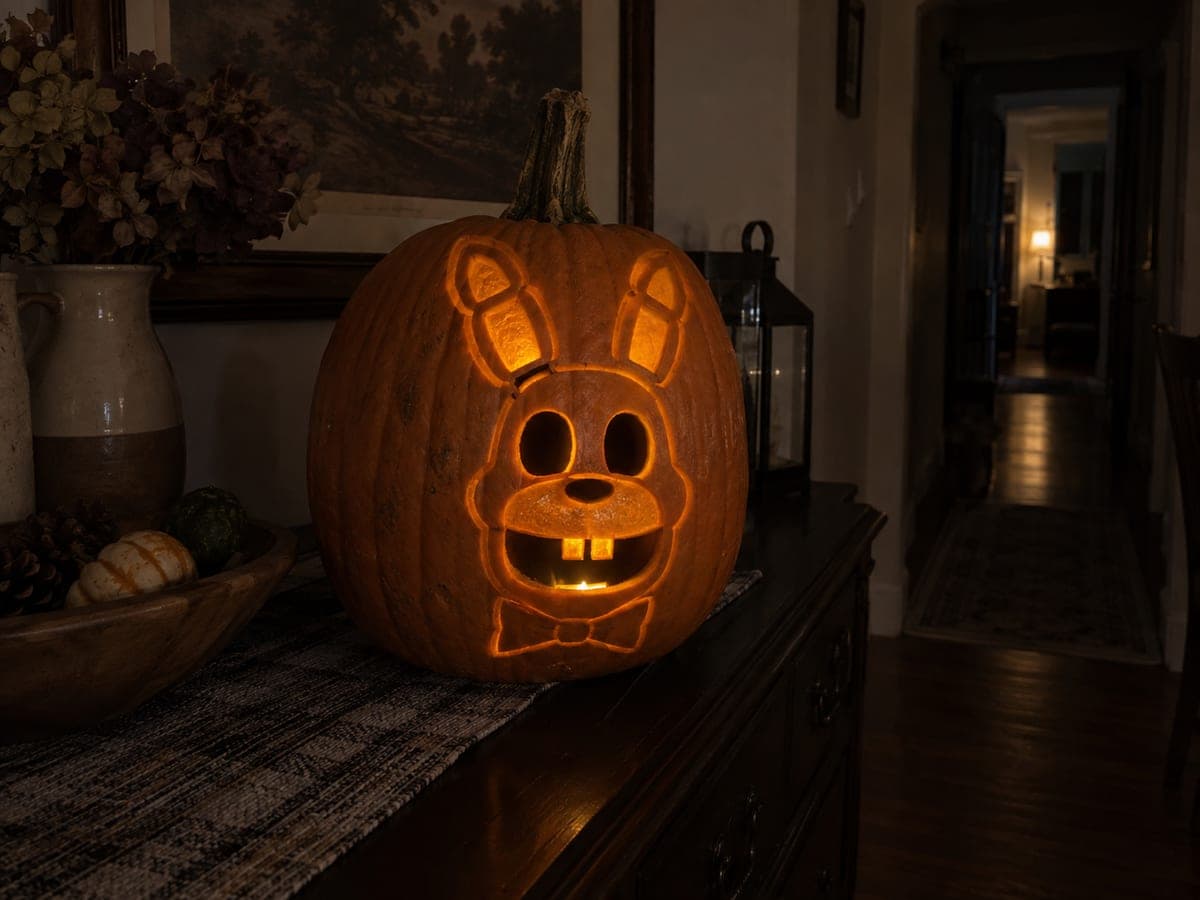
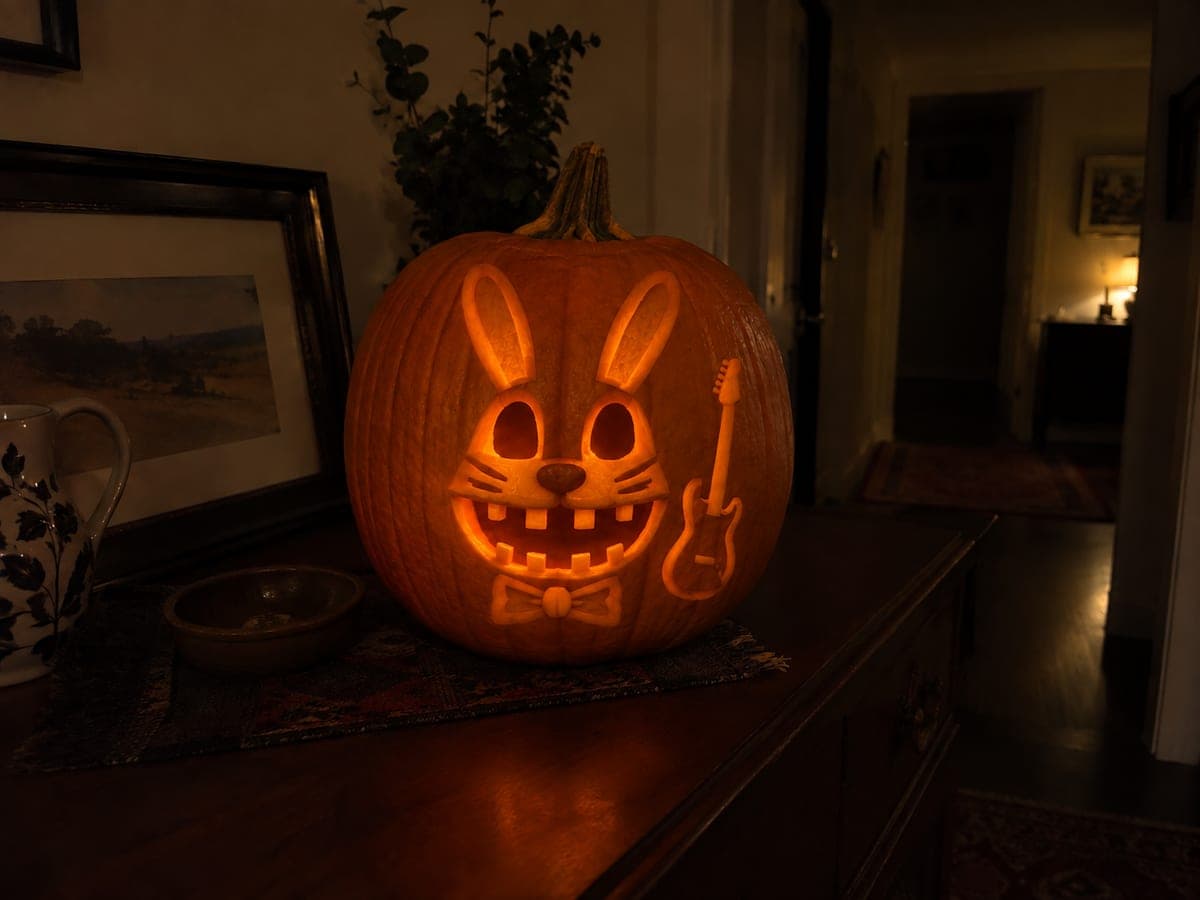
Hard Bonnie FNAF Pumpkin Carving with Grinning TeethAI
0

Report this carving

Tell us what is wrong. Reports are private.

Hard Bonnie FNAF Pumpkin Carving with Grinning Teeth

Open eyes and a wide grin with both upper and lower rooted teeth make this hard Bonnie FNAF pumpkin carving idea one of the scarier options in the Five Nights at Freddy's lineup. Long ears and contour details are shallow-backed to frame the glowing face. Cut the grin opening first and test the tooth root widths before finalizing each tooth shape. Adding a cool white LED inside makes the rooted teeth cast sharp shadows.

No ratings yet · Sign in to rate
Comments (0)

  • No comments yet — be the first.

Save without an account. Sign in to like or comment.

Our tips for carving a similar design

The key challenge of this hard Bonnie design is the wide grin with rooted teeth on both the upper and lower lips, which demands careful scoring and controlled cutting. Long ears and face contour details are shallow-backed to frame the glowing face. Cutting the grin first, before any ear work, keeps the upper face stable while the most demanding section is carved.

From pumpkin to porch

  1. Prep the pumpkin

    Select a tall pumpkin for the ear height. Cut the back lid and scoop to one inch of wall thickness. Dry the interior thoroughly. The wide grin needs horizontal rind width, so avoid narrow pumpkins.

  2. Transfer the template with all tooth root lines

    Transfer the full face including eye positions, the wide grin boundary, upper and lower tooth shapes and root lines, long ear outlines, and face contour. Use a double-stroke for tooth root lines so they are unmistakable during cutting. Count the teeth on both jaws and make sure each root line is clear before you start cutting.

  3. Score all tooth roots before cutting

    Use a detail knife to score shallow grooves along every tooth root line on both the upper and lower jaw. This is non-optional at this difficulty because the combined tooth count on both lips means any missed root line is likely to become a broken tooth. Work slowly around the entire grin perimeter.

  4. Cut the grin opening

    Cut the open eye holes first, then tackle the wide grin. Work the outer grin boundary first, then carefully cut between each tooth shape. Remove pieces in small sections and check every root after clearing each gap. Cool white light held behind the pumpkin during this step helps you see exactly where the rind is thinning.

  5. Cut the ear openings and shallow-back the contour

    With the grin stable, cut the long ear panel openings. Keep each ear firmly attached at its base. Then use a gouge to back-carve the face contour and any detail areas to about half wall depth. The contour work frames the grin and makes the overall face shape read as Bonnie rather than a generic rabbit.

  6. Light and display

    Insert a cool white LED to maximize the shadow contrast on the rooted teeth. The upper and lower grin with two rows of glowing tooth gaps creates a genuinely menacing effect. Display at viewer eye height for full impact.

Written with AI to match this design

Gather your supplies

Check things off as you get ready.

Work on a stable surface, keep your free hand out of the cutting path, and have an adult handle sharp tools.

Three levels of light

  • Leave intact

    Outer rind, ear exterior edges, and upper and lower tooth root attachments at both lips stay dark

  • Peel & shade

    Face contour areas and outer ear edges are shallow-backed for a soft mid glow

  • Cut through

    Eye holes, the full grin gap between all upper and lower rooted teeth, and the ear panel interiors are cut through

Learn the carving basics

Before you start cutting

The lower jaw teeth are harder to reach with the saw. Any technique tips?

Use a narrow pull-saw or a detail carving knife rather than the standard pumpkin saw for the lower jaw teeth. Short strokes pulling toward you give better control in tight spaces than long push-strokes. Work from the center of the jaw outward so you finish at the corners where visibility is best.

Two rows of rooted teeth sounds like a lot of structural risk. Should I simplify to one row?

If you are not confident with the upper tooth roots yet, completing just the upper row at medium difficulty first is a reasonable practice run before attempting both rows. If you commit to both rows, keep each individual tooth root at a minimum quarter-inch width and avoid thinning the tips to sharp points.

What is the best way to test each tooth root before displaying the pumpkin?

Press each tooth gently from the front with a fingertip. A well-rooted tooth should resist with almost no flex. Any tooth that moves more than a millimeter under light pressure needs reinforcement: press a thin wooden skewer into the rind alongside the root from behind and fix it in place with craft glue.

Your take belongs here, too.

Changed a detail? Made it simpler? Share a photo of your version and tell the community what worked.

Share your pumpkin

More pumpkins like this

You've reached the end · 8 pumpkins
The Patch Report

Fresh pumpkins, in your inbox.

The best new carvings, ideas worth stealing, and how-tos for carving season. Short, seasonal, and gone by November.

A short email during carving season. Unsubscribe anytime. See our privacy policy.