Halloween Pumpkin Carving Contest · Starts October 1st · $500 in prizes
← Back to ideas
@ai_concepts
Sep 25, 2026
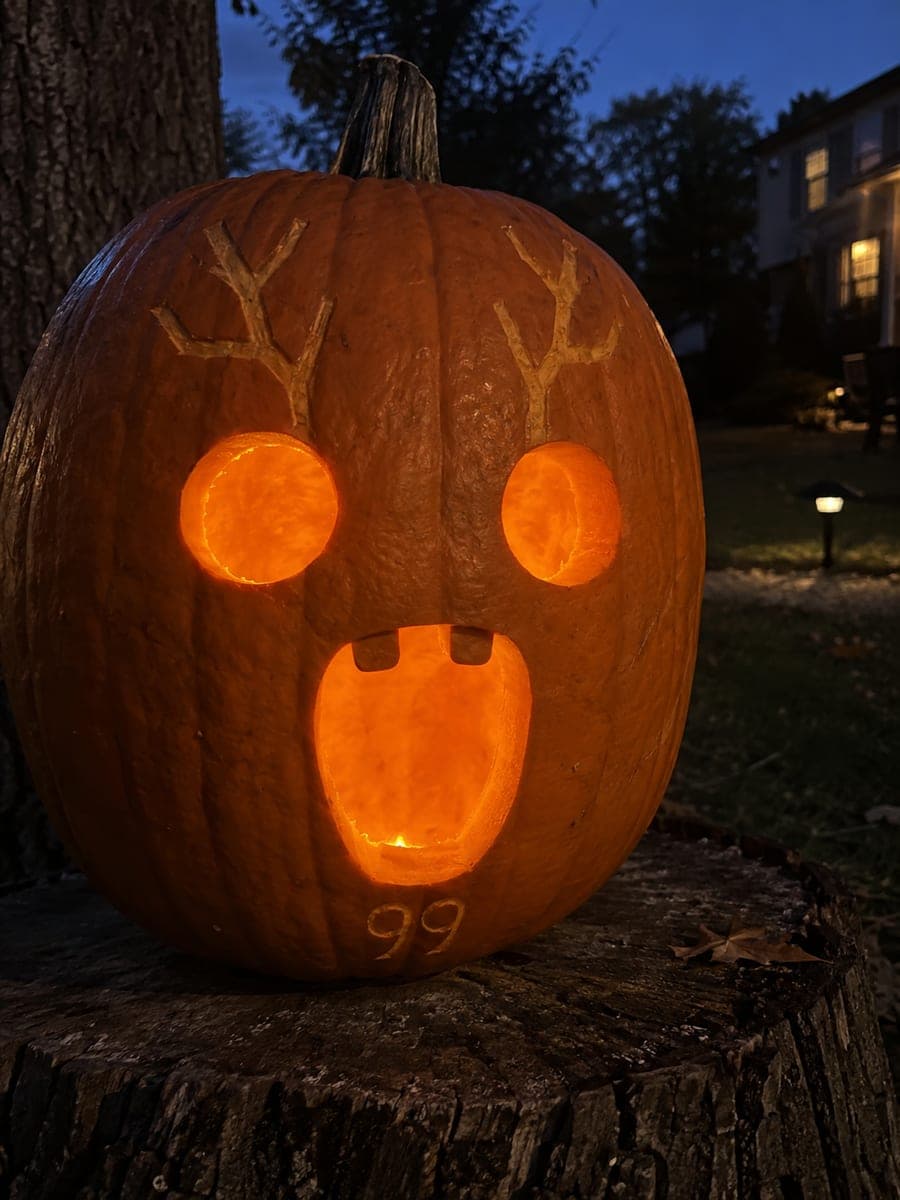
Eerie Deer Face Pumpkin on a StumpAI
0

Report this carving

Tell us what is wrong. Reports are private.

Eerie Deer Face Pumpkin on a Stump

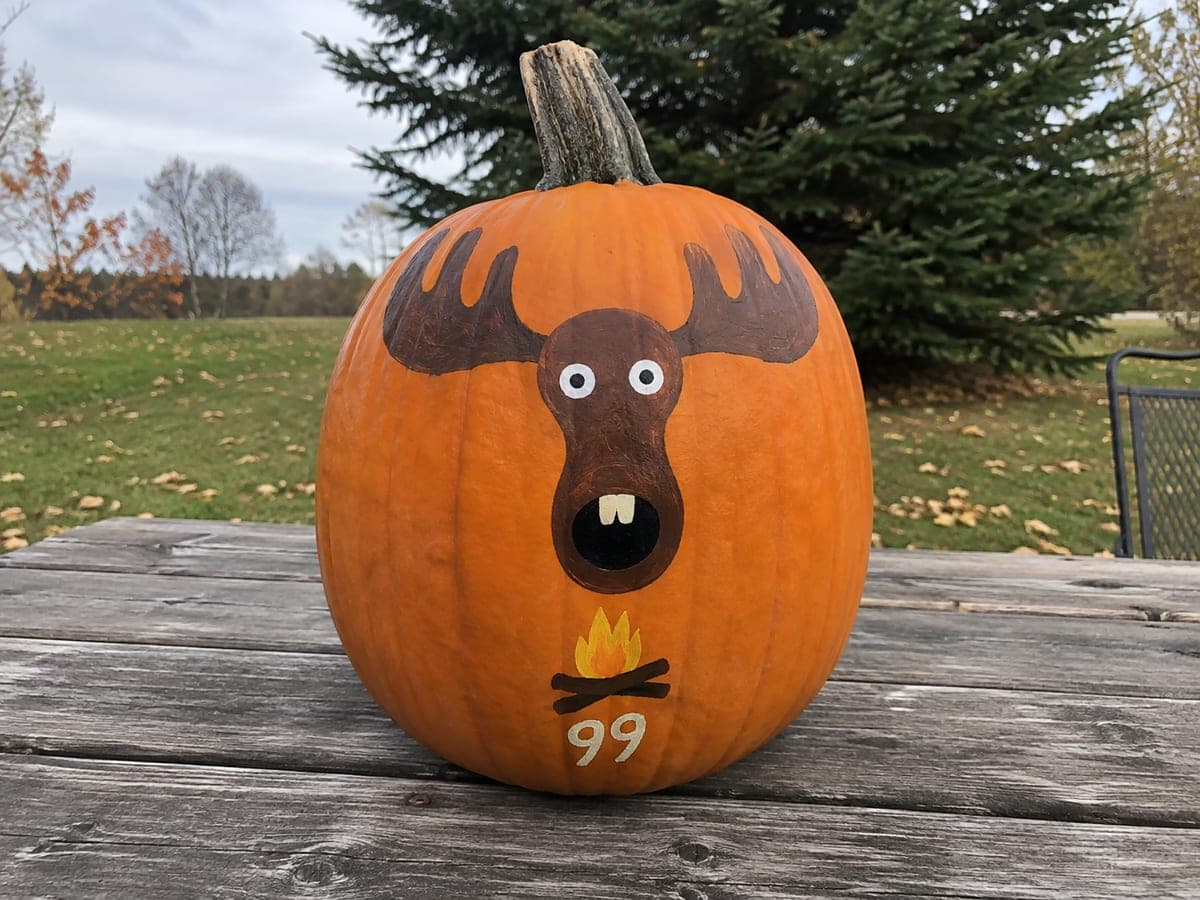
This easy 99 nights in the forest pumpkin carving cuts open eyes and an open mouth with two upper-rooted teeth, evoking the game's unsettling deer character, while the antlers and number 99 are added as shallow backed detail. Start with the eyes and mouth since they carry the mood, then use a small gouge to etch the antler outlines without cutting all the way through. Setting the finished pumpkin on a tree stump surrounded by fallen leaves puts it perfectly in context.

No ratings yet · Sign in to rate

Comments (0)

  • No comments yet — be the first.

Save without an account. Sign in to like or comment.

Our tips for carving a similar design

The mood of this design comes entirely from two glowing eye openings and an open mouth with a pair of upper-rooted teeth. Antler outlines and the number 99 are etched shallowly into the rind rather than cut all the way through, so the carving stays light without losing any of the eerie atmosphere. Starting with the eyes and mouth means the most important elements are secured first.

From pumpkin to porch

  1. Prep the pumpkin

    Cut a wide lid from the bottom or back of the pumpkin rather than the top so the stem stays intact as a natural prop. Scoop out all seeds and stringy pulp until the interior walls are about 2.5 cm thick. A consistent wall thickness makes the glow from an LED tea light even across every opening.

  2. Transfer the stencil

    Print the deer face stencil and tape it securely to the front of the pumpkin. Use a pin tool or poker to perforate along every outline, spacing holes about 5 mm apart. Remove the paper and connect the dots with a pencil to produce a clear cutting guide.

  3. Carve the eyes and mouth

    Cut both eye openings first, pressing a thin-blade carving knife straight through the rind along each perforation line. The mouth is the next largest opening: cut the outer boundary, then remove the piece, leaving the two upper-rooted teeth attached at the top edge of the mouth. Adults should handle all cutting steps.

  4. Etch the antlers and number 99

    Use a small linoleum gouge or the flat edge of a detail tool to score the antler outline just deep enough to remove the outer orange skin without cutting through the flesh. The same shallow cut works for the 99 numerals. The result is a faint amber glow through the thinned rind that contrasts nicely with the brighter eye and mouth openings.

  5. Light and stabilize

    Place a flickering LED tea light inside through the bottom opening. Never use a real candle; LED lights run cool, reducing the risk of burns and slowing the pumpkin's decay. Check that the pumpkin sits flat and does not wobble on its display surface.

  6. Set the scene and photograph

    Place the carved pumpkin on a tree stump if you have one, or on a flat piece of bark or rough wood. Scatter a few dry leaves around the base for atmosphere. Photograph at dusk when ambient light is low enough to make the glowing eyes and mouth stand out clearly.

Written with AI to match this design

Gather your supplies

Check things off as you get ready.

Work on a stable surface, keep your free hand out of the cutting path, and have an adult handle sharp tools.

Three levels of light

  • Leave intact

    The broad forehead, cheeks, and outer rind forming the face shape stay fully dark and uncut.

  • Peel & shade

    The antler outline and number 99 are skin-peeled to create a dim amber glow through the thinned rind.

  • Cut through

    Both eye openings and the full mouth with its two upper-rooted teeth are cut all the way through for bright, full-intensity light.

Learn the carving basics

Before you start cutting

How do I keep the two teeth from snapping off when I cut the mouth?

Leave the teeth attached at their top edge to the mouth boundary as instructed, cutting around their sides and bottom but not across their roots. Keep each tooth at least 1 cm wide at the root point. Carve the outer mouth boundary first, then clean up around the tooth sides last.

The antler shape is complex. What is the safest way to etch it?

Score the antler outline with one confident, shallow pass of a gouge rather than several hesitant shallow scratches that can slip. Work from the base of the antler toward each tip, stopping just short of the tip so you do not accidentally nick through the skin at the thin end.

How do I make the eyes look evenly spaced?

Mark the vertical center line of the pumpkin face with a faint pencil line before attaching the stencil. Align the midpoint of the stencil with that line so both eyes land at the same distance from center. Remove the pencil marks with a damp cloth after transferring.

Your take belongs here, too.

Changed a detail? Made it simpler? Share a photo of your version and tell the community what worked.

Share your pumpkin

More pumpkins like this

You've reached the end · 8 pumpkins
The Patch Report

Fresh pumpkins, in your inbox.

The best new carvings, ideas worth stealing, and how-tos for carving season. Short, seasonal, and gone by November.

A short email during carving season. Unsubscribe anytime. See our privacy policy.