Halloween Pumpkin Carving Contest · Starts October 1st · $500 in prizes
← Back to ideas
@ai_concepts
Sep 25, 2026
Painted Peely Banana No-Carve Pumpkin DesignAI
0

Report this carving

Tell us what is wrong. Reports are private.

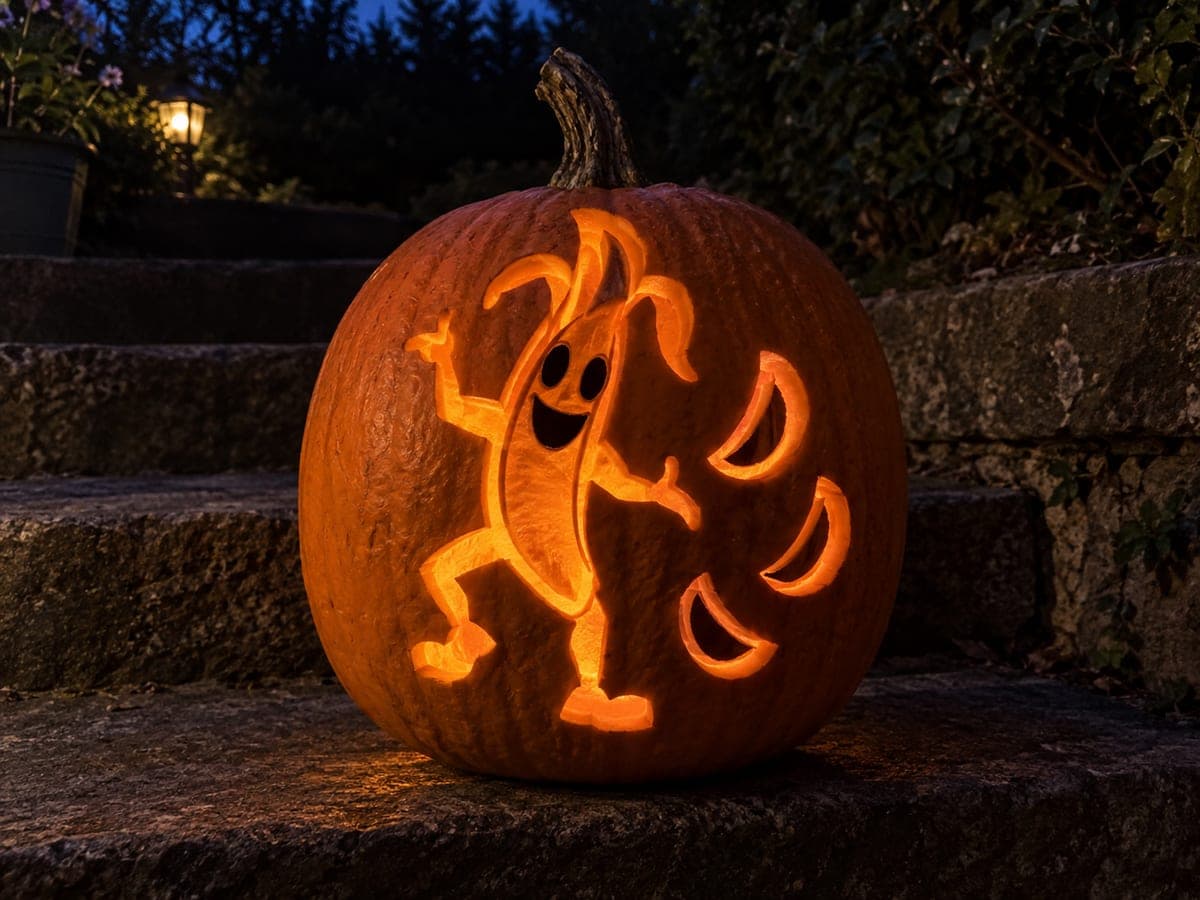
Painted Peely Banana No-Carve Pumpkin Design

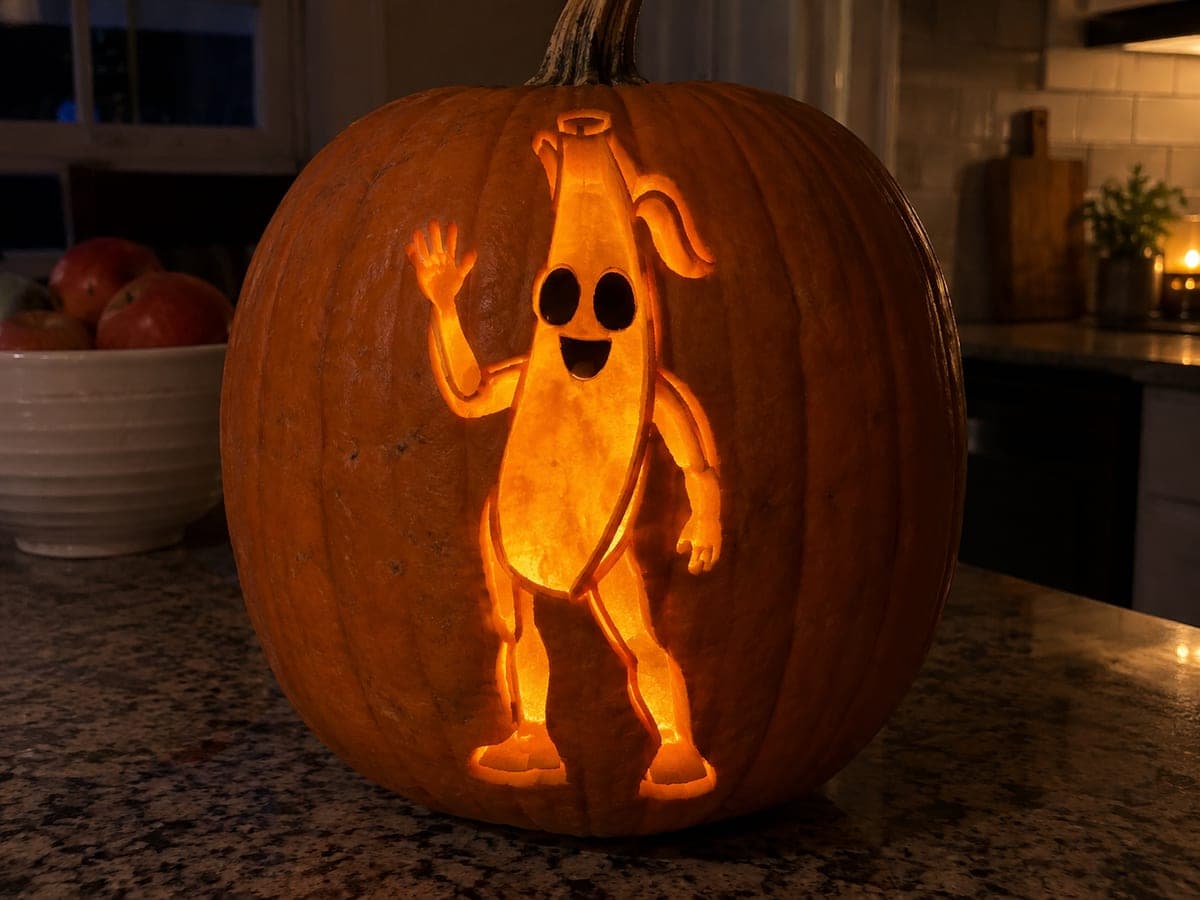
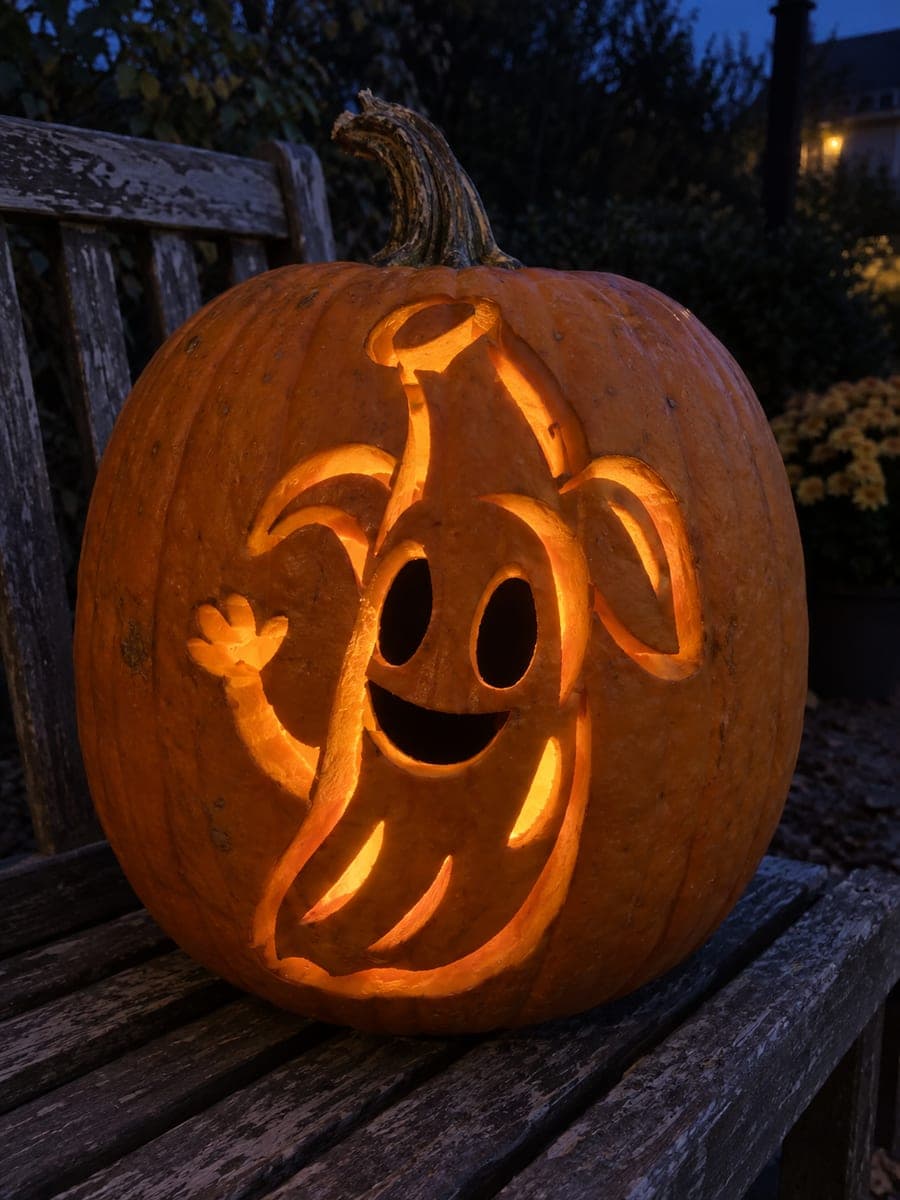
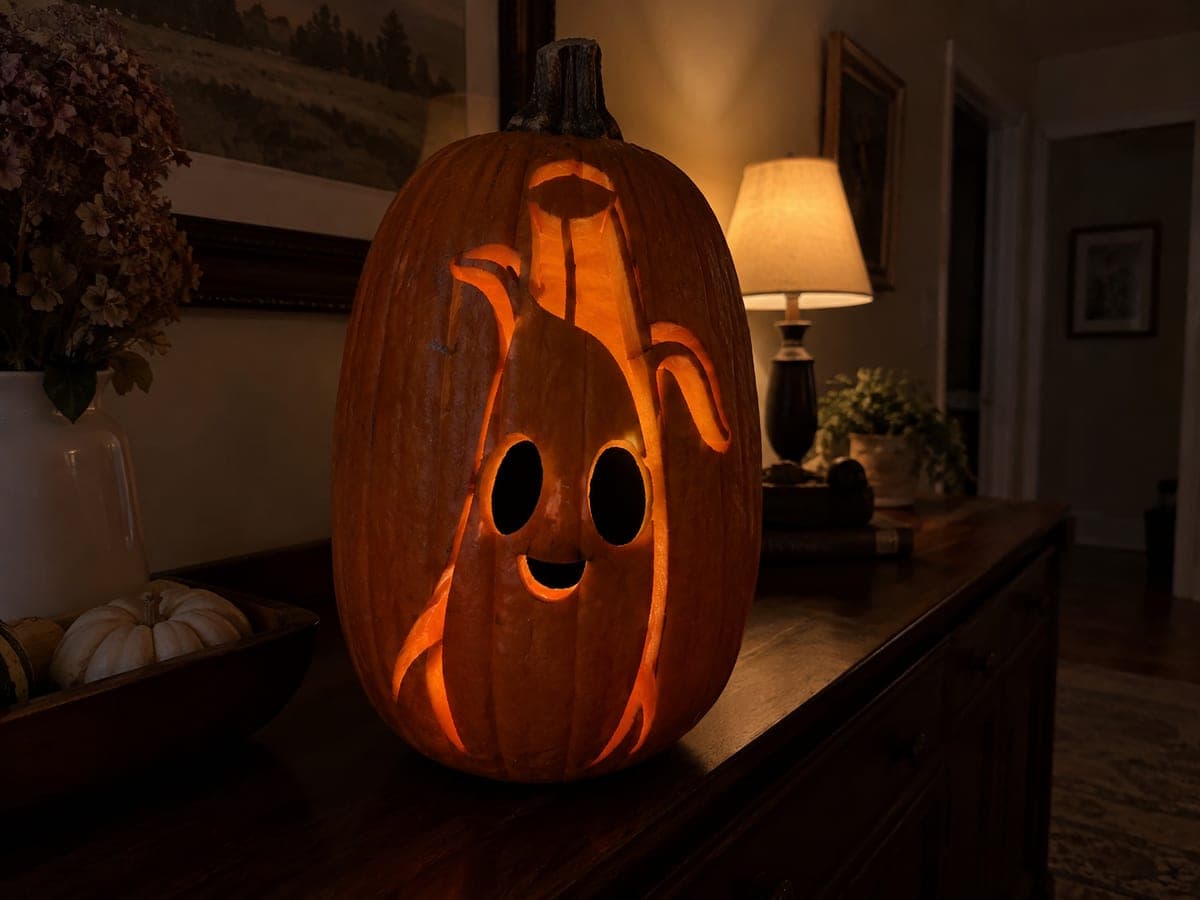
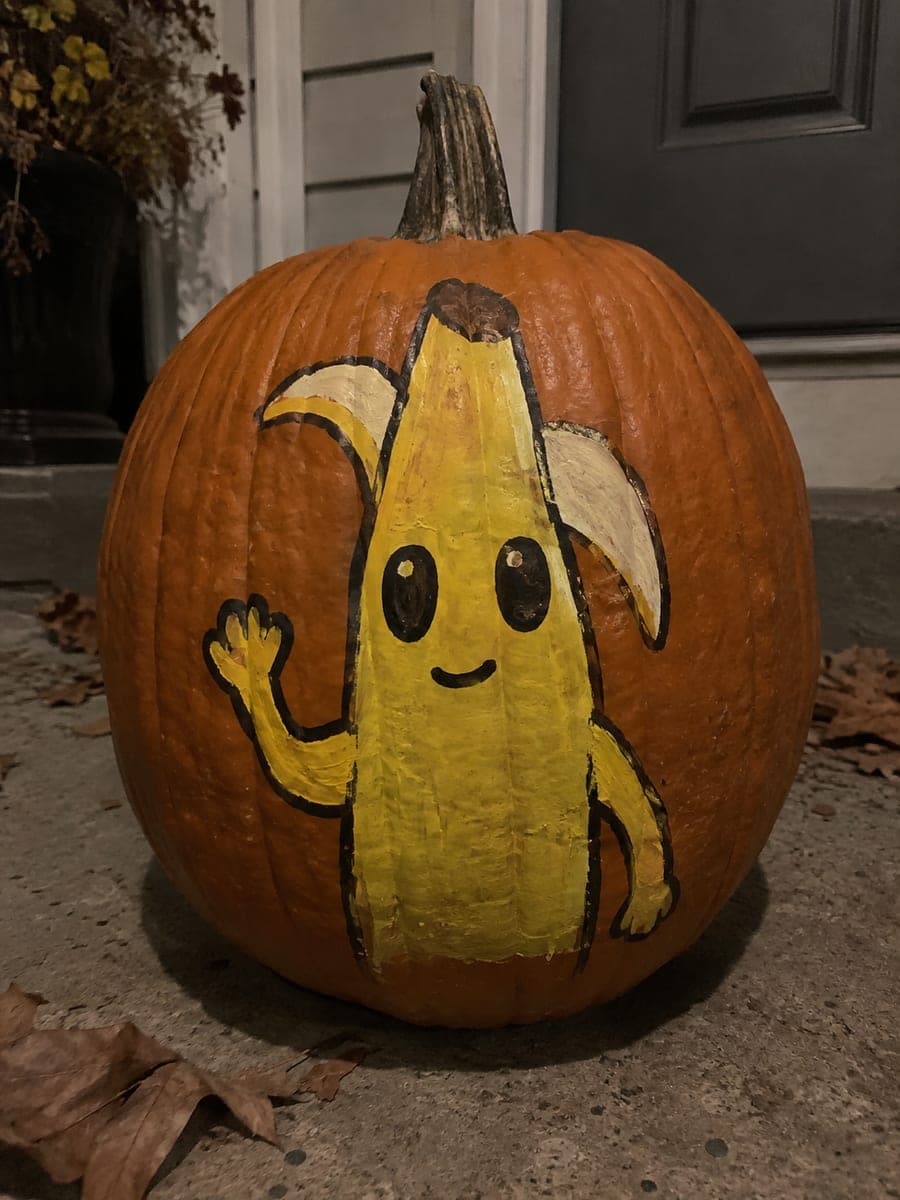
This no-carve peely pumpkin idea reproduces the Fortnite banana character with simple yellow body paint, cream peel flaps, a brown tip, and bold oval black eyes and smile applied with flat, broad brushwork on an intact rind. Lay down the yellow base coat first and let it fully dry before adding the cream flap shapes so the colors stay crisp. Outlining the flap edges with a thin black liner brush sharpens the cartoon character style.

No ratings yet · Sign in to rate
Comments (0)

  • No comments yet — be the first.

Save without an account. Sign in to like or comment.

Our tips for carving a similar design

The Peely design starts with a broad yellow base coat that covers the character body, then cream peel flap shapes and a brown tip are layered on top before the bold oval eyes and smile go down last. Working light colors before dark keeps the palette clean and the cartoon character style reads clearly in flat, broad brushwork. Outlining the flap edges with a thin liner brush sharpens the whole look.

From pumpkin to porch

  1. Clean and dry the pumpkin

    Wipe the surface with a damp cloth and dry thoroughly. Choose the most vertical face for the upright Peely body, since the character's proportions are taller than wide. Lightly sand any rough spots on the painting area before starting.

  2. Sketch the banana body outline

    Use a soft pencil to draw the rounded rectangular body, the small arm bumps at the sides, and the two visible leg stubs at the bottom. Sketch the three cream peel flap shapes along the upper body and the narrow brown tip at the very top. Getting the peel flap shapes right before painting is the most important planning step.

  3. Apply the yellow base coat

    Fill the entire banana body area with a bright, flat yellow using a wide flat brush. Apply two thin coats, letting the first dry completely. Avoid overlapping the pencil lines for the peel flaps with too thick a coat, as you will be painting the cream flaps on top.

  4. Paint the cream peel flaps and brown tip

    Once the yellow base is fully dry, switch to a medium round brush and paint each peel flap shape in cream, covering the yellow base coat in those areas. Let the cream dry, then apply a small brown or dark orange oval for the tip at the top. Keep the cream flap edges slightly uneven to suggest peeled texture.

  5. Add the bold oval eyes and smile

    Paint two large oval black eyes near the upper middle of the body, leaving space between them. Below the eyes, add a broad curved black smile using a medium round brush. These features should be bold and slightly cartoonish rather than refined, which matches Peely's in-game expression.

  6. Outline and seal

    Use a thin liner brush or paint marker to outline the peel flap edges and sharpen the eye and smile borders. Let everything cure for an hour, then apply two light passes of matte sealer. The matte finish keeps the yellow from looking plastic and preserves the flat cartoon style.

Written with AI to match this design

Gather your supplies

Check things off as you get ready.

Work on a stable surface, keep your free hand out of the cutting path, and have an adult handle sharp tools.

Three levels of light

  • Leave intact

    The natural orange rind outside the painted banana body stays untouched.

  • Peel & shade

    None, the shell is fully intact.

  • Cut through

    None, use an external spotlight or porch lamp to light the painted face from outside.

Learn the carving basics

Before you start cutting

How do I stop the yellow from looking orange against the pumpkin rind?

Apply a solid white undercoat over the entire body area first and let it dry completely before laying down the yellow. The white base neutralizes the orange rind and makes the yellow appear true-toned rather than orange-shifted. Two coats of yellow over the white undercoat will look vibrantly correct.

The cream peel flaps look almost the same as the yellow base. How do I add contrast?

Add a tiny amount of raw umber or light gray to the cream mix to make it slightly cooler and more distinct from the warm yellow. Outlining each flap edge with a thin black liner brush also separates the shapes clearly regardless of the color difference. The outline is what the eye reads first, so even a subtle color shift plus a dark outline will look bold.

Can I use a real banana shape by bending the pumpkin perspective, and how?

Placing the pumpkin on its side and painting the banana body along its length rather than on the upright face can give a more curved, banana-shaped silhouette. Adjust the pencil sketch to follow the pumpkin's curved profile and shorten the peel flaps so they wrap around the narrower end. This horizontal orientation is unconventional but very eye-catching.

Your take belongs here, too.

Changed a detail? Made it simpler? Share a photo of your version and tell the community what worked.

Share your pumpkin

More pumpkins like this

You've reached the end · 8 pumpkins
The Patch Report

Fresh pumpkins, in your inbox.

The best new carvings, ideas worth stealing, and how-tos for carving season. Short, seasonal, and gone by November.

A short email during carving season. Unsubscribe anytime. See our privacy policy.