Halloween Pumpkin Carving Contest · Starts October 1st · $500 in prizes
← Back to ideas
@ai_concepts
Sep 25, 2026
Peely Waving Arm Pumpkin Carving With Peel HighlightsAI
0

Report this carving

Tell us what is wrong. Reports are private.

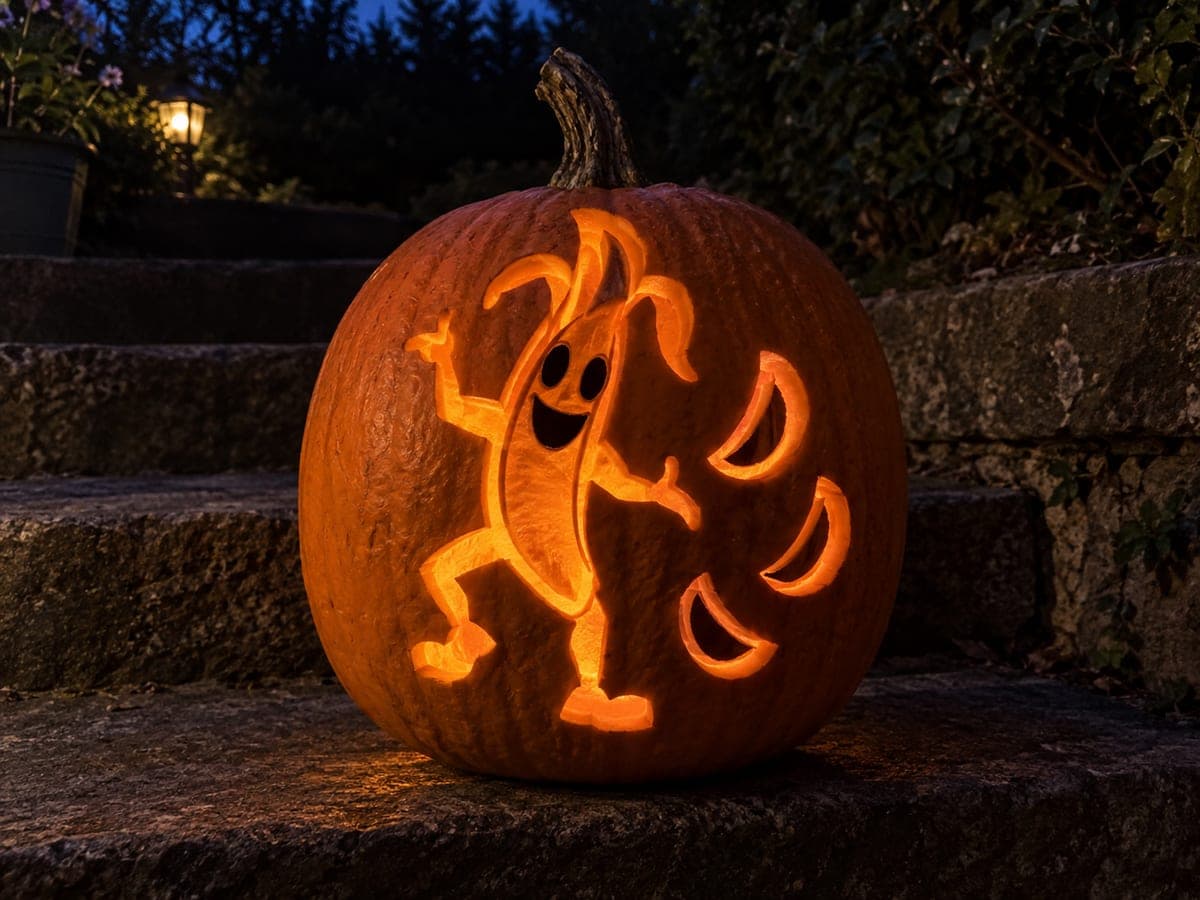
Peely Waving Arm Pumpkin Carving With Peel Highlights

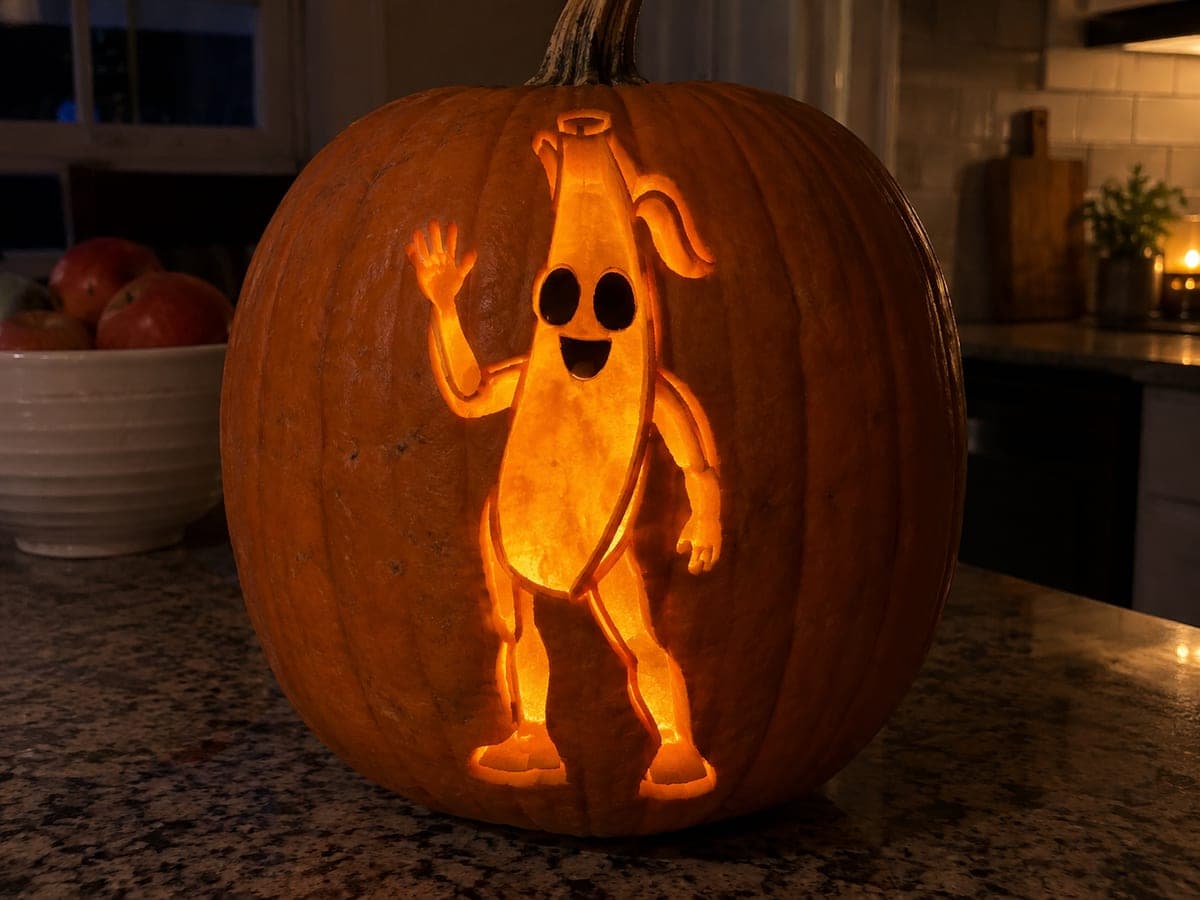
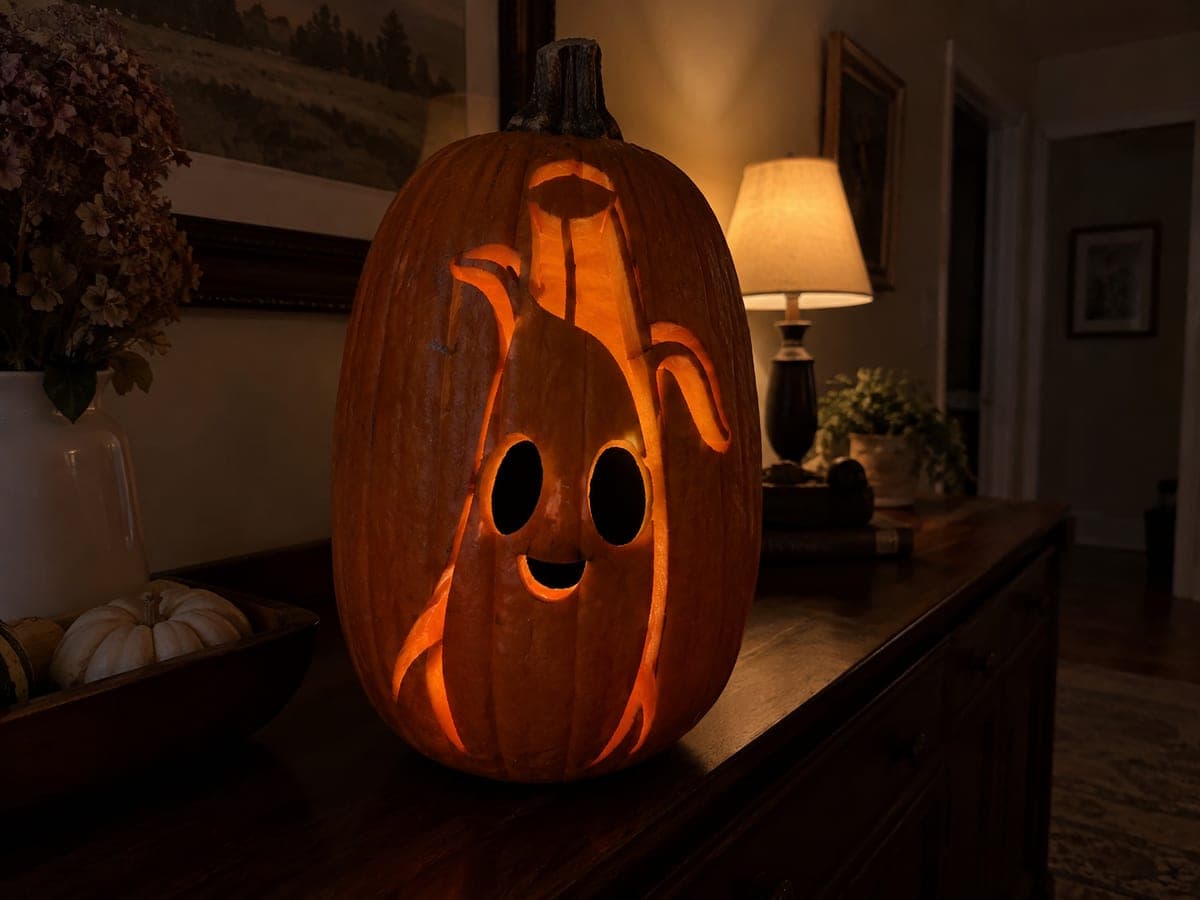
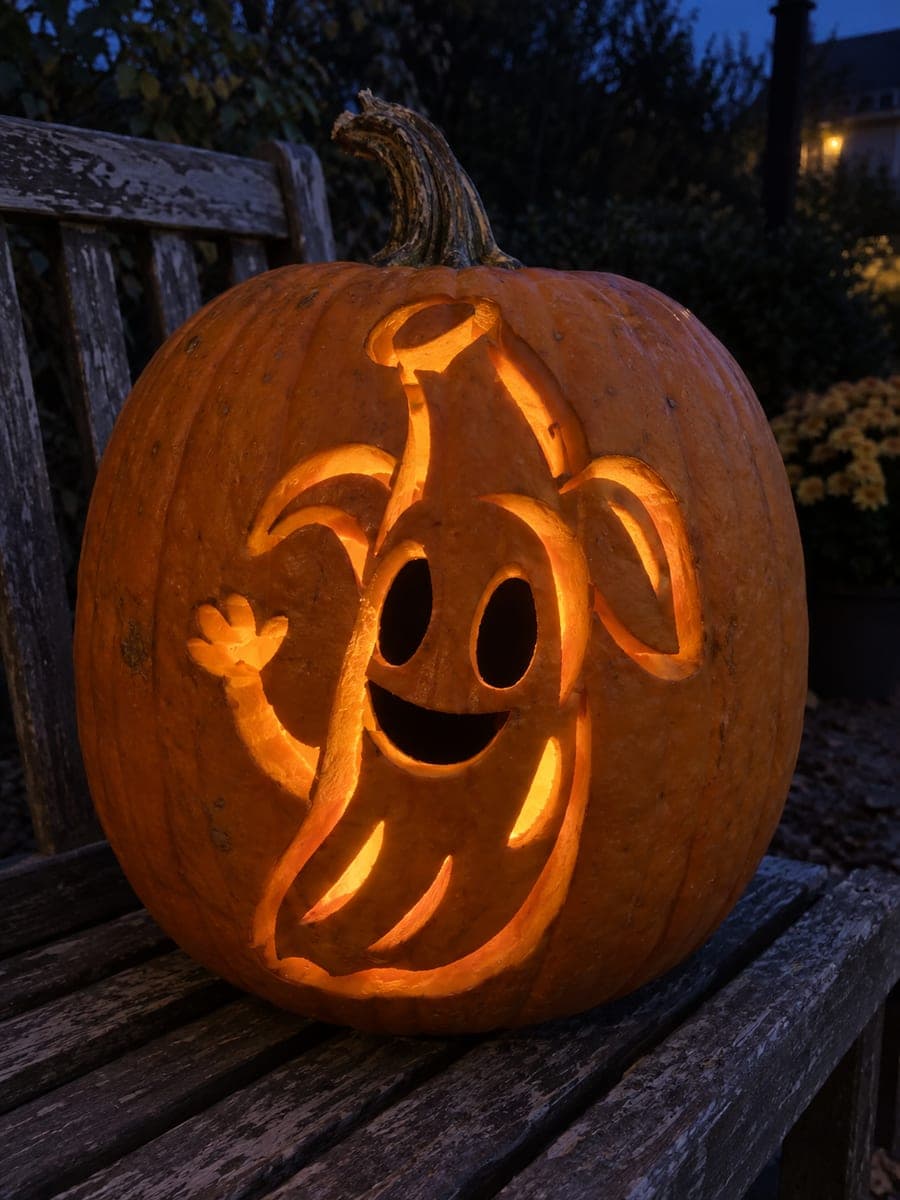
This intermediate Peely pumpkin carving cuts hollow eyes and a smile fully through the rind, with the waving arm and peel highlight lines shallow-backed so they stay attached to the surface. The shallow-backed peel lines create a dimensional banana texture that catches the light glowing from inside. Cut the eyes and smile first, then use a V-gouge to score the peel highlights from the top of the rind downward, keeping an even depth for consistent backlighting.

No ratings yet · Sign in to rate
Comments (0)

  • No comments yet — be the first.

Save without an account. Sign in to like or comment.

Our tips for carving a similar design

Hollow eyes and a smile are cut fully through for Peely's expressive face, while the waving arm silhouette and a series of peel highlight lines are shallow-backed to stay attached and glow at a softer level. The peel lines work best when scored with a V-gouge in long top-to-bottom strokes that follow the pumpkin's natural curve. The dimensional peel texture is what separates this intermediate version from the easy design.

From pumpkin to porch

  1. Prep and gut the pumpkin

    Bottom-cut and gut the pumpkin, scraping interior walls to about an inch thick. Thin the wall behind the waving arm and peel highlight zones by an additional few millimeters so those backed sections glow at a strength comparable to the main face openings.

  2. Transfer the stencil

    Pin-poke the full stencil, marking the eyes, smile, waving arm outline, and peel highlight lines carefully. Use two marker colors to distinguish full-cut zones from scrape zones. Mark the waving arm as a scrape zone and both the horizontal arm direction and the peel lines as separate scrape zones.

  3. Cut the eyes and smile

    Saw the hollow eyes first, keeping the curves smooth and the bridge between them generous. Follow with the wide smile arc. Confirm both eyes and the smile are cleanly open before moving to the backed elements, since these face openings orient the whole composition.

  4. Scrape the waving arm

    Use a wide flat gouge to skin-skim the waving arm area down to about 4 millimeters depth, keeping the floor intact. The arm should read as a bright silhouette against the darker surrounding rind. Keep the arm contour broad rather than tapering it to a thin wrist, which would risk breaking off.

  5. Score the peel highlight lines

    With a V-gouge, score the peel highlight lines from the top of the banana contour downward, following the pumpkin's curve in long, confident strokes. Each highlight line should be about the same depth as the arm backing, around 4 millimeters, to match the glow intensity. Space the lines evenly, roughly a finger-width apart.

  6. Light and assess from a distance

    Place a warm yellow LED inside and view the carving from about four feet back. The peel highlight lines should read as distinct glowing stripes against the backed arm zone. If any line is too faint, thin it further from the inside with a spoon. The waving arm should be clearly visible as a raised, glowing shape against the dark background.

Written with AI to match this design

Gather your supplies

Check things off as you get ready.

Work on a stable surface, keep your free hand out of the cutting path, and have an adult handle sharp tools.

Three levels of light

  • Leave intact

    The background rind outside the banana body stays fully dark.

  • Peel & shade

    The waving arm outline and all peel highlight lines are shallow-scraped for a layered mid glow.

  • Cut through

    The eye ovals and smile arc are cut fully through for the brightest, most direct light.

Learn the carving basics

Before you start cutting

The waving arm looks like a blob and does not read clearly. What went wrong?

The arm backing needs to be slightly deeper at its center and taper toward the edges to create a raised, rounded appearance. If it looks flat, make a second shallow pass down the center of the arm to add a subtle depth gradient. Viewed from straight on with an LED inside, even a 1-millimeter depth difference creates visible three-dimensional texture.

How many peel highlight lines looks right for this design?

Five to seven evenly-spaced lines is a good range for a standard pumpkin face size. Fewer than five looks sparse, while more than eight starts to look like random scratches rather than deliberate peel texture. The lines should curve slightly with the pumpkin surface rather than being ruler-straight for a natural banana look.

Can I combine this design with a painted yellow exterior to make Peely look more convincing?

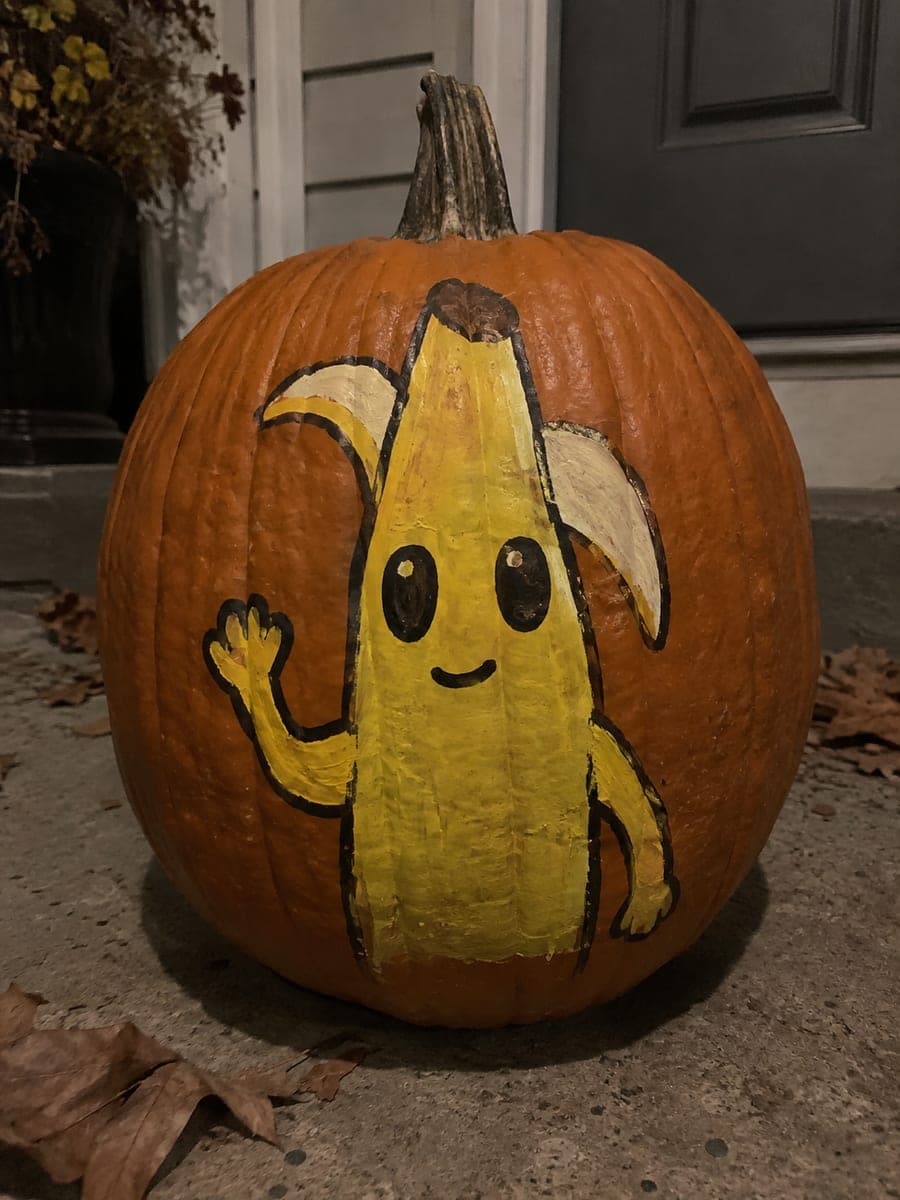
Yes, painting the entire carved surface with yellow acrylic before carving, or painting the uncarved exterior areas after carving is done, adds significant character accuracy. If painting after carving, use a small brush to avoid getting paint inside the hollow eye and smile openings. A matte sealer spray over the painted areas keeps the yellow from chipping.

Your take belongs here, too.

Changed a detail? Made it simpler? Share a photo of your version and tell the community what worked.

Share your pumpkin

More pumpkins like this

You've reached the end · 8 pumpkins
The Patch Report

Fresh pumpkins, in your inbox.

The best new carvings, ideas worth stealing, and how-tos for carving season. Short, seasonal, and gone by November.

A short email during carving season. Unsubscribe anytime. See our privacy policy.