The 2026 contest winners are inGrand Prize, People's Choice and Most Creative, all crowned.
@ai_concepts
Sep 25, 2026
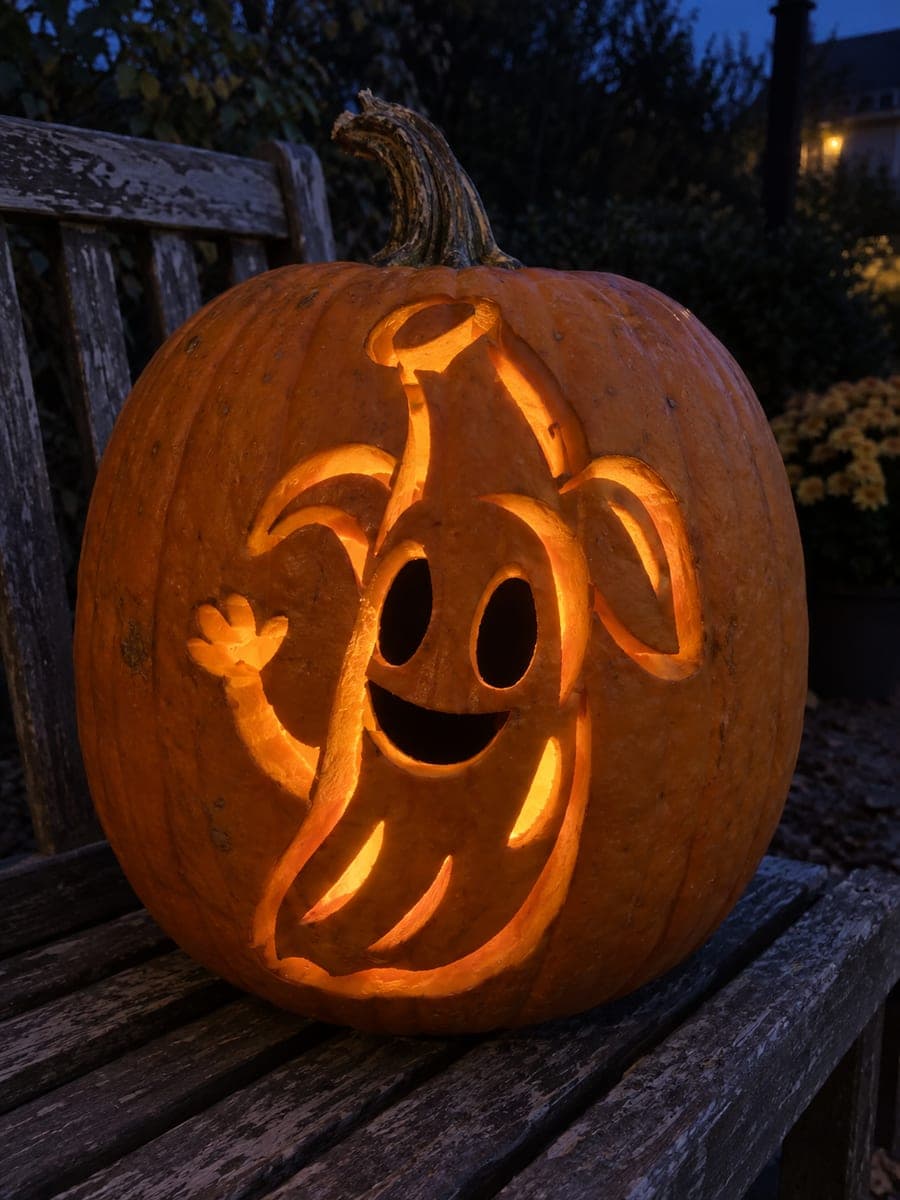
Peely Banana PumpkinAI
0

Report this carving

Tell us what is wrong. Reports are private.

Peely Banana Pumpkin

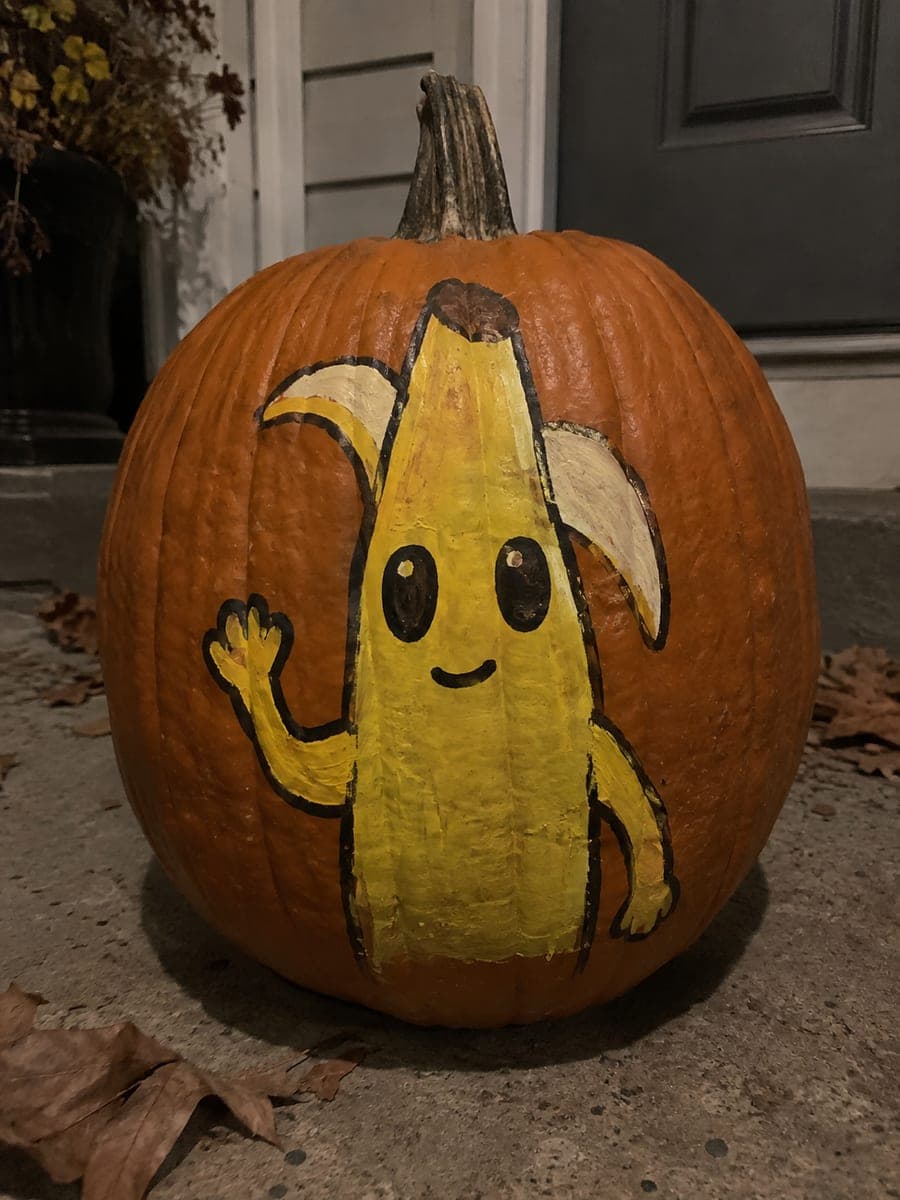
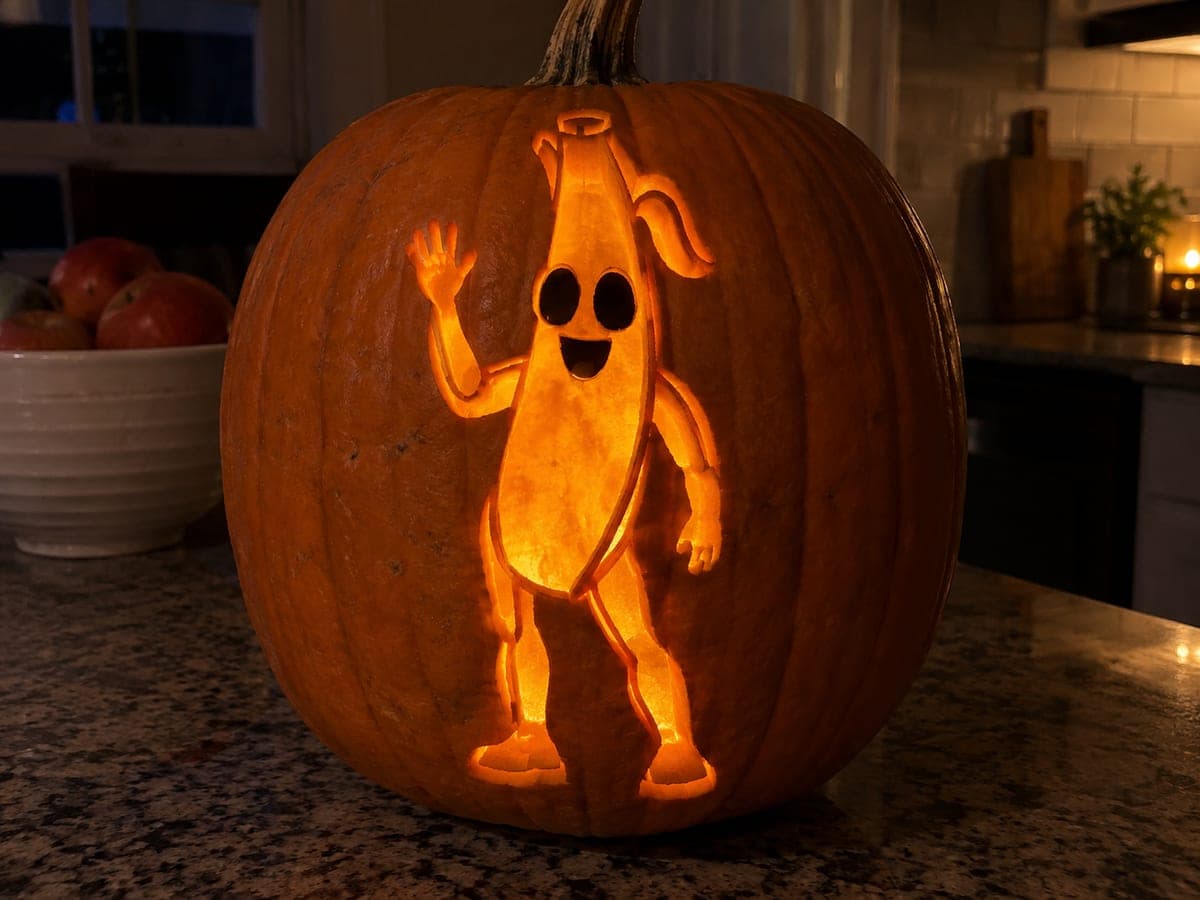
This easy peely pumpkin carving opens two eye holes and a bright smile through the shell, while the banana outer contour and peel flap shapes are carved as a shallow backing on the rind's exterior. Cut the face openings first since they define the character, then use a detail gouge to etch the peel flap lines without breaking through. A warm yellow LED inside makes the face glow like a sun and emphasizes the banana character.

No ratings yet · Sign in to rate
EasyFantasyFunnyShaded / Peel
peelyfantasyvideo-gamefortnitebananafunnyshadingeasy

Save this design for carving night, then share a photo of your own jack-o'-lantern once it's glowing.

Fortnite and all related characters, names, logos, and trademarks are the property of their respective owners. This is an unofficial fan carving shared by our community for inspiration only. PumpkinCarvingIdeas.com is not affiliated with, sponsored by, or endorsed by any rights holder or person depicted, and no such connection is implied.
Comments (0)

  • No comments yet. Be the first.

Our tips for carving a similar design

Two hollow eye holes and a bright smile cut through the shell create Peely's expressive face, while the banana outer contour and peel flap lines are etched as shallow backing that glows at a softer level. The shallow peel flap lines give the design its banana character without requiring any structural cuts. A yellow LED inside makes the whole face glow like a warm sun.

From pumpkin to porch

  1. Prep and gut the pumpkin

    Bottom-cut and gut the pumpkin, scraping the inner walls to about an inch thick. The oval eye holes and smile are relatively simple cuts, but a thin wall behind the peel flap zone helps those scraped details glow more visibly. Dry the interior before stenciling.

  2. Transfer your stencil

    Pin-poke your full Peely stencil, marking the two eye positions, the smile arc, the outer banana contour, and the peel flap channel lines. Mark the eyes and smile as cut zones and all the contour and flap lines as scrape zones. Connect all dots with a felt-tip marker before removing your stencil.

  3. Cut the eyes and smile

    Saw both eye ovals first, keeping each one a smooth closed curve. Follow with the wide smile arc, cutting slowly to maintain a clean curve without jagged edges. Leave at least three-quarters of an inch of rind between the eye and the smile for structural stability.

  4. Scrape the outer banana contour

    Use a wide flat gouge to skim the outer skin from the banana shape that surrounds the face, keeping a consistent 3-millimeter depth. This contour gives Peely his rounded banana silhouette and glows warmly behind the brighter eye and smile openings.

  5. Etch the peel flap lines

    Use a narrow V-gouge to score the peel flap channel lines from the top of the contour downward, following the curve of the pumpkin surface. Keep each peel line at a consistent depth and avoid widening it into a groove, as the design reads best as a series of clean narrow lines rather than wide channels. Do not cut through the rind floor.

  6. Light and display

    Insert a yellow LED inside and check that the peel flap lines glow against the darker contour backing. If any line is too faint, deepen it slightly from the inside with a spoon. Display the pumpkin at close viewing distance where the peel detail can be appreciated up close.

Written with AI to match this design

Gather your supplies

Check things off as you get ready.

Work on a stable surface, keep your free hand out of the cutting path, and have an adult handle sharp tools.

Three levels of light

  • Leave intact

    The face background and areas outside the banana contour stay fully dark.

  • Peel & shade

    The outer banana contour and peel flap channel lines are shallow-scraped for a soft mid glow.

  • Cut through

    The two eye ovals and the smile arc are cut fully through for full, warm light.

Learn the carving basics

Before you start cutting

The V-gouge keeps slipping off the peel flap lines. How do I control it?

Score each peel flap line lightly with a pin or toothpick before picking up the gouge, creating a shallow groove the V-gouge tip can follow. Work in short 2-centimeter strokes rather than one long drag across the pumpkin, repositioning your grip at each pause. Keeping the pumpkin cold and firm from the refrigerator also helps the gouge track cleanly.

Can I add Peely's googly eyes as a painted detail on top of the cut ovals?

Yes, painting a large white circle with a smaller black pupil directly onto the rind around the hollow eye opening creates an outlined googly-eye effect that looks great even in daylight. Apply the paint around the outside of the opening only, not across it. The painted outer ring shows in daylight while the hollow center glows at night.

How wide should the smile arc be to look like Peely's character smile?

Peely's signature smile is very wide, nearly spanning the full width of the banana head. Aim for the smile to be about twice as wide as the distance between the two eyes. A broad smile also makes the structural bridges between the eye openings and the smile edges wider, which is safer for the rind.

Your take belongs here, too.

Changed a detail? Made it simpler? Share a photo of your version and tell the community what worked.

Share your pumpkin

Want more designs like this? Browse our full library of pumpkin carving ideas, or pick a free printable stencil. Every pattern and template in our own collection is free to print at home.

More pumpkins like this

You've reached the end · 8 pumpkins
The Patch Report

Fresh pumpkins, in your inbox.

The best new carvings, ideas worth stealing, and how-tos for carving season. Short, seasonal, and gone by November.

A short email during carving season. Unsubscribe anytime. See our privacy policy.