Halloween Pumpkin Carving Contest · Starts October 1st · $500 in prizes
← Back to ideas
@ai_concepts
Sep 25, 2026
Expert Peely Pumpkin With Crescent Slice OpeningsAI
0

Report this carving

Tell us what is wrong. Reports are private.

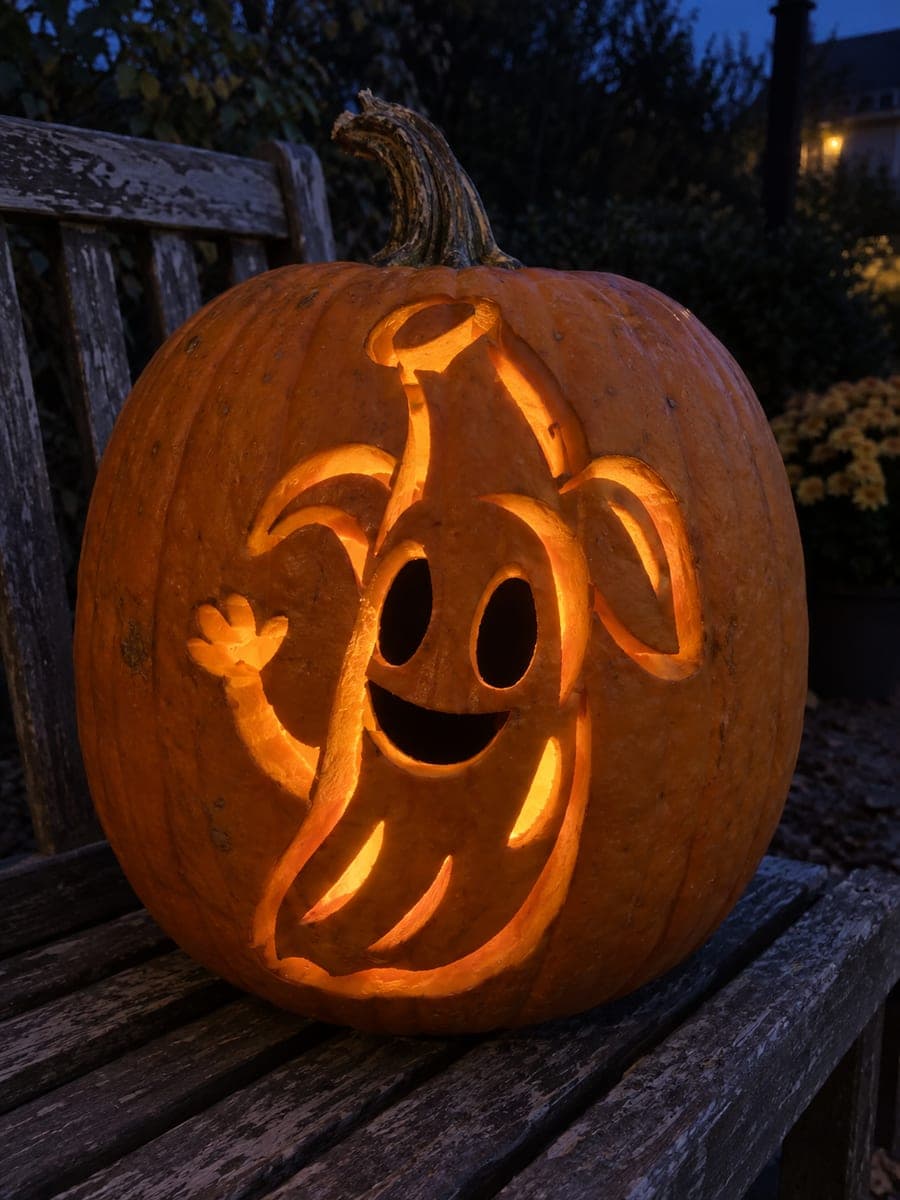
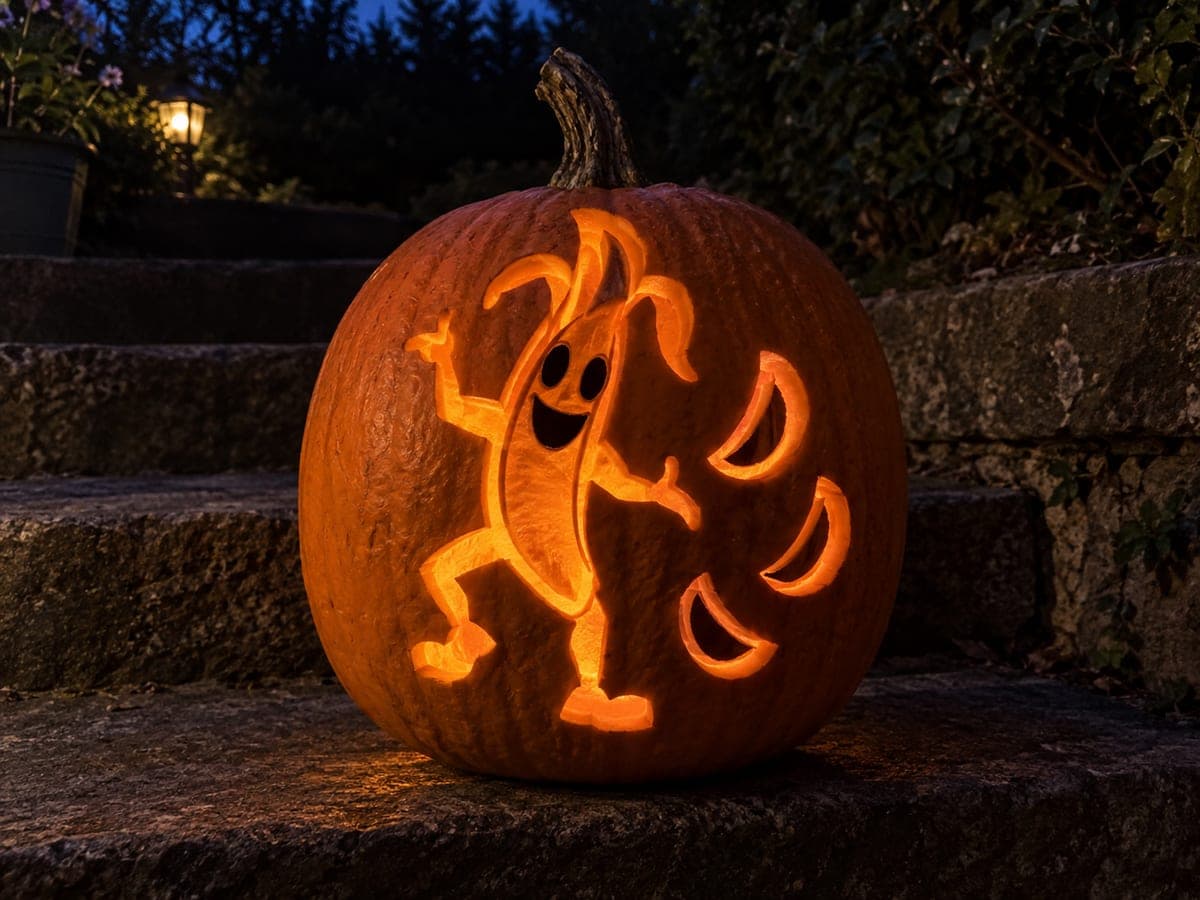
Expert Peely Pumpkin With Crescent Slice Openings

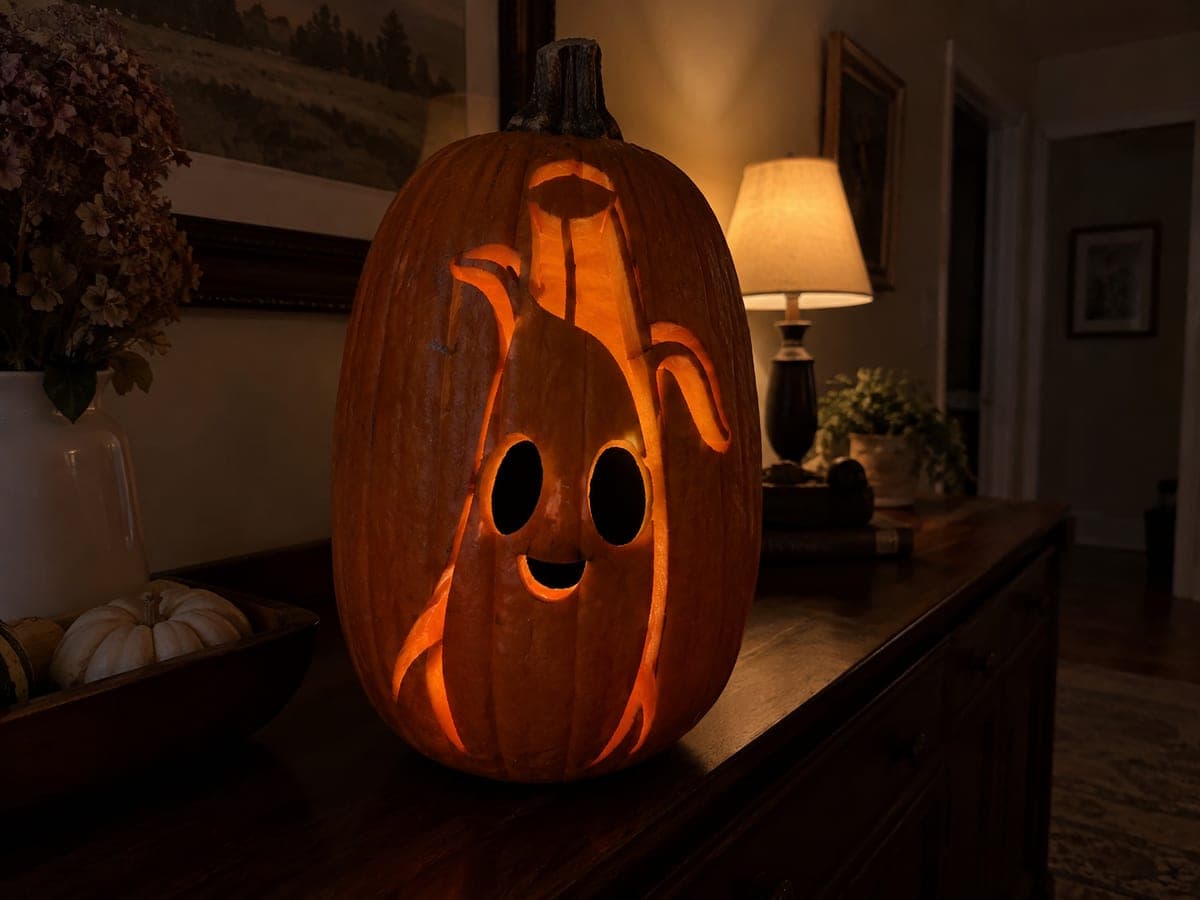
The expert peely pumpkin carving adds separate crescent slice apertures alongside the hollow eyes and smile, with no isolated centers, and carries the full-body pose as a backed shading layer for rich texture. The crescent cuts require a steady hand and a fresh blade to keep the curved edges clean without tearing. Arrange the finished pumpkin near a dark background so the crescent openings and glowing face read as a complete, layered composition.

No ratings yet · Sign in to rate

Comments (0)

  • No comments yet — be the first.

Save without an account. Sign in to like or comment.

Our tips for carving a similar design

The expert design adds separate crescent slice apertures to the full-body shaded pose, with the crescents and the hollow eyes and smile as full cuts and no isolated floating centers anywhere in the design. The crescent cuts are the highest-risk element and need a fresh blade, a steady hand, and scored outlines before cutting. Arranging the finished pumpkin against a dark background lets the crescents and face openings read as a single, layered composition.

From pumpkin to porch

  1. Select and prep a large pumpkin

    A large pumpkin with maximum face area is essential for fitting the full-body pose, the crescent apertures, and the shaded body texture without crowding. Bottom-cut and gut it, scraping the interior to a very consistent three-quarter-inch depth to support both cutting and shading over the full surface.

  2. Transfer the complete stencil

    Use carbon paper to transfer every element: the body and limb outlines, the shading line paths, the eye and smile positions, and most importantly the precise crescent aperture shapes and positions. Mark each crescent carefully since their curved concave inner edges are the most difficult to cut cleanly. Use three marker colors for full cuts, shading, and backed zones.

  3. Cut the eyes and smile

    Open the hollow eyes and smile as full cuts first, cleaning the edges carefully. These face openings confirm the composition is correctly positioned before you commit to the irreversible crescent cuts. Test the face with an LED before proceeding.

  4. Cut the crescent apertures

    Score the inner and outer curved edges of each crescent completely with a freshly sharpened knife before sawing, following the scored lines with a thin flexible blade. The crescent's inner concave curve is the hardest arc to saw cleanly, so use slow, pivoting strokes. Confirm that no crescent has an isolated floating center before removing the cut piece.

  5. Shade the full-body pose

    Once all full cuts are complete, work the V-gouge shading across the body and limbs in long, consistent strokes, maintaining a 4 to 5 millimeter depth with the floor intact. Working around the crescent apertures requires short strokes that stop at the opening edge rather than crossing them. Keep the shading depth consistent near the crescent borders.

  6. Display against a dark background

    Place the LED inside and position the pumpkin against a dark wall or cloth. The crescent openings should glow as crisp, clean curves alongside the hollow face. View from several distances since the layered shading, crescents, and face openings each resolve at different viewing distances. Photograph with a wide aperture to capture all three light levels in a single exposure.

Written with AI to match this design

Gather your supplies

Check things off as you get ready.

Work on a stable surface, keep your free hand out of the cutting path, and have an adult handle sharp tools.

Three levels of light

  • Leave intact

    The background rind outside the body and limb silhouette stays fully dark.

  • Peel & shade

    The entire full-body shaded pose is V-gouge etched with intact floors for a broad mid glow.

  • Cut through

    The hollow eyes, smile, and all crescent slice apertures are cut fully through for the sharpest light.

Learn the carving basics

Before you start cutting

How do I ensure the crescent cuts have no isolated floating center before I remove them?

Trace each crescent shape on paper first and confirm that both the concave inner edge and the convex outer edge connect at their endpoints without enclosing a separate island. On the pumpkin, before making the final plunge cut, check your scored lines and confirm the crescent begins and ends at open air rather than closed rind. If you detect an isolated center, extend one cut line to connect the crescent to an adjacent open area.

The crescent inner curve keeps tearing rather than cutting cleanly. What am I doing wrong?

Tearing on concave curves usually means the blade is too stiff or the pumpkin rind is too soft and fibrous at that point. Switch to the thinnest, most flexible blade you have and slow the stroke down to nearly a draw rather than a saw motion. Chilling the pumpkin for 20 minutes firms the rind and dramatically reduces tearing on tight inner curves.

How close can a crescent aperture be to a shaded body zone without the shading cracking at the edge?

Leave at least a quarter inch of unshaped rind between any crescent edge and the nearest shading stroke. That buffer zone remains full-thickness and acts as a micro-bridge preventing the shaded thin floor from flapping loose near the cut edge. If the stencil places shading closer than that, shift the shading start line slightly inward.

Your take belongs here, too.

Changed a detail? Made it simpler? Share a photo of your version and tell the community what worked.

Share your pumpkin

More pumpkins like this

You've reached the end · 8 pumpkins
The Patch Report

Fresh pumpkins, in your inbox.

The best new carvings, ideas worth stealing, and how-tos for carving season. Short, seasonal, and gone by November.

A short email during carving season. Unsubscribe anytime. See our privacy policy.