@pumpkin_pilot
Sep 5, 2026
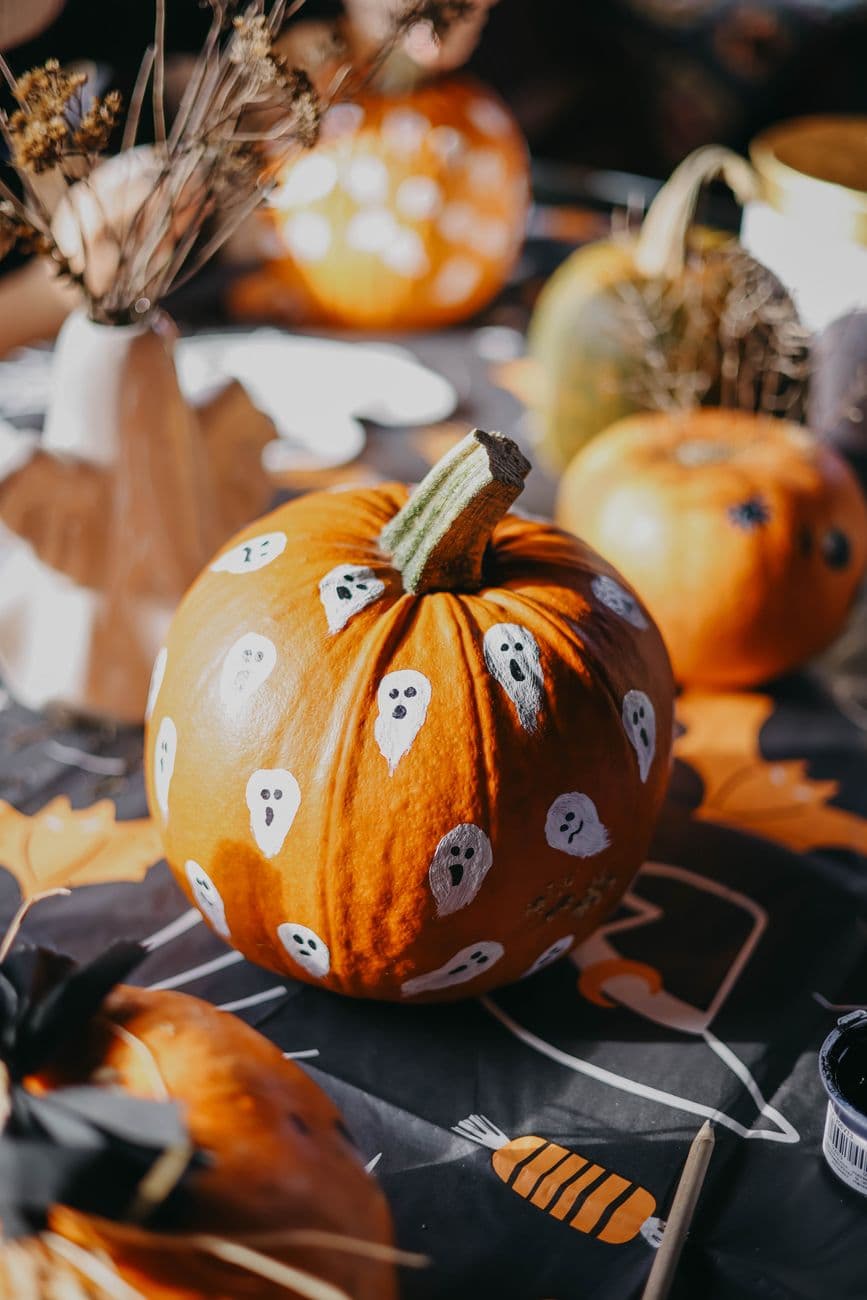
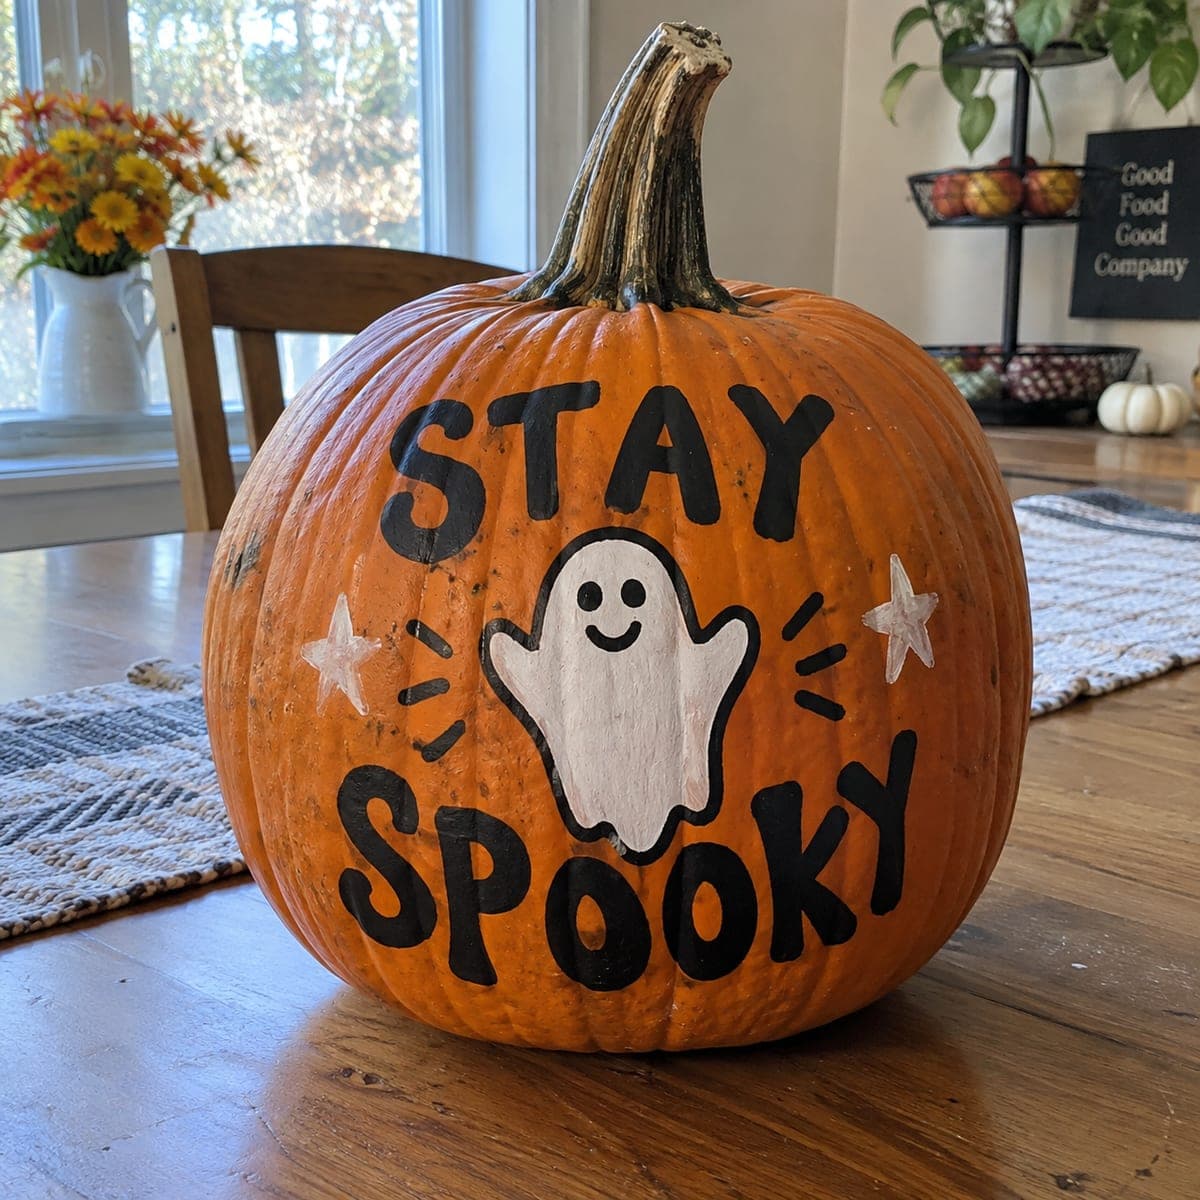
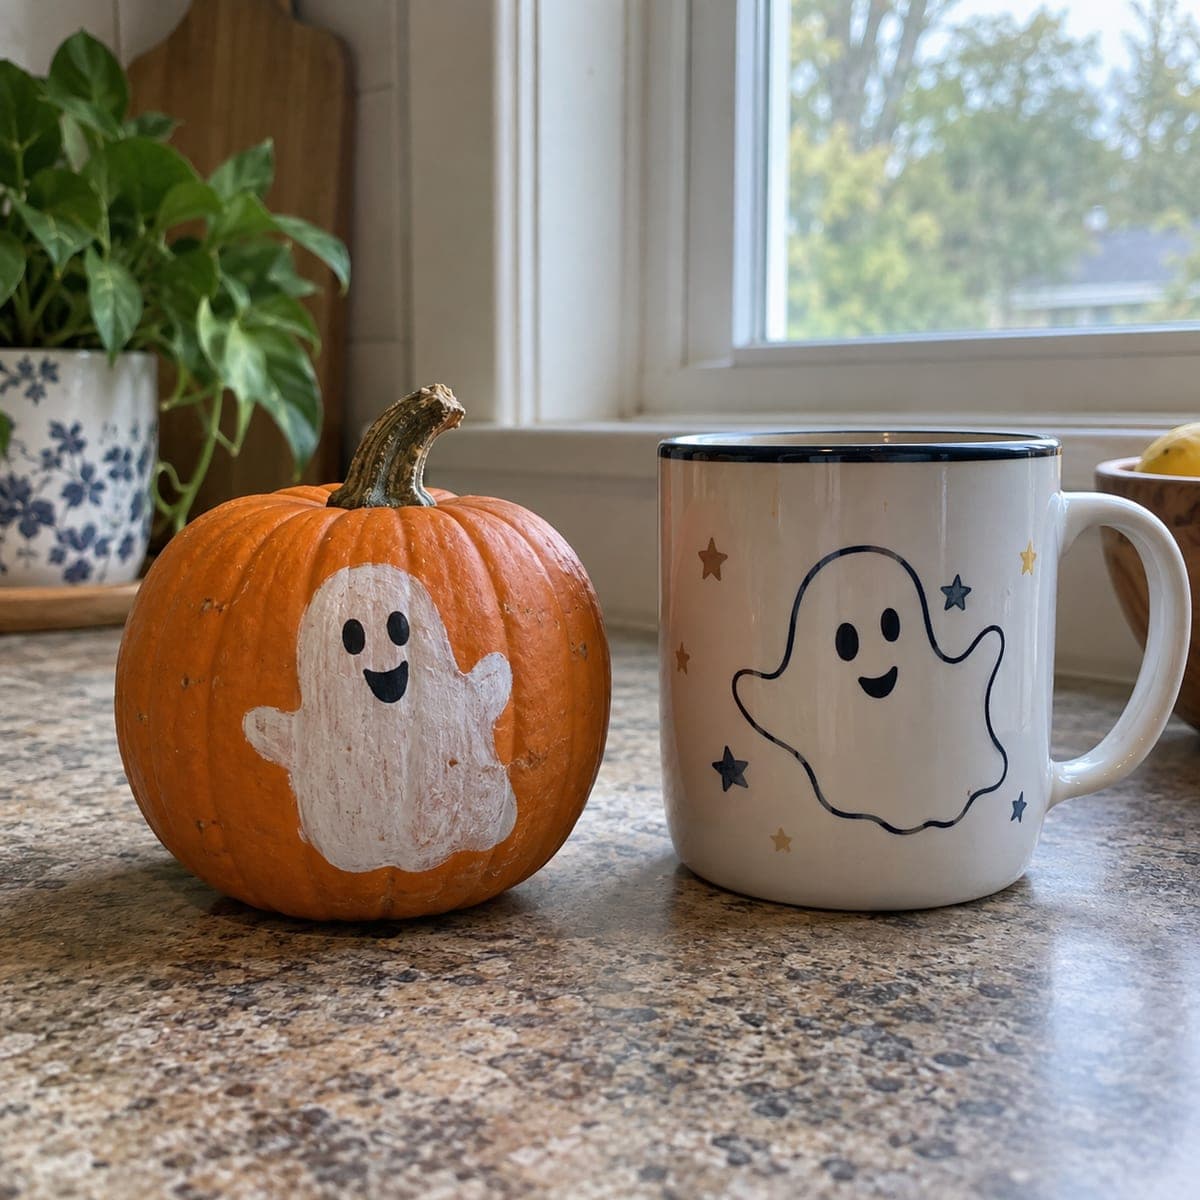
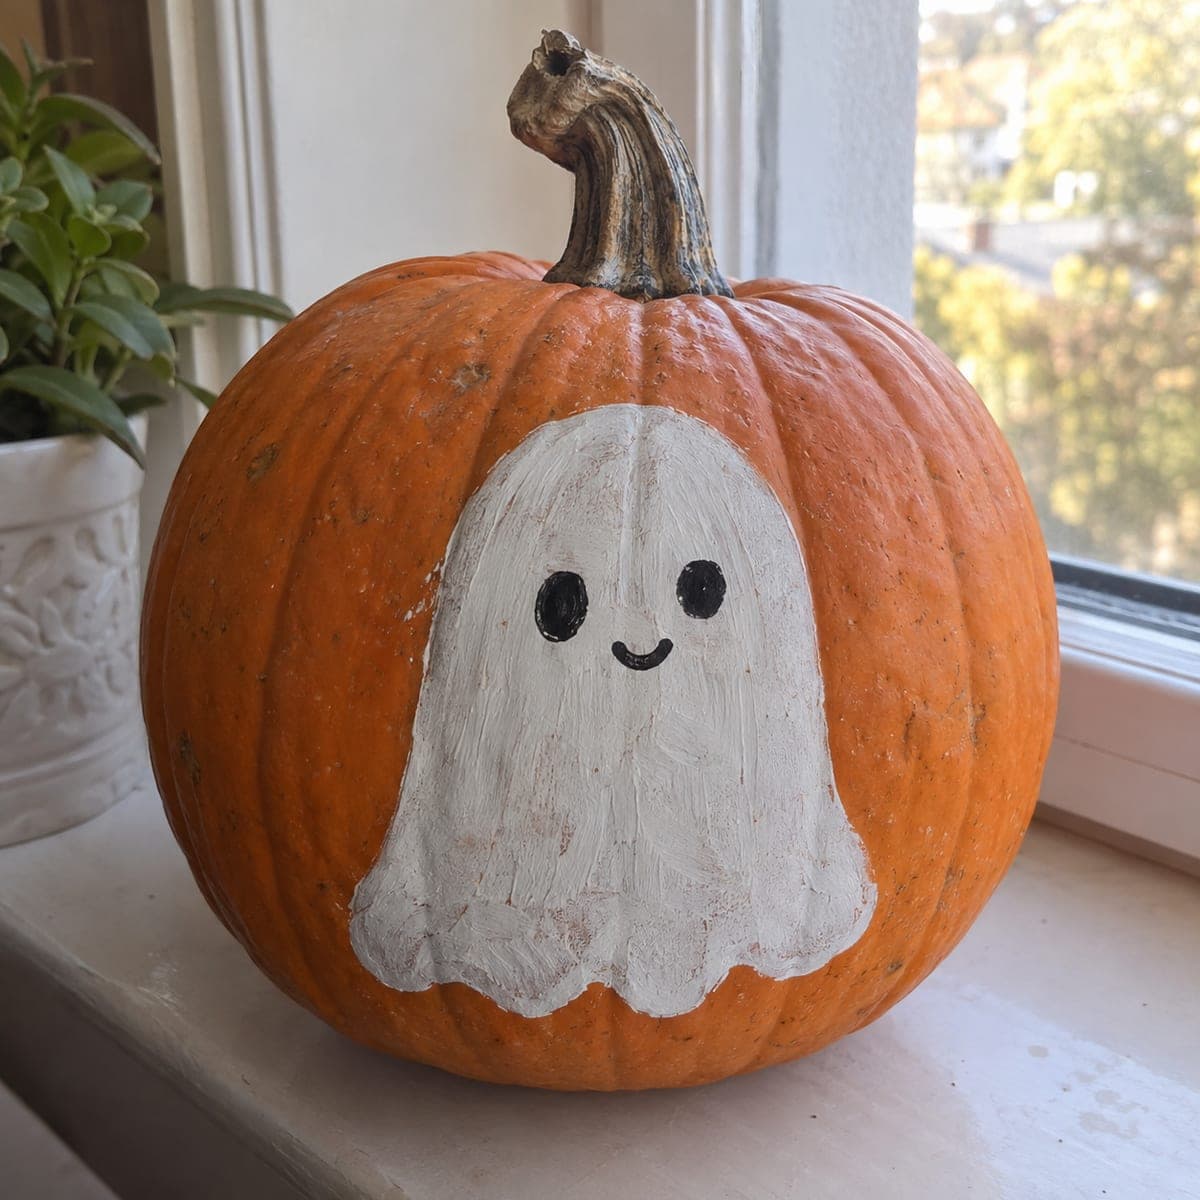
The whole charm here is repetition: dozens of small white ghosts scattered across the orange skin, each with a slightly different face so none of them match. There is no cutting at all, so the trick is keeping your ghost shapes loose and rounded, then adding personality with a fine detail brush. Plan your spacing first, then paint the bodies, then the faces last.
Written by PumpkinCarvingIdeas.com, inspired by @pumpkin_pilot's photo above. These are our suggestions, not instructions from the uploader, and this approach hasn't been tested on their exact carve.
Wipe the whole pumpkin down with a damp cloth and let it dry completely. Paint grips much better on a clean, dry skin. Skip any waxy or dusty spots. Leave the natural stem in place since it makes a nice handle and a good focal point.
Before painting, dot light pencil marks where each ghost will sit so they wrap evenly around the pumpkin. Vary the sizes a little for a natural, scattered look. Keep them off the deepest ridges where paint can pool. Aim for a loose parade rather than tidy rows.
Load a small round brush with white craft paint and press a rounded top with a wavy bottom edge for each ghost. Two thin coats look better than one thick one, so let the first dry before adding the second. Wipe excess paint on the rim of your cup to avoid drips. Let everything dry fully before touching.
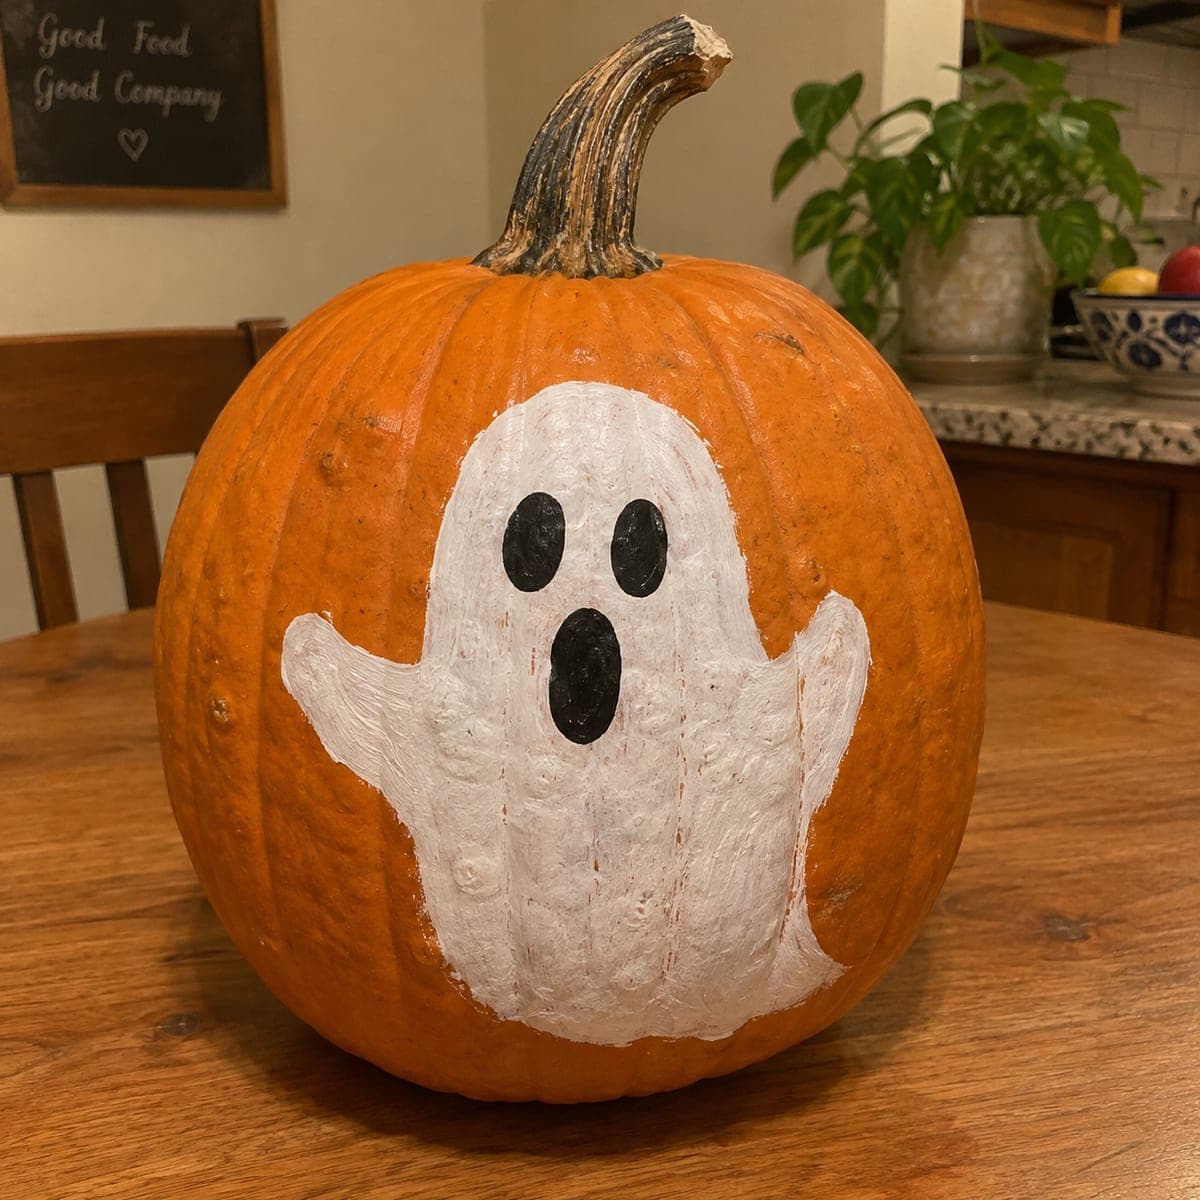
Switch to a fine detail brush and black paint for the eyes and open mouths. Give every ghost a different expression: surprised ovals, tiny dots, a wobbly grin. Keep the marks small so they read clearly against the white. Steady your hand by resting your pinky on the pumpkin.
Clean up any stray edges with a damp cotton swab while the black is still workable. Once fully dry, a light coat of clear acrylic sealer helps the paint survive an outdoor porch. Adults should handle the spray in a ventilated spot. Let it cure before moving the pumpkin.
Set your ghost parade on a dark cloth so the white pops, and add a few dried leaves for a fall feel. Shoot in soft daylight to keep the faces crisp. Turn the pumpkin slowly to find the angle with the most visible ghosts. Snap a few and share your favorite.
Check things off as you get ready.
Work on a stable surface, keep your free hand out of the cutting path, and have an adult handle sharp tools.
The orange skin between ghosts stays untouched and reads as the dark background.
If you want a glow, lightly scrape a thin halo of skin behind a few ghosts so it warms up over an LED.
For a lit version, cut tiny eye and mouth holes in one or two ghosts only and drop an LED inside.
No, this is a fully no-carve design done with paint. That makes it perfect for young kids and for pumpkins you want to last longer without rotting. If you crave a glow, you can add a couple of tiny cutouts later, but it is optional.
Acrylic or standard craft paint sticks well and dries fast. Use two thin coats of white so the ghosts stay bright against the orange. A quick clear sealer at the end protects the faces if the pumpkin sits outside.
Change one thing on each face: eye shape, mouth size, or a slight tilt. Some can look surprised, some sleepy, some grinning. That mismatched crowd is exactly what gives the parade its charm.
Changed a detail? Made it simpler? Share a photo of your version and tell the community what worked.
The best new carvings, ideas worth stealing, and how-tos for carving season. Short, seasonal, and gone by November.

Comments (0)