Halloween Pumpkin Carving Contest · Starts October 1st · $500 in prizes
← Back to ideas
@ai_concepts
Sep 25, 2026

Painted Bluey No-Carve Pumpkin Simple Character DesignAI
0

Report this carving

Tell us what is wrong. Reports are private.

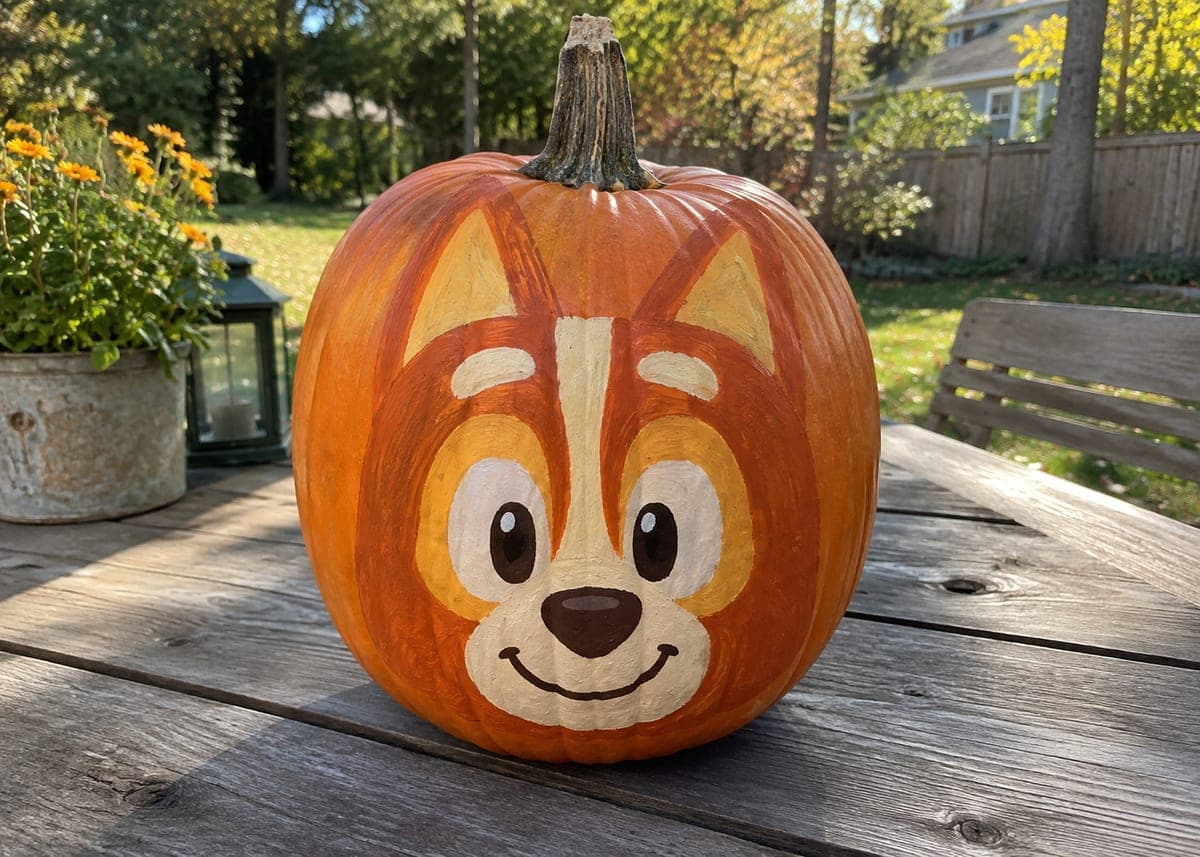
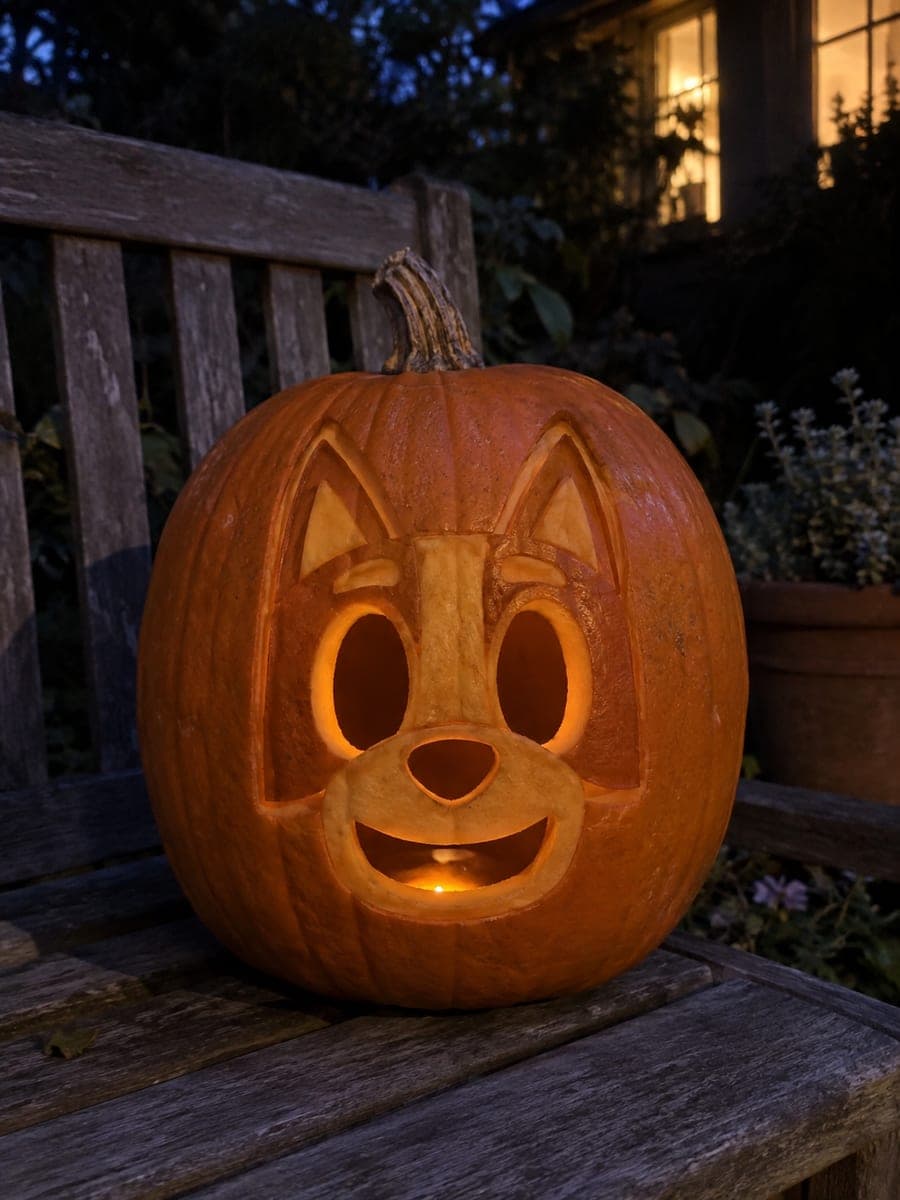
Painted Bluey No-Carve Pumpkin Simple Character Design

This no-carve Bluey pumpkin uses sky-blue, navy, cream, and black acrylic on an intact rind to recreate the beloved cartoon pup. Paint the blue head shape first, then block in the navy ear and patch markings before adding the cream muzzle and ear centers. Simple white and black circles for the eyes and a curved smile finish the portrait in just a few brush strokes. A matte sealer keeps the design porch-ready through the whole season.

No ratings yet · Sign in to rate

Save this design for carving night, then share a photo of your own jack-o'-lantern once it's glowing.
Comments (0)

  • No comments yet — be the first.

Save without an account. Sign in to like or comment.

Our tips for carving a similar design

The whole trick here is building the sky-blue head first and letting it dry completely before layering the darker navy markings on top. Working light to dark keeps the palette clean and prevents the cream muzzle from going muddy. Simple circle eyes and a curved smile are all you need to nail the Bluey likeness.

From pumpkin to porch

  1. Clean and dry the pumpkin

    Wipe the pumpkin with a damp cloth to remove any dirt, then dry it thoroughly with a towel. Let it air-dry for at least 15 minutes before picking up a brush. Any moisture left on the surface will cause acrylic paint to bead up instead of adhering smoothly.

  2. Sketch the head shape

    Lightly pencil in the oval head outline, the ear triangles, and the muzzle patch. Keep the proportions roomy, since Bluey has a large, rounded skull and stubby ears. This pencil map will keep you from painting yourself into a corner when you add details later.

  3. Apply the sky-blue base coat

    Fill the entire head area with flat sky-blue acrylic using a wide flat brush. Work in two thin coats rather than one thick coat to avoid streaks. Let the first coat dry fully, around 20 minutes, before adding the second pass.

  4. Block in navy markings

    Switch to a medium round brush and fill the ear triangles and any body patch areas with navy blue. Keep the edges slightly loose at this stage, as you can sharpen them with a liner brush once the navy dries. These darker marks define Bluey's breed pattern and read clearly from a distance.

  5. Add the cream muzzle and eye centers

    Paint the cream muzzle oval below the midpoint of the face, then add cream inner-ear ovals inside the navy ears. Once those dry, place a large white circle for each eye, followed by a smaller black circle pupil on top. A tiny white highlight dot on each pupil gives the eyes life.

  6. Finish with a smile and seal

    Use a thin liner brush to paint a simple curved black smile below the muzzle. Step back and check proportions before the paint dries, since the smile placement carries most of the expression. Once you are satisfied, apply a matte acrylic sealer spray from about 12 inches away to protect the whole design for the season.

Written with AI to match this design

Gather your supplies

Check things off as you get ready.

Work on a stable surface, keep your free hand out of the cutting path, and have an adult handle sharp tools.

Three levels of light

  • Leave intact

    The bare orange rind outside the painted head stays natural and unlit, framing the character.

  • Peel & shade

    None, this design leaves the shell fully intact.

  • Cut through

    None, use an outside spotlight or porch light aimed at the painted face instead of internal lighting.

Learn the carving basics

Before you start cutting

Can I use craft store acrylic paint or do I need an outdoor-rated formula?

Regular craft acrylics work fine for a season-long display as long as you apply a matte sealer coat over the finished design. Outdoor-rated craft paint adds a little extra moisture resistance if you live somewhere rainy. Either way, keep the pumpkin under a covered porch if possible to extend its life.

How do I stop the navy markings from bleeding into the sky-blue base?

The key is patience: let the base coat dry completely to the touch before adding the navy layer. If you are in a hurry, a hairdryer on a low-heat setting can speed drying between coats. Thin the navy paint slightly with water for crisp edges.

The pumpkin surface is bumpy and the paint looks uneven. What do I do?

A light sanding with fine-grit sandpaper on the painting area can smooth out ridges before you start. Alternatively, apply a thin white gesso base coat first to fill the texture, which also makes the sky-blue pop more vividly on the orange rind.

Your take belongs here, too.

Changed a detail? Made it simpler? Share a photo of your version and tell the community what worked.

Share your pumpkin

More pumpkins like this

You've reached the end · 8 pumpkins
The Patch Report

Fresh pumpkins, in your inbox.

The best new carvings, ideas worth stealing, and how-tos for carving season. Short, seasonal, and gone by November.

A short email during carving season. Unsubscribe anytime. See our privacy policy.