The 2026 contest winners are inGrand Prize, People's Choice and Most Creative, all crowned.
@ai_concepts
Sep 25, 2026
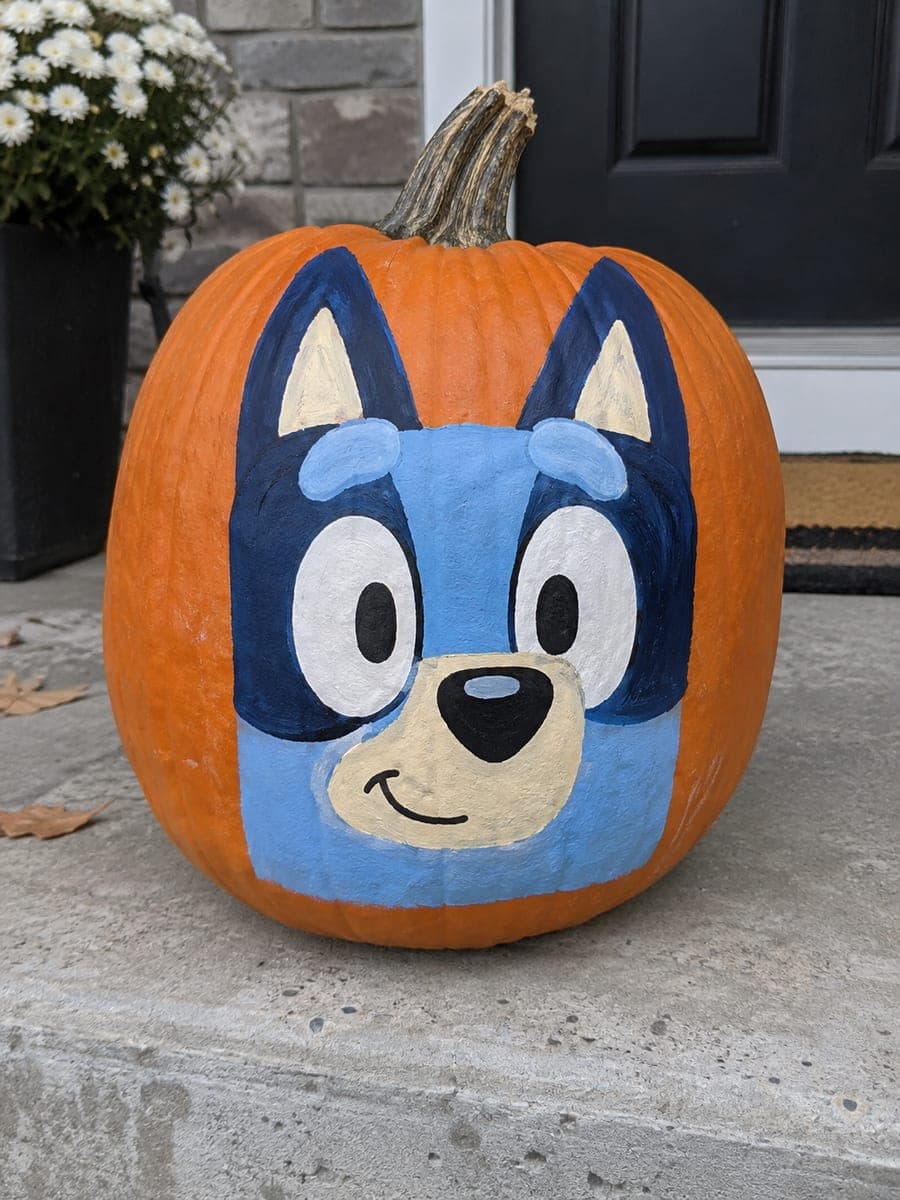
Bluey Heeler Puppy PumpkinAI
0

Report this carving

Tell us what is wrong. Reports are private.

Bluey Heeler Puppy Pumpkin

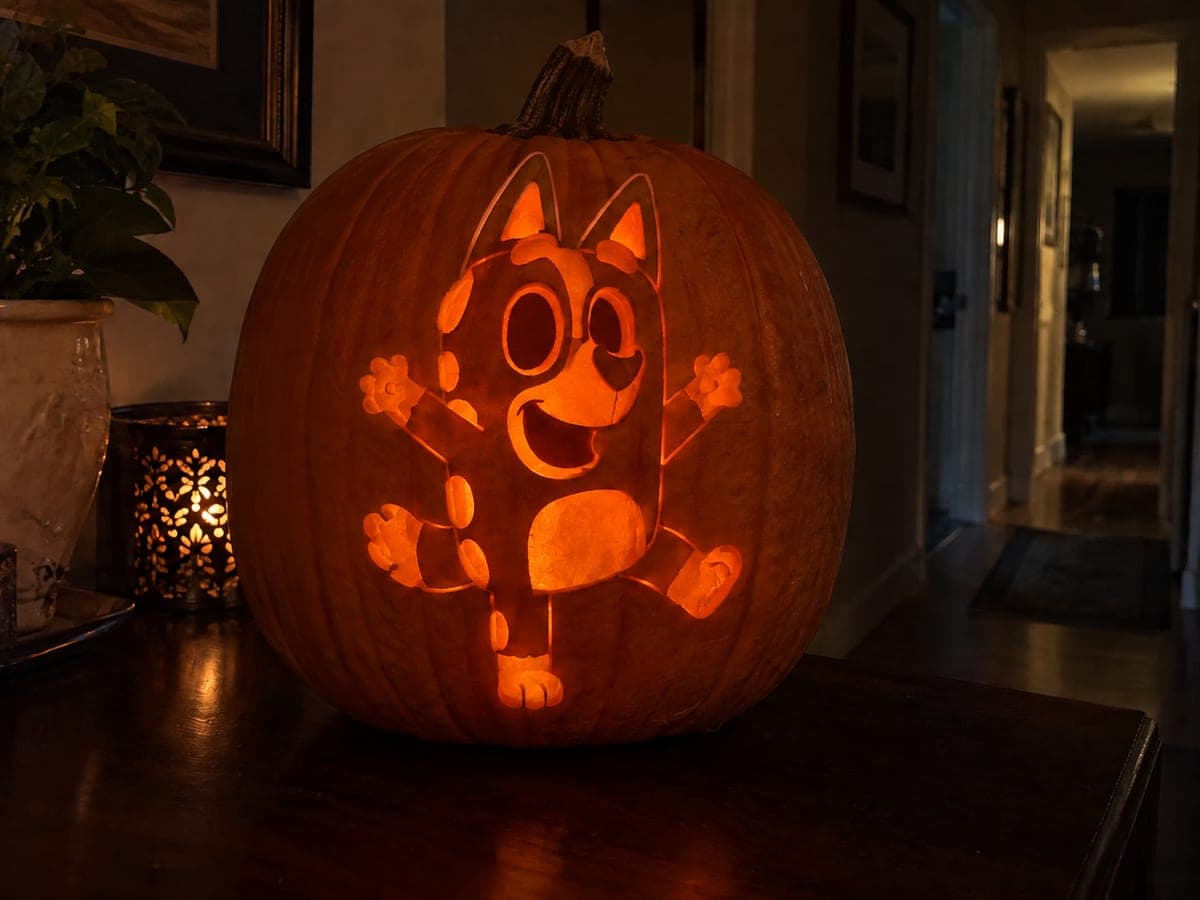
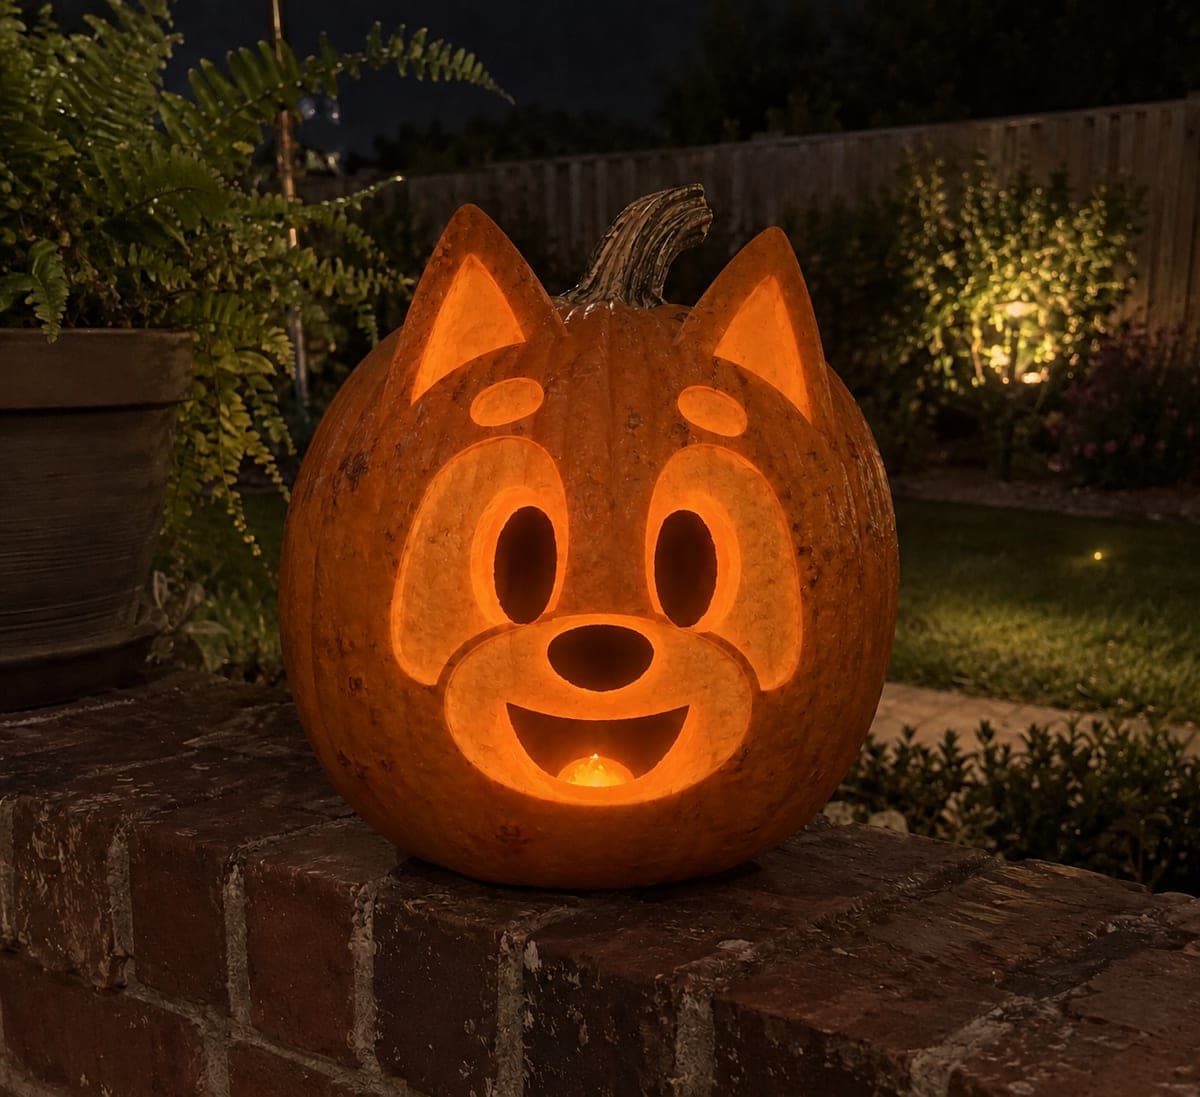
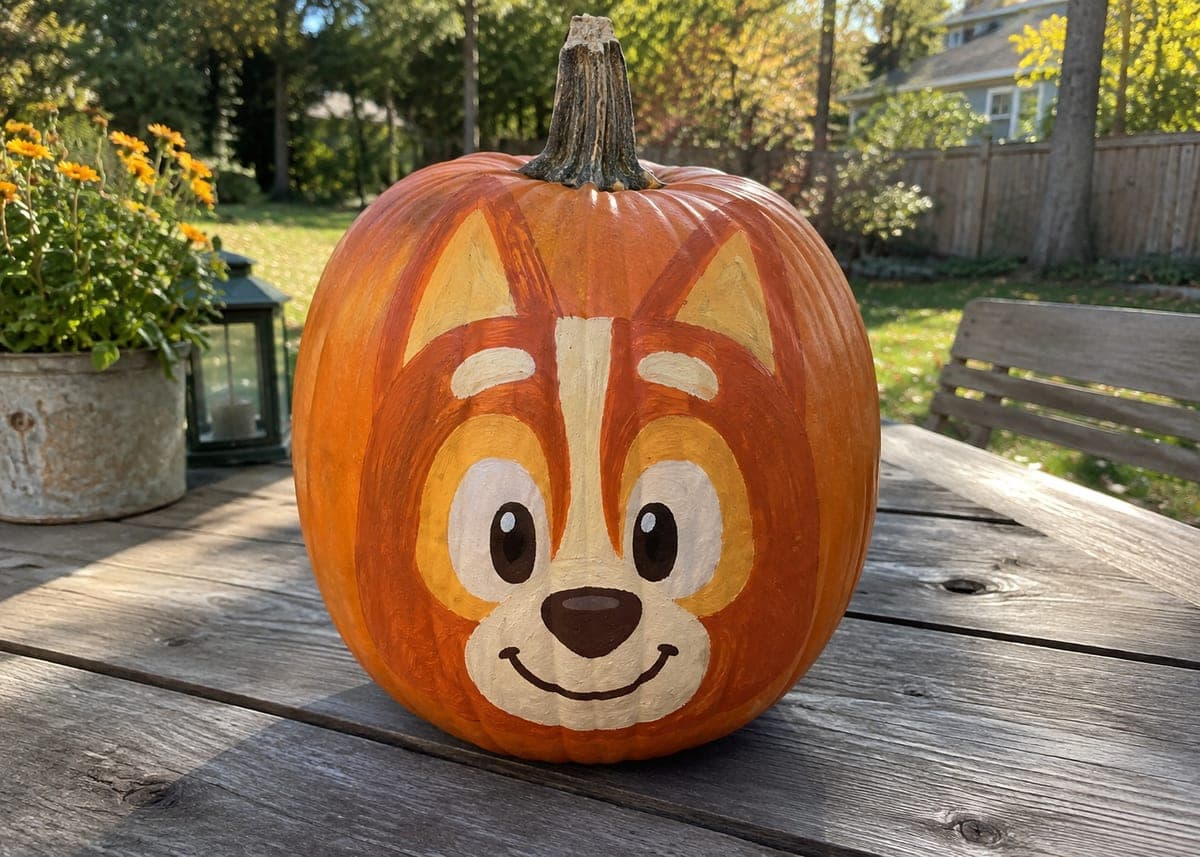
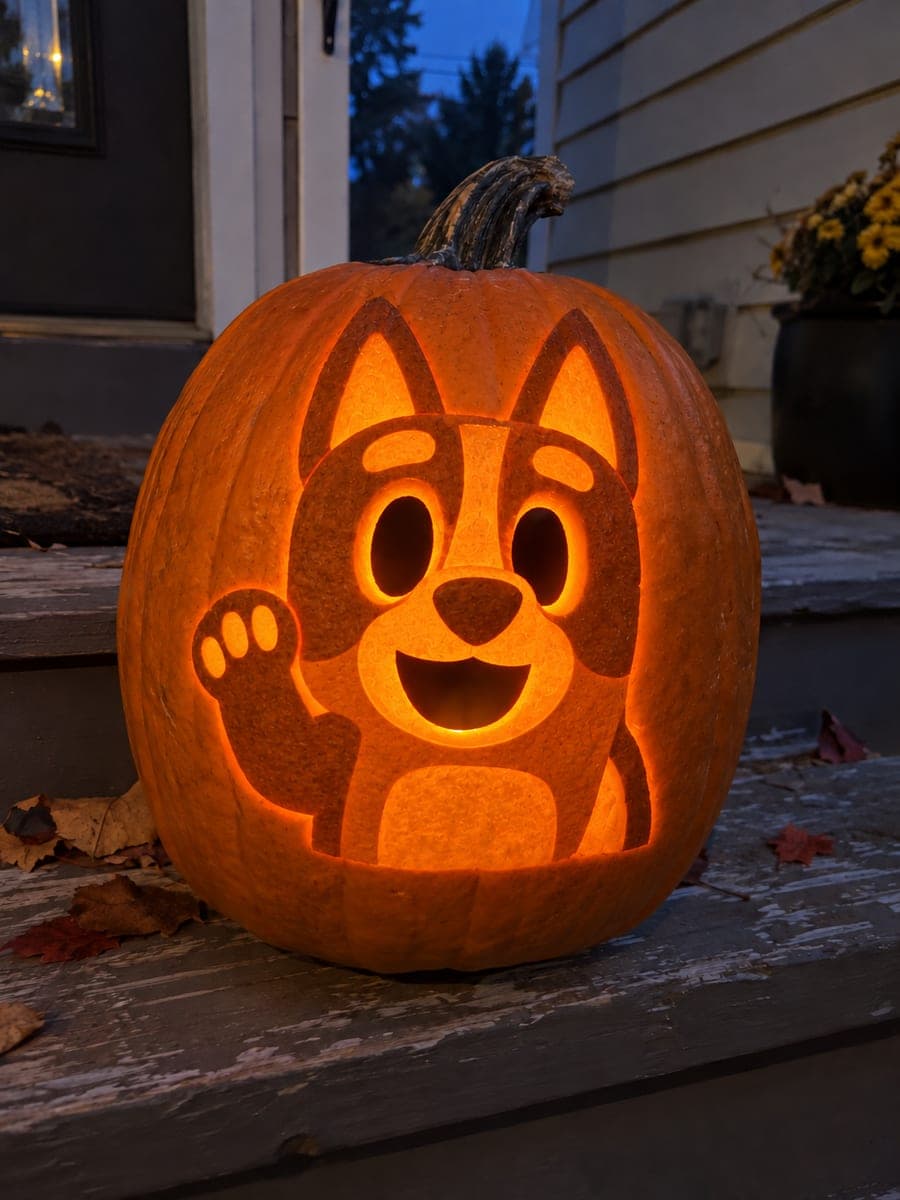
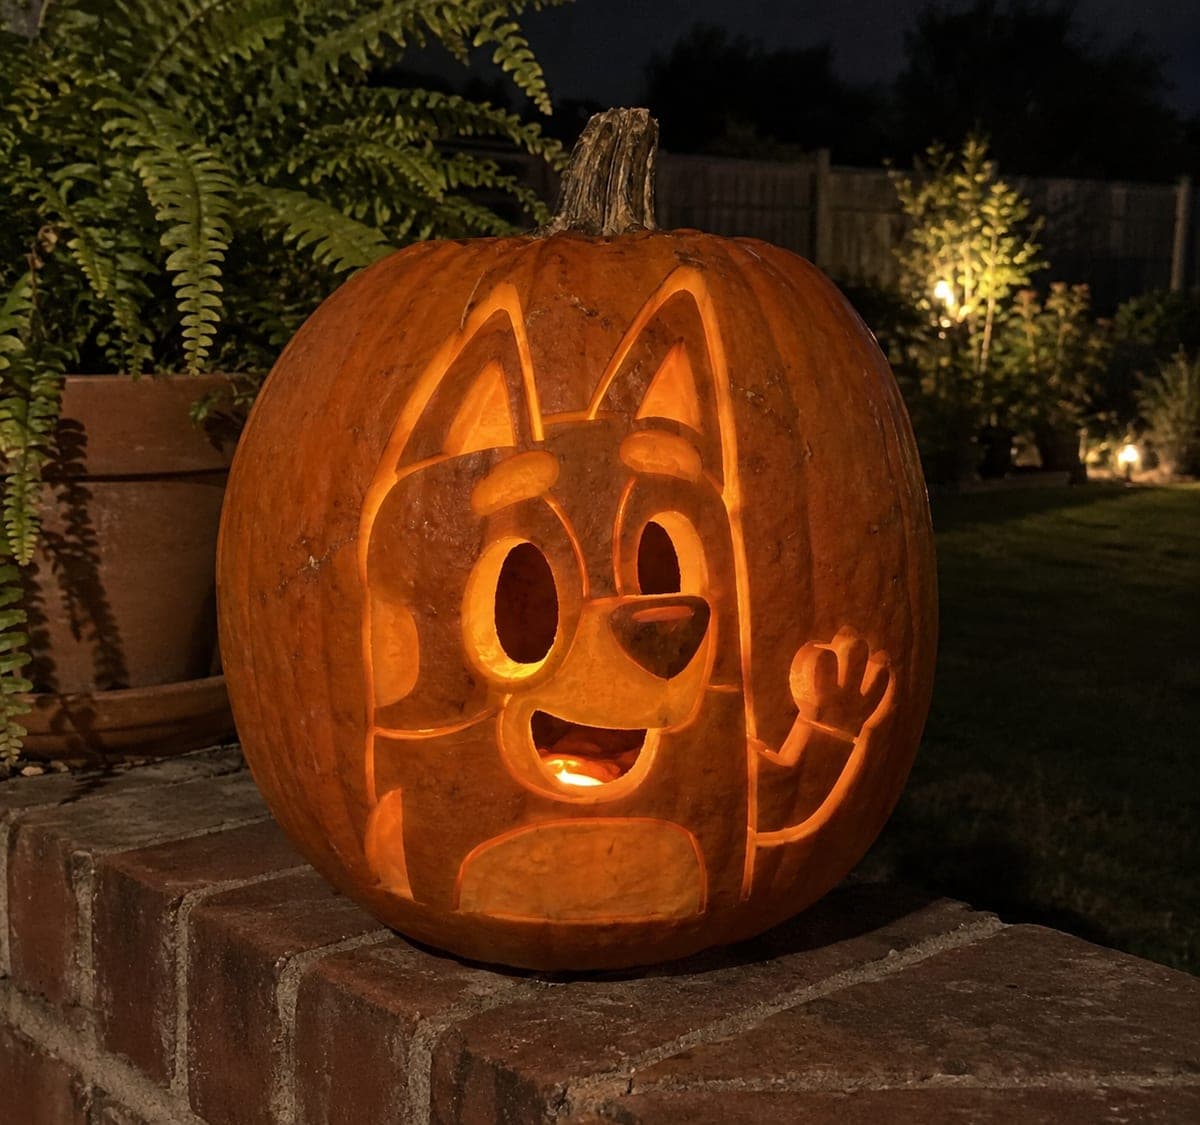
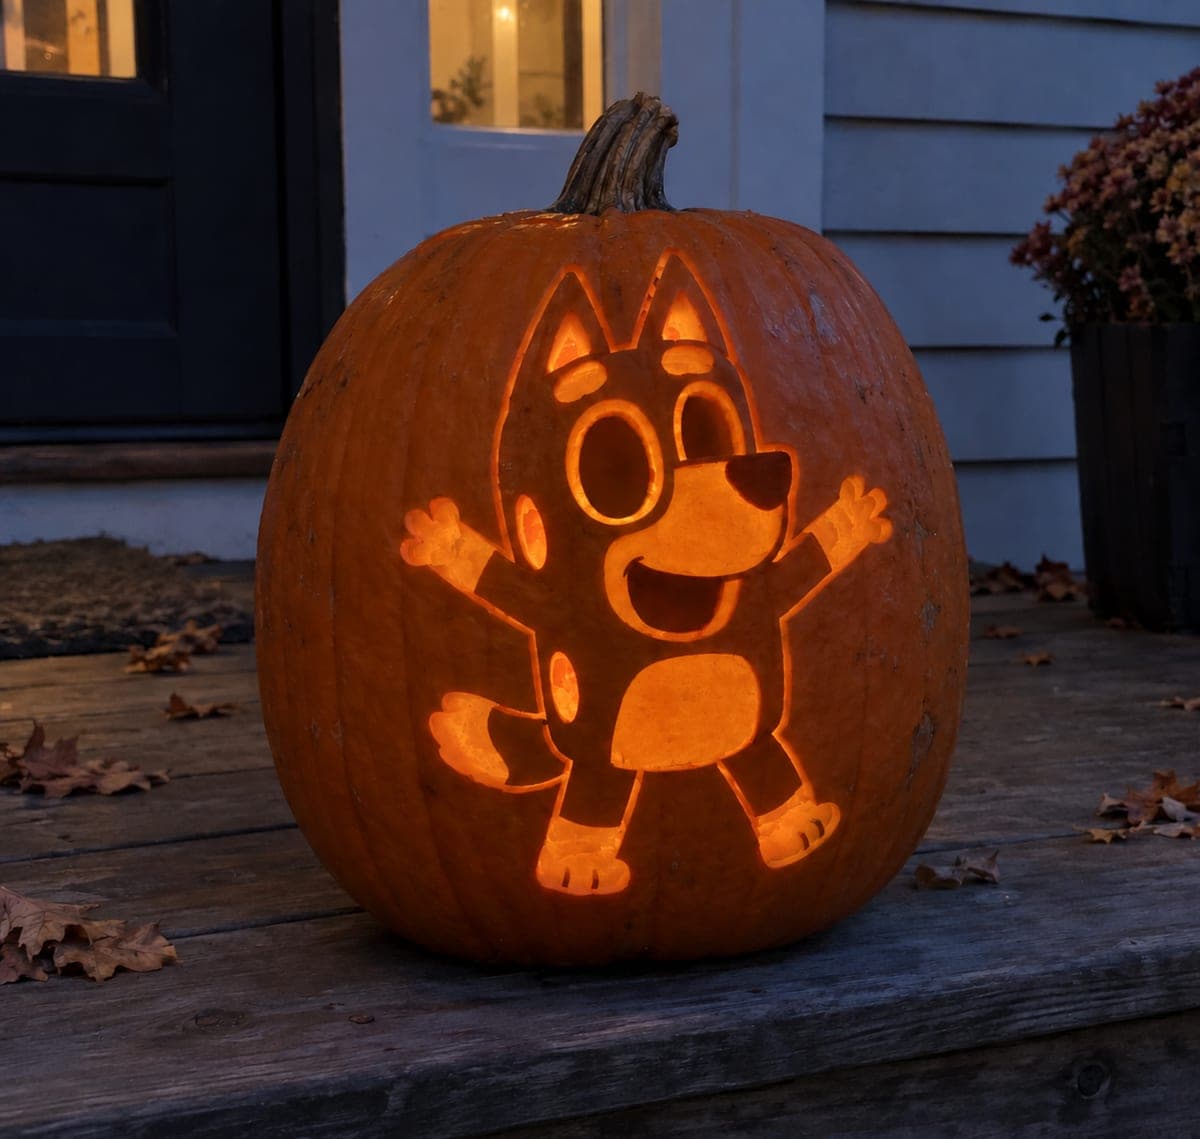
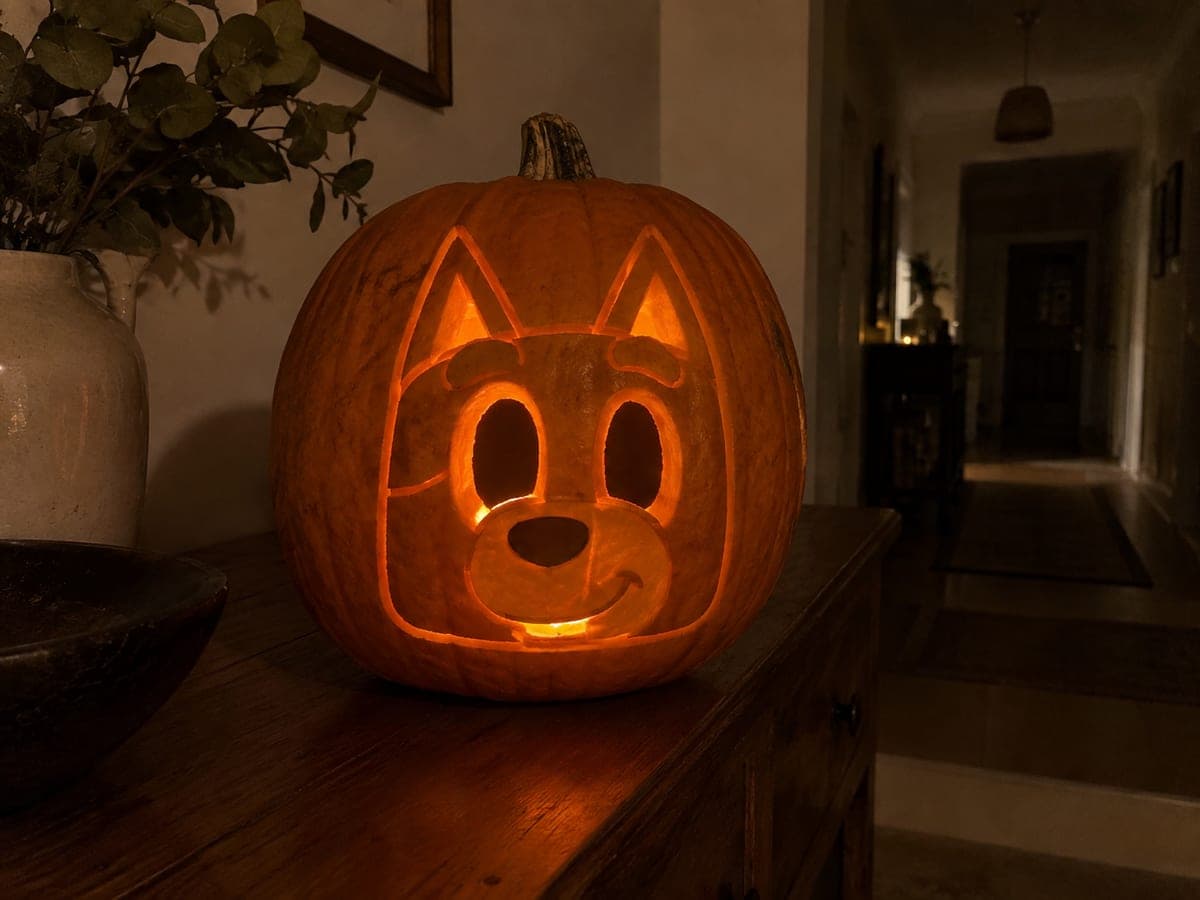
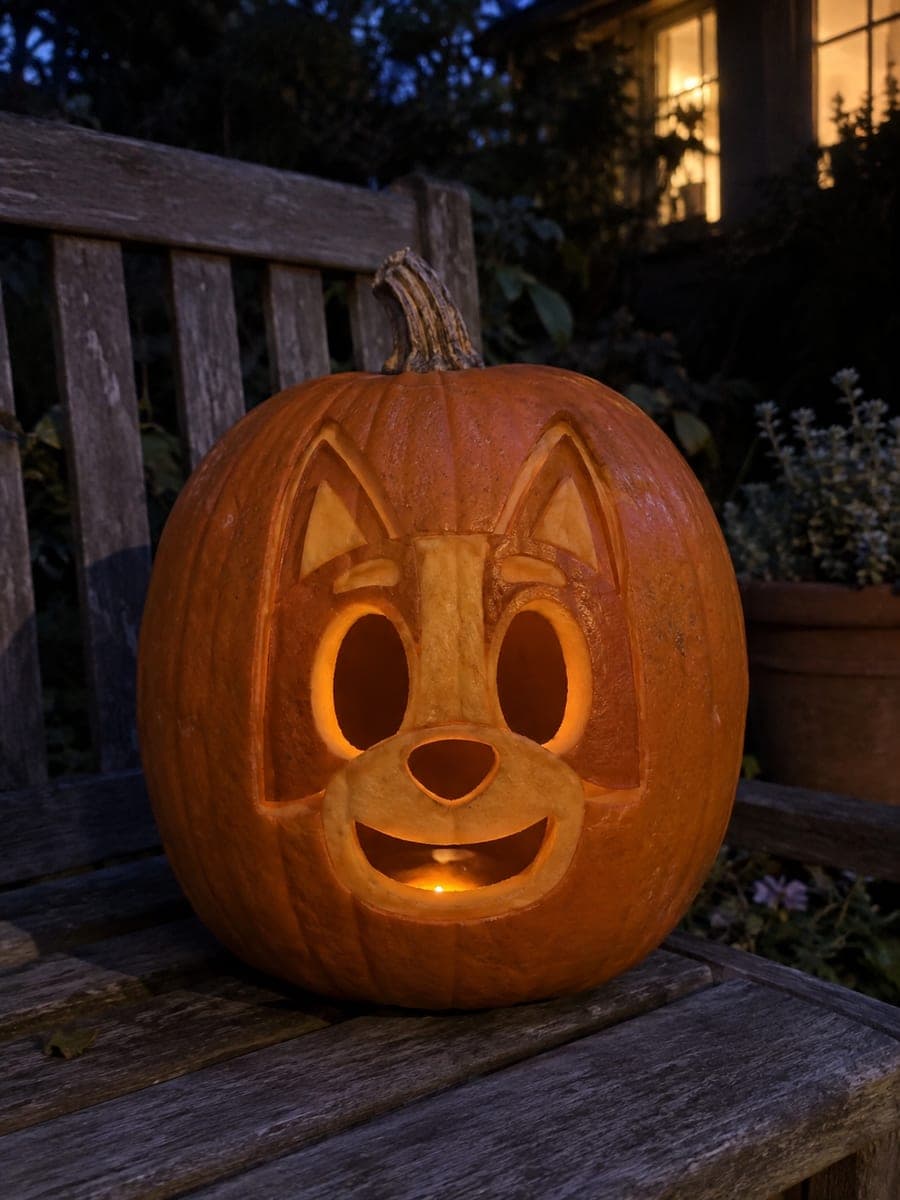
Hollow oval eyes, a nose, and a small smile aperture give this easy Bluey pumpkin carving its gentle Blue Heeler puppy expression. Head, ears, and patch borders are shallow-backed relief that frames the glowing face. Cut the oval eye holes and small mouth opening first, then score the ear and patch borders with a linoleum tool. A cool blue-tinted LED inside ties the glow back to Bluey's signature color.

No ratings yet · Sign in to rate
EasyAnimalsCuteShaded / Peel
blueyanimalcartoondogcuteshadingeasyoval-eye

Save this design for carving night, then share a photo of your own jack-o'-lantern once it's glowing.

Bluey and all related characters, names, logos, and trademarks are the property of their respective owners. This is an unofficial fan carving shared by our community for inspiration only. PumpkinCarvingIdeas.com is not affiliated with, sponsored by, or endorsed by any rights holder or person depicted, and no such connection is implied.
Comments (0)

  • No comments yet. Be the first.

Our tips for carving a similar design

Hollow oval eyes, a nose aperture, and a small smile opening are the light-giving core of this easy Bluey design. Head, ear, and patch borders are shallow-backed to add the Blue Heeler's recognizable markings without extra through-cuts. Cutting the oval eye holes first establishes Bluey's gentle expression before any other cuts are made.

From pumpkin to porch

  1. Hollow and prep

    Cut the back lid and scoop to one inch of wall thickness. Bluey's round head shape suits a broad, spherical pumpkin best. Dry the interior completely and mark the face center before placing your template. A cool blue-tinted LED will complement the design, so have one on hand.

  2. Transfer your template

    Tape and trace the two oval eye positions, the small nose aperture, the small smile opening below the nose, the head boundary, ear outlines, and patch border shapes. Bluey's patch borders are distinctive asymmetric color zones, so mark them clearly even though they will be back-carved rather than cut through.

  3. Cut the oval eye holes

    Cut the two oval eye holes first with a fine carving saw, working in short strokes along the oval curve. Push pieces inward to remove. Oval shapes are slightly harder to cut cleanly than circles, so take extra care at the narrow ends of each oval. Confirm both ovals look proportionally matching before moving on.

  4. Cut the nose aperture and small smile

    Cut the small nose aperture, then the small smile opening. Keep the smile cut narrow and gentle to match Bluey's cheerful expression. A small upward curve in the cut follows the character's standard expression. Remove pieces inward.

  5. Shallow-back the head, ears, and patch borders

    Use a linoleum gouge to back-carve the head boundary areas, ear surfaces, and patch border zones to about half wall depth. The patch borders in particular should have a clean boundary line separating them from the darker surrounding rind. A flashlight check after each zone ensures consistent depth.

  6. Light and display

    Insert a cool blue-tinted LED and close the back lid. The soft blue glow through the backed patch zones complements the full-brightness oval eyes and smile. Display at a child-friendly viewing height to make the most of this family-friendly character design.

Written with AI to match this design

Gather your supplies

Check things off as you get ready.

Work on a stable surface, keep your free hand out of the cutting path, and have an adult handle sharp tools.

Three levels of light

  • Leave intact

    Outer rind and unpatched face areas stay fully dark

  • Peel & shade

    Head contour, ear surfaces, and patch border zones are shallow-backed for a soft mid glow

  • Cut through

    Oval eye holes, nose aperture, and small smile opening are fully cut through for bright glow

Learn the carving basics

Before you start cutting

The oval eye cuts look uneven at the narrow ends. How do I fix them?

Use a detail knife to trim the narrow ends of each oval with a single careful slice that follows the curved outline. Work from the inside of the oval toward the edge rather than from outside in, which gives you better visibility of the cut line. A light pencil resketch of the oval shape on the rind before trimming helps guide the knife.

Bluey has distinctive patch markings that are asymmetric. How do I make them look intentional rather than random?

Use a reference image of Bluey to trace the correct patch positions before back-carving them. The key patches are the darker markings around the eye area and on the ear. Keeping the patch border lines clean with a gouge helps them read as deliberate markings rather than texture variation.

Can I add Bluey's color using paint alongside the carving?

Yes, a light coat of blue-tinted acrylic paint over the backed patch areas before displaying can enhance the color accuracy without affecting the carving. Apply the paint very thin so it does not block light transmission from the backed zones. A water-diluted wash of acrylic works better than full-strength paint for this purpose.

Your take belongs here, too.

Changed a detail? Made it simpler? Share a photo of your version and tell the community what worked.

Share your pumpkin

Want more designs like this? Browse our full library of pumpkin carving ideas, or pick a free printable stencil. Every pattern and template in our own collection is free to print at home.

More pumpkins like this

You've reached the end · 8 pumpkins
The Patch Report

Fresh pumpkins, in your inbox.

The best new carvings, ideas worth stealing, and how-tos for carving season. Short, seasonal, and gone by November.

A short email during carving season. Unsubscribe anytime. See our privacy policy.