Halloween Pumpkin Carving Contest · Starts October 1st · $500 in prizes
← Back to ideas
@ai_concepts
Sep 25, 2026
Bingo Blue Heeler Pumpkin With Raised EarsAI
0

Report this carving

Tell us what is wrong. Reports are private.

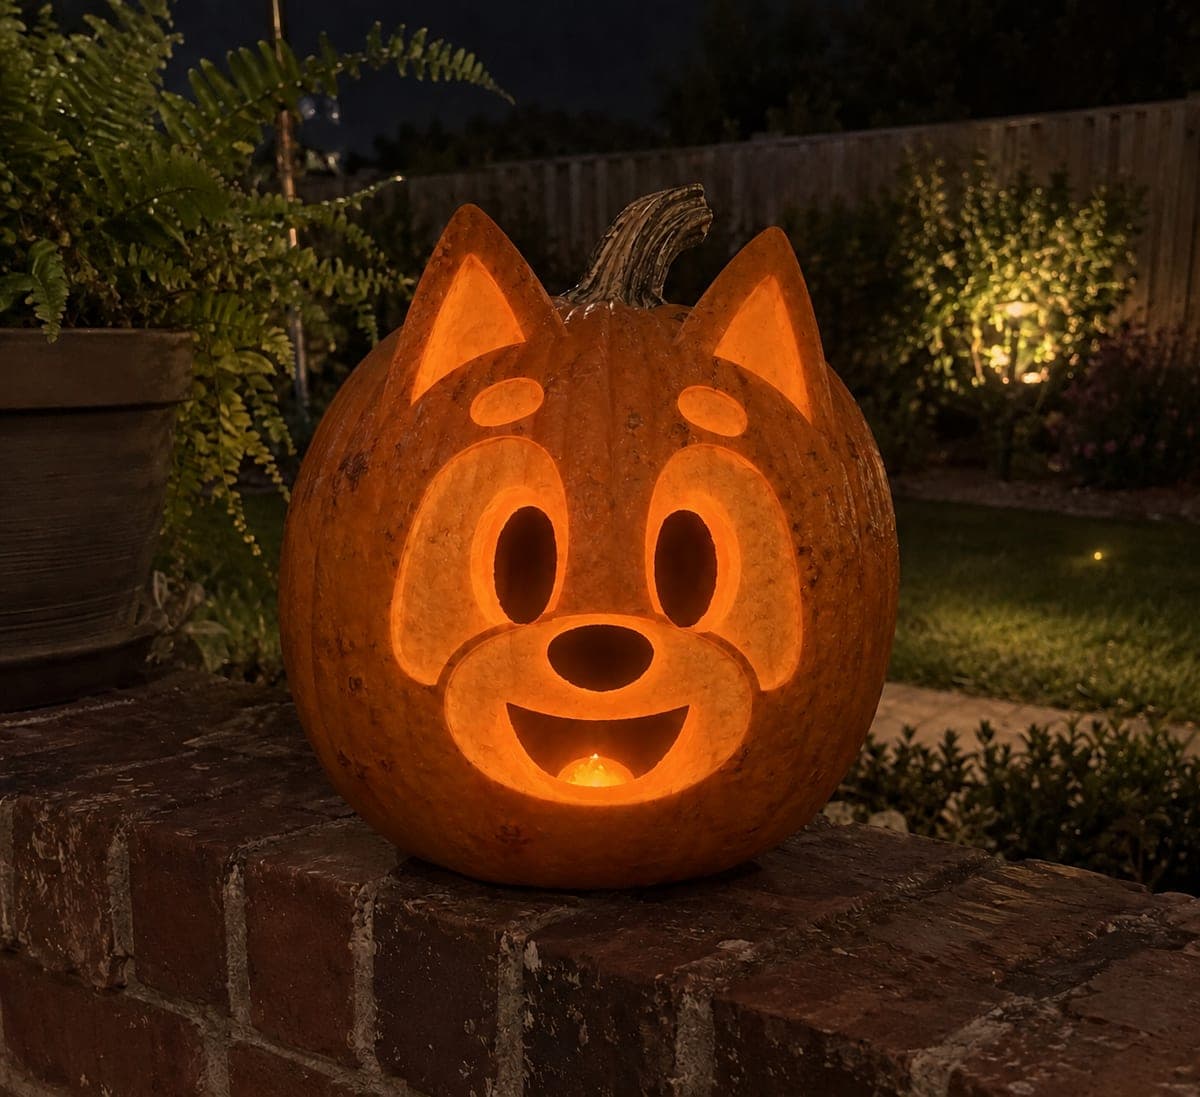
Bingo Blue Heeler Pumpkin With Raised Ears

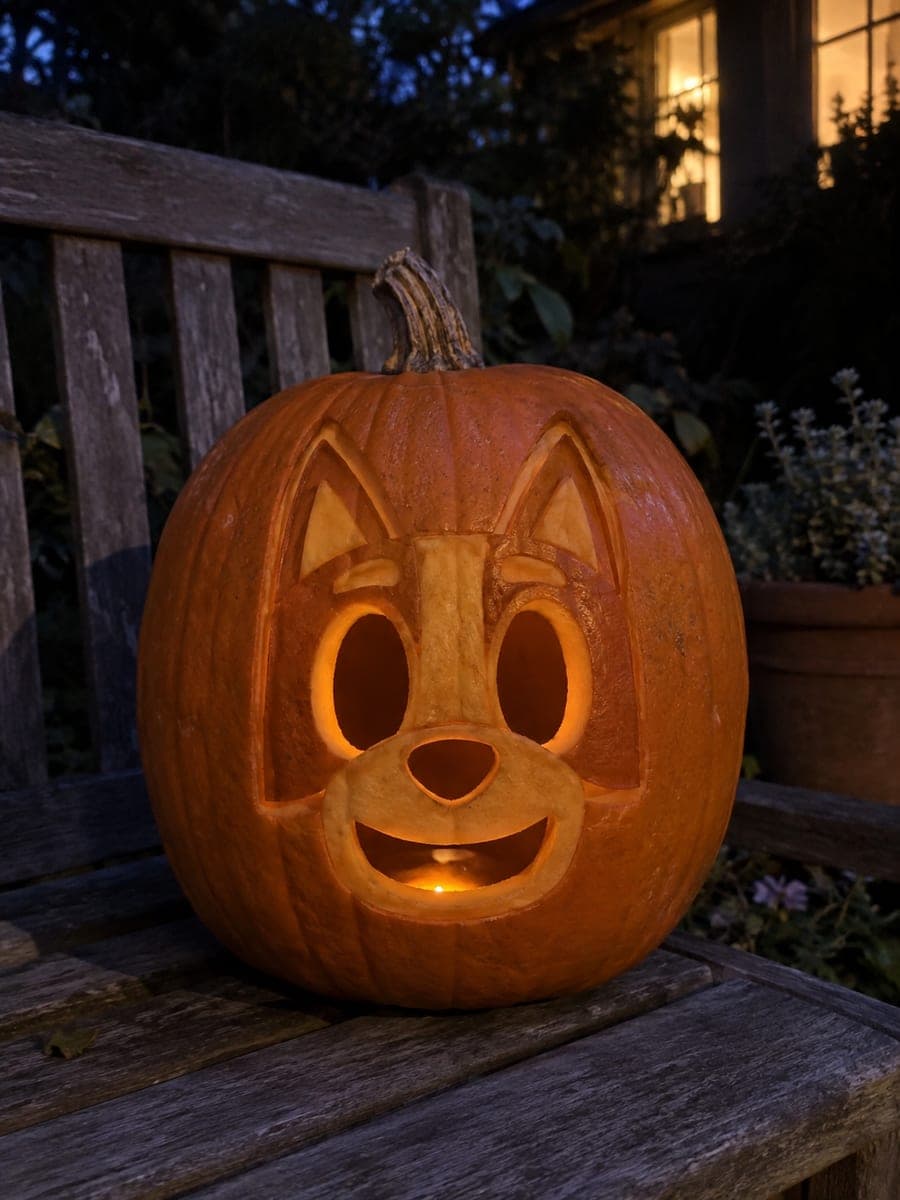
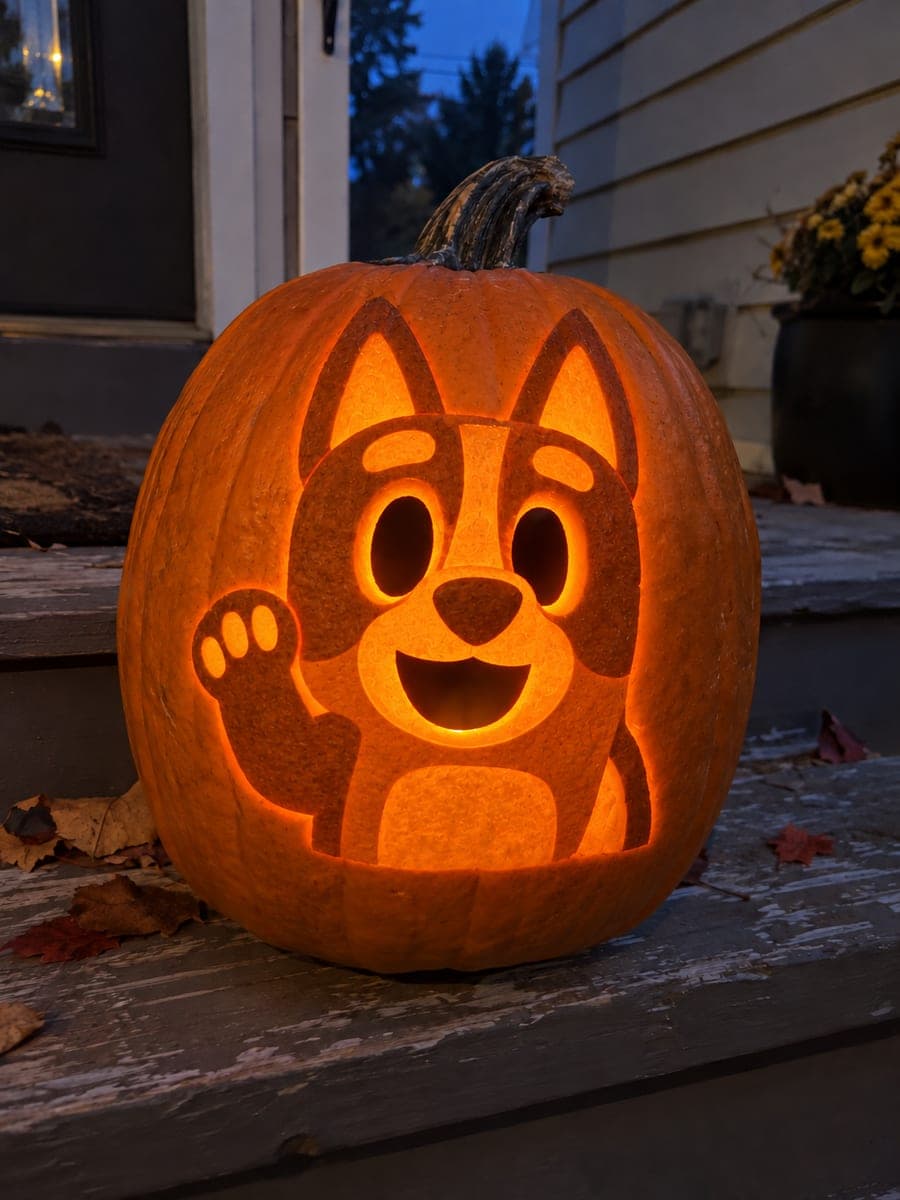
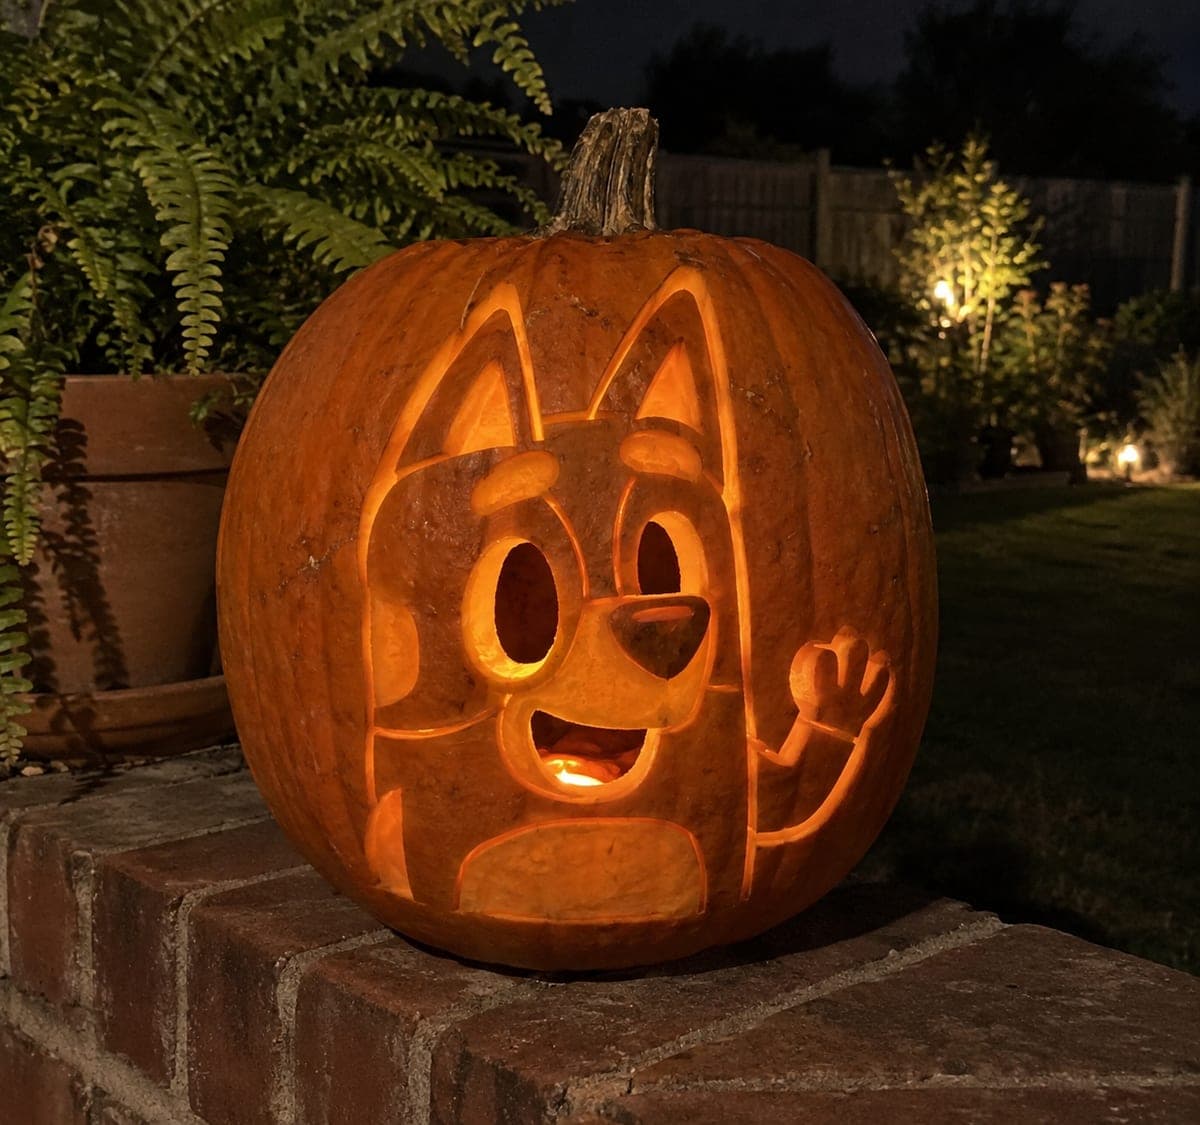
The intermediate version of this bingo pumpkin carving adds dimension by extending the ear pieces above the pumpkin's natural outline, which requires cutting separate rind sections and securing them at their bases rather than relying on an all-in-one stencil. Carve the hollow eyes, nose, and smile first to establish the face, then tackle the backed muzzle and patch details with a linoleum-style gouge. Photograph the finished piece before lighting it, since the silhouetted ear extensions read best in natural daylight.

No ratings yet · Sign in to rate
Comments (0)

  • No comments yet — be the first.

Save without an account. Sign in to like or comment.

Our tips for carving a similar design

The standout detail here is the pair of ear pieces that rise above the pumpkin's natural outline, giving the portrait a three-dimensional silhouette that reads beautifully against a porch wall. The hollow eyes, nose, and smile are carved first to anchor the face, then the shallow-backed muzzle and patch details add warmth. The raised ears require cutting separate rind sections and securing them at the base.

From pumpkin to porch

  1. Prep and gut the pumpkin

    Bottom-cut and gut the pumpkin, scraping the inner walls to roughly an inch thick for even light distribution. Pay extra attention to the upper area where the ear extensions will sit, thinning it slightly more so the attachment points do not crack when you work near the top edge.

  2. Transfer the main face stencil

    Pin the face portion of the stencil to the center of the pumpkin and trace all the cut and scrape lines with a poke tool. Mark the ear attachment points clearly at the top. Remove the stencil and review the layout before making any cuts.

  3. Cut the face openings

    Saw the hollow oval eyes, round nose hole, and broad smile arc first, keeping bridges generous. Tidy the edges, then scrape the backed muzzle and patch details with a narrow gouge to a shallow depth. Test the overall face with an LED inside before moving to the ears.

  4. Prepare the raised ear pieces

    Cut two ear-shaped pieces from a second pumpkin or from thick scrap rind if available. Shape each ear so it has a wide flat base that can sit flush against the top of the carved pumpkin's rim. Sand the bases lightly so they sit level without rocking.

  5. Secure the ears

    Attach each ear base to the pumpkin's top edge using sturdy toothpicks pushed horizontally through both the ear base and the pumpkin wall, supplemented with a dab of hot glue on the exterior for stability. Hold each ear in place for 30 seconds while the glue sets. Check that both ears stand at the same angle before the glue hardens completely.

  6. Photograph and display

    The raised ear silhouette reads best in natural daylight from a few feet away, so photograph the design before dusk. For evening display, place an LED inside and add a small spotlight aimed at the ears from slightly above. Store the pumpkin in a cool spot to extend the display life of both the main gourd and the ear pieces.

Written with AI to match this design

Gather your supplies

Check things off as you get ready.

Work on a stable surface, keep your free hand out of the cutting path, and have an adult handle sharp tools.

Three levels of light

  • Leave intact

    The main head, cheeks, and outer ear backs remain fully dark to shape the Bingo silhouette.

  • Peel & shade

    The muzzle oval and heeler spot patches are shallow-scraped for a mid-tone glow.

  • Cut through

    The oval eyes, nose hole, and wide smile are cut fully through for bright, full-face illumination.

Learn the carving basics

Before you start cutting

What is the best material for the raised ear pieces if I do not have a second pumpkin?

Thick slices of raw butternut squash or a large carrot cut lengthwise can substitute for ear pieces in a pinch. Foam sheet cut to shape and painted orange also works well and lasts much longer outdoors. Whichever material you choose, keep the base at least an inch wide so the attachment is stable.

How long will the attached ear pieces stay secure before they start to shrink or detach?

Fresh pumpkin rind ear pieces will stay firm for roughly three to five days before shrinkage loosens the hot-glue bond. If you want the display to last longer, replace the ears every few days or switch to a non-perishable material like foam. Keeping the whole assembly in a cool, shaded spot also slows the process.

Can I skip the hot glue and just use toothpicks for the ear attachment?

Toothpicks alone can work for an indoor display where nothing bumps the pumpkin, but hot glue gives you insurance against the ears tilting from even a gentle breeze. If hot glue is not available, small wooden skewers pushed in at a diagonal provide more holding power than round toothpicks on their own.

Your take belongs here, too.

Changed a detail? Made it simpler? Share a photo of your version and tell the community what worked.

Share your pumpkin

More pumpkins like this

You've reached the end · 8 pumpkins
The Patch Report

Fresh pumpkins, in your inbox.

The best new carvings, ideas worth stealing, and how-tos for carving season. Short, seasonal, and gone by November.

A short email during carving season. Unsubscribe anytime. See our privacy policy.