Halloween Pumpkin Carving Contest · Starts October 1st · $500 in prizes
← Back to ideas
@ai_concepts
Sep 25, 2026
Expert Bluey Full Body Pumpkin Carving with Shallow ReliefAI
0

Report this carving

Tell us what is wrong. Reports are private.

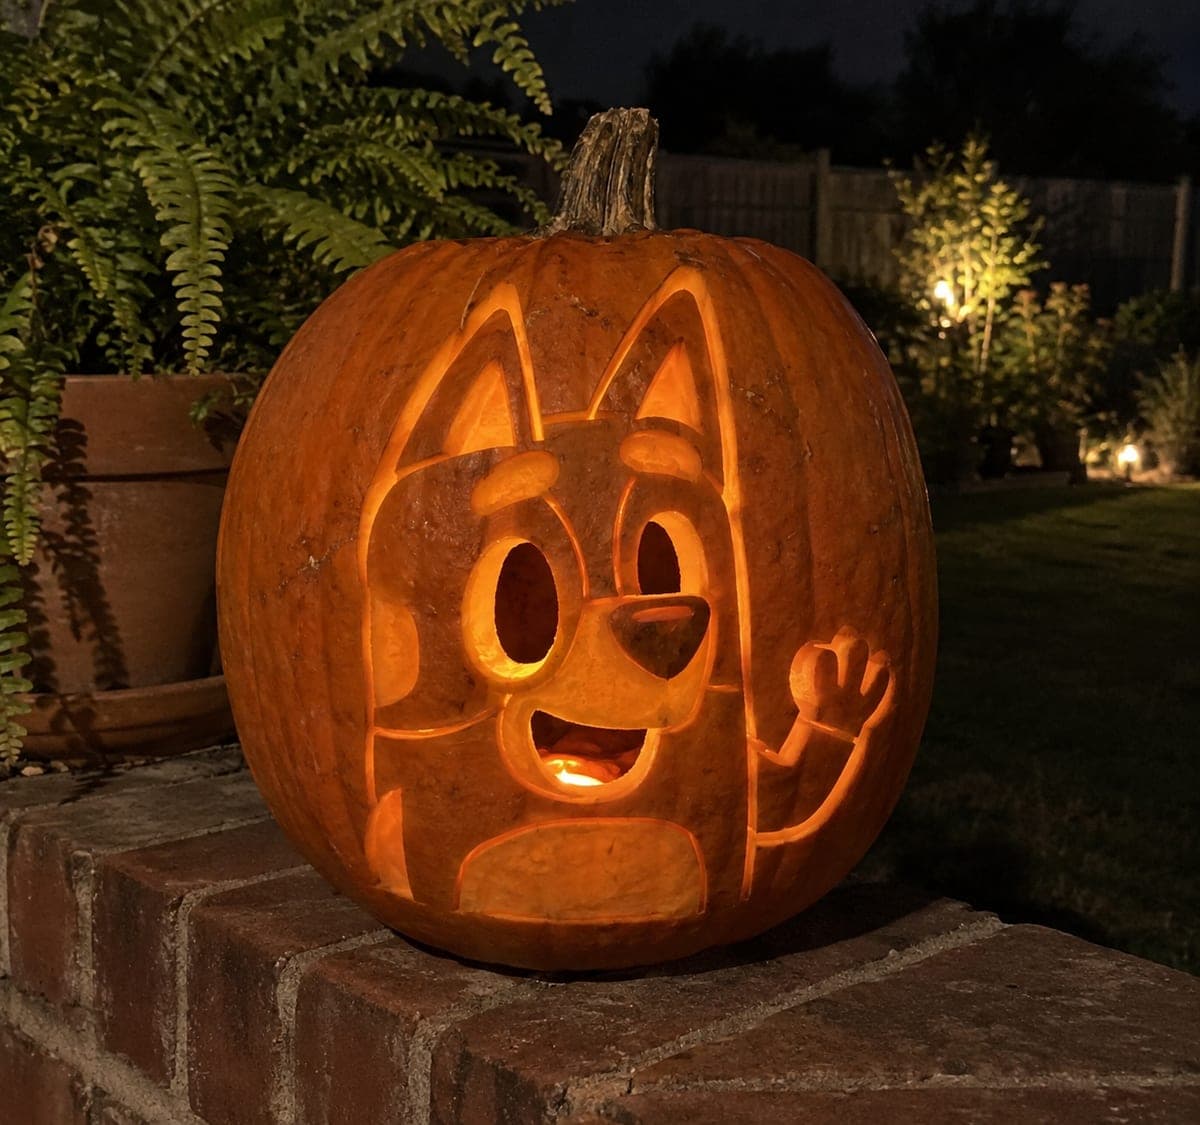
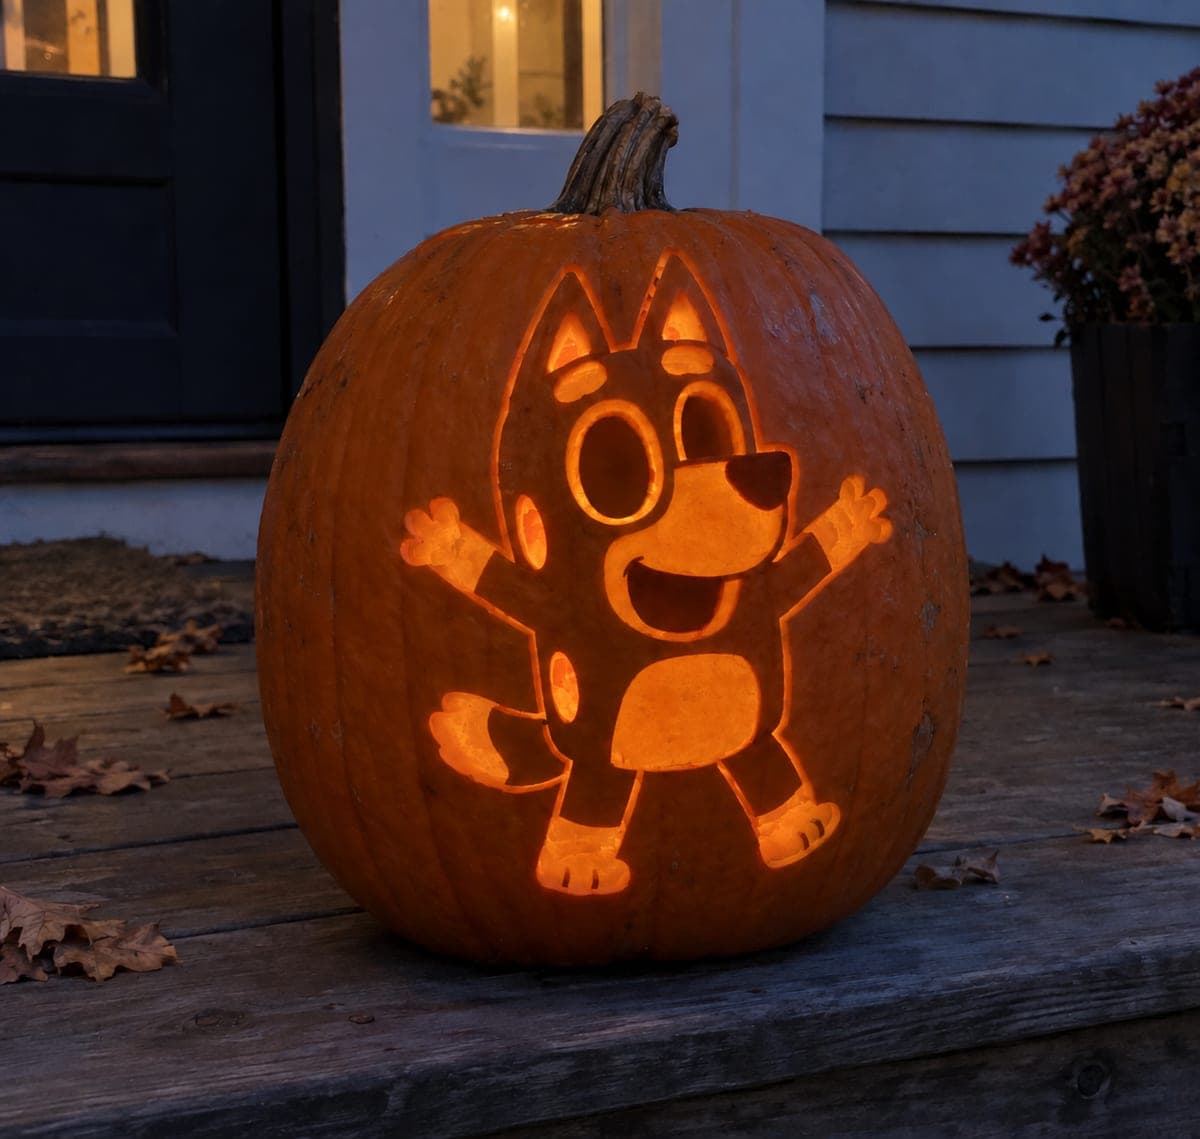
Expert Bluey Full Body Pumpkin Carving with Shallow Relief

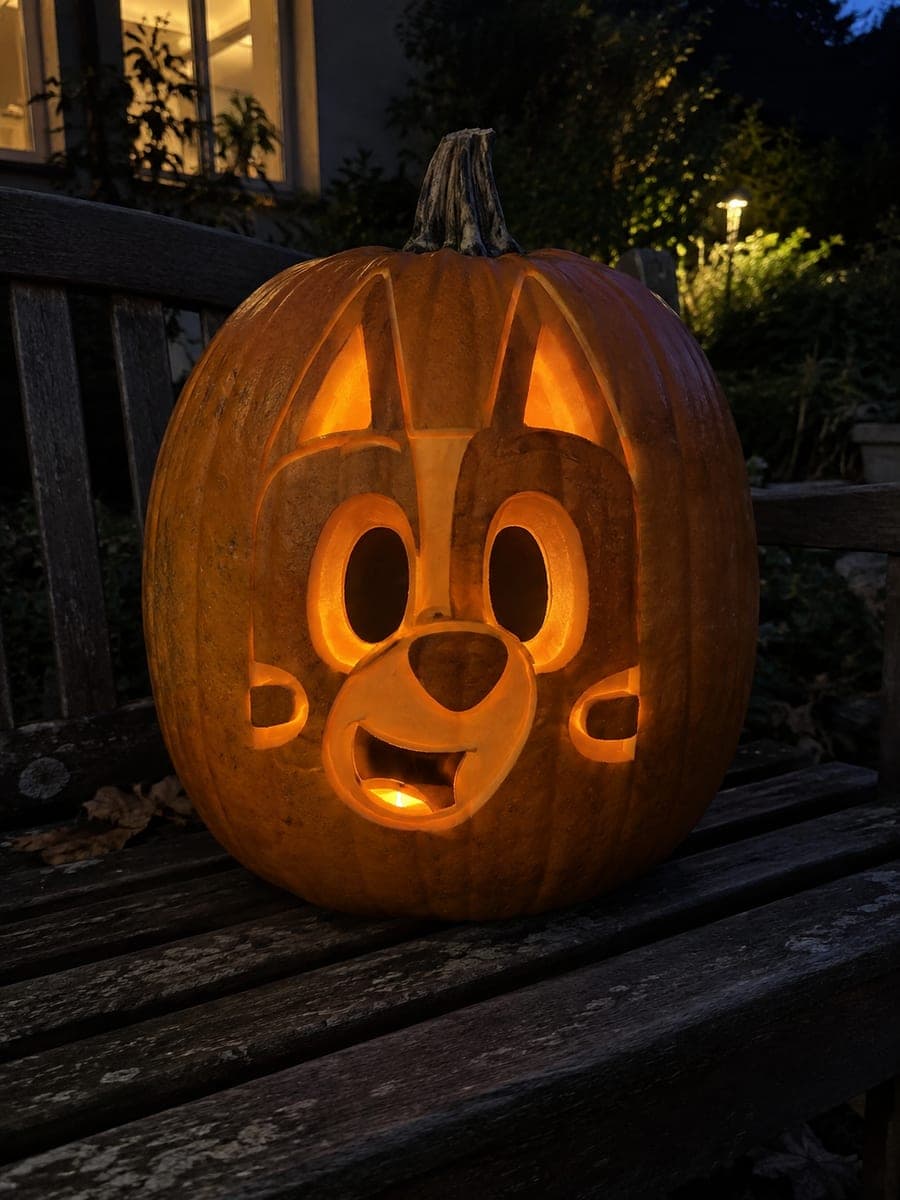
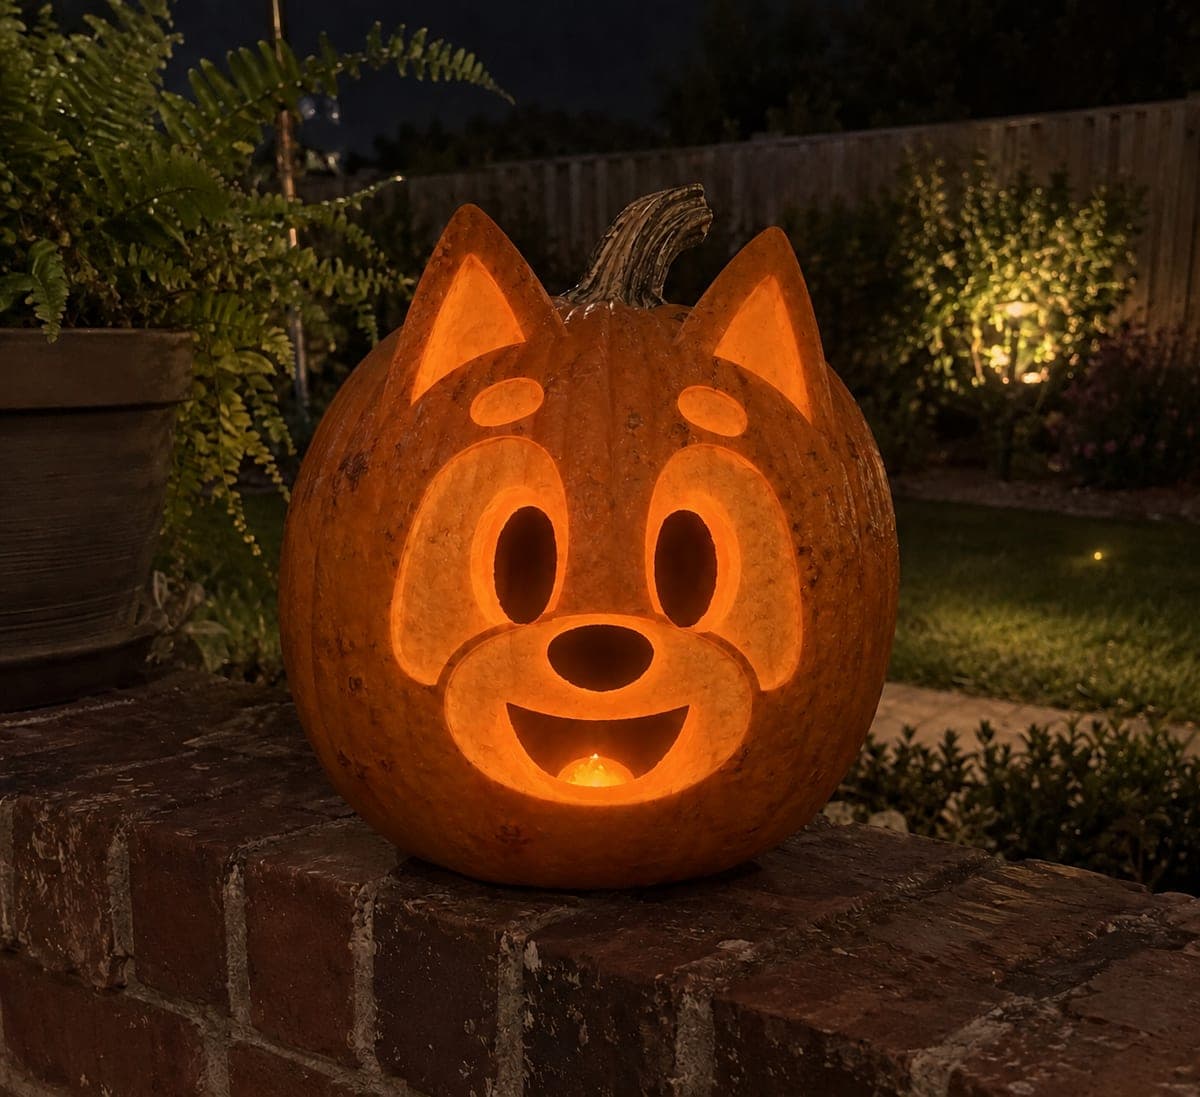
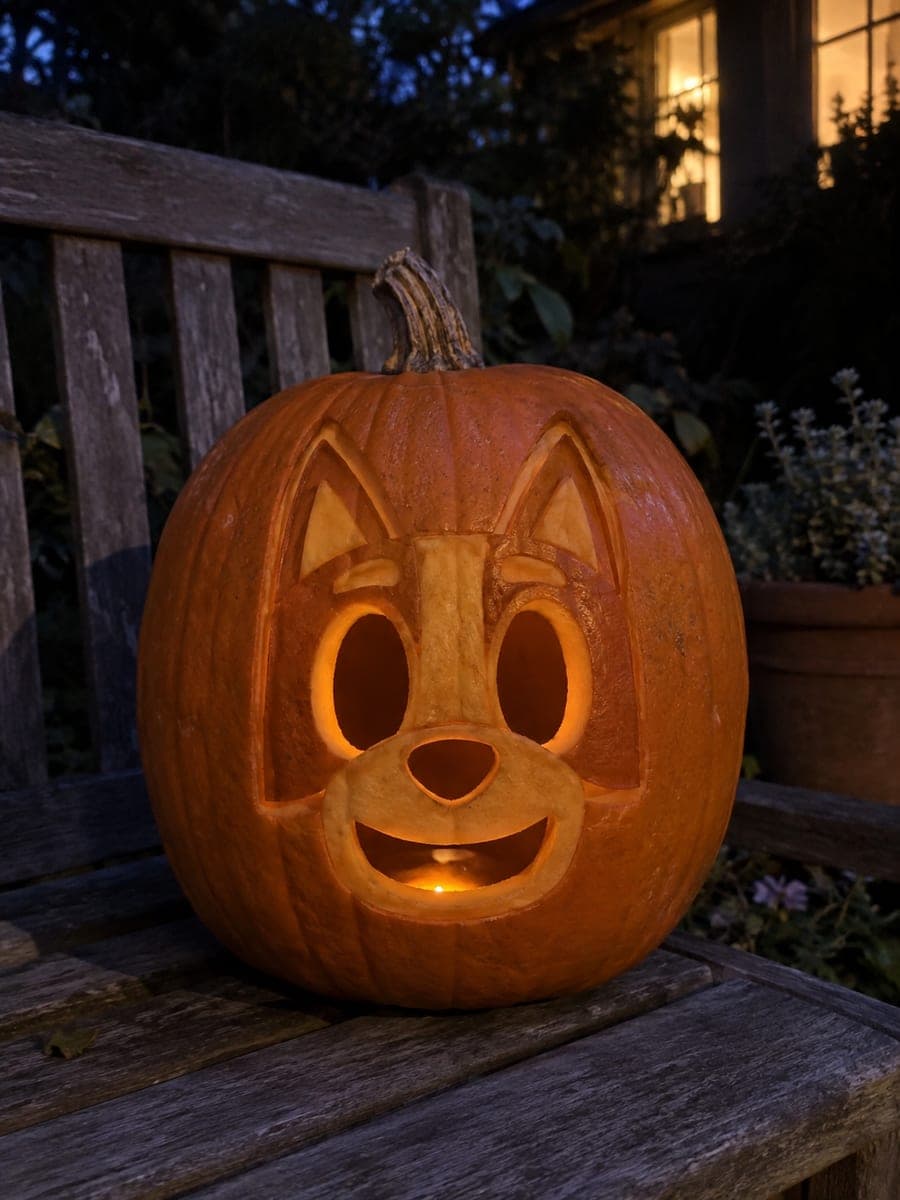
This expert Bluey pumpkin carving idea covers the whole body in shallow-backed relief for limbs, body shape, and highlights, while the full eye ovals and mouth are entirely empty through-apertures with thick cut walls. The combination of through-cuts and continuous shallow relief is what makes this expert-level work. Cut the eye and mouth apertures first with thick walls intact, then build the body relief outward from those anchors. No floating pupils means cleaner structural integrity throughout.

No ratings yet · Sign in to rate
Comments (0)

  • No comments yet — be the first.

Save without an account. Sign in to like or comment.

Our tips for carving a similar design

This expert Bluey design covers the entire pumpkin face with shallow-backed body relief for limbs, body shape, and highlights while the full eye ovals and mouth are entirely hollow through-apertures with thick cut walls. The combination of continuous body-wide relief and deep through-apertures with thick walls is what defines expert difficulty. Cutting the eye and mouth apertures first with thick walls intact and then building the body relief outward from those anchors is the required sequence.

From pumpkin to porch

  1. Hollow with extra care

    Cut the back lid and scoop to one inch throughout. Confirm wall thickness by pressing at multiple points across the entire front face surface. Because the body relief will cover the whole face, every inch of wall needs to be consistent. Any thin spots will break through during the broad relief work. Dry the interior completely before starting.

  2. Transfer the full-body expert template

    Transfer the complete body layout: full oval eye outlines, mouth aperture boundary, all limb positions, body silhouette, and highlight zones. Label each section with its intended depth level, full cut for apertures, half depth for body and limbs, and one-quarter depth for highlight areas. The depth map is the most important planning document for this carving.

  3. Cut the eye apertures with thick walls

    Cut both full oval eye apertures first, working carefully to maintain thick cut walls at the aperture edge. Thick walls here mean cutting straight through rather than at an angle, leaving a full one-inch wall cross-section visible at each aperture edge. Thin-walled apertures are fragile; thick walls are the foundation for the surrounding body relief.

  4. Cut the mouth aperture

    Cut the mouth aperture using the same thick-wall technique. The instruction notes specify no floating pupils, so the eyes and mouth are clean open holes with no interior detail elements left suspended. Confirm every cut edge is clean and stable.

  5. Carve the full-body relief

    Starting from the aperture edges and working outward, back-carve the body, limbs, and highlight zones using a wide flat gouge for broad areas and a narrow gouge for limb contours. Maintain the depth levels from your map consistently. The highlight zones are carved at one-quarter depth so they glow at the lowest intensity, creating visible light-level variation across the body.

  6. Refine transitions and light

    Use a V-tool to sharpen any transitions between depth zones that look abrupt. Insert a steady cool white LED and check the full composition with the back lid closed. Every depth level across the body should be distinctly visible simultaneously. Display at eye level where the full-body composition reads as a complete character.

Written with AI to match this design

Gather your supplies

Check things off as you get ready.

Work on a stable surface, keep your free hand out of the cutting path, and have an adult handle sharp tools.

Three levels of light

  • Leave intact

    Outer rind border around the full-body composition stays at full dark depth to frame the design

  • Peel & shade

    Body and limb areas at half depth for mid glow; highlight zones at one-quarter depth for a softer accent glow

  • Cut through

    Full oval eye apertures and mouth aperture with thick walls are entirely cut through for full brightness

Learn the carving basics

Before you start cutting

How do I maintain thick walls at the aperture edges while back-carving body relief so close to them?

Work the body relief up to within a quarter inch of each aperture edge and stop. Use a narrow gouge for the final pass near the aperture, angling the tool to carve toward the aperture rather than parallel to it. This leaves a subtle raised ledge of rind right at the aperture edge that reads as the thick wall definition visible from the outside.

The full-body relief is very large. How long should I expect this carving to take?

An expert-level full-body shading carving typically takes three to six hours of active carving time after the prep and hollow. Breaking the work into the aperture session and the relief session on separate days is practical and recommended. A refrigerated pumpkin wrapped in a damp cloth stays firm between sessions.

Can I use this same technique for other cartoon characters beyond Bluey?

Yes, the whole-body shallow relief approach works for any cartoon character with a flat, stylized silhouette. Characters with distinctive color patches, like Bingo or other Heeler pups from the show, are natural candidates since the patch zones can be carved at different relief depths to simulate the color variation using light level alone.

Your take belongs here, too.

Changed a detail? Made it simpler? Share a photo of your version and tell the community what worked.

Share your pumpkin

More pumpkins like this

You've reached the end · 8 pumpkins
The Patch Report

Fresh pumpkins, in your inbox.

The best new carvings, ideas worth stealing, and how-tos for carving season. Short, seasonal, and gone by November.

A short email during carving season. Unsubscribe anytime. See our privacy policy.