How to Light a Jack-o'-Lantern
Candle versus LED, the chimney trick, colored light, and how to photograph the glow so it looks as good online as on the porch.
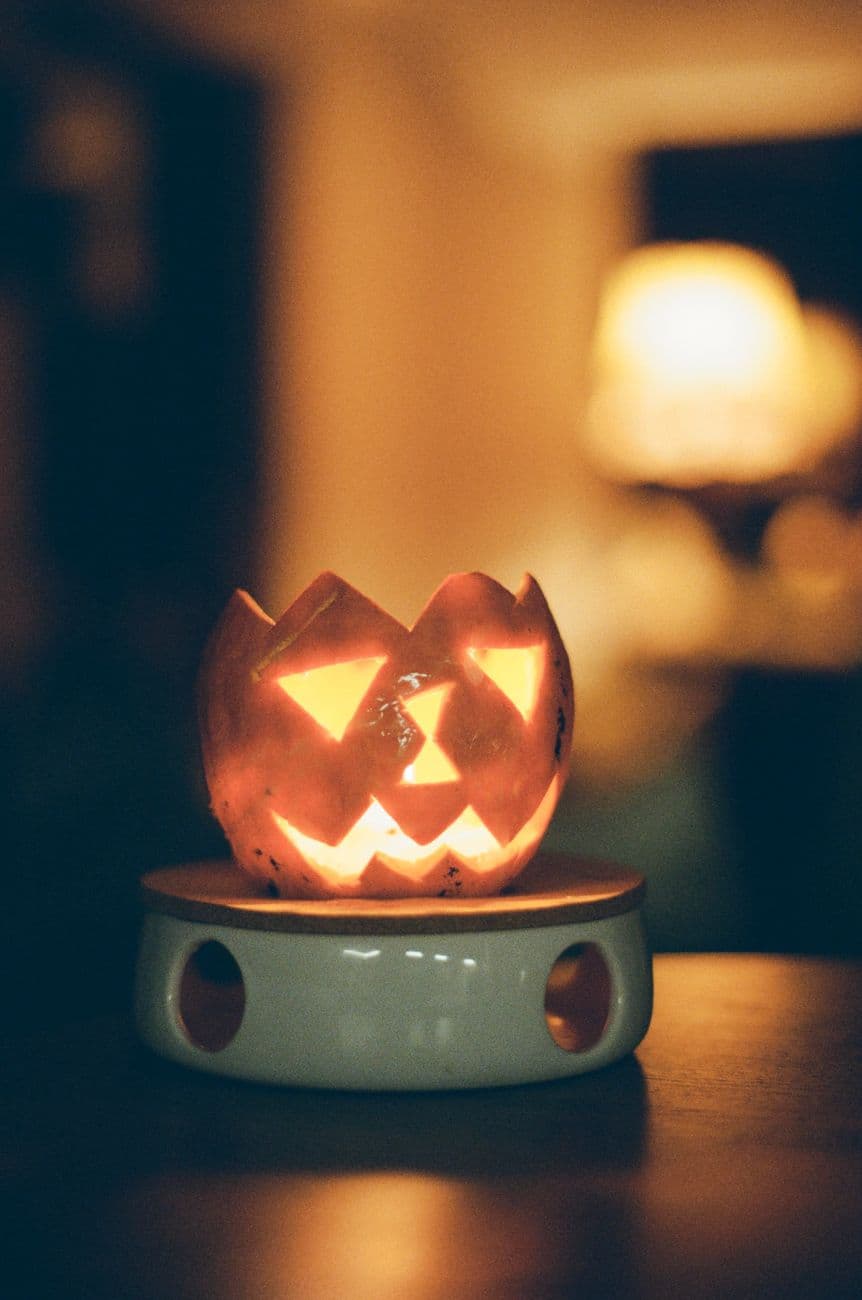
A carve is only half the show. The same pumpkin can look flat or spectacular depending on what is glowing inside it, so give the light ten minutes of thought.
The real candle
Nothing matches actual flame: the warmth and natural flicker are what LEDs imitate. To do it safely and well:
- Use a tealight in a glass holder, placed on a bed of foil so it sits level.
- Cut a chimney: a small hole in the back of the lid lets heat and smoke escape. Without one, the lid cooks, the flame starves, and soot stains the top opening.
- Light it with a long lighter or spaghetti noodle through a back opening instead of reaching through the face.
- Real flame belongs on stone or concrete, away from leaves and costumes, and never unattended. Wind is its enemy; porches beat lawns.
A candle lightly cooks the pumpkin from inside, so on nights you are not showing it off, swap in an LED. It buys days of life; more on that in make it last.
The LED options
Modern LEDs are bright enough to beat candles at their own game:
- Flickering LED tealights are the closest one-for-one swap and are safe around kids, costumes, and dry leaves.
- LED puck lights are the brightness kings. Peel-technique and shaded carves basically require one; soft candlelight cannot push through a midtone.
- A short string of battery fairy lights balled inside gives an even, shadowless glow that suits intricate designs with many small openings.
Brightness rule of thumb: simple cutout faces look best with soft, flickering light; detailed and shaded carves look best with strong, steady light.
Color and drama
Colored LED pucks change the personality of the same carve: green reads mad-scientist, purple reads witchy, red reads menacing. Two smaller lights, one warm and one colored, add depth that a single source cannot. And a chunk of dry ice in a cup of warm water inside the pumpkin (gloves, ventilation, and away from kids) pours fog through the grin for the full haunted-porch effect.
Photographing the glow
For the porch photo, and for the gallery:
- Shoot at dusk, not midnight. A little ambient light keeps the pumpkin's shape visible around the glow.
- Turn off the flash. It flattens the carve and kills the glow entirely.
- Steady the phone on a rail or step, get low so the pumpkin fills the frame, and tap-to-focus on the brightest opening.
- Take one wide shot and one close-up; close-ups of the glowing details usually win.
Ready to put it to use?
Pick a design from the gallery, then share your carve when it is done.