25 DIY Traditional Pumpkin Stencils
25 printable diy traditional pumpkin stencils — ready to download, trace, and light up the porch.
1. Double Bars and Zigzag Teeth
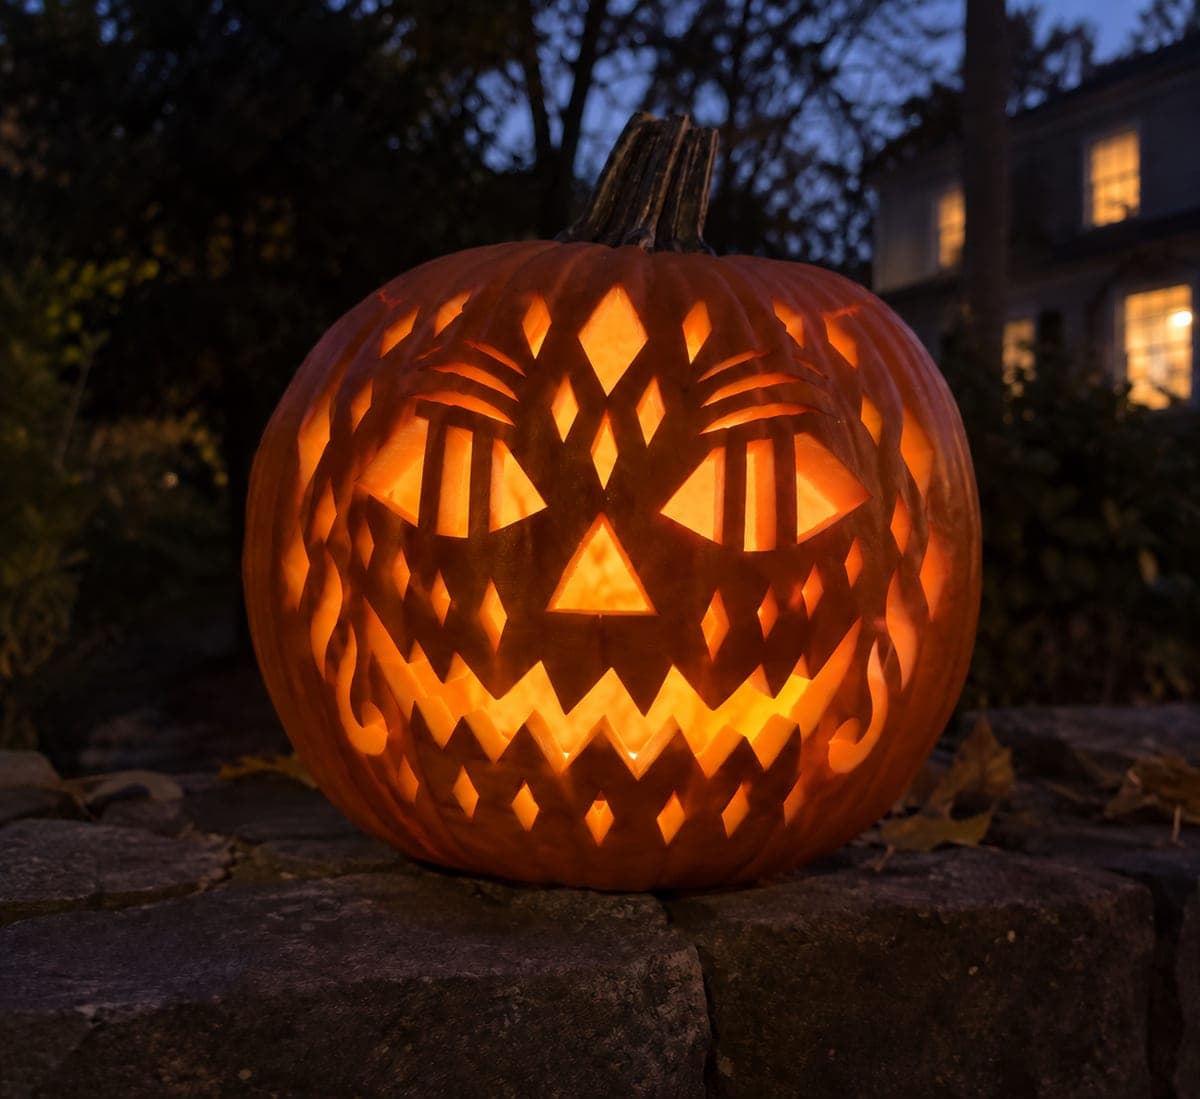
An elaborate jack-o'-lantern face built from layered geometry: triangle eyes barred with double rind strips, arched claw-like brows, diamond accents down the cheeks, and a wide zigzag mouth of interlocking teeth flanked by curling flame flourishes. The many openings are cut through around a lattice of thin surviving rind. This expert design demands a sharp fine-tooth saw and a plan: cut from the center outward, finishing the outer flourishes last while the wall is still strong.
See template →2. Plain Cross with Nine Rays
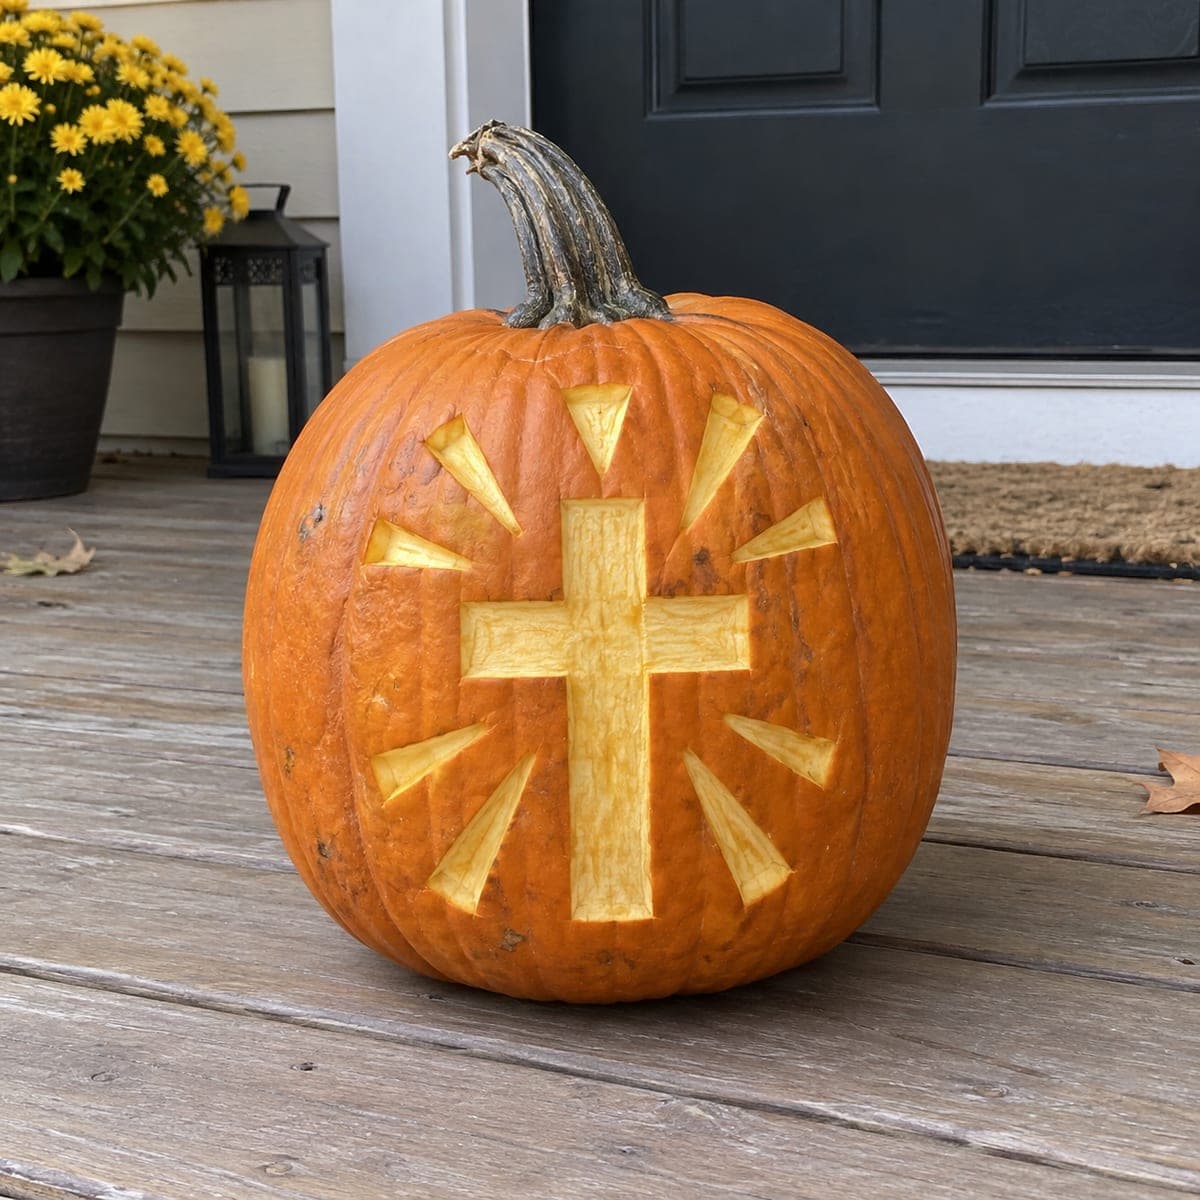
A plain cross stands at the center while nine tapered rays of light fan outward around it, like a sunburst breaking through. This shaded design is carved on a continuous wall, shaving the skin away so the cross and rays glow warmly with no pierced openings, which suits a reverent, softer look. Shave the cross to an even depth first, then taper each ray shallower toward its tip so the light appears to fade outward.
See template →3. Triangle Ring and Jagged Grin
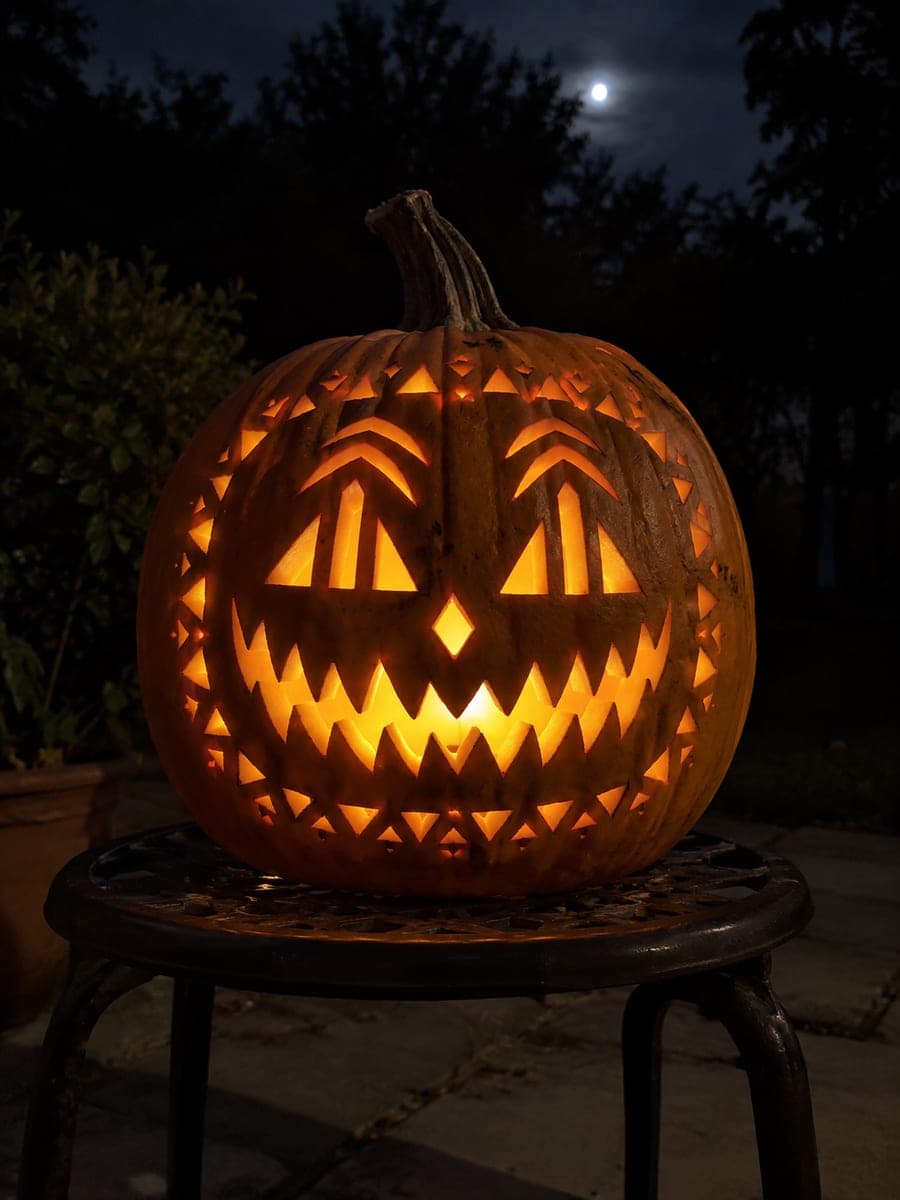
An ornate expert-level face framed by a full ring of small triangle cutouts circling the pumpkin, with chevron-crested brows, barred flame-shaped eyes, a diamond nose, and a huge jagged grin holding fourteen zigzag teeth. Everything pierces through, so the finished lantern sparkles from every angle like carved lace. Plan your order: punch the border triangles first while the wall is rigid, then work inward, saving the long fragile grin for the very end.
See template →4. Vintage Arches and Round Grin

Arched triple line brows curl above big eyes divided by rind bars, a long triangle nose drops between them, and a huge grin shows a full row of rounded teeth with dotted curlicue accents swirling at each cheek. All the openings are cut through in a cheerful retro style straight off an old holiday postcard. Rated hard for its many small dots and thin brow lines, it rewards a fine detail saw and a drill for the dots.
See template →5. Cross in an Oval Ray Field
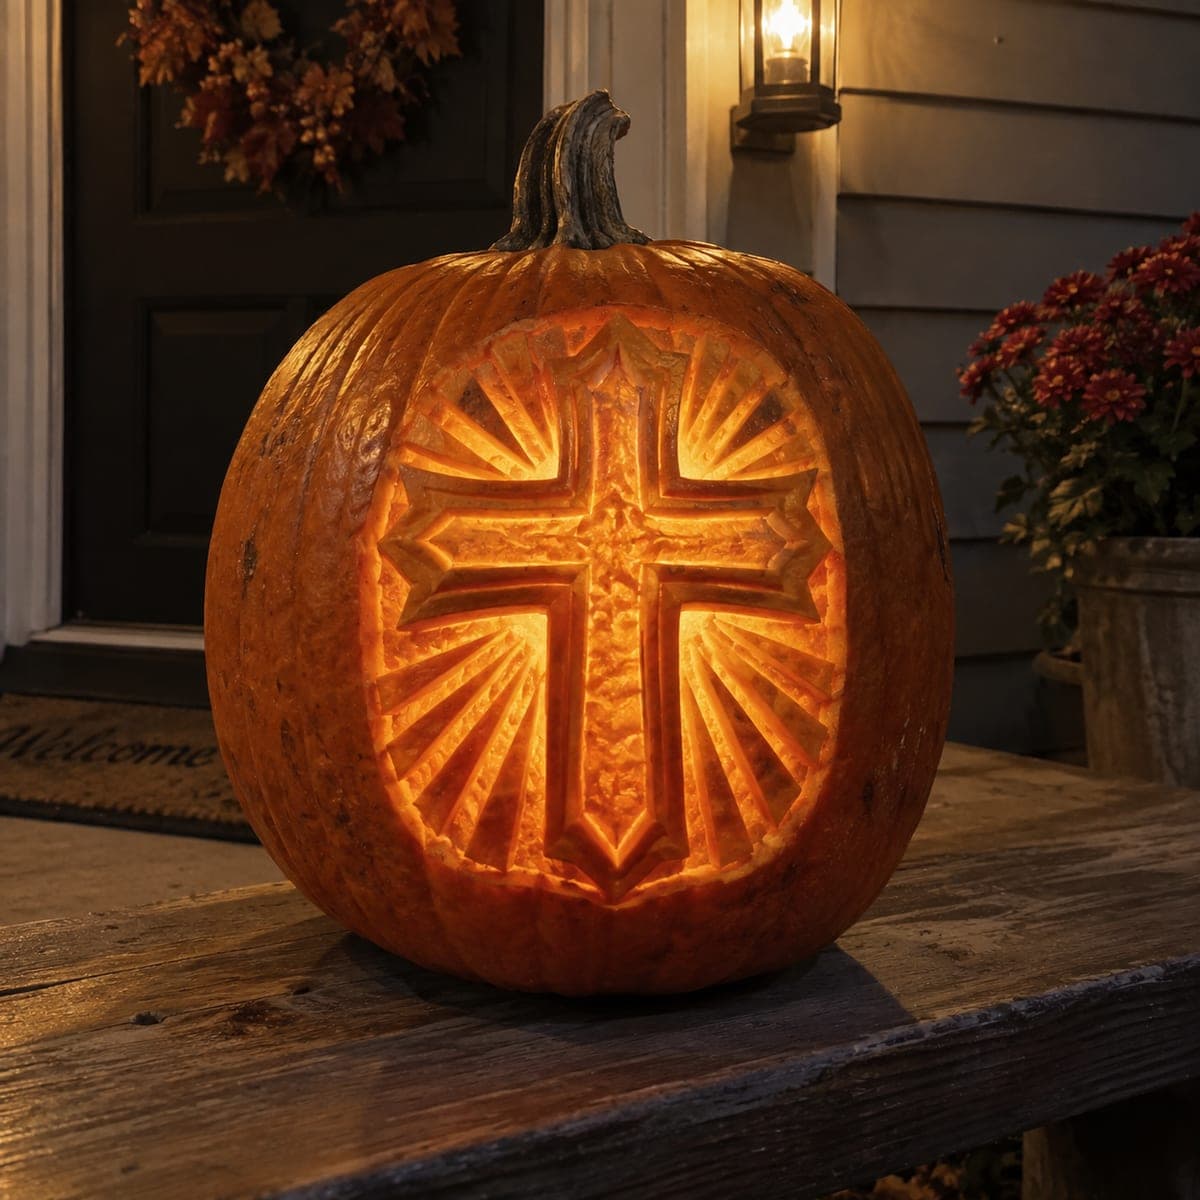
An ornate flared cross stands at the center of an oval field of sunburst rays that radiate outward to the design's edge. It is carved entirely in continuous-wall relief: the cross is left raised with beveled edges while the rays are shaved to alternating depths so light plays across the whole medallion. This hard shading piece rewards patience, so establish the cross outline deep and clean first, then carve every ray from the cross outward to keep the bevels crisp.
See template →6. Radiant Cross and Lower Leaves
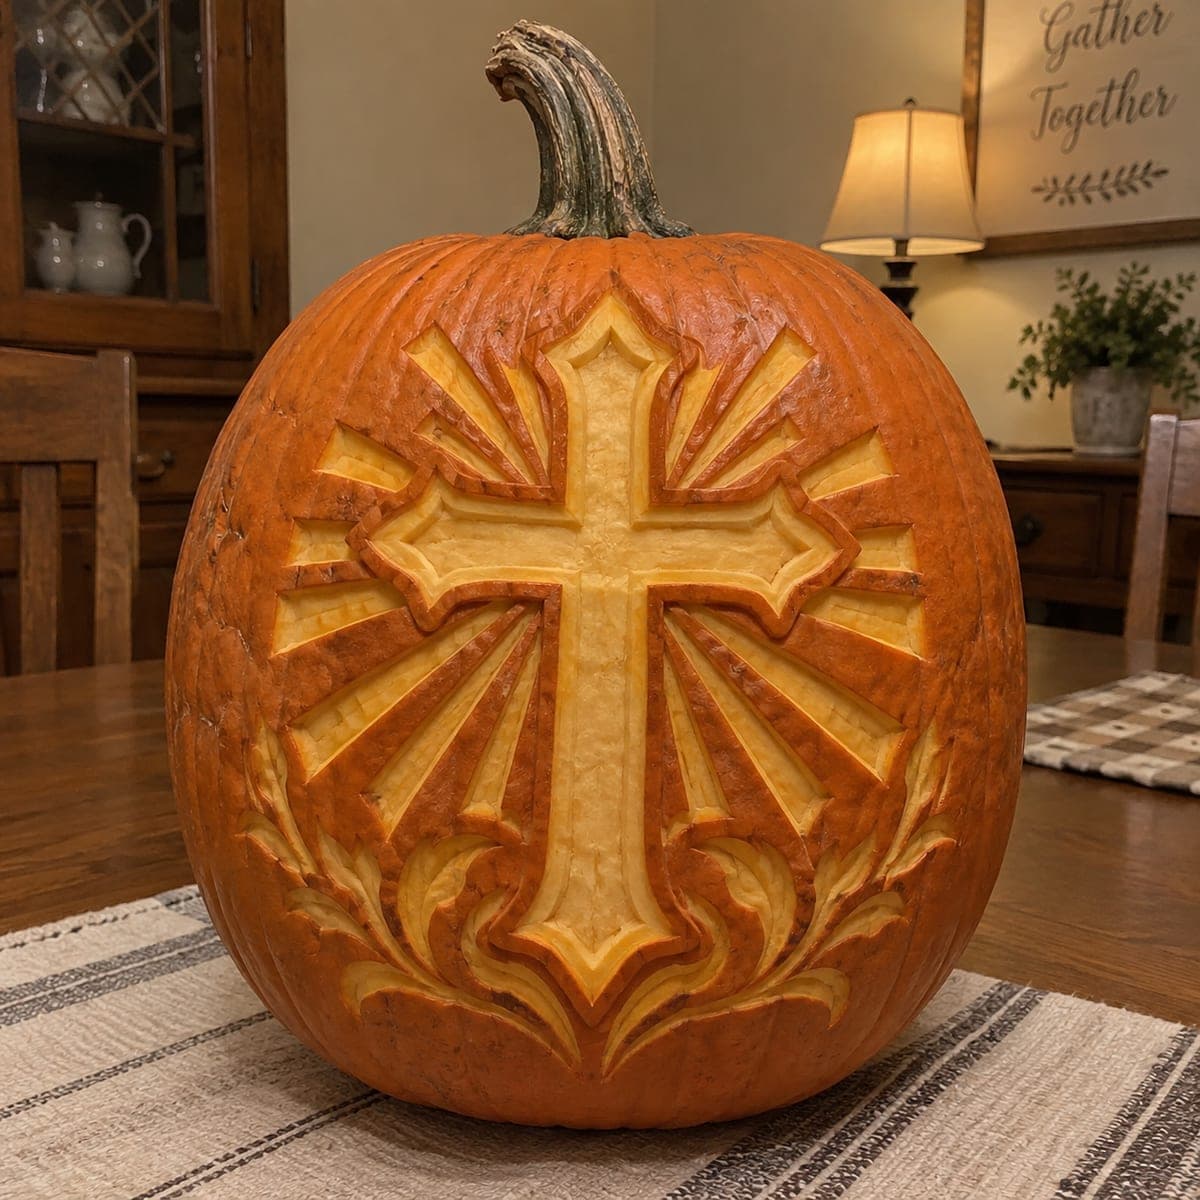
An ornate flared cross rises from a bed of scrolling leaves while sunburst rays fan out behind every arm, all carved in layered relief. Nothing pierces the wall: the cross, rays, and foliage are shaved at multiple depths so the design reads as glowing sculpture with crisp raised borders. This expert shading project demands patience, so map your three depth levels first and always carve the background rays before refining the cross's beveled edges.
See template →7. Barred Eyes and Serrated Grin
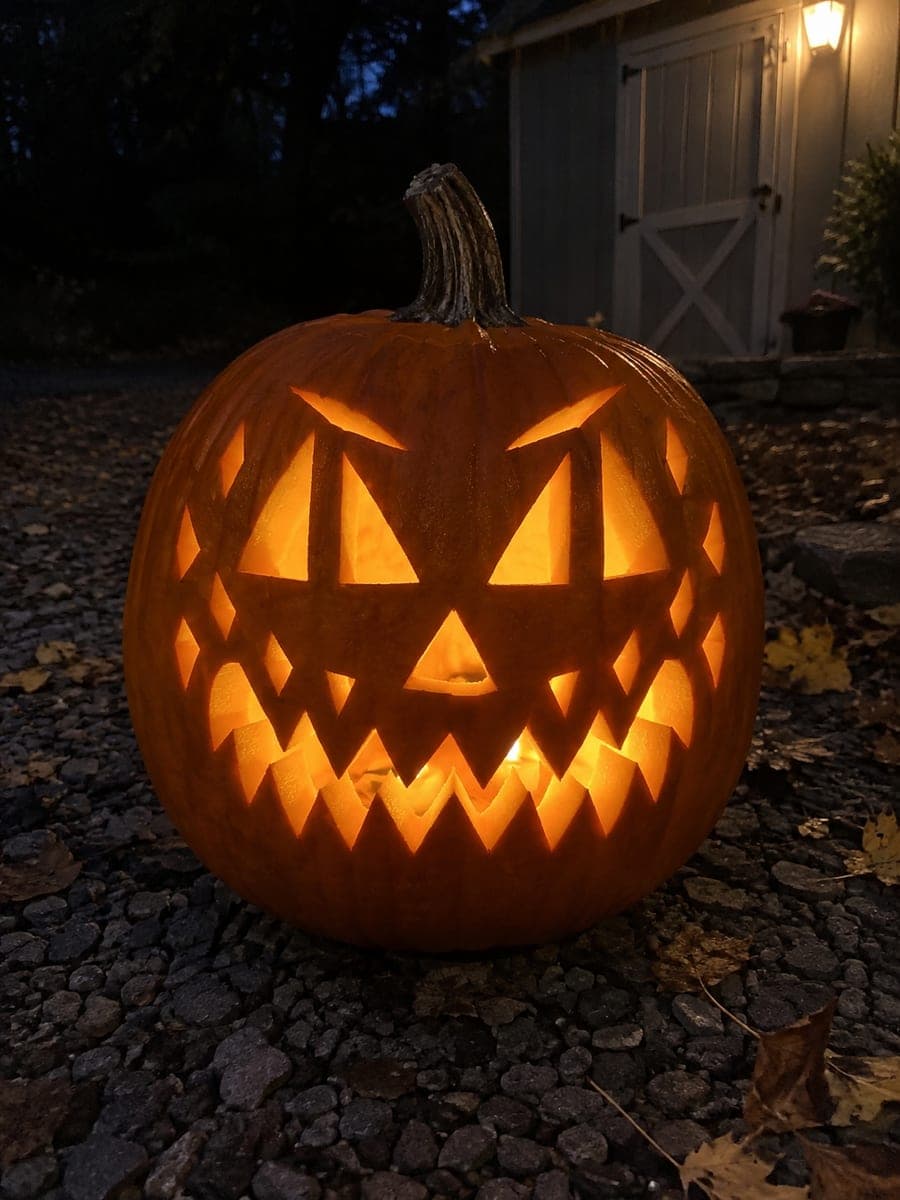
This wicked traditional face stacks barred triangle eyes with heavy slanted brows above a huge serrated grin, then flanks the mouth with rows of small wedge and diamond accents across both cheeks. Everything is cut through, and the eye bars are thin strips of shell left inside each triangle. Cut on both sides of each eye bar before removing the surrounding pieces, and save the tiny cheek diamonds for last.
See template →8. Moon Profile and One Star
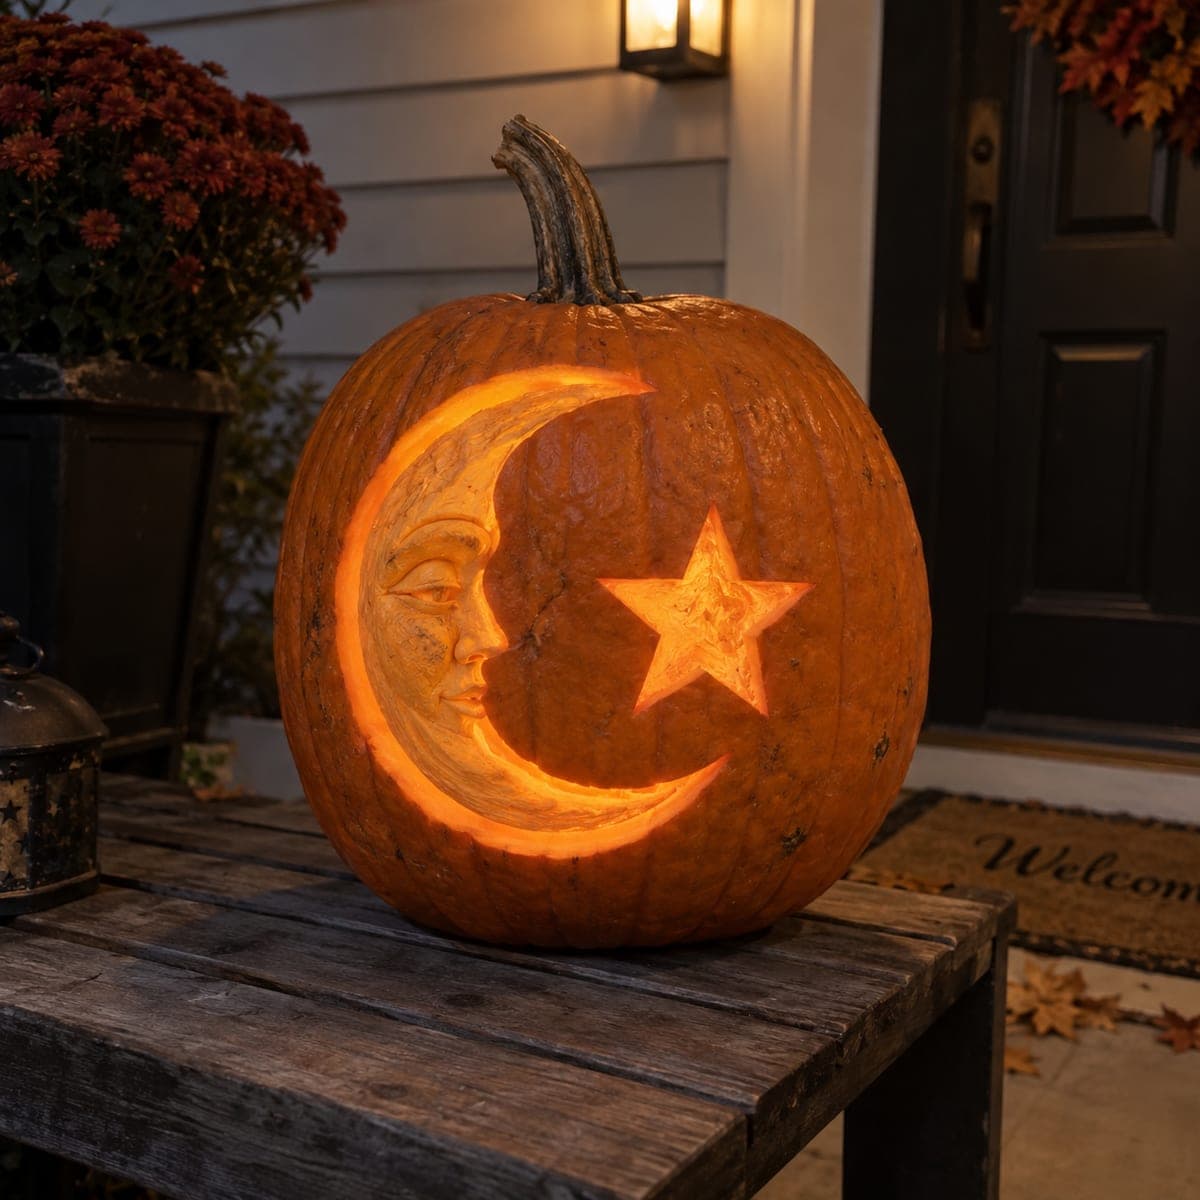
A serene man-in-the-moon profile fills a broad crescent, his closed-eye face, nose, and lips sculpted in layered relief within the shaved moon shape, while a single five-pointed star glows beside him. The moon is carved as continuous-wall shading at multiple depths and only the star area is thinned to shine brightest. This expert piece is all about depth control; rough in the crescent first, then sculpt the facial features gradually, checking the glow with a light as you go.
See template →9. Barred Triangles and Grid Grin

A grinning classic face where each triangle eye is split by a vertical bar of rind, the diamond nose sits between rows of small diamond cheek cutouts, and the huge smile is divided into a grid of rectangular tooth windows. Everything is pierced through, creating a lantern that flickers from dozens of openings. Rated hard because those rind bars and grid struts are fragile; cut away from each bar and never twist the blade near them.
See template →10. Triangle Eyes and Six Diamonds

This elevated take on the traditional face pairs slanted triangle eyes topped with thin brow slits, a triangle nose, and a deep zigzag grin, then adds three small diamond cutouts on each cheek for extra sparkle. Every element is pierced through the wall. The brow slits and little diamonds are what push it to medium; cut the big shapes first, then handle each diamond with a narrow saw, working point to point so they stay crisp.
See template →11. Mini Face with Twin Teeth

Sized for small pumpkins, this friendly face uses two triangle eyes, a tiny triangle nose, and a rectangular mouth with two square teeth notched into the top edge. All openings cut straight through, and the compact layout keeps every feature close together so it reads clearly on a little gourd. On thin-walled mini pumpkins, use a fine serrated blade and light pressure to avoid splitting the shell between cuts.
See template →12. Almond Eyes and Seven Teeth

A wide, low jack-o'-lantern face with sly almond-shaped eyes, a small triangle nose, and a long jagged mouth packed with alternating square teeth top and bottom. Everything is pierced through, and the horizontal layout suits squat, wide pumpkins. At medium difficulty the tooth row is the main work; cut the mouth's outer outline first, then remove the gaps between teeth one at a time so each block keeps support while you work.
See template →13. Turnip Triangle Surprise Face

A nod to the original Irish lanterns: a simple startled face with two triangle eyes and a small arched mouth, designed to suit a turnip, rutabaga, or small pale pumpkin. All three openings cut straight through the wall. Root vegetables are much denser than pumpkins, so hollow the inside generously first and use short, firm saw strokes; on a regular pumpkin this carves in minutes.
See template →14. Crescent Seven Stars Six Dots
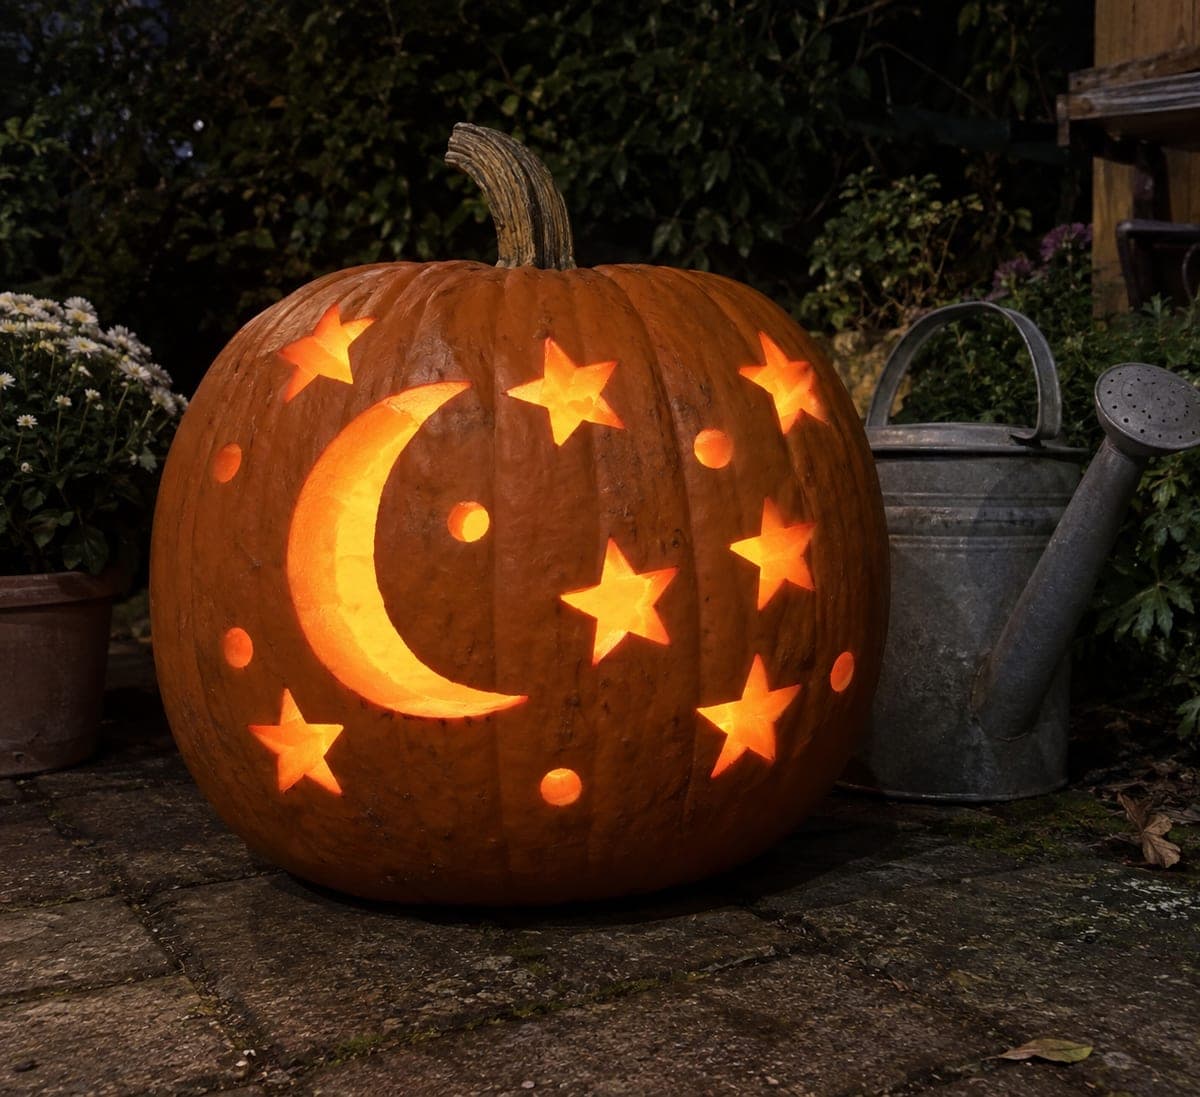
A large crescent moon glows at the left while seven chunky five-point stars and six round dots scatter across the rest of the pumpkin like a full night sky. Every moon, star, and dot is pierced through, so the whole surface twinkles when lit. Space your cuts out as you go, alternating sides of the pumpkin, so the wall keeps its strength until the final star is freed.
See template →15. Triangle Eyes and Crescent Grin
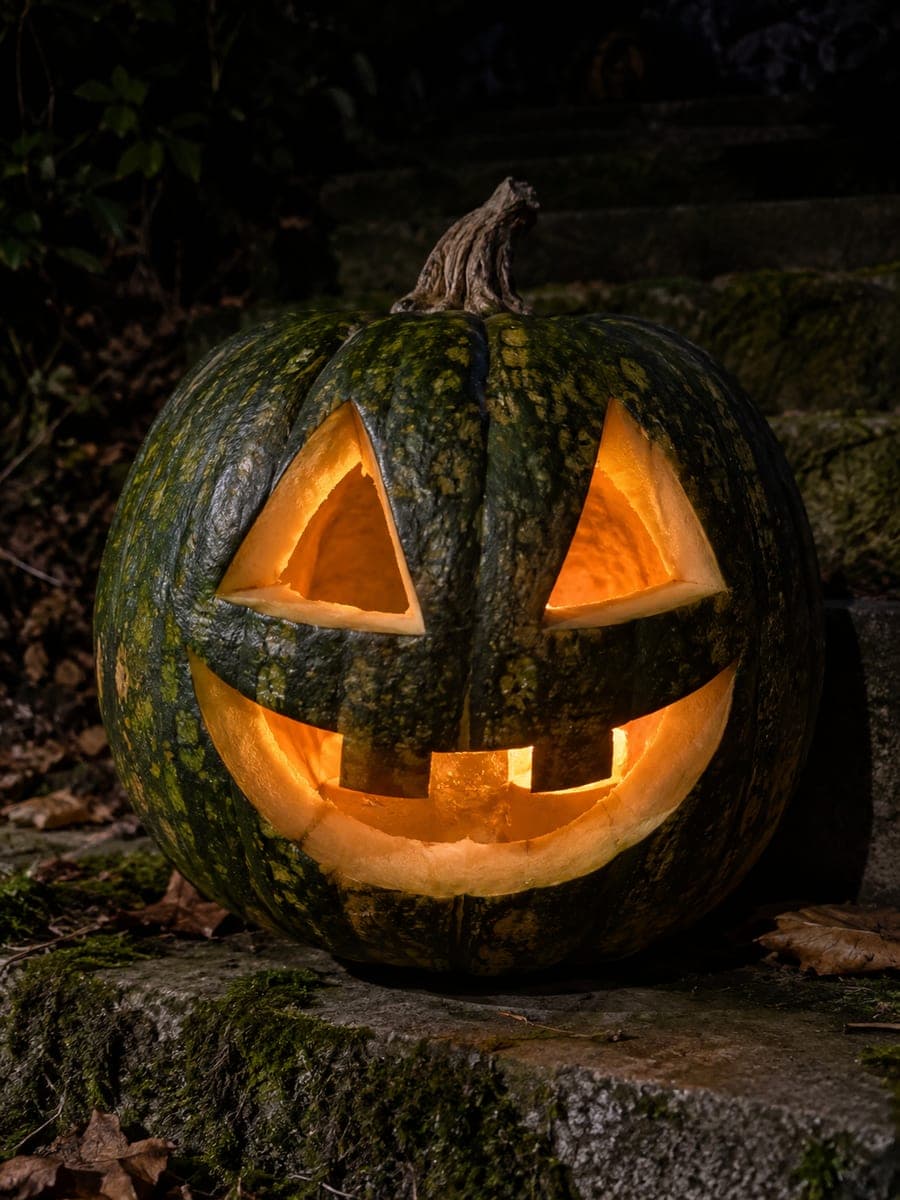
A bold traditional design pairing two big triangle eyes with a wide crescent grin crossed by chunky square teeth top and bottom. All openings pierce the wall completely, so the face burns bright on any pumpkin, including green or white varieties. An easy carve with generous shapes; free the tooth gaps first, then cut the long smile curve in sections so the grin keeps its clean sweep.
See template →16. Round Eyes and Two Short Teeth
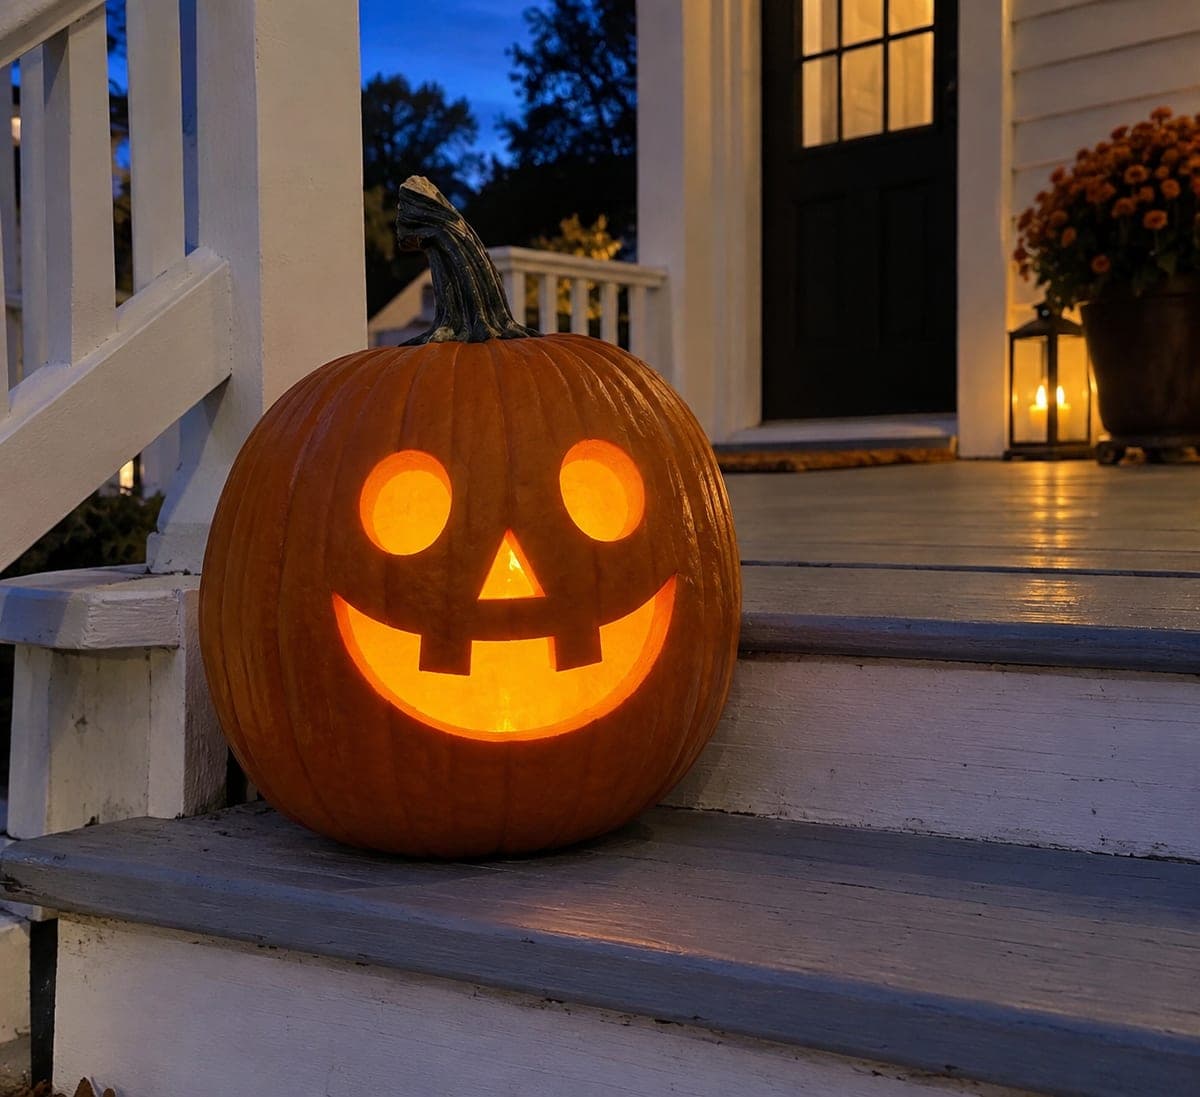
Round eyes, a small triangle nose, and a broad grin with two stubby square teeth give this jack-o'-lantern a warm, welcoming personality. The eyes, nose, and mouth are cut through, while the two little teeth stay attached along the top of the smile. On this easy carve, cut carefully around each tooth so it remains anchored to the wall; everything else is simple circles and one flowing mouth curve.
See template →17. Triangle Eyes and Long O Mouth

Two crisp triangle eyes sit above a tall oval mouth frozen mid-gasp, the three-hole formula that has decorated doorsteps for generations. All three shapes cut straight through, so the whole face can be finished in minutes, making it the ideal last-minute design. Cut each triangle with three straight strokes that overlap slightly at the corners so the points pop out cleanly.
See template →18. Tall Eyes and Twin Upper Teeth

The timeless jack-o'-lantern: two tall triangle eyes, a small triangle nose, and a broad smile notched by two square upper teeth. Every element cuts straight through with simple lines, making this the ideal very first pumpkin carve. Use long, steady saw strokes and keep the blade perpendicular to the shell so the triangle points stay sharp, then pop each piece out from the inside.
See template →19. Tall Triangles and Open Smile

Two tall triangle eyes and a wide open smile with a single pointed upper notch make up this timeless jack-o'-lantern face, shown here glowing warmly from an ivory white pumpkin. Every shape is a straightforward cut-through with no attached pieces to protect. It is as easy as carving gets: make long straight cuts for the triangles and let the knife follow the smile's curve in smooth strokes, and it looks brilliant on white or orange pumpkins alike.
See template →20. Leaning Eyes and Square Teeth

The timeless jack-o'-lantern: two leaning triangle eyes, a triangle nose, and a huge crescent grin interrupted by two blocky square teeth, one up and one down. Everything is a straightforward cut-through, which is exactly why this face has been a first-timer favorite for generations. Cut the mouth last and leave the tooth tabs generous; you can always trim a tooth thinner, but you cannot put pumpkin back.
See template →21. Wide Crescent and Short Teeth

The timeless jack-o'-lantern: two triangle eyes, a triangle nose, and a wide crescent grin broken by a few short square teeth left in place. Every shape is a straightforward cut-through, making this an ideal first carve of the season. Cut each triangle in three straight strokes that meet at the corners, and leave the teeth generous so they do not snap off.
See template →22. Triangle Face and Lower Teeth

The most traditional face in the patch: two triangle eyes, a triangle nose, and a wide smile interrupted by two square teeth rising from the lower lip. All five shapes cut straight through with no curves to fight, making this an ideal first carve. Push the saw in straight vertical strokes and finish each triangle corner cleanly from both sides before popping the piece out.
See template →23. Tall Triangles and Twin Teeth

The timeless jack-o'-lantern: two tall triangle eyes, a smaller triangle nose, and a wide friendly smile interrupted by two blocky teeth, one dropping from the top lip and one rising from the bottom. All four shapes are cut straight through for that classic warm glow. This easy pattern is ideal for a child's first supervised carve; make each triangle in three straight cuts and push the pieces out from inside the pumpkin.
See template →24. Diamond Nose and Three Teeth
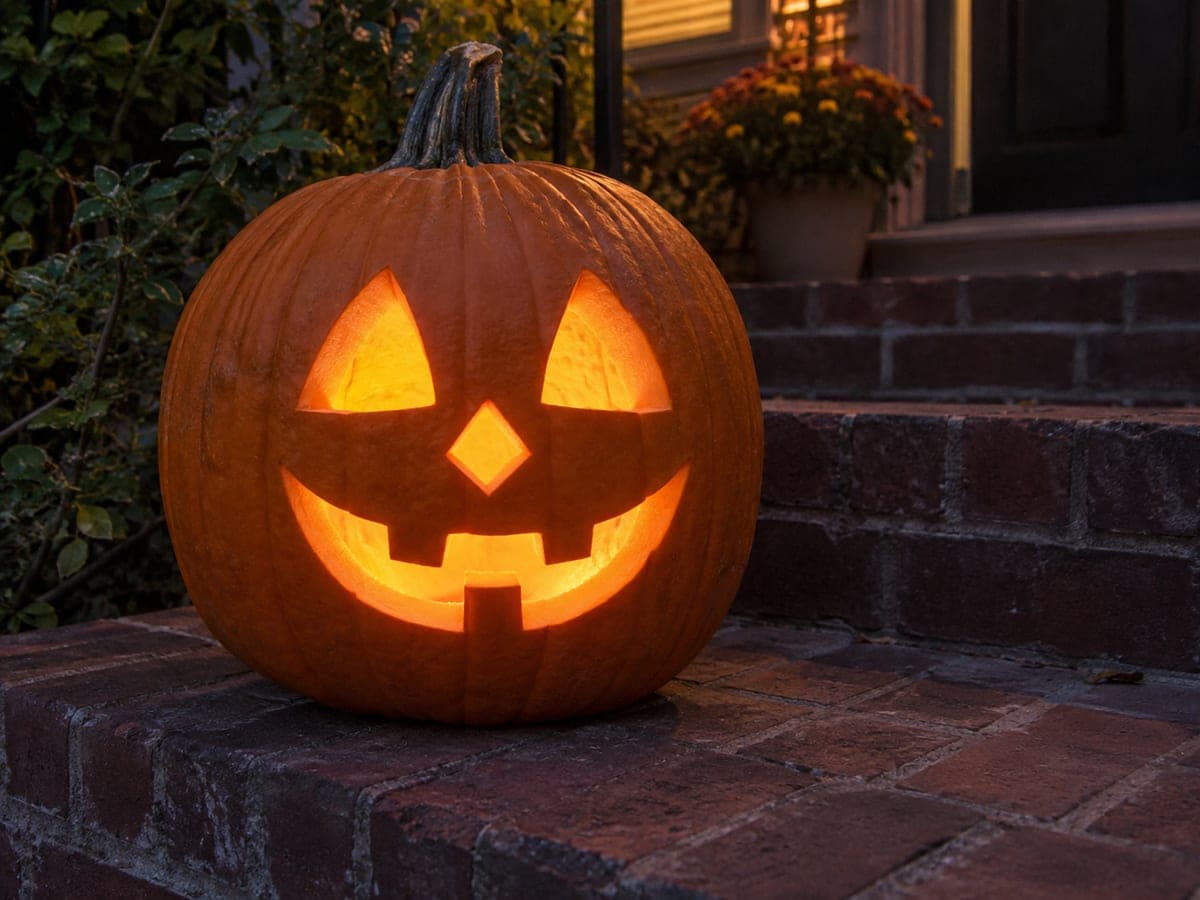
This is the timeless jack-o'-lantern: two triangle eyes, a diamond nose, and a wide crescent grin interrupted by three blocky square teeth, one hanging from the top lip and two rising from the bottom. Everything except the teeth is cut through, with the teeth left as standing tabs of shell. It is an easy, forgiving first carve; cut toward each tooth from both sides rather than sawing across it, so the tabs never take sideways pressure.
See template →25. Broad Grin with Five Teeth
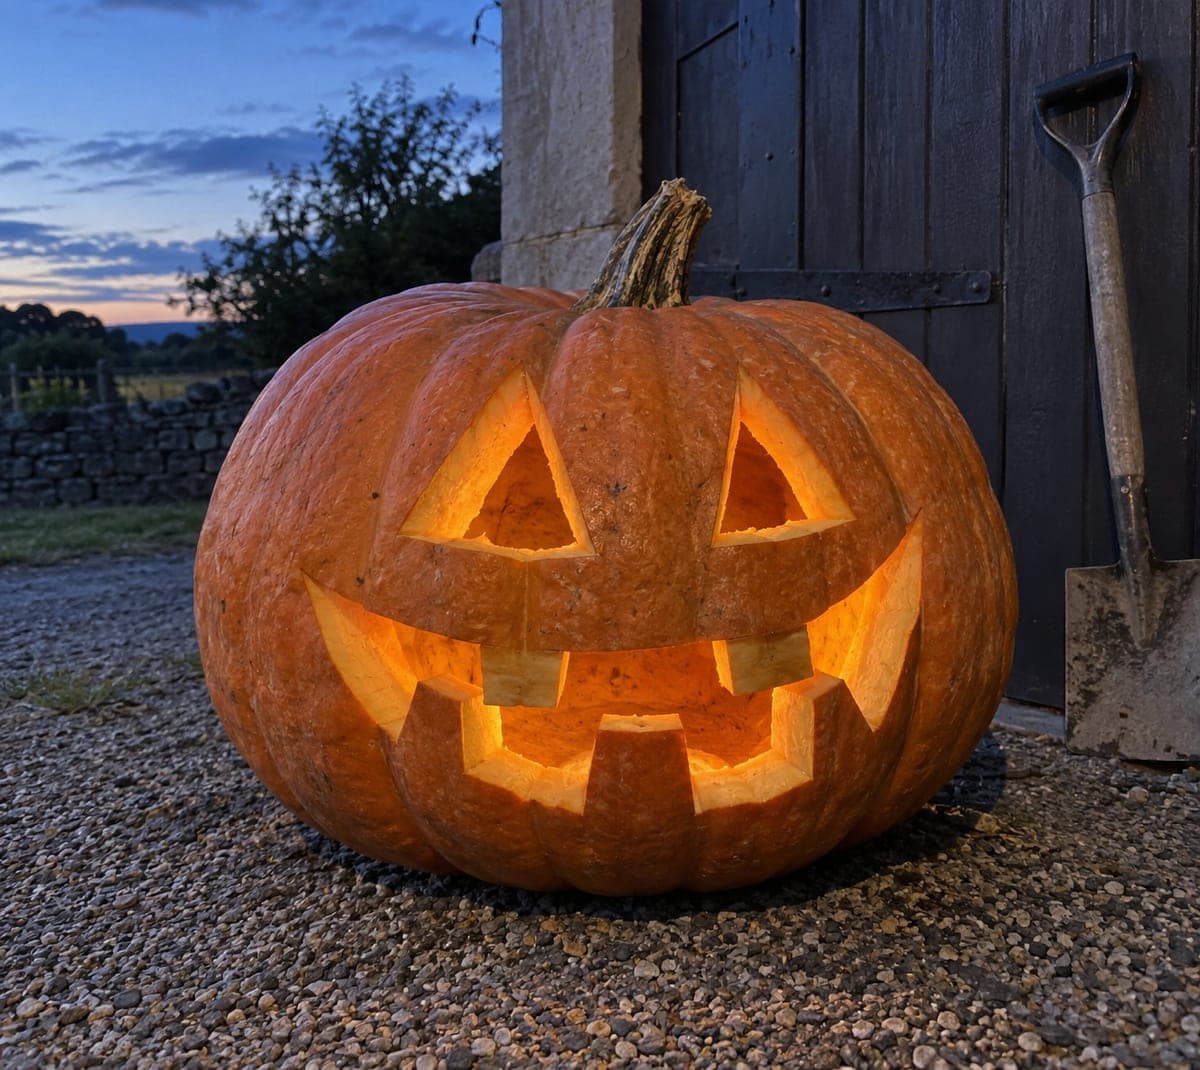
Two chunky triangle eyes sit above a broad zigzag grin, where five blocky teeth alternate along the top and bottom of the smile. Everything cuts fully through, and the oversized features make this a great pick for a big pumpkin that needs to be seen from a distance. Carve the mouth as one long opening and leave each tooth attached to the rim, sawing the tooth notches last so they stay sturdy.
See template →
Pick one, print it, carve it. 25 diy traditional pumpkin stencils should be enough for any porch.
Browse all pumpkin stencils →