Halloween Pumpkin Carving Contest · Starts October 1st · $500 in prizes
← Back to ideas
@ai_concepts
Aug 24, 2026
Buzzing Bumblebee Cutout Pumpkin for KidsAI
0

Buzzing Bumblebee Cutout Pumpkin for Kids

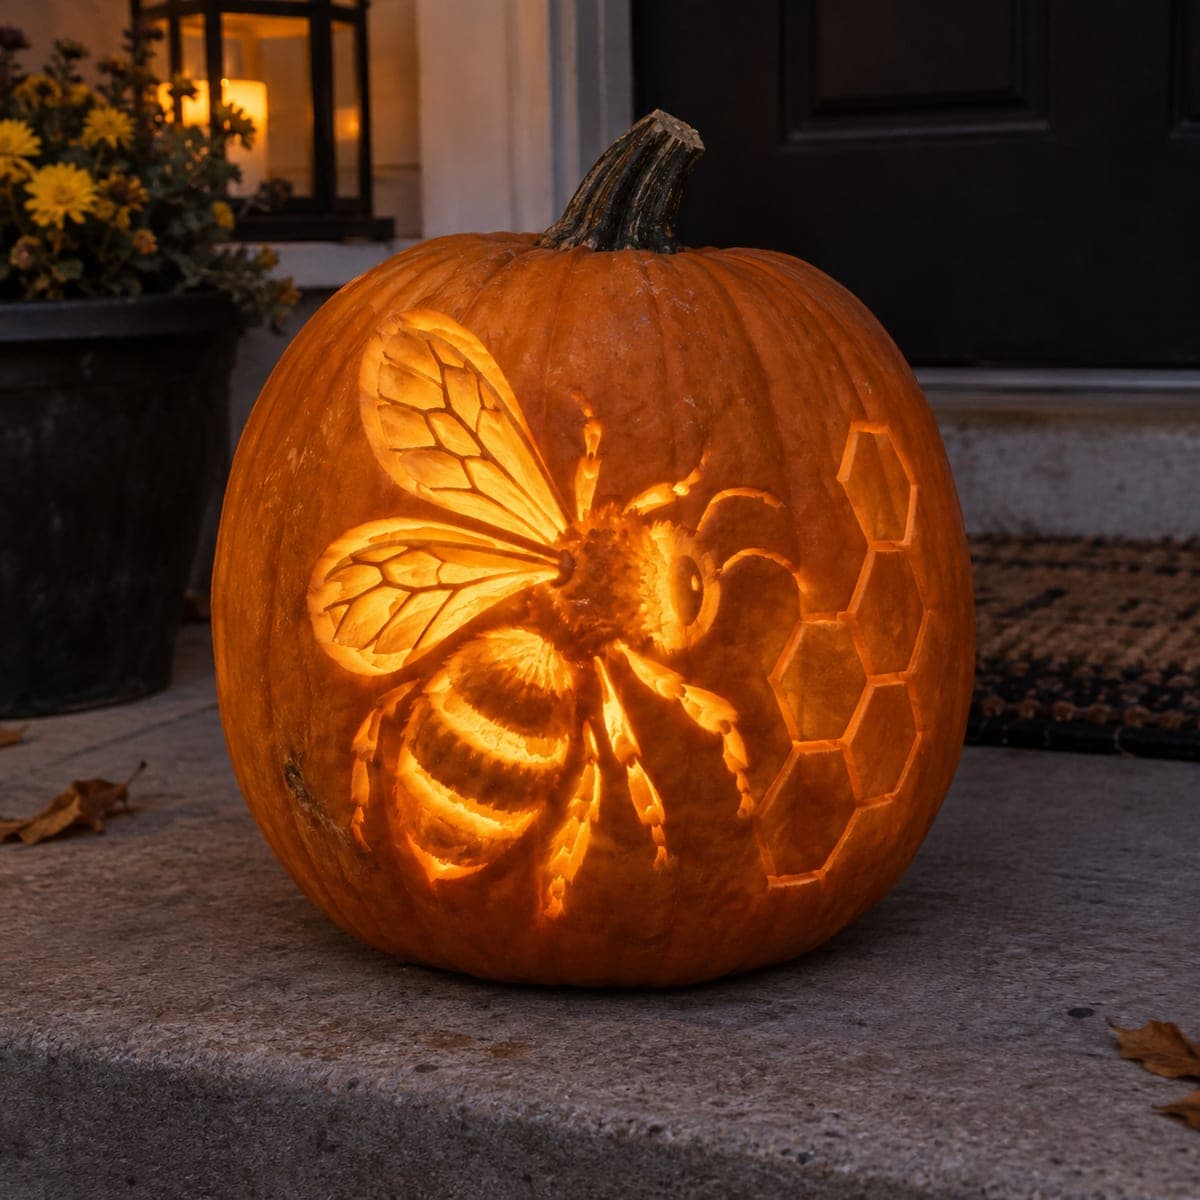
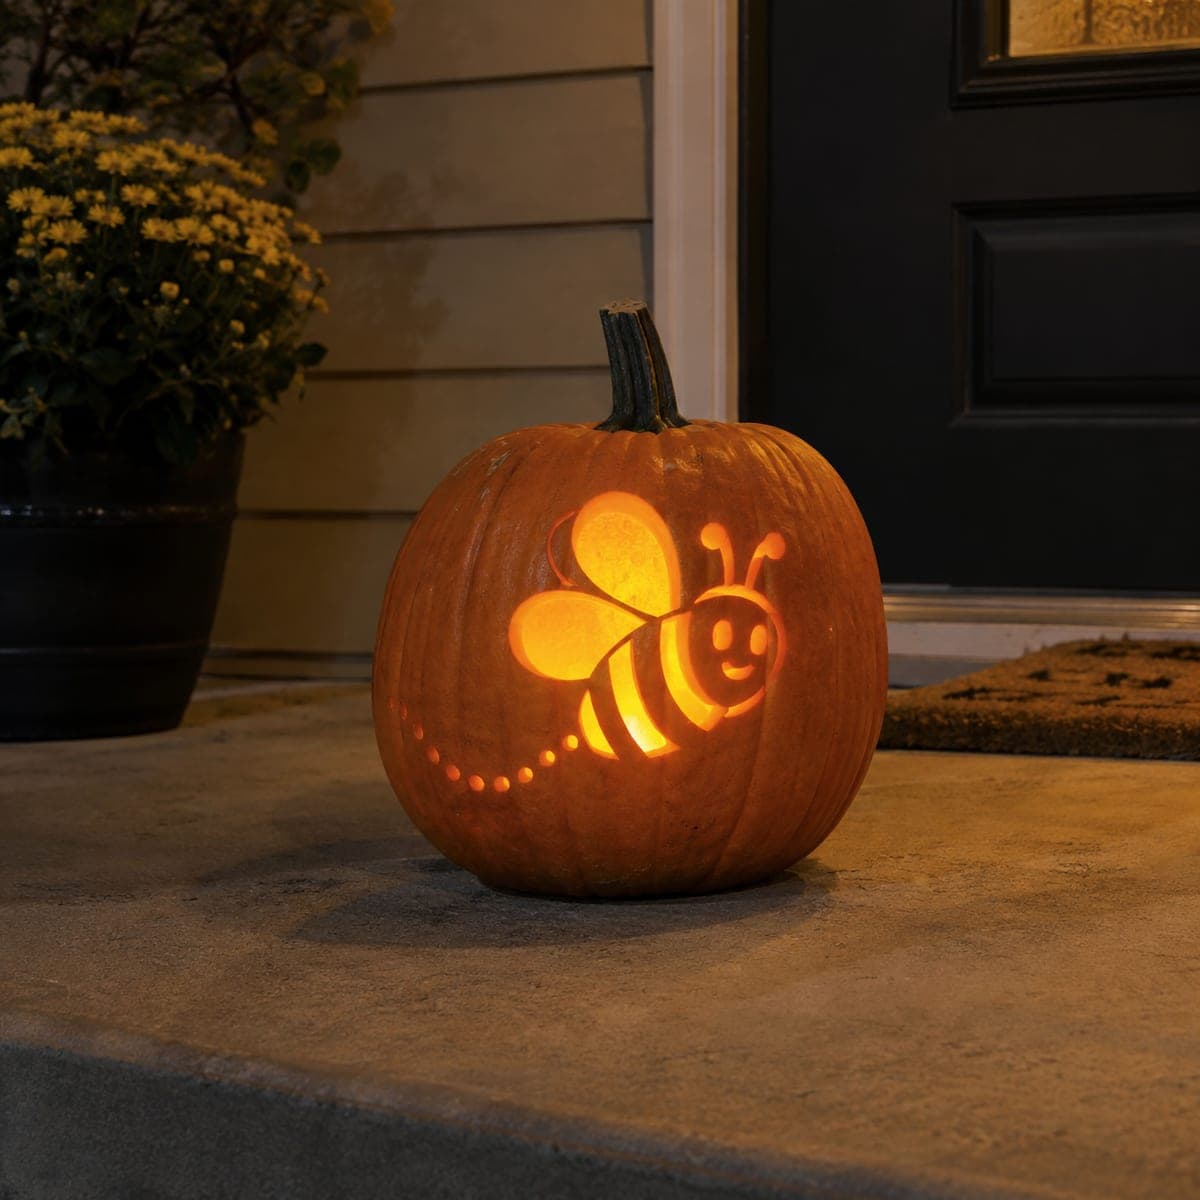
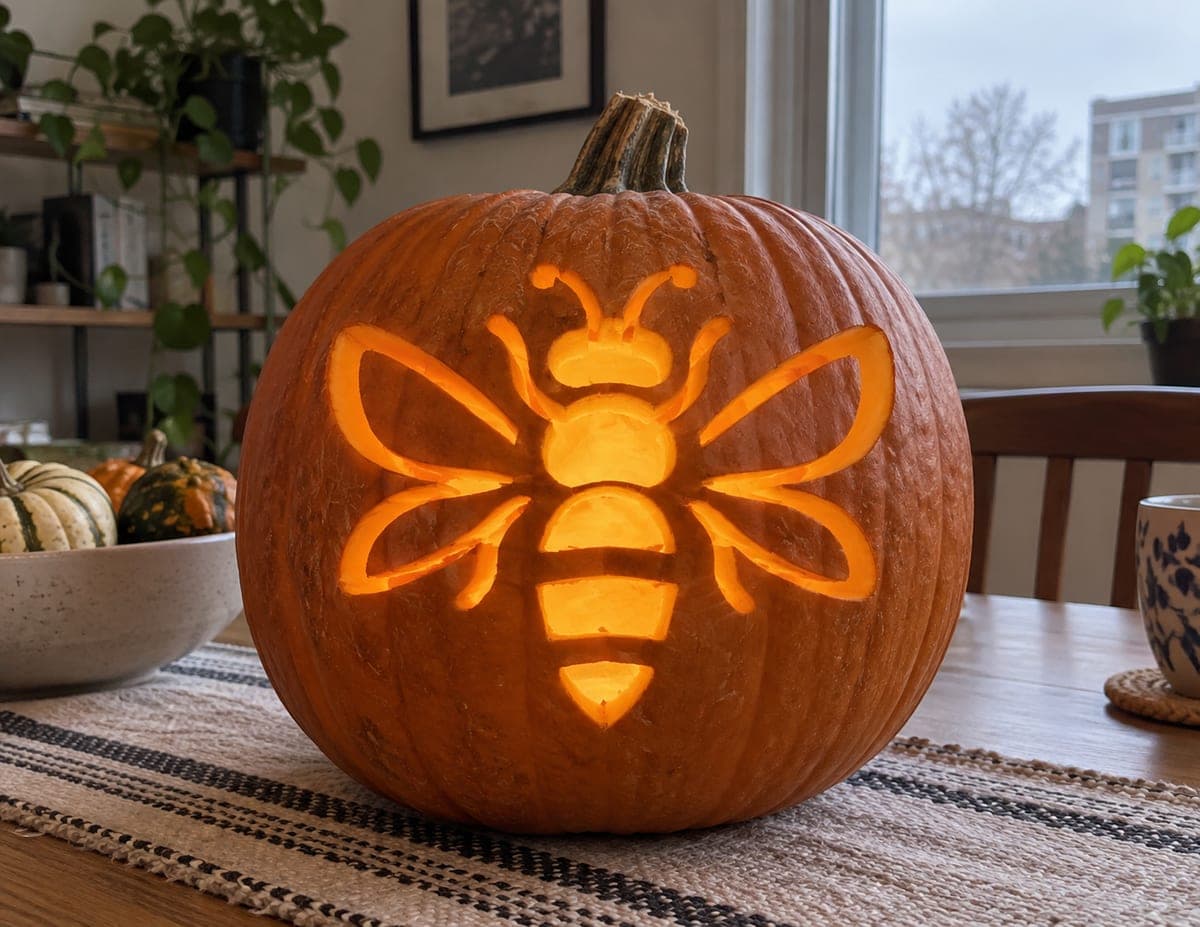
A chubby bumblebee with round wings and a striped body glows from this small pumpkin, trailed by a dotted flight path that loops around the side. The bee is a simple cut-through design with just a few shapes, and the trail is made with an apple corer or drill bit, so it comes together in under an hour. Small sugar pumpkins like this one are easier for kids to handle and light up brilliantly.

This is an AI-generated concept image: a realistic, carvable design idea rather than a photo of a finished carve. AI concepts are always labeled and sit out the leaderboard and the contest.

No ratings yet · Sign in to rate
Comments (0)

  • No comments yet — be the first.

Save without an account. Sign in to like or comment.

Our tips for carving a similar design

The core trick here is keeping the bee readable with just a handful of bold shapes: two round wings, a striped body, and a friendly face. You carve the wings and body stripes as full cutouts for maximum glow, then add a dotted flight trail with an apple corer or drill bit so the design curves around the side. Choose a small sugar pumpkin so the whole thing stays quick and easy to handle.

Written by PumpkinCarvingIdeas.com, inspired by the image above. These are our suggestions, not instructions from the uploader. This approach to the AI concept has not been tested on a real pumpkin.

From pumpkin to porch

  1. Pick a small pumpkin and open the back

    Choose a small, round sugar pumpkin with a smooth patch on the front for the bee. Cut a lid or an access hole in the back rather than the top so the flight trail on the side stays intact. Scoop out the seeds and pulp, then thin the front wall from the inside to about one inch. A thinner wall makes cutting the shapes much easier and lets the light shine brighter.

  2. Transfer the bee pattern

    Print or draw a chubby bee with two rounded wings, an oval striped body, a small head, two antennae, and a simple smile. Tape the pattern flat against the front and poke along the outlines with a pin or a transfer tool. Mark the stripe bands and the dotted trail dots as you go. Peel the paper away and connect any faint dots with a washable marker so the lines are clear.

  3. Cut the wings and body first

    Have an adult handle the sharp tools. Start with the two wings and the open stripe bands on the body, cutting straight in with a small serrated saw. Leave the dark stripe sections uncut so the body reads as striped rather than one big hole. Keep the head and the thin antennae attached to the surrounding skin so nothing weakens or snaps.

  4. Add the dotted flight trail

    Use an apple corer or a round drill bit to punch the trail of dots that loops from the tail around the side. Push in only about half an inch so the dots glow dim without becoming full holes. Vary the spacing slightly so the trail feels like a natural swooping path. This is a fun, low risk step that kids can help mark out.

  5. Shade the face and antennae

    Peel the skin off the smile, the two eyes, and the little dot at the top of each antenna so they glow softly instead of cutting all the way through. A lino tool or the edge of a spoon works well for shallow peeling. Keeping these details as peels rather than cutouts keeps the face gentle and the antennae strong. Test the look by holding the pumpkin up to a lamp.

  6. Light it and photograph

    Drop a battery LED light or a short string of LEDs inside through the back opening. Skip real candles, especially since this is aimed at kids. Set the pumpkin on a step or table in the dark and check that the wings and body stripes glow brightest while the trail dots twinkle dimly. Snap your photo from the front to capture the full bee and its curving flight path.

Gather your supplies

Check things off as you get ready.

Work on a stable surface, keep your free hand out of the cutting path, and have an adult handle sharp tools.

Three levels of light

  • Leave intact

    The dark body stripes and the untouched pumpkin skin around the bee stay solid for contrast.

  • Peel & shade

    The smiley face, eyes, and antenna tips are skin-peeled for a soft dim glow, along with the shallow trail dots.

  • Cut through

    The two rounded wings and the open stripe bands on the body are cut through for the brightest light.

Learn the carving basics

Before you start cutting

How do I keep the body looking striped instead of one big hole?

Only cut through the light stripe bands and leave the dark bands as untouched skin between them. This alternating pattern is what makes the body read as a striped bee. Cut each open band separately and go slowly so the thin skin bridges between them stay intact.

Should the flight trail dots be cut all the way through?

No, keep them shallow. Push the apple corer or drill bit in only about half an inch so the dots glow dim rather than blasting full light. Full cutouts would compete with the bee and could weaken the side wall of a small pumpkin.

Is this safe to carve with kids?

Yes, with adults handling the saw and drill. Kids can help mark the pattern, scoop the insides, and press the corer for the trail dots under supervision. Always use a battery LED light instead of a candle, especially on a small pumpkin that little hands may pick up.

Your take belongs here, too.

Changed a detail? Made it simpler? Share a photo of your version and tell the community what worked.

Share your pumpkin

More pumpkins like this

You've reached the end · 8 pumpkins
The Patch Report

Fresh pumpkins, in your inbox.

The best new carvings, ideas worth stealing, and how-tos for carving season. Short, seasonal, and gone by November.

A short email during carving season. Unsubscribe anytime. See our privacy policy.