Halloween Pumpkin Carving Contest · Starts October 1st · $500 in prizes
← Back to ideas
@ai_concepts
Sep 25, 2026
Detailed Dachshund Profile Pumpkin with Long Glowing BodyAI
0

Report this carving

Tell us what is wrong. Reports are private.

Detailed Dachshund Profile Pumpkin with Long Glowing Body

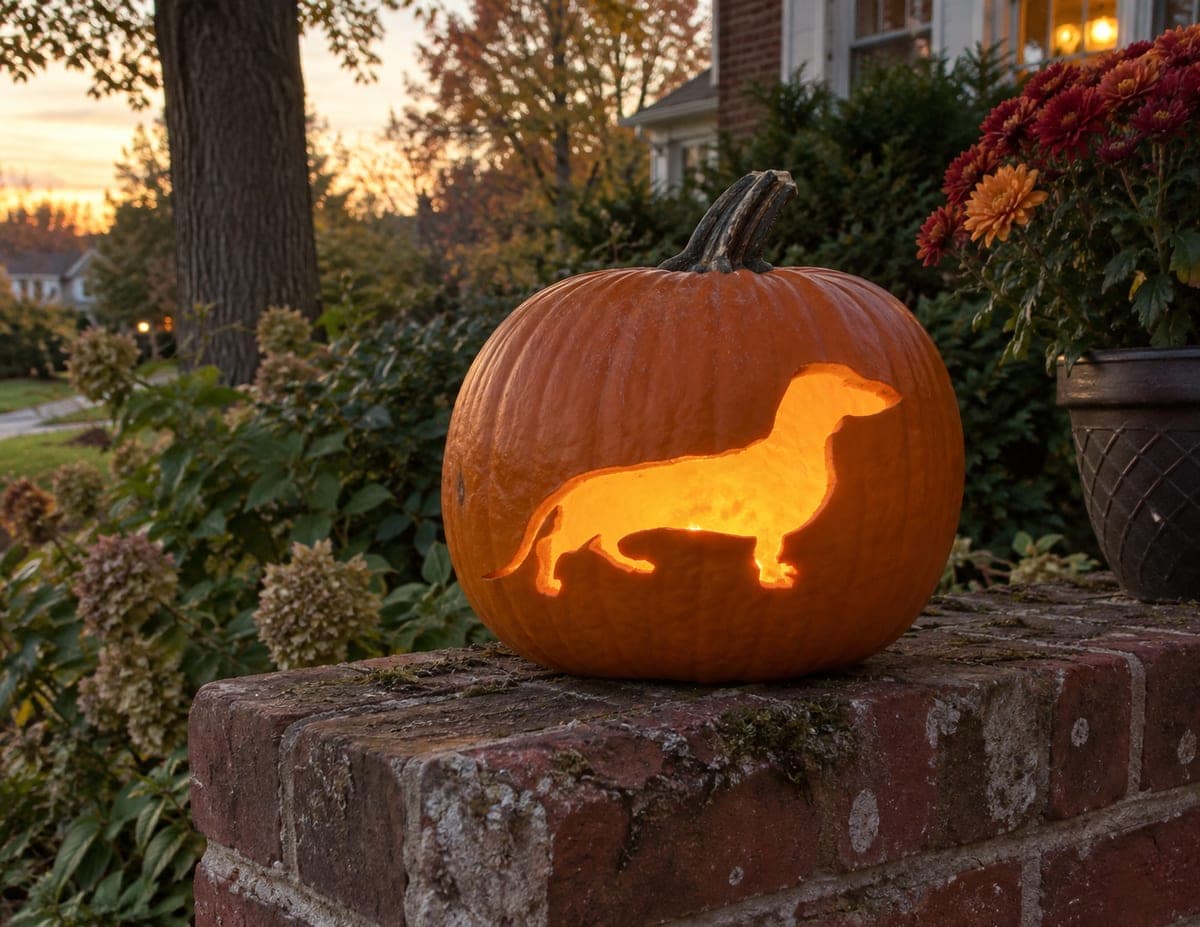
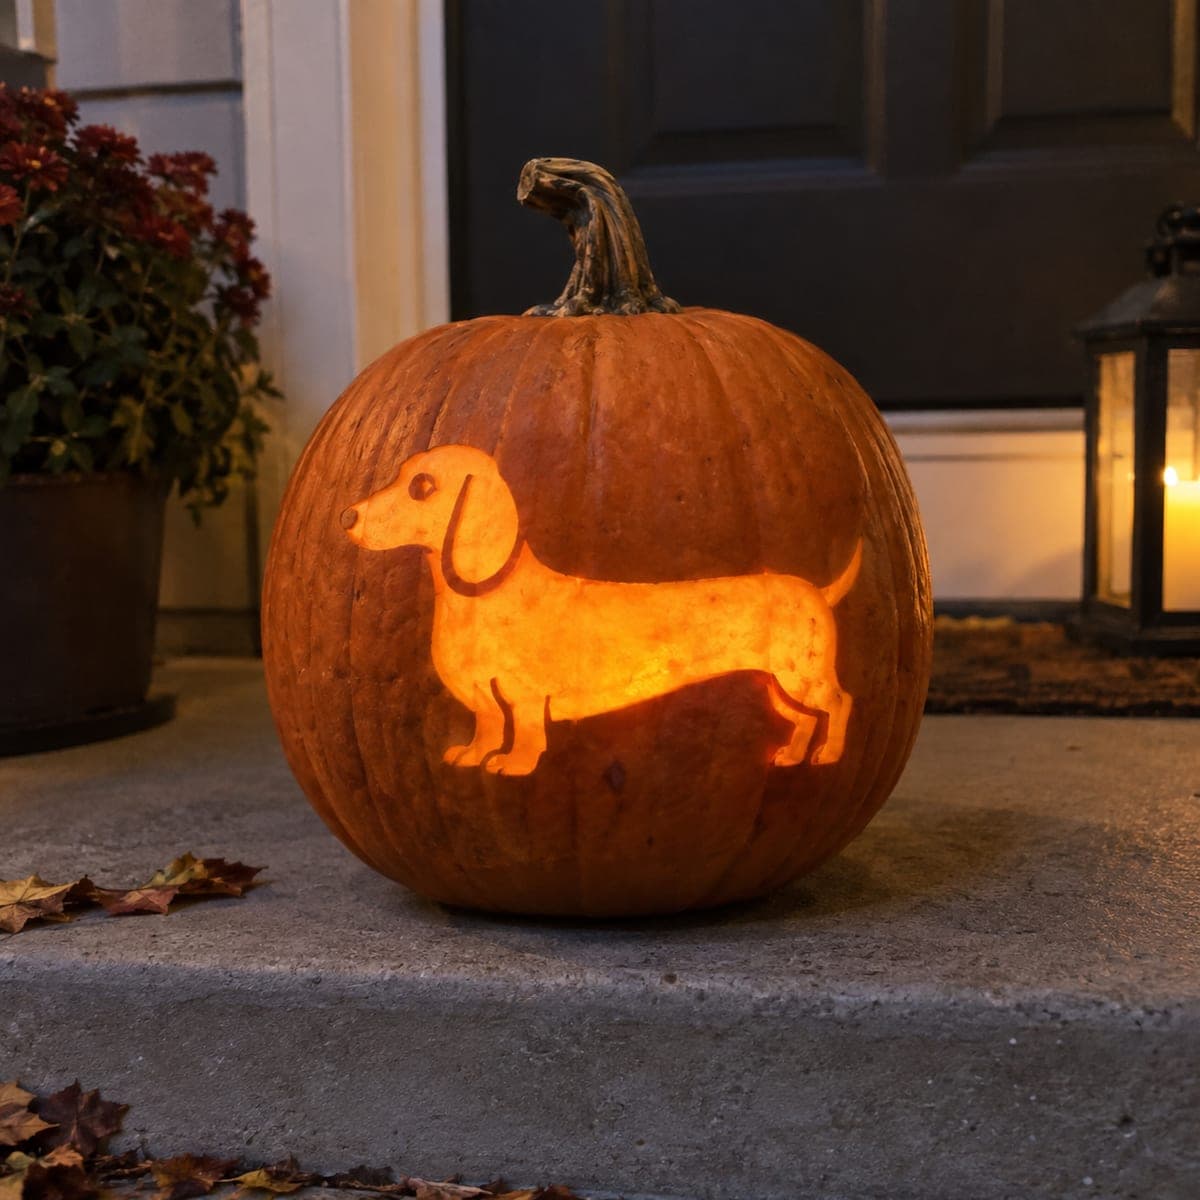
A retained dachshund profile with short legs anchoring the dog to the base rind, its nose and tail joining the side frame and a shallow backed ear groove for texture, makes this hard dachshund pumpkin carving more anatomically convincing than the simpler silhouette versions. The leg-to-base connection is the most critical structural element, so keep each leg root wide even if it slightly simplifies the foot shape. Cut the surrounding background opening first to define the frame, then refine the dog outline. A warm LED inside creates a halo effect around the long narrow body.

No ratings yet · Sign in to rate

Comments (0)

  • No comments yet — be the first.

Save without an account. Sign in to like or comment.

Our tips for carving a similar design

The background around the retained dog is removed, leaving the dachshund floating inside the pumpkin face with its short legs rooted into the base rind and nose and tail touching the side frame. Cutting the background first defines the frame before the dog outline is refined. A shallow backed ear groove is the only surface-scoring element.

From pumpkin to porch

  1. Hollow and prep

    Access from the back and scrape the interior to a uniform inch of wall thickness. Consistent thickness is especially important for a long profile like this because thin patches glow brighter and interrupt the smooth halo effect around the retained dog.

  2. Transfer the design

    Poke-transfer the outer background boundary, the dachshund profile outline, all leg root attachment points and the ear groove line. Mark the leg root zones and nose and tail frame connections clearly as no-cut zones. Use a different marker color for the scored ear groove.

  3. Cut the background opening first

    Use a detail saw to cut the outer background boundary, establishing the frame that the dachshund will sit inside. Remove the background piece and confirm the frame edges are clean before moving to the dog outline.

  4. Refine the dachshund profile

    Cut around the dog profile within the background opening, leaving the short leg roots attached to the base frame and the nose and tail touching the side frame. Work from the widest leg root sections toward the narrower profile details.

  5. Score the ear groove

    Use a detail knife to score a shallow groove along the ear outline, removing only the top rind layer. A single clean stroke defines the ear shape. Score the ear groove last, after all through-cuts are complete.

  6. Light and display

    Insert a warm LED candle and check that the background sections glow while the retained dachshund silhouette stays dark. The halo effect around the long narrow body is the visual payoff. Display at low height where the horizontal body reads naturally.

Written with AI to match this design

Gather your supplies

Check things off as you get ready.

Work on a stable surface, keep your free hand out of the cutting path, and have an adult handle sharp tools.

Three levels of light

  • Leave intact

    The retained dachshund profile, which stays dark against the glowing background

  • Peel & shade

    The shallow ear groove, which shows slight surface contrast

  • Cut through

    All background sections within the outer frame, which glow around the dog

Learn the carving basics

Before you start cutting

Why is keeping the leg roots wide more important than accurate foot shape?

The short legs carry the full weight of the retained dog body between them. A narrow leg root can crack when the pumpkin is lifted or when nearby vibration from cutting weakens the rind. Accurate toe details at this scale are barely visible at display distance anyway.

How do I prevent the nose and tail from breaking away from the side frame?

Keep the point where the nose tip meets the side frame at least a centimeter wide rather than letting the profile come to a sharp point against the frame. The same applies to the tail. A blunted contact point transfers more load than a sharp one.

Does the ear groove need to go all the way around the ear shape?

A single curved stroke along the visible edge of the ear, where it meets the background, is enough. Scoring the full ear perimeter is not necessary and risks accidentally cutting through the rind on an area that may be thinner near the frame.

Your take belongs here, too.

Changed a detail? Made it simpler? Share a photo of your version and tell the community what worked.

Share your pumpkin

More pumpkins like this

You've reached the end · 8 pumpkins
The Patch Report

Fresh pumpkins, in your inbox.

The best new carvings, ideas worth stealing, and how-tos for carving season. Short, seasonal, and gone by November.

A short email during carving season. Unsubscribe anytime. See our privacy policy.