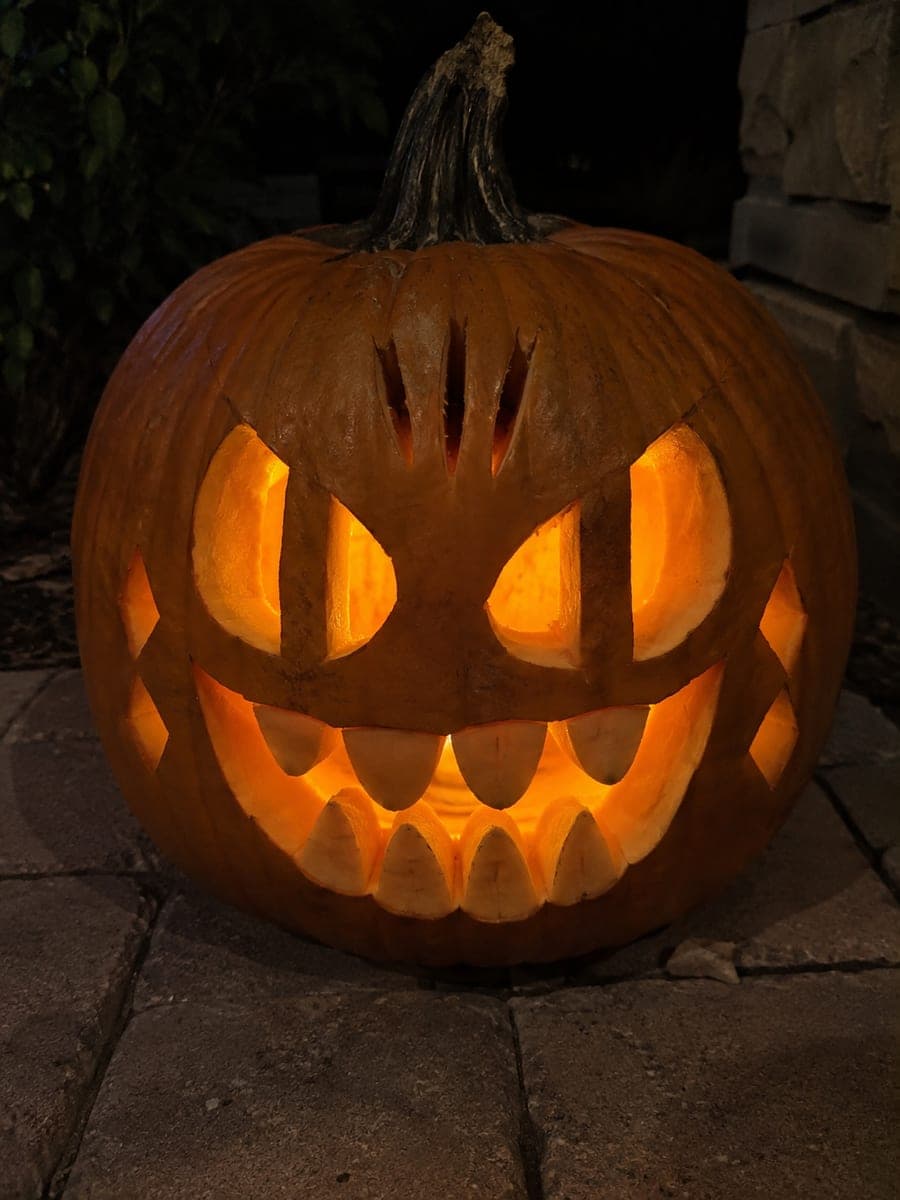
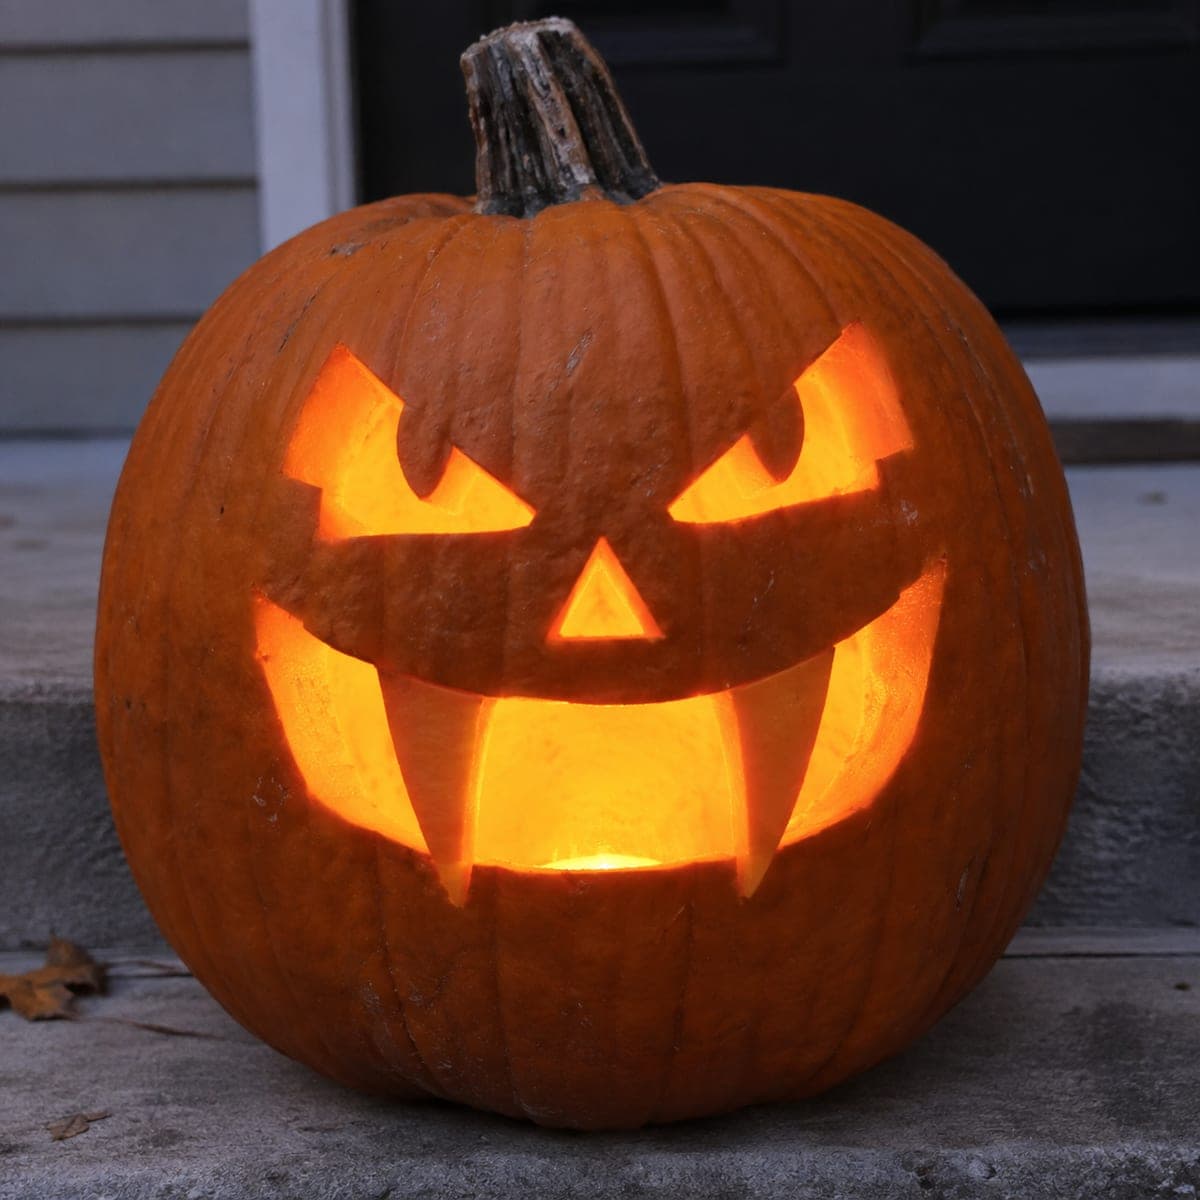
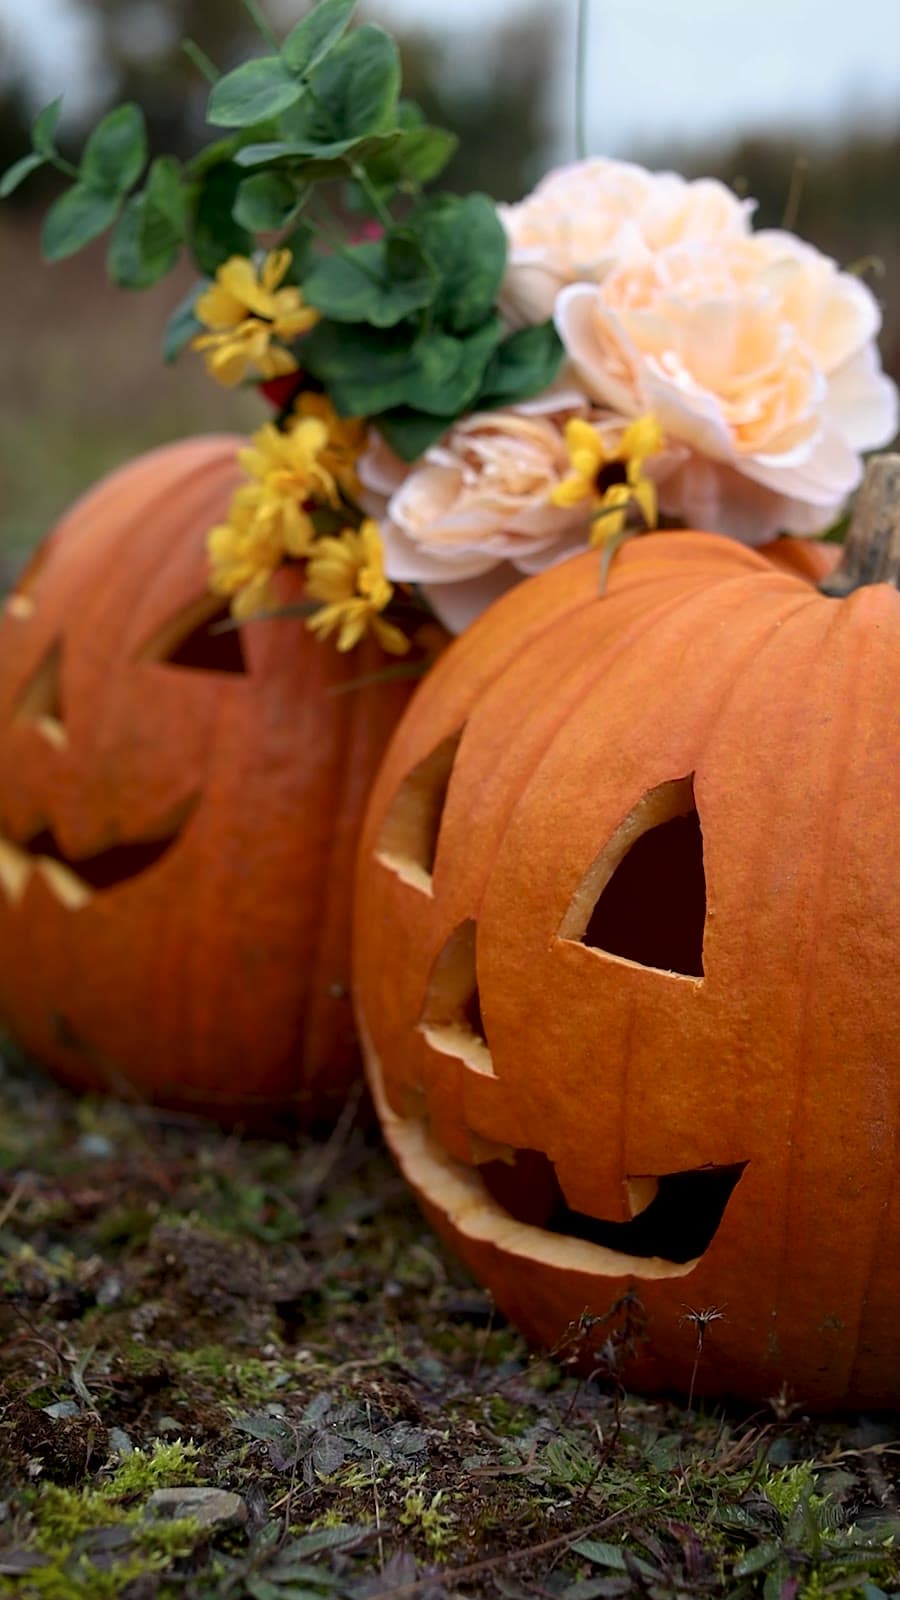
Two jack-o-lanterns in near-total darkness, lit only from inside. The big one has slanted, hooded eyes and a mouth full of long triangular teeth, and the candle flicker makes the whole face move. Carve the teeth as one zigzag line top and bottom and leave the gums thick so they hold up. Tape a second pumpkin behind it with a simpler face and the pair reads as a lurking crowd on a porch step.
Save this design for carving night, then share a photo of your own jack-o'-lantern once it's glowing.
Comments (0)
No comments yet. Be the first.
Our tips for carving a similar design
This face works because almost everything is left dark. Two hooded, slanted eyes and a mouth packed with long triangular teeth are the only openings, and the candle inside does the rest. The trick is carving the teeth as a single zigzag line top and bottom so each tooth stays attached to thick gums. A second, simpler pumpkin set just behind it turns one scary face into a small lurking crowd.
Written by PumpkinCarvingIdeas.com, inspired by @PumpkinKing's photo above. These are our suggestions, not instructions from the uploader, and this approach hasn't been tested on their exact carve.
From pumpkin to porch
1
Pick and prep two pumpkins
Choose a tall pumpkin with a smooth front for the main face and a smaller one for the background. Cut the lids at an angle so they sit back in place, scoop both clean, and thin the front wall of the main pumpkin to about an inch. Thin walls let the light blaze through the narrow eye slits.
2
Draw the hooded eyes
Sketch two long slanted eyes with a washable marker, each one tilting down toward the center like a frown. Give the top edge a slight hood so the eye looks half closed. Keep at least two inches of pumpkin between them so the brow stays strong.
3
Draw the mouth as a zigzag
Mark a wide mouth, then draw the upper teeth as one continuous zigzag along the top edge and the lower teeth as a matching zigzag along the bottom. Make the teeth different lengths so the grin looks wild rather than neat. Leave the gum line at least half an inch thick.
4
Cut the eyes first
Saw the eyes with a thin serrated carving saw, working from the inside corner outward in short strokes. Push the pieces out from inside so the sharp hooded edge stays crisp. Clean the slit with the tip of the blade.
5
Cut the teeth in one pass each
Follow the upper zigzag as a single continuous cut from one corner of the mouth to the other, then do the same along the bottom. Pull out the loose center piece and the teeth will stand on their own. Never cut around individual teeth, which is how they snap off.
6
Carve the background face and light both
Give the second pumpkin a simpler version of the same look, two slits and a plain grin. Drop a flickering LED candle in each, set the smaller one just behind and to one side, and view them in a fully dark spot. The flicker is what makes the fangs seem to move.
Gather your supplies
Check things off as you get ready.
Work on a stable surface, keep your free hand out of the cutting path, and have an adult handle sharp tools.
Three levels of light
Leave intact
Every other inch stays dark. The black skin around the face is what makes it menacing.
Peel & shade
None needed. A thin shave along the inner edge of each eye can soften the glow, but the hard-edged look is the point.
Cut through
The two hooded eyes and the zigzag mouth are cut fully through so the candle blazes out of them.
Cut each row of teeth as one continuous zigzag line rather than cutting around each tooth. Keep the gums at least half an inch thick and leave the teeth attached at the base. Thinner teeth look sharper but snap when the pumpkin softens, so stay chunky.
Why does it look so much scarier in the video than in daylight?
Because the face is mostly dark pumpkin. In daylight you see orange skin and a few cuts. In the dark you see only glowing shapes, and the flicker of the candle animates them. Shoot and display this one with the lights off.
Can I do this with one pumpkin?
Yes. The main face stands on its own. The second pumpkin just adds depth to the scene. If you only have one, place it low and lit against a dark wall for the same effect.
Your take belongs here, too.
Changed a detail? Made it simpler? Share a photo of your version and tell the community what worked.
Want more designs like this? Browse our full library of pumpkin carving ideas, or pick a free printable stencil. Every pattern and template in our own collection is free to print at home.
Comments (0)