Halloween Pumpkin Carving Contest · Starts October 1st · $500 in prizes
← Back to ideas
@ai_concepts
Sep 7, 2026
Graceful Gymnast Split Leap Etched PumpkinAI
0

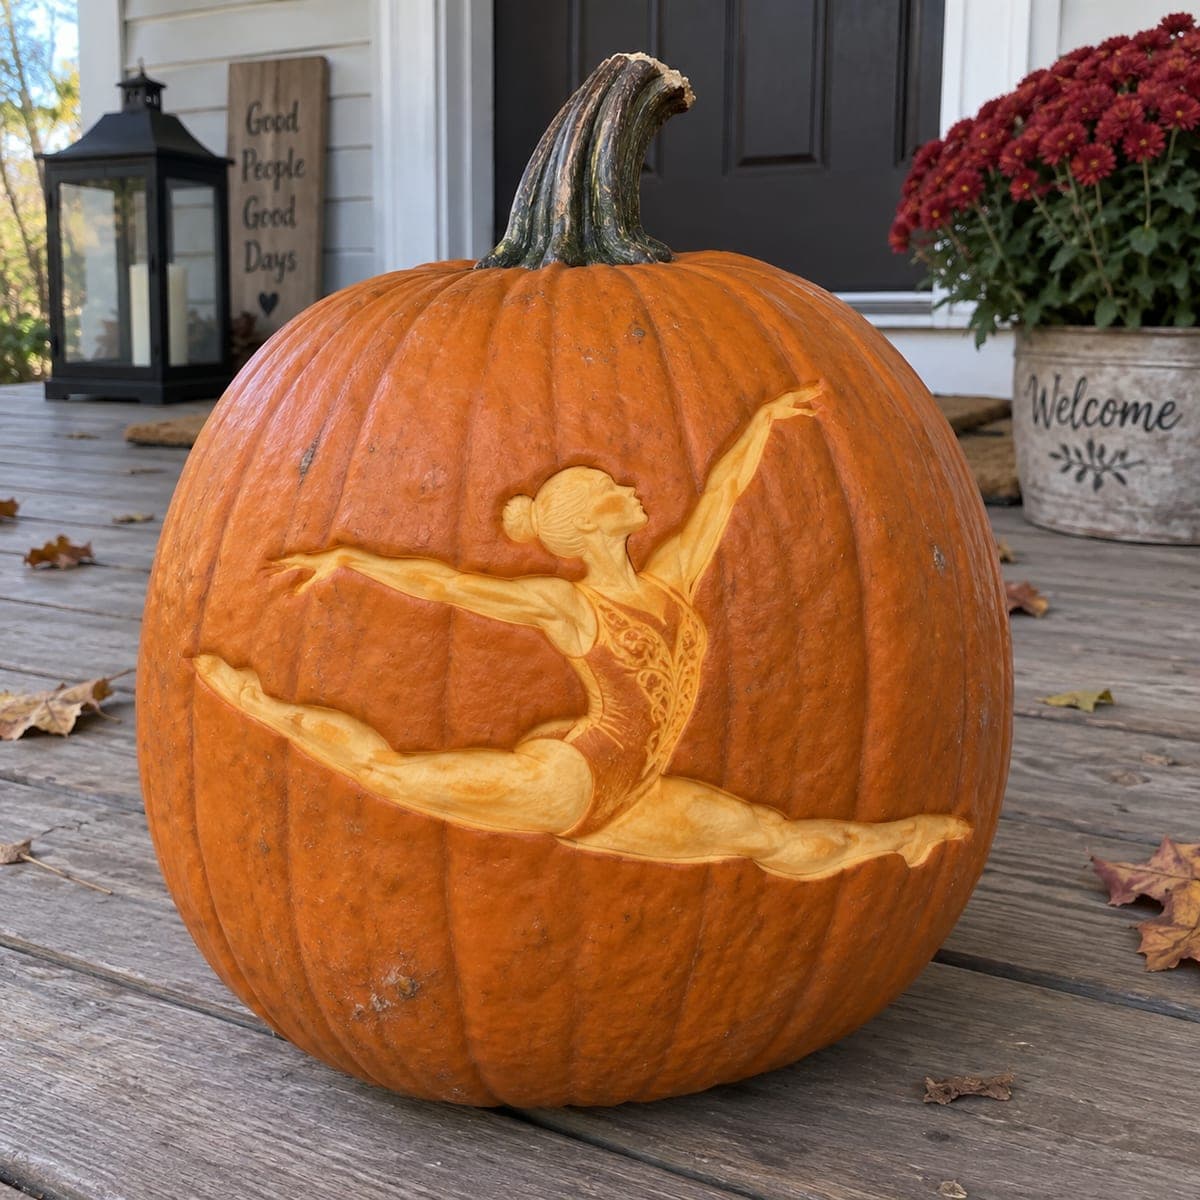
Graceful Gymnast Split Leap Etched Pumpkin

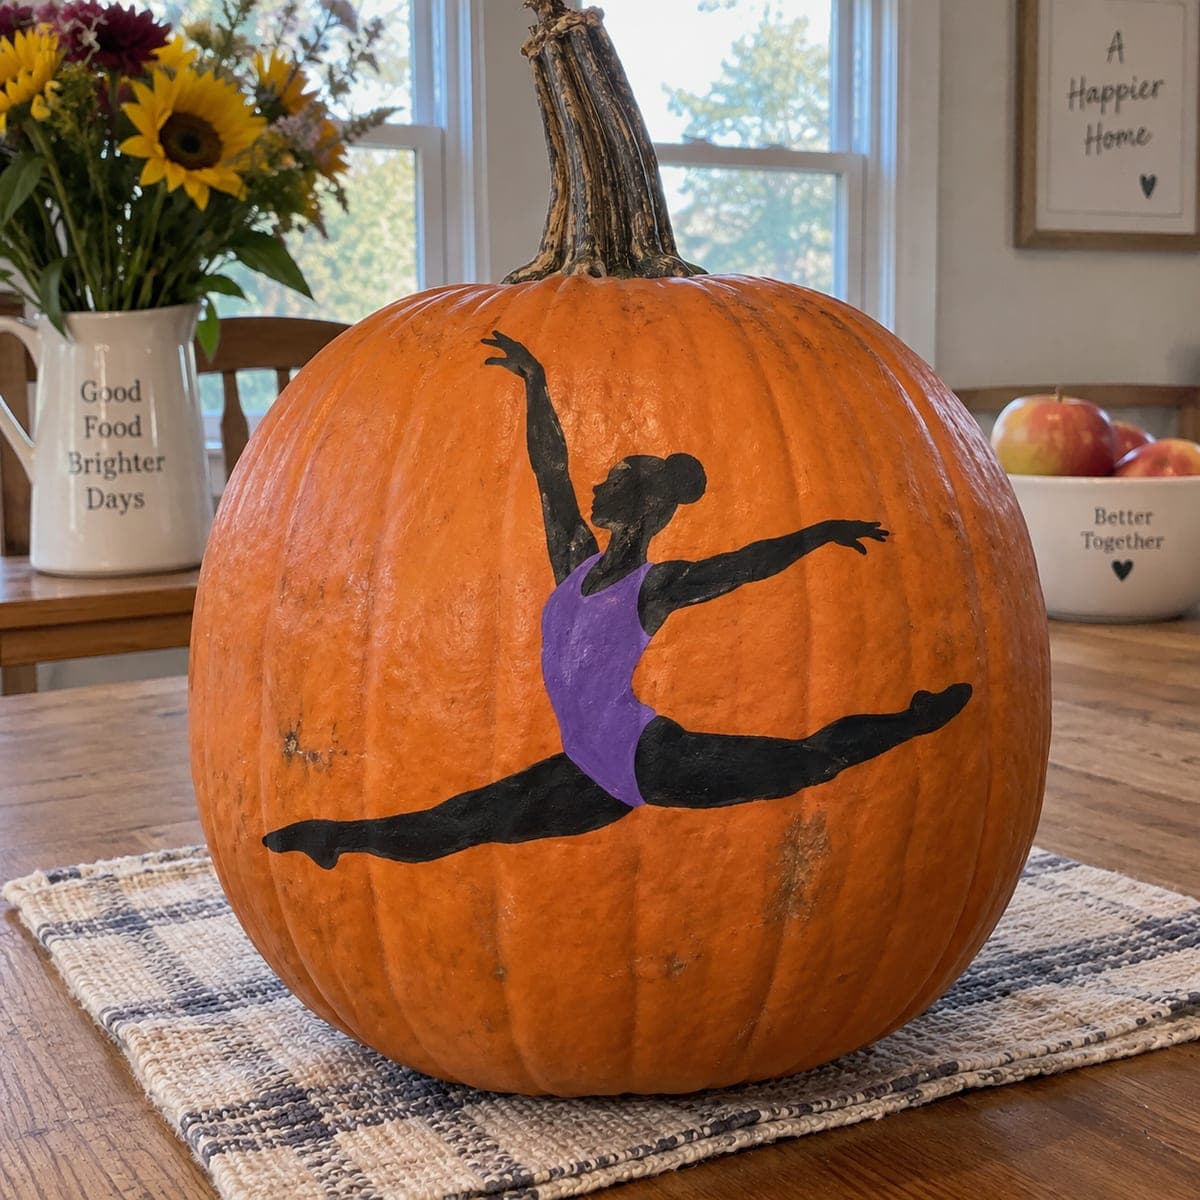
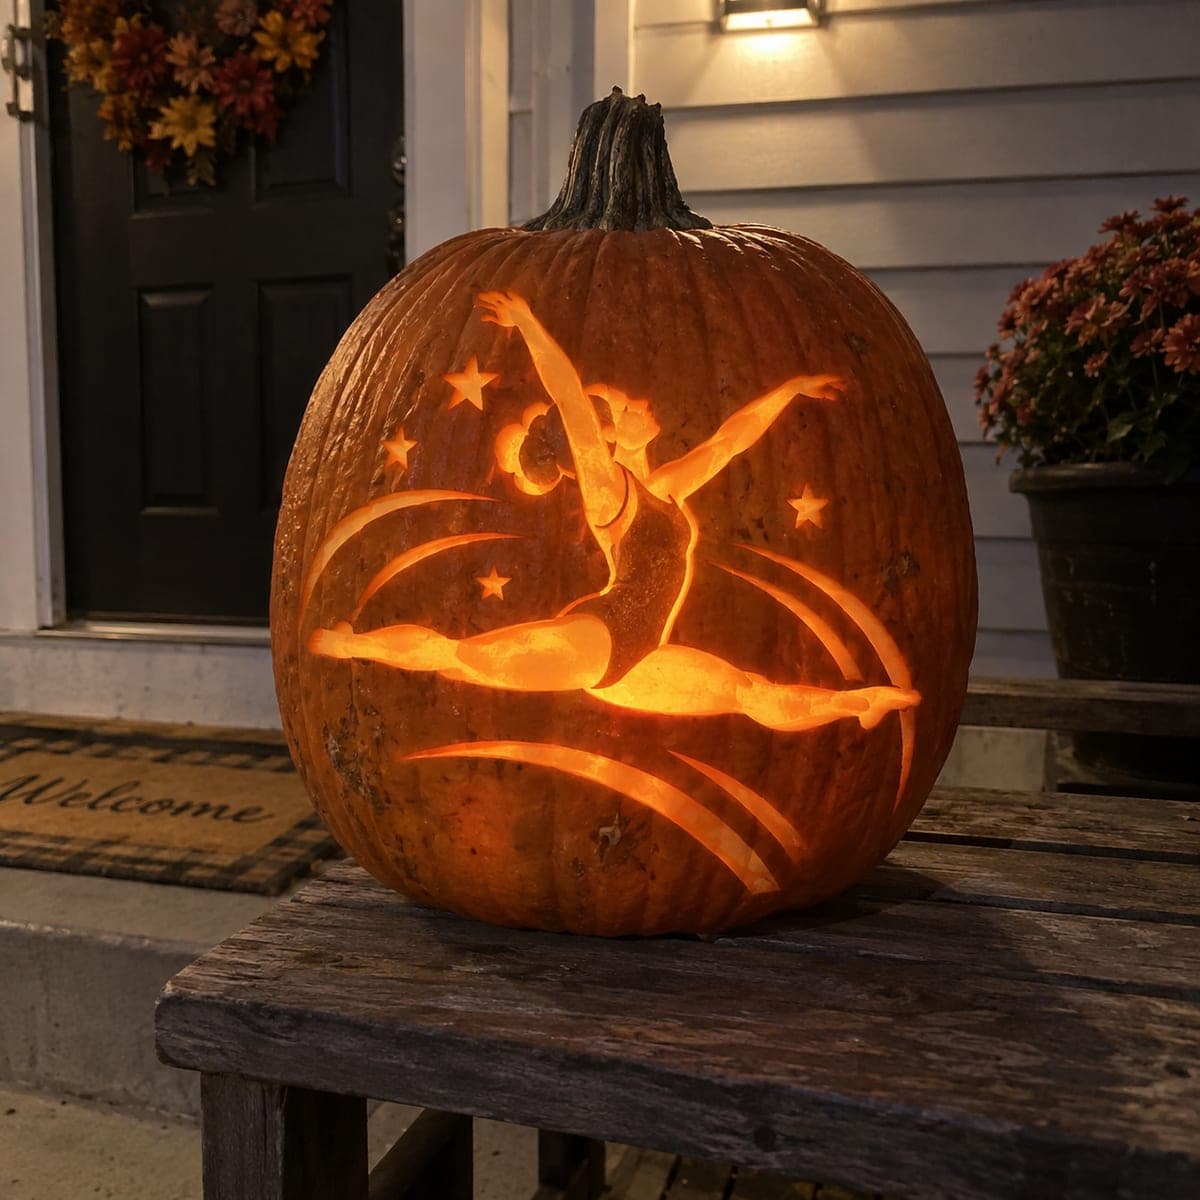
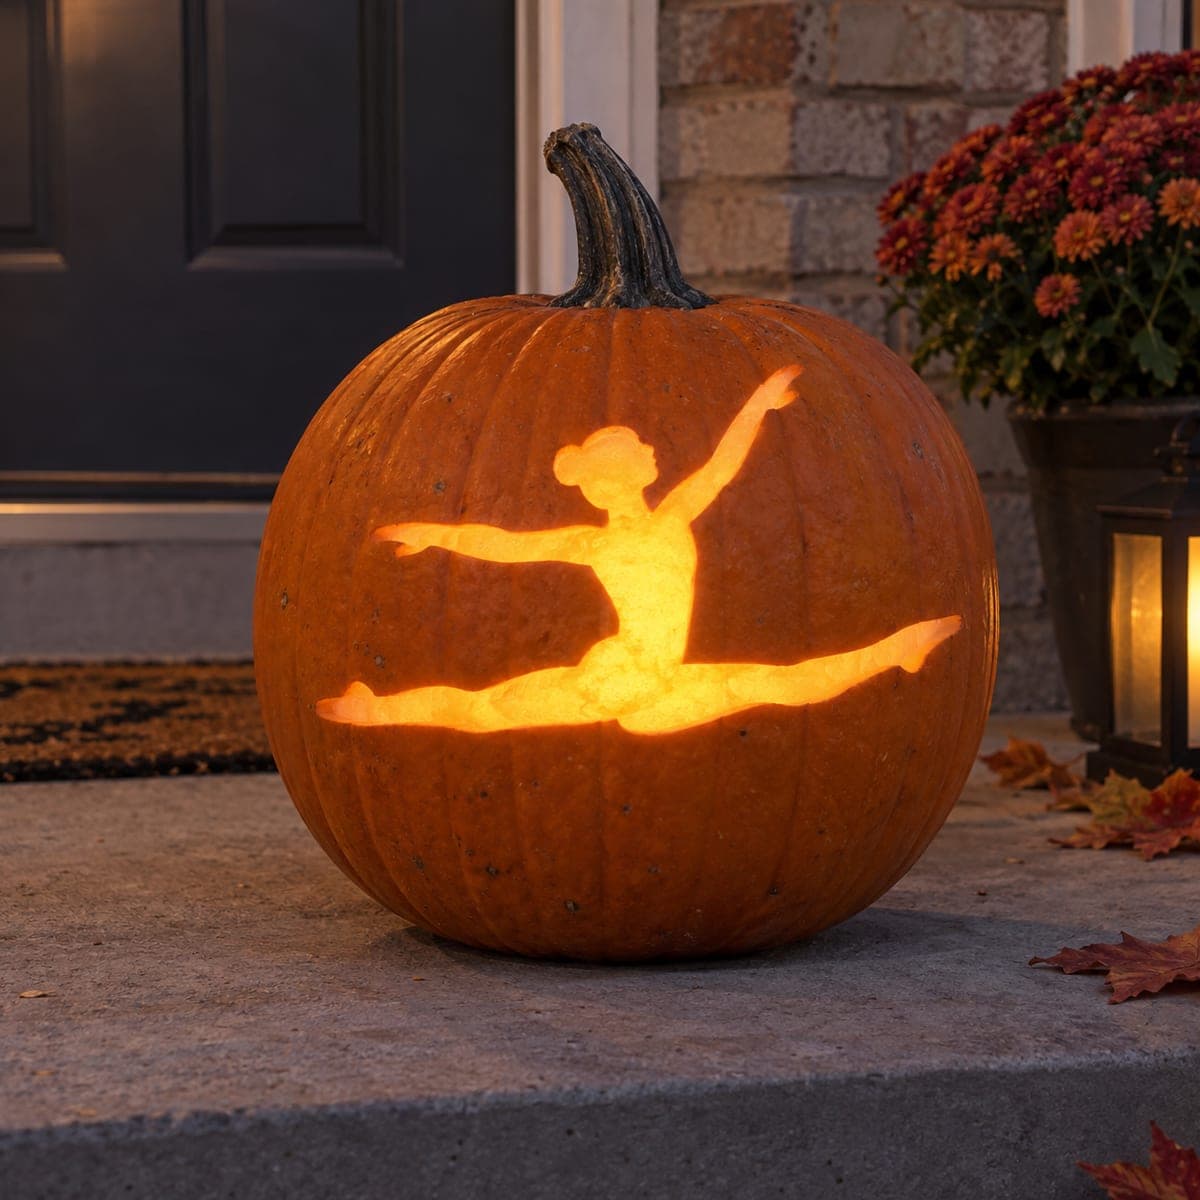
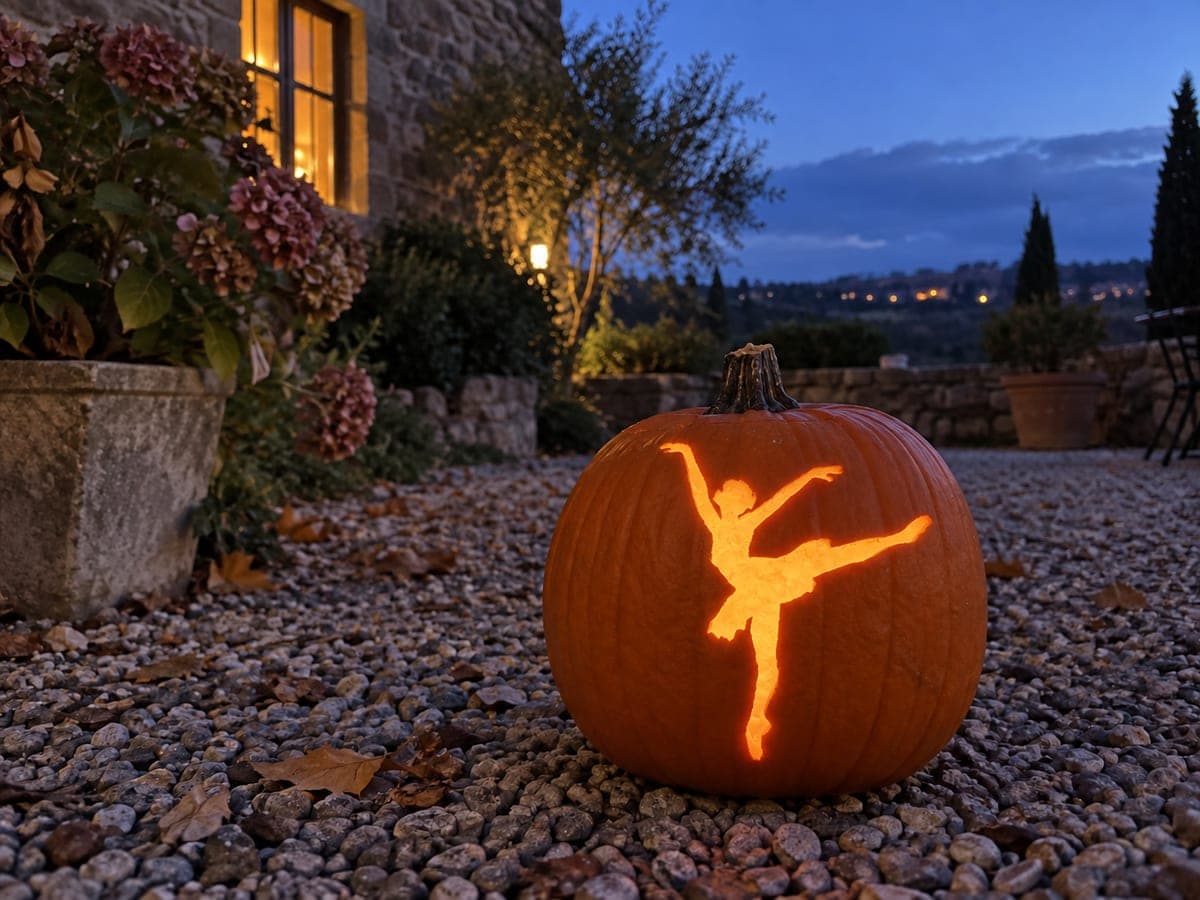
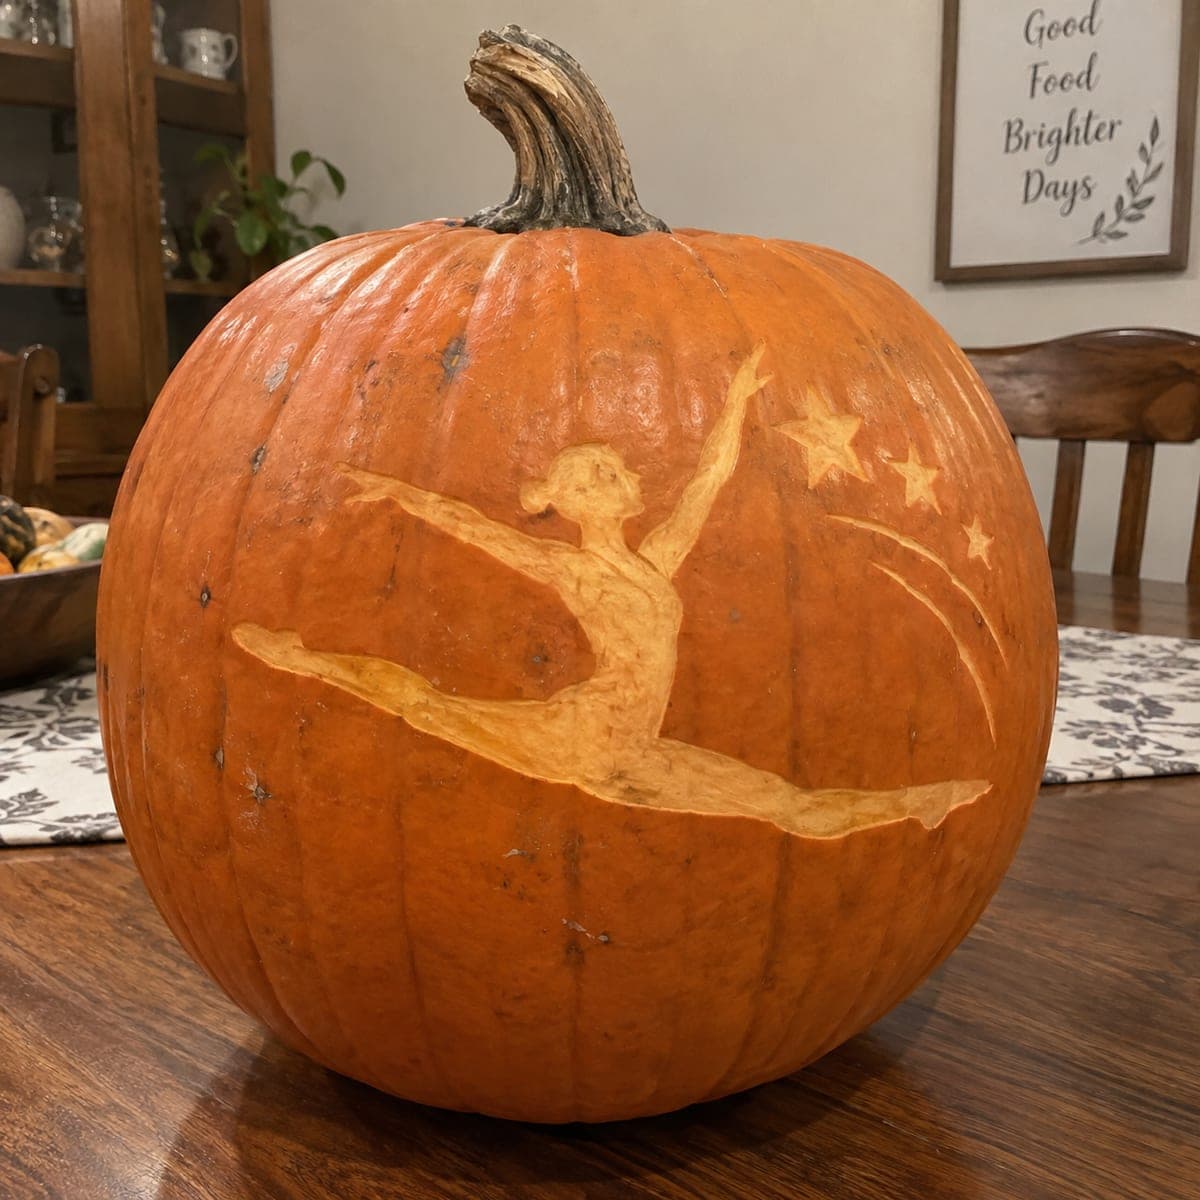
A gymnast soars in a full split leap across this pumpkin, her arched back, pointed toes, and detailed leotard rendered in smooth surface carving. The figure is peeled from the skin at varying depths, with deeper cuts shading the leotard pattern and hair bun. Transfer a printed silhouette, carve the large limbs first, then refine the face and costume details with a micro gouge. A meaningful fall gift idea for the gymnast or dance family on your street.

This is an AI-generated concept image: a realistic, carvable design idea rather than a photo of a finished carve. AI concepts are always labeled and sit out the leaderboard and the contest.

No ratings yet · Sign in to rate
Comments (0)

  • No comments yet — be the first.

Save without an account. Sign in to like or comment.

Our tips for carving a similar design

The whole design lives in the skin, so nothing is cut all the way through. The trick is controlling depth: shave the skin off to make the body glow soft orange, then dig a little deeper for the leotard pattern and hair bun so they read as shadow. Plan the big limbs first as one connected shape, then come back for the delicate face and costume lines.

Written by PumpkinCarvingIdeas.com, inspired by the image above. These are our suggestions, not instructions from the uploader. This approach to the AI concept has not been tested on a real pumpkin.

From pumpkin to porch

  1. Prep and transfer the silhouette

    Pick a smooth, tall pumpkin with a flat front panel and scoop it from the bottom so the wall is about one inch thick. Print the gymnast split leap at the size of your panel and tape it firmly in place. Poke closely spaced transfer dots along every outline, including the arms, pointed toes, face profile, and the edge of the leotard. Peel the paper and connect the dots lightly with a washable marker so you can see the full pose.

  2. Score the outlines

    With a small detail knife, trace just the outer edges of the figure about an eighth inch deep. Keep the arms and legs as continuous shapes even where they stretch wide across the pumpkin. Do not cut through the wall anywhere, since this design relies entirely on the skin. Take your time on the reaching arm and pointed toe, where the line is thin and easy to overrun.

  3. Peel the large limbs first

    Use a ribbon or loop tool to shave the skin off the arms, legs, and torso down to the pale flesh underneath. Work from the center of each shape outward so you do not undercut your scored edges. Keep the depth even and shallow here, since these areas should glow the brightest and smoothest. This is the biggest area of the design, so finish it before moving to fine detail.

  4. Shade the leotard and hair bun

    Switch to a micro gouge and cut a little deeper where the costume pattern and the hair bun sit. Deeper flesh reads darker, so short parallel strokes build the swirls and lacework on the leotard. Leave thin ridges of higher flesh between your grooves so the pattern holds together instead of washing out. Keep the bun rounded by cutting a shallow ring around it and leaving the center raised.

  5. Refine the face and edges

    Define the profile with the tip of your detail knife, cutting a slightly deeper line at the nose, lips, and chin so the face stays crisp. Soften the transition between the glowing limbs and the dark background by feathering the skin at the edges. Step back often and view from a few feet away, since etching looks different up close. Fix any spots where the depth jumps unevenly.

  6. Light it and photograph

    Set a battery LED puck inside, never a candle, since the thin etched skin scorches easily. Warm white light makes the peeled flesh glow like stage lighting on the dancer. Shoot in low ambient light at dusk so the shading contrast shows. Rub a little petroleum jelly on the cut edges to slow drying and keep the detail sharp for a few days.

Gather your supplies

Check things off as you get ready.

Work on a stable surface, keep your free hand out of the cutting path, and have an adult handle sharp tools.

Three levels of light

  • Leave intact

    The background pumpkin skin and the dark space around the figure stay untouched.

  • Peel & shade

    The arms, legs, torso, and face are skin-peeled to a soft mid orange glow.

  • Cut through

    Nothing is cut through on this etched design; the deepest gouges in the leotard and bun read as shadow, not full light.

Learn the carving basics

Before you start cutting

This is a concept image, so can a real pumpkin actually hold this pose?

Yes, because the whole figure is surface etching and nothing is cut through. Since you are only shaving skin, the wide split leap and reaching arms stay fully supported by the pumpkin wall. The main challenge is steady depth control, not structural risk.

How do I keep the thin arm and pointed toe from tearing?

Score their outlines shallowly first, then peel inward toward the center of each limb rather than dragging your tool along the thin edge. Keep the flesh here slightly thicker than the leotard grooves so the shape does not crumble. Work slowly and resharpen your blade often, since a dull tool skips and tears.

How do I make the leotard pattern actually show up?

Depth equals darkness in etching, so cut the pattern grooves noticeably deeper than the smooth glowing body around them. Use short controlled micro gouge strokes and leave thin raised ridges between lines so the design does not blur into one dim patch. Test the contrast with your light inside before calling it finished.

Your take belongs here, too.

Changed a detail? Made it simpler? Share a photo of your version and tell the community what worked.

Share your pumpkin

More pumpkins like this

You've reached the end · 8 pumpkins
The Patch Report

Fresh pumpkins, in your inbox.

The best new carvings, ideas worth stealing, and how-tos for carving season. Short, seasonal, and gone by November.

A short email during carving season. Unsubscribe anytime. See our privacy policy.